
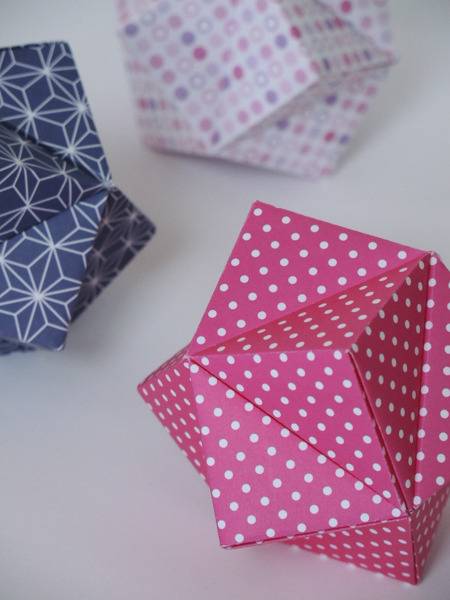
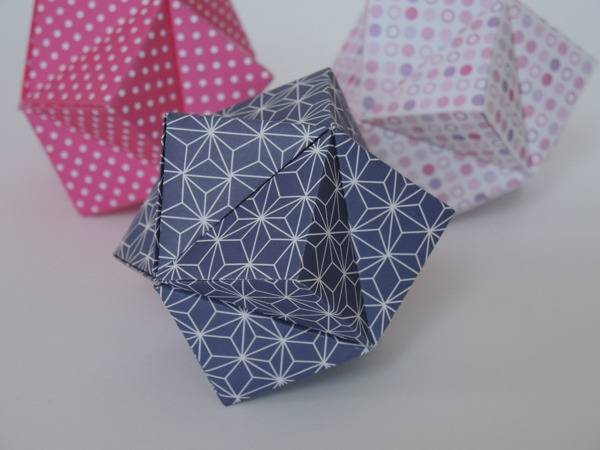
I don’t usually gush over stuff I make, but I am adoring my entry in Curbly’s inaugural Ornament Challenge. Although the resulting polyhedrons might look complicated to fold, they’re incredibly easy. And the cherry on top? They require minimal supplies to make. Here they are:
- scrapbook paper (I’m grooving on non-traditional Christmas colors lately, thus the pink and blue)
- scissors & ruler (but if you have a paper bed cutter, that’s even better)
- glue, preferably a tacky craft glue
- a bone folding tool, not necessary, but they’re handy to have on hand
- ribbon for hanging, if you go that route (read on for more ideas!)
- this video tutorial from Jeremy over on YouTube, who shows us how to fold a flexahedron (don’t watch it yet; I’ll tell you ‘when’)
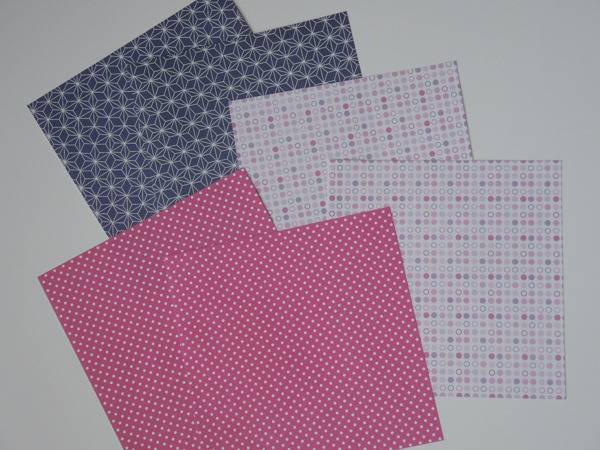
First, you’ll need to cut your scrapbook paper into smaller squares. You need 2 squares to make 1 ball. For sizing, follow this chart:
- To make a 2″ polyhedron ball, cut paper into 4″ squares
- To make a 2 1/2″ polyhedron ball, cut paper into 5″ squares
- To make a 3″ polyhedron ball, cut paper into 6″ squares, etcetera
Now, watch Jeremy’s video. For purposes of this tutorial, you can start watching at 2:04. And remember, you want to make 2 of his flexahedrons.
You’ll want to play with one a bit because in about in a minute, it won’t be so flexible.
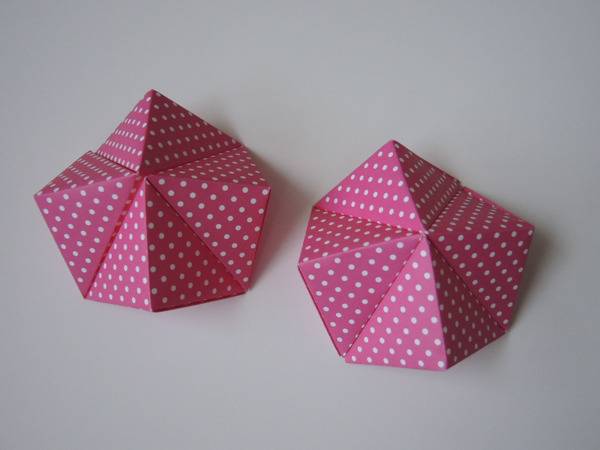
Two flexahedrons ready to make one ball:
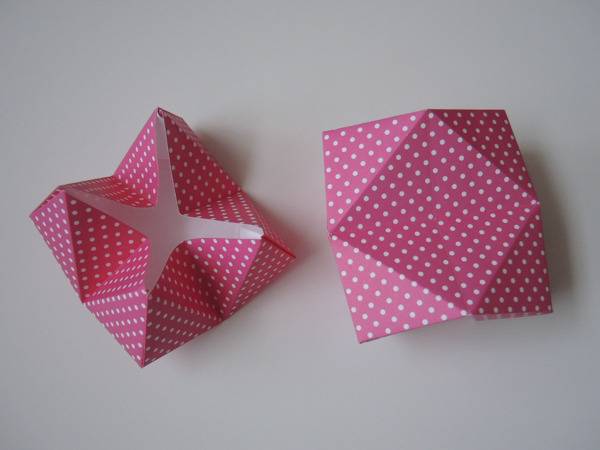
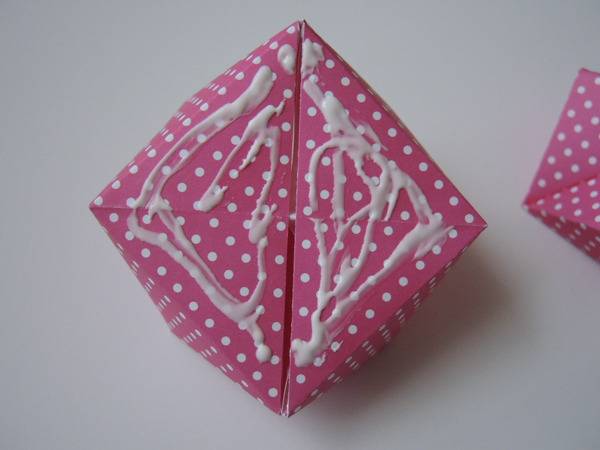
Now we’re going to manipulate the flexahedron so the bottom (flat part) looks like this:
The other side will form a pyramidal shape. Apply glue to one side of the interior of the pyramid and press to the opposite side. Repeat for the other flexahedron.
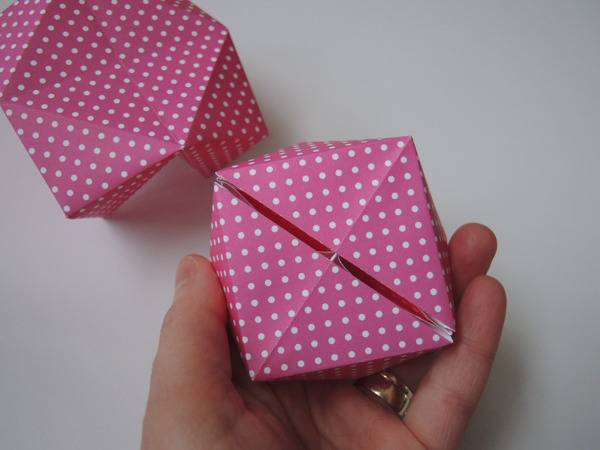
This is what they should look like when you’re done gluing:
Now grab one of those babies and apply glue to the bottom (flat side).
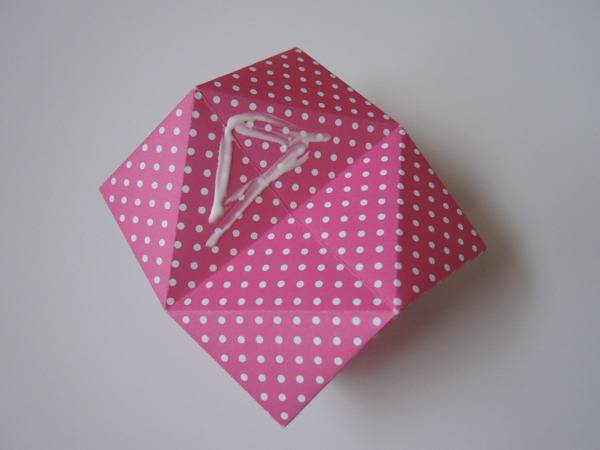
Grab the other flexahedron, align the points, and glue them together, flat side to flat side:
And that’s it! If you want to hang them on the tree, you’ll want to tuck & glue a loop of ribbon between the flat sides. BUT, they’d also look great as place markers on your holiday table. In that case, just skip the ribbon and tuck a name tag inside.
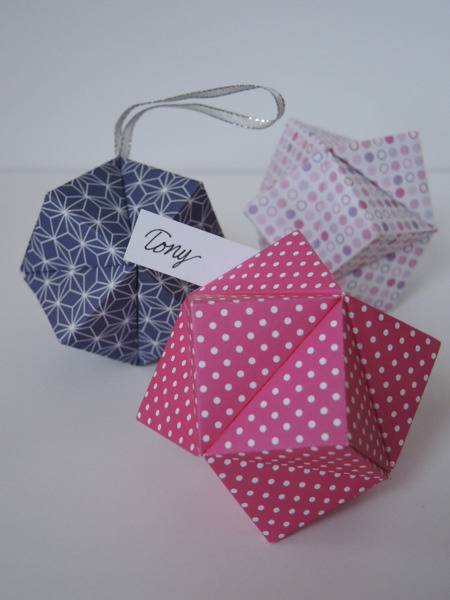
They could also look great just scattered down the center of the dining table or nestled along the mantle. Or, you could make a half dozen smaller ones and fill a bowl/vase. Cute and versatile?! Yeah, gushing. P.S. Thank you, Jeremy!!
Nice! How long does one flexahedron take to fold? Could I whip up a bunch in an hour for placemarkers? I’m thinking of doing a heap of them in red and white for some bowl filler, or maybe to hang from the ceiling in my hallway.
@Chris, once you have the technique down, maybe a minute or two per flexahedron. I think they’d look grand hanging from the ceiling!
These are so cool. I think I’ll try my hand at it. Probably rope my kid into helping. Lol Thanks for the info.