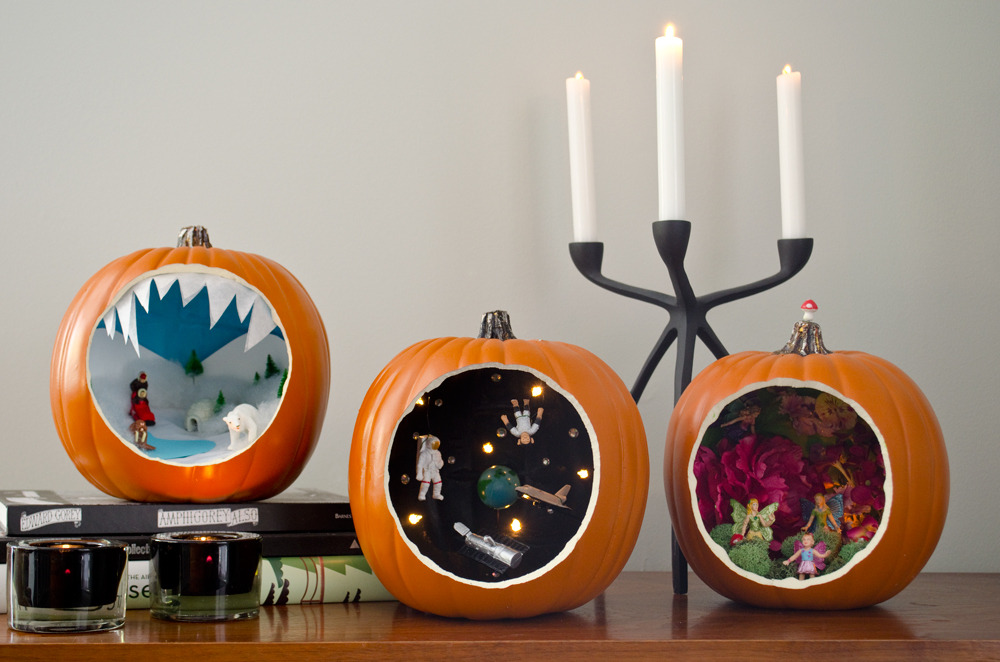
Photo: Bruno Bornsztein
The best school assignment in the world is the diorama. It’s an indisputable fact: Gathering tiny objects and assembling them into a scene is delightfully gratifying.
For our Halloween pumpkin challenge, we decided to do a take on the diorama after being inspired by this die-o-rama from The Art of Doing Stuff, and this terrarium by The Paper Mama.
We bought a family set of foam pumpkins from our local craft shop and decided to make a distinct scene in each one. Our themes were: Fairies (our 5-year-old daughter’s brainchild), Space, and the Arctic.
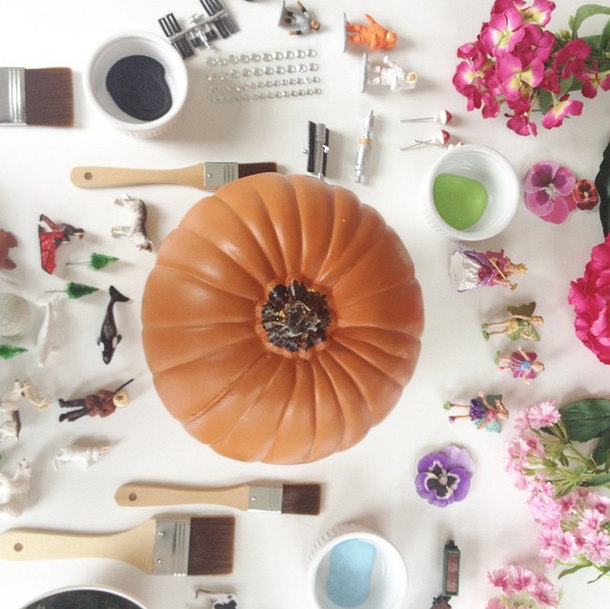
Here’s what we used to create our pumpkin scenes:
- Foam Craft Pumpkins (4)
- Acrylic Craft Paint + Brushes (for painting the interiors of the pumpkins)
- TOOB Figurines (Fairies, Space, Arctic)
- Knick-knacks and Paddy-whacks to enhance your scene (e.g. moss, silk flowers, stickers, lights, etc.)
- LED candles to light your scene
Here’s what we did to make our scenes:
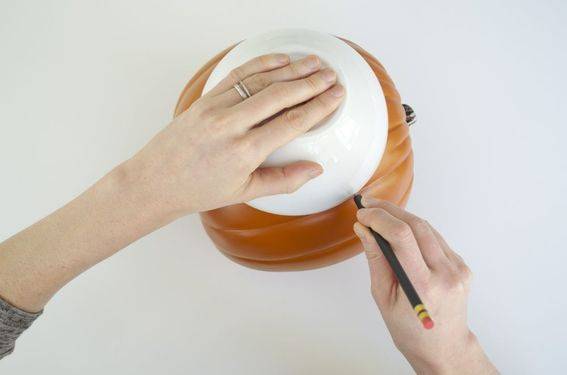
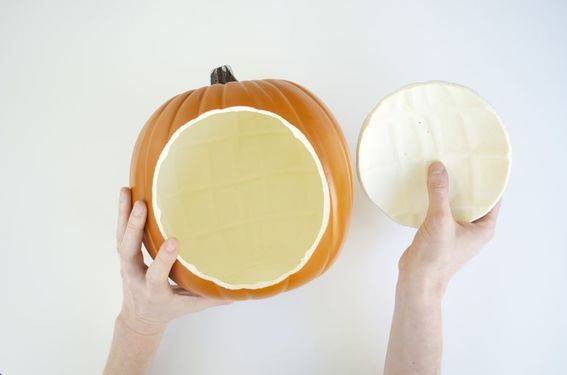
- Trace a circle on a craft pumpkin to help guide your cut.
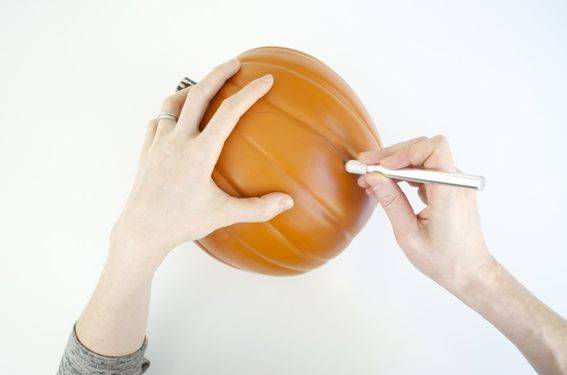
- Cut out the shape using an X-acto knife. Note: The interior of the pumpkin smells a lot like a jar of Maraschino cherries.
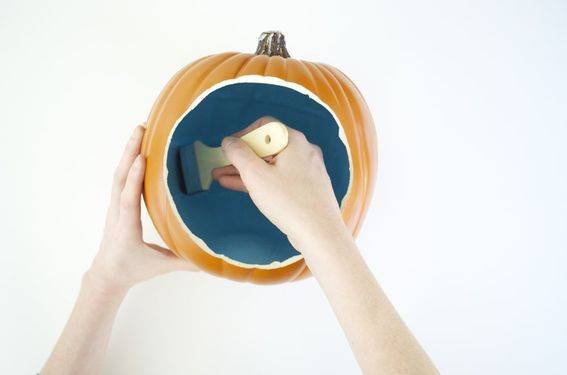
- Paint the interior of pumpkin. Note: Ours took the better part of a day to fully dry.
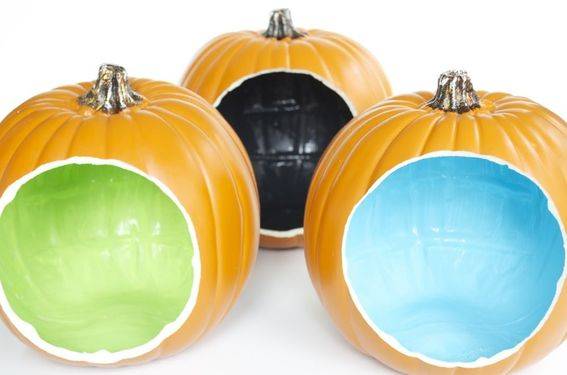
- Place your pumpkin fillers inside. We found that using toothpicks and wire to hold figures in place works well with the foam pumpkin.
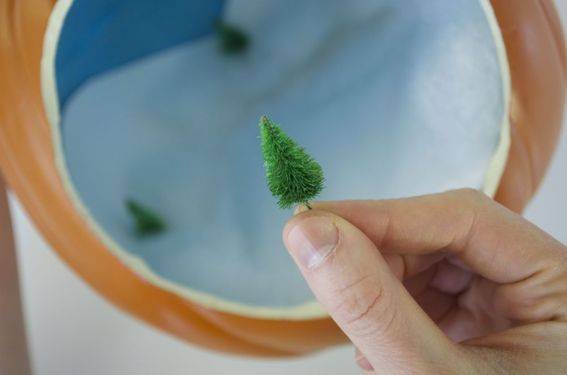
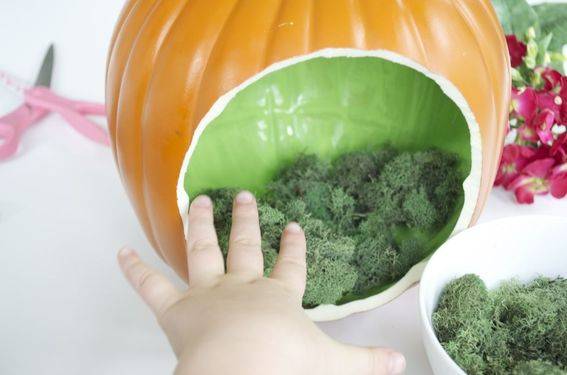
- Light your scene using LED candles. Note: We used battery powered string lights to light our space scene. To do this we simply drilled holes into the pumpkin and threaded a light through each hole.
And here are close-ups of our finished pumpkins!
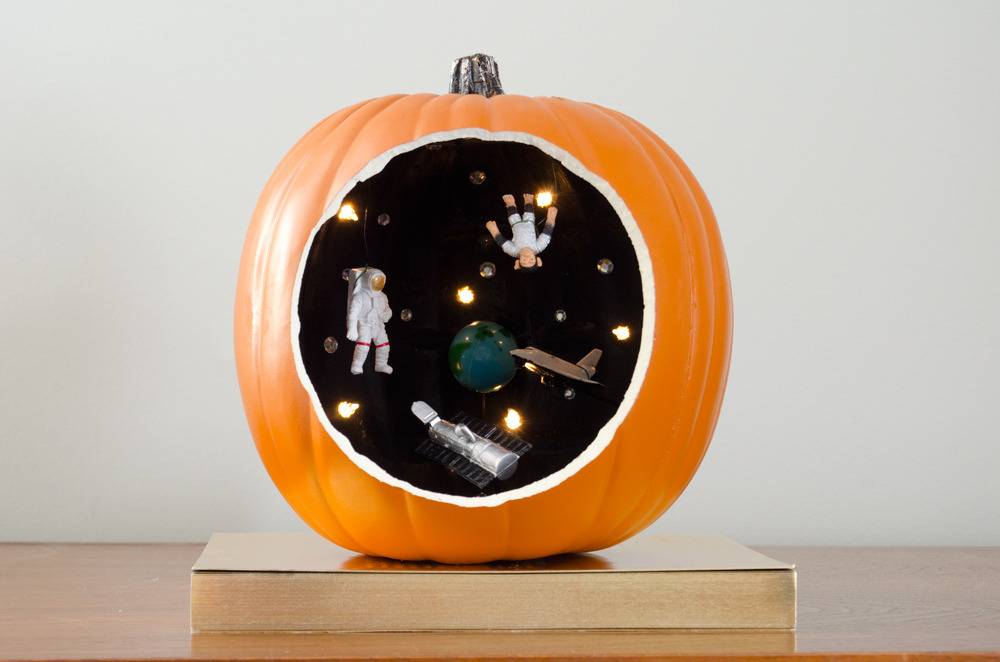
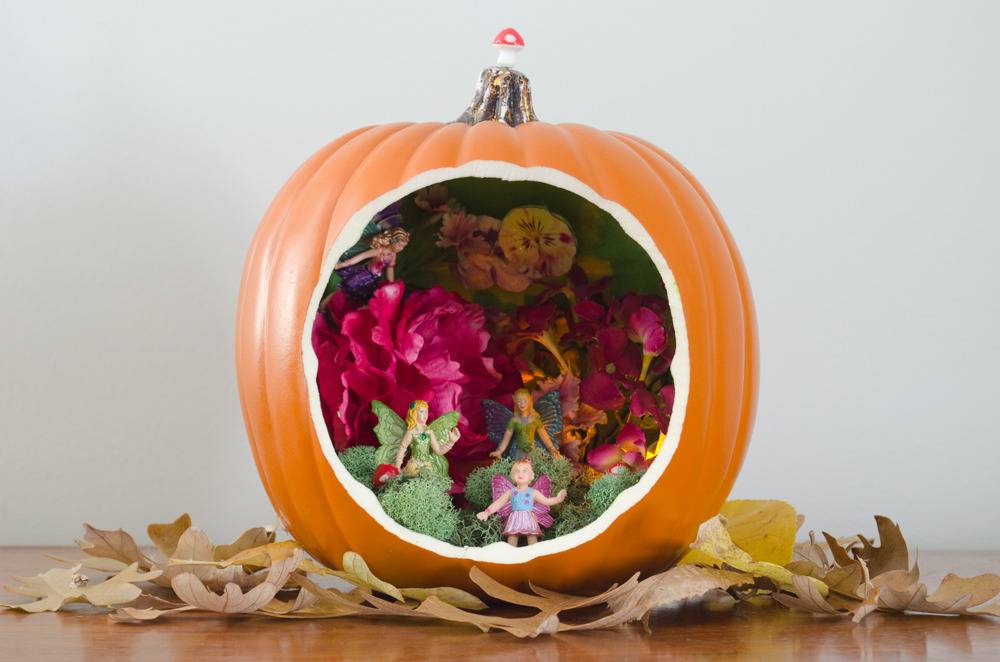
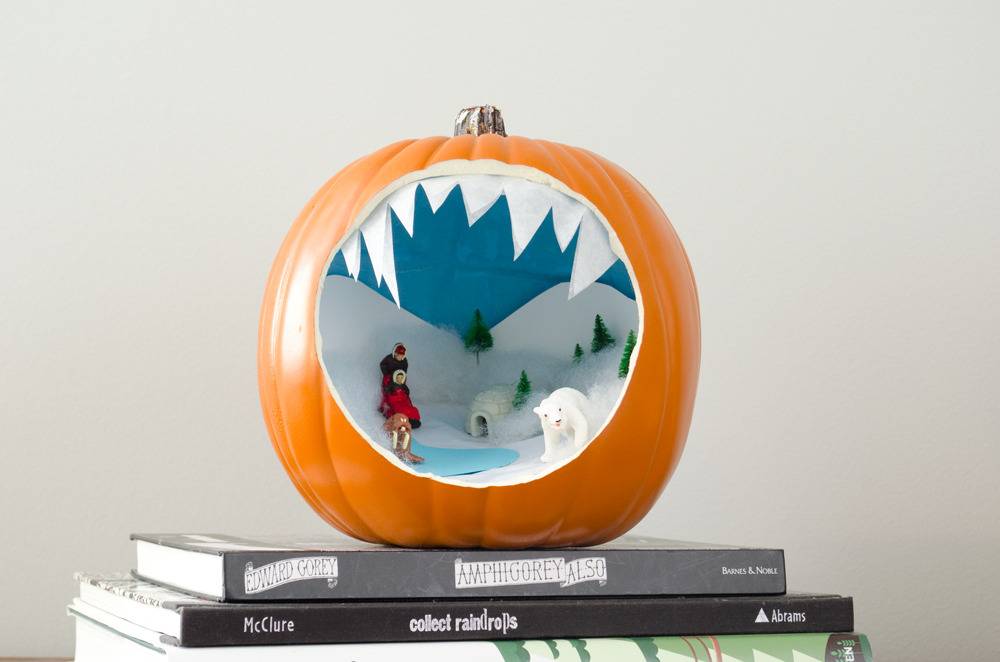
The best part of this project was the fact that it was virtually mess-free; no pumpkin guts, no kid burn out. The end results are also pretty magical – we can’t wait to adorn our front stoop with these pumpkin dioramas on Halloween night!
This post originally published in October 2014. But, we’re bringing it back because pumpkin dioramas are timeless. Don’t forget to check out all the other entries in the Curbly Pumpkin Challenge!
