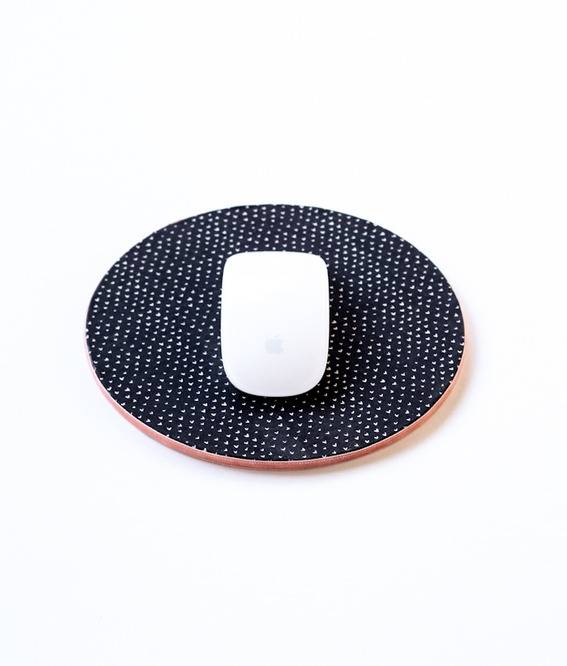
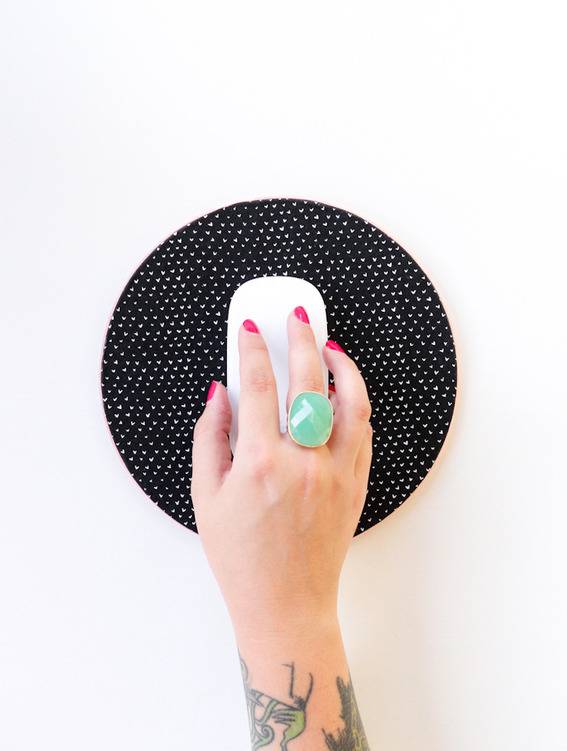
Rachel Mae Smith I don’t know about you, but I always seem to struggle with finding a mousepad I actually like. The patterned ones at office supply stores tend to be a bit too generic and the plain ones just don’t give my desk that extra pop it needs. So when making over my office space in our new apartment, I decided to make my own!
Time: 25 minutes + dry time
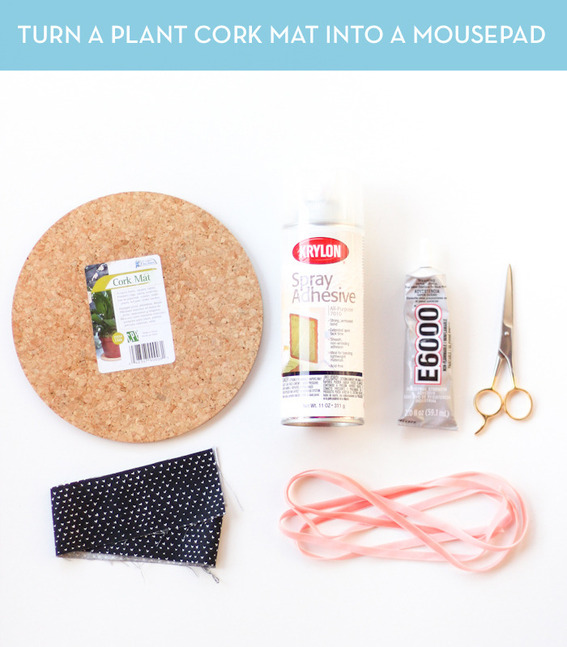
Materials: plant cork mat, spray adhesive, fabric, ribbon, scissors, E-6000 glue
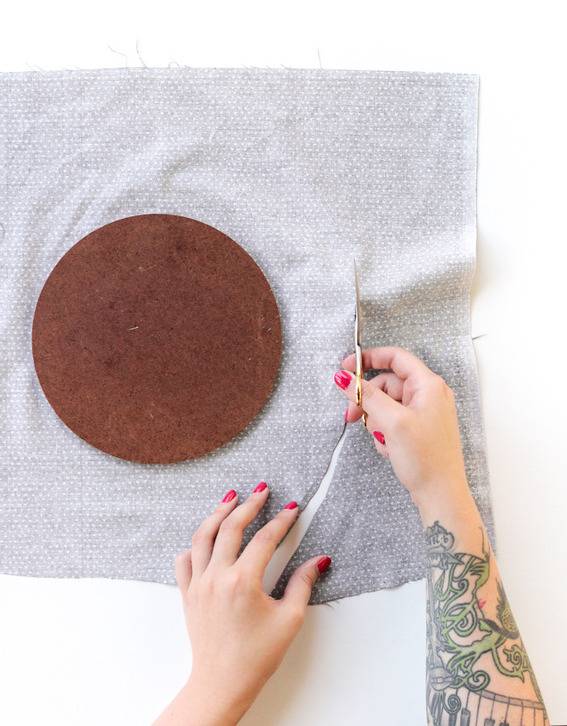
Make sure to iron your fabric before starting this project so that your mousepad is wrinkle-free when you finish. Trim your fabric into a circular shape. It should be about 1-2″ larger than your cork mat in diameter.
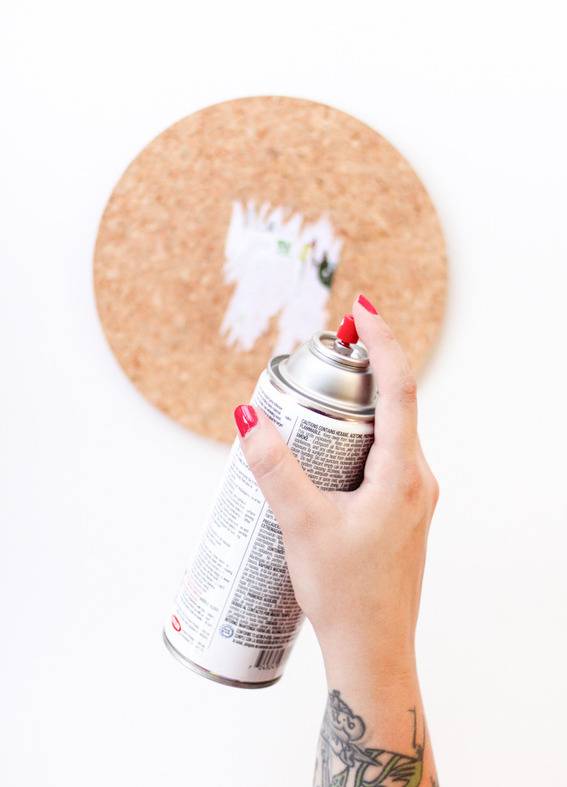
This stuff is sticky, so put down newspaper or a drop cloth before using. In a well ventilated area, spray your cork mat with adhesive (over entire surface).
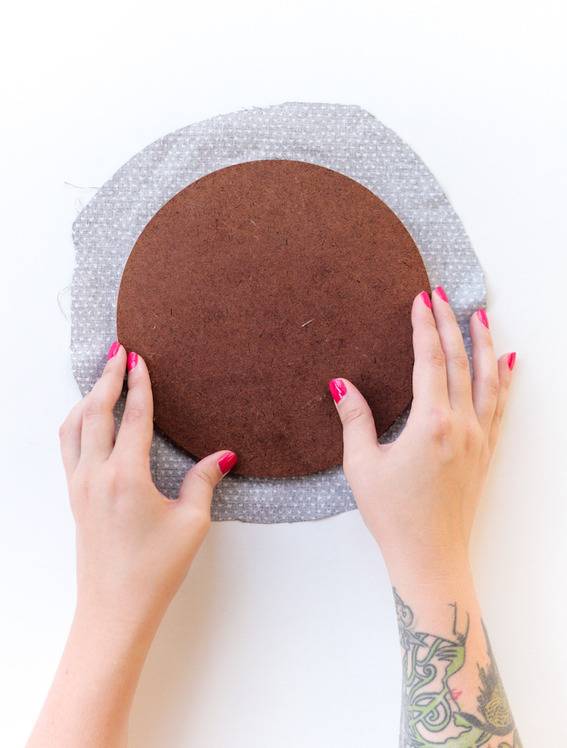 Rachel Mae Smith While the adhesive is still wet, attach your fabric to cork mat. You’ll have a little bit of time to smooth out any bumps (you can just use your finger) before the glue sets.
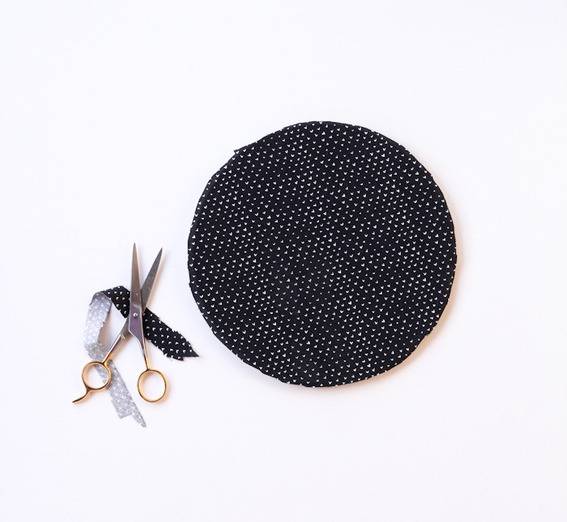 Rachel Mae SmithLet dry for about 5 minutes then trim your fabric again, this time only leaving about 1/8″ overlap.
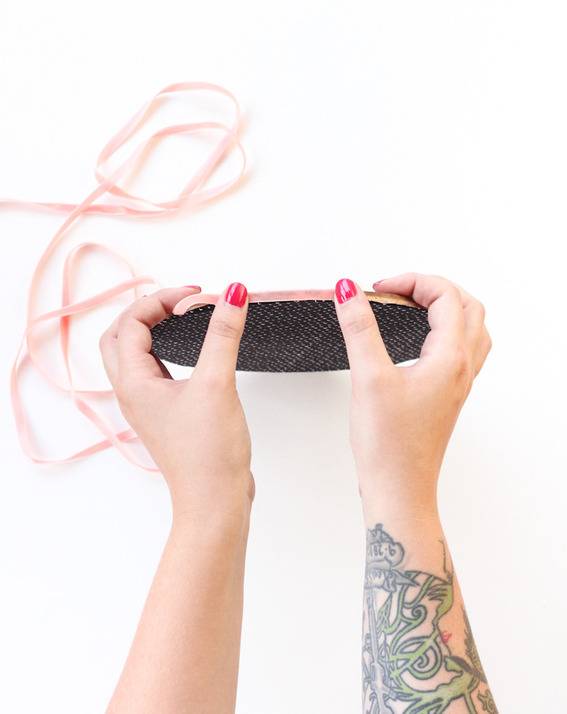 Rachel Mae Smith To smooth out the sides, I wrapped the edges in ribbon. Apply a small amount of E-6000 glue to the mat. Fold your fabric overlap down then cover with the ribbon as you go. Once you make it all the way around, trim the extra ribbon with scissors.
Let dry for 30 minutes-1 hour before using!
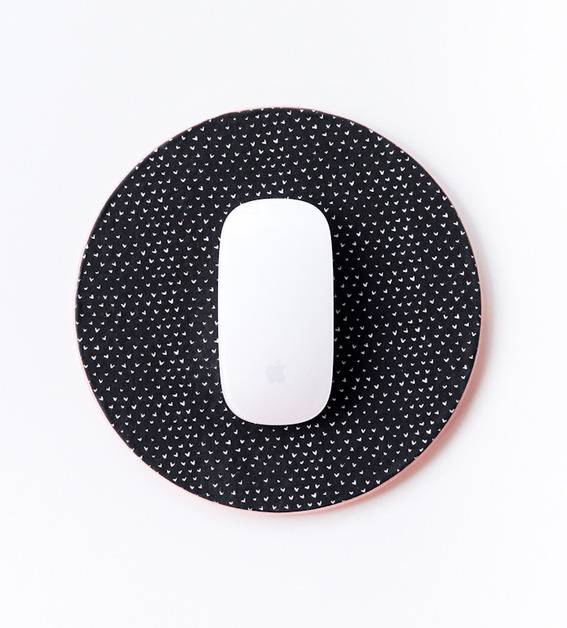 Rachel Mae Smith
 Rachel Mae Smith
I love this! Such a great idea and so easy too. I have a cork pad lying around so I’m going to make one to go in my new university room !!
What a fabulous idea and clever repurpose! Definitely going to be making this to replace my ugly ratty mousepad.
Such a cute fabric pattern, and love the idea of adding ribbon detail around the edges! Fantastic idea!