Last month we told you all about our raised bed garden plans, and today we’re back with all the juicy details. In a nutshell, this was a huge project in terms of the research and planning, and the easiest when it came time to actually do it. It was a great lesson in “preparation is everything”. We’re so grateful to Duluth Trading Co. for giving us a motivational kick in the pants to get this project done.
Before we get down to it, let’s revisit our plans, shall we?
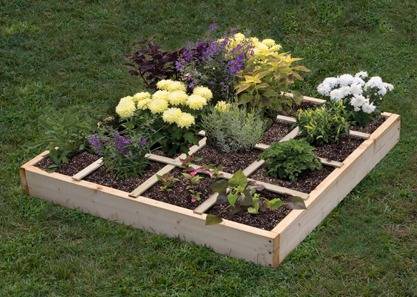
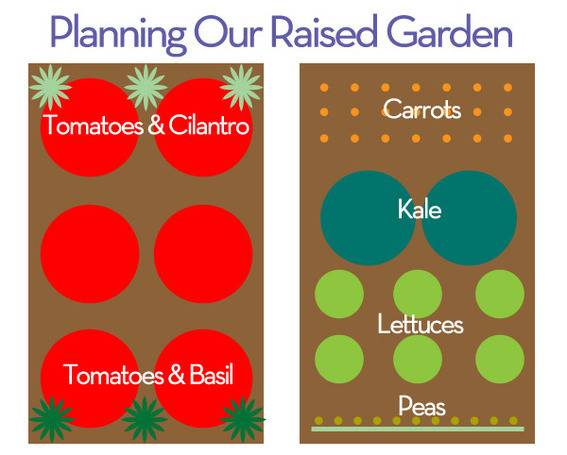 Curbly (Inspired by Hip Chick Digs)
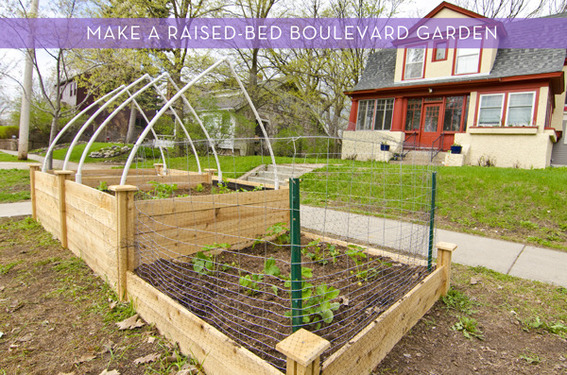
We set out to create a set of raised garden beds to create a small-scale vegetable garden. Originally, we planned to place it in our sloped backyard. But, after monitoring the sunlight for a few days (this part of the yard gets about 4 hours of direct sunlight) and talking to neighbors who had experimented with growing veggies under part shade, we decided to relocate the garden to our sun-filled front boulevard, where we believe it’ll have the best chance at success.
We intended to follow these plans from Sunset to DIY our garden beds, but then experienced a spring with monsoon-like weather, followed by some travel that derailed our DIY dreams. In the end, we bought this kit of cedar garden beds and the entire construction process took less than 30 minutes. If you’re pinched for time or not very handy, this kit is a great option. We ended up purchasing 4 sets to create three beds (2 – 24″ tall beds and 1 – 10″ tall bed for the strawberry patch). However, if you have time and a small number of tools, DIYing your garden beds is a simple project that will save you money.
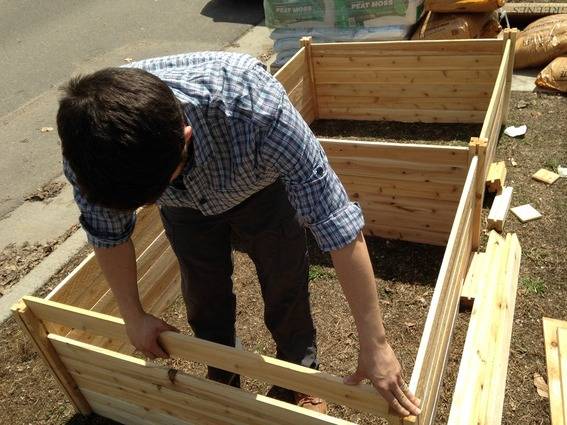 Assembling the cedar bed kit.
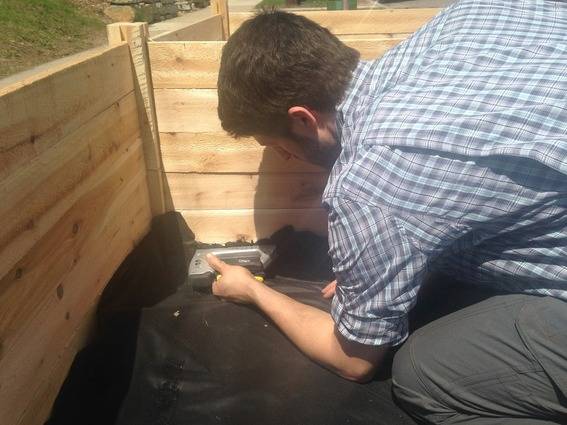 Adding weed-blocking fabric to the base of each bed.
Square Foot Gardening Method
When it came time to look into the best method for growing our veggies, I spent hours reading, pinning, and visiting a local nursery to get tips. The square foot gardening method came up over and over again.
I have a friend who did square foot gardening last year in her raised garden beds, and she reported that it was an extremely successful method; she felt there was flexibility with the soil mixture, which was like music to my inexperienced gardener’s ears.
According to the square foot method, your soil mixture should contain 1/3 vermiculite, 1/3 peat moss, 1/3 blended compost. To figure out how much soil mixture we needed we calculated the total cubic footage of our beds (60 cubic feet in all, not counting the strawberry patch), and then divided by three.
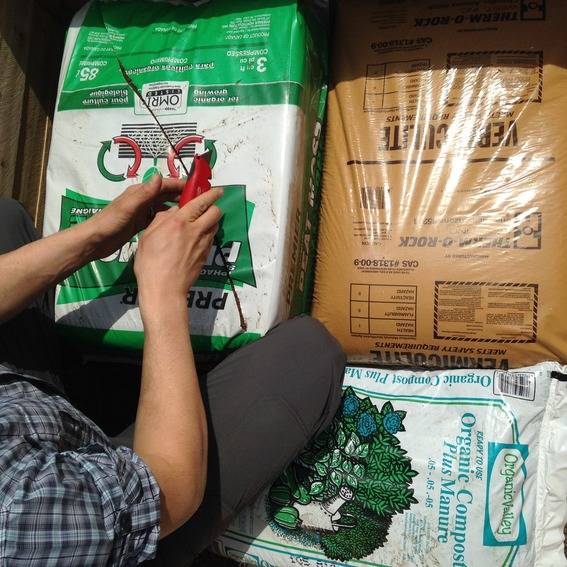 Curbly
The only tricky part we ran into here was that the compost we ordered came in 40 lb. bags, which we figured to be about one square foot. We also learned that vermiculite is expensive and decided to go a little light on it, and a little heavier on the compost blend. This is something the square foot gardening people caution you against, but something that my friend did and she ended up with a bumper crop. So, we’re crossing our fingers. Here’s what we ended up ordering:
- 6 – 2-cu. ft. bags of vermiculite – 12 cubic feet total
- 6 – 3-cu. ft. bags of peat moss – 18 cubic feet total
- 20 – 40 lb. bags of compost – about 20 cubic feet
Our method for mixing this soil was to mix a bag of vermiculite, a bag of peat moss, and 2 -3 bags of compost at a time. This takes time and grit, but seemed to be the best way to ensure the soil was well mixed.
 Curbly
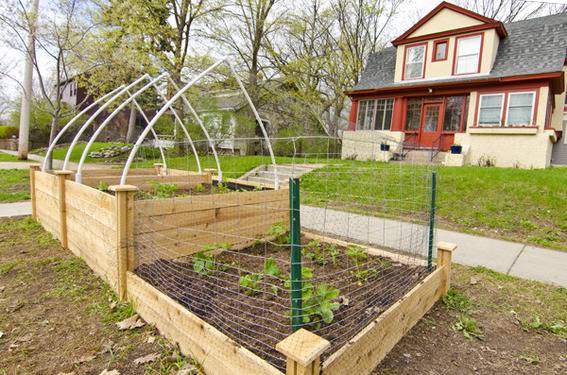
Once the soil was mixed, we bracketed 1-inch PVC piping to the four corners of each bed, and made a tent with 1/2-inch PVC pipes. We attached bird netting to the pipes to deter squirrels and other foraging animals.
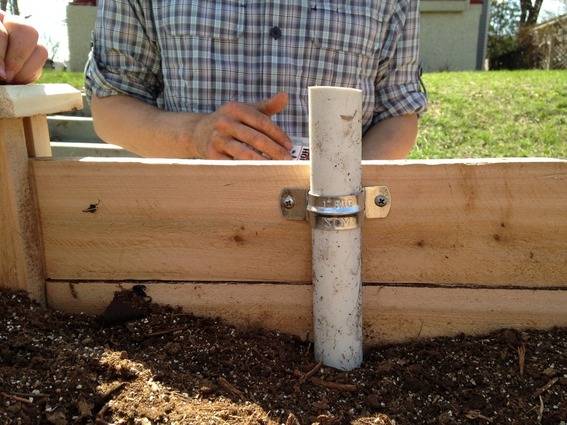 Installing PVC piping to create an archway with netting to deter snacking animals.
Planting
When it came time to plant, the square foot gardening philosophy was extremely helpful. We gridded our beds by sight (16 squares per bed) and followed their planting rules based on the produce we were growing. For example, for tomato plants we planted one plant per square foot. For carrots, we planted 16 per square.
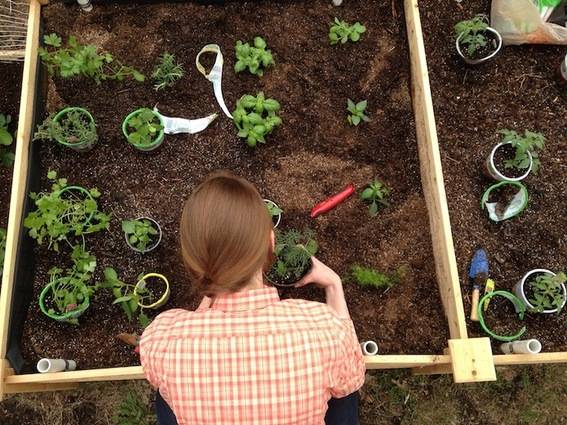 Laying out our plants according to the Square Foot Gardening method.
The vegetables we planted included: tomatoes, carrots, arugula, sugar snap peas, asparagus, a variety of peppers, lettuce, and herbs. We also created a small strawberry patch in the lowest bed and wrapped it in wire garden fencing. We began most of our produce from plants, and grew only the carrots and lettuce from seed.
Garden Gear
Gardening is certainly an exercise in patience. Not only does it take time to plan and plant a vegetable garden, it takes some sweat and if you’re me, tears. Having good gear helps (e.g. gloves, boots, tools), but wearing comfortable, weather-friendly clothes helps a lot too.
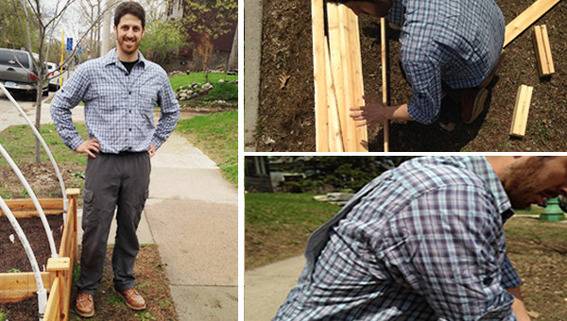
For this project, we were lucky enough to work with Duluth Trading Co., a company that makes outdoor-friendly attire of the highest quality. Little features like shirts with built-in air vents and pants with a rise that keeps your bum to yourself made us comfortable, protected from the sun, and feeling a little bit fancy in the garden. Here are our “his-and-her” uniforms:
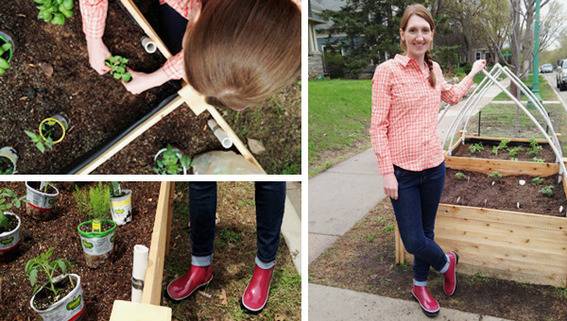 Alicia is happily planting in her DTC Armachillo shirt, and Bogs Harper Garden Boots.
Obviously, garden uniforms aren’t required to make your garden grow, but we both really liked feeling comfortable and protected in our garb.
Our Harvest
We’re clearly in the very beginning phase of what we hope is a vegetable garden-palooza. Once everything is established, we’ll update this post to let you know how our garden grew.
Tell us all about your summer vegetable and fruit garden plans! What’s your favorite thing to grow? Do you have any tips when in comes to planning or planting? Please share your tips in the comments below.
This post was sponsored by Duluth Trading Company (and they gave us some cool gear to try out while we gardened). However, all opinions are ours alone.
Alicia, did you have to register (or get a permit for) your boulevard garden with the city?
Hi @DIYMaven: This is a great question! Our city (St. Paul, MN) does not require a permit for boulevard gardens as long as you follow their “Boulevard Garden Policy”.
I’m not positive, but the PVC piping may leach chemicals into the soil, so I would have chosen to attach the pipes on the outside perhaps….