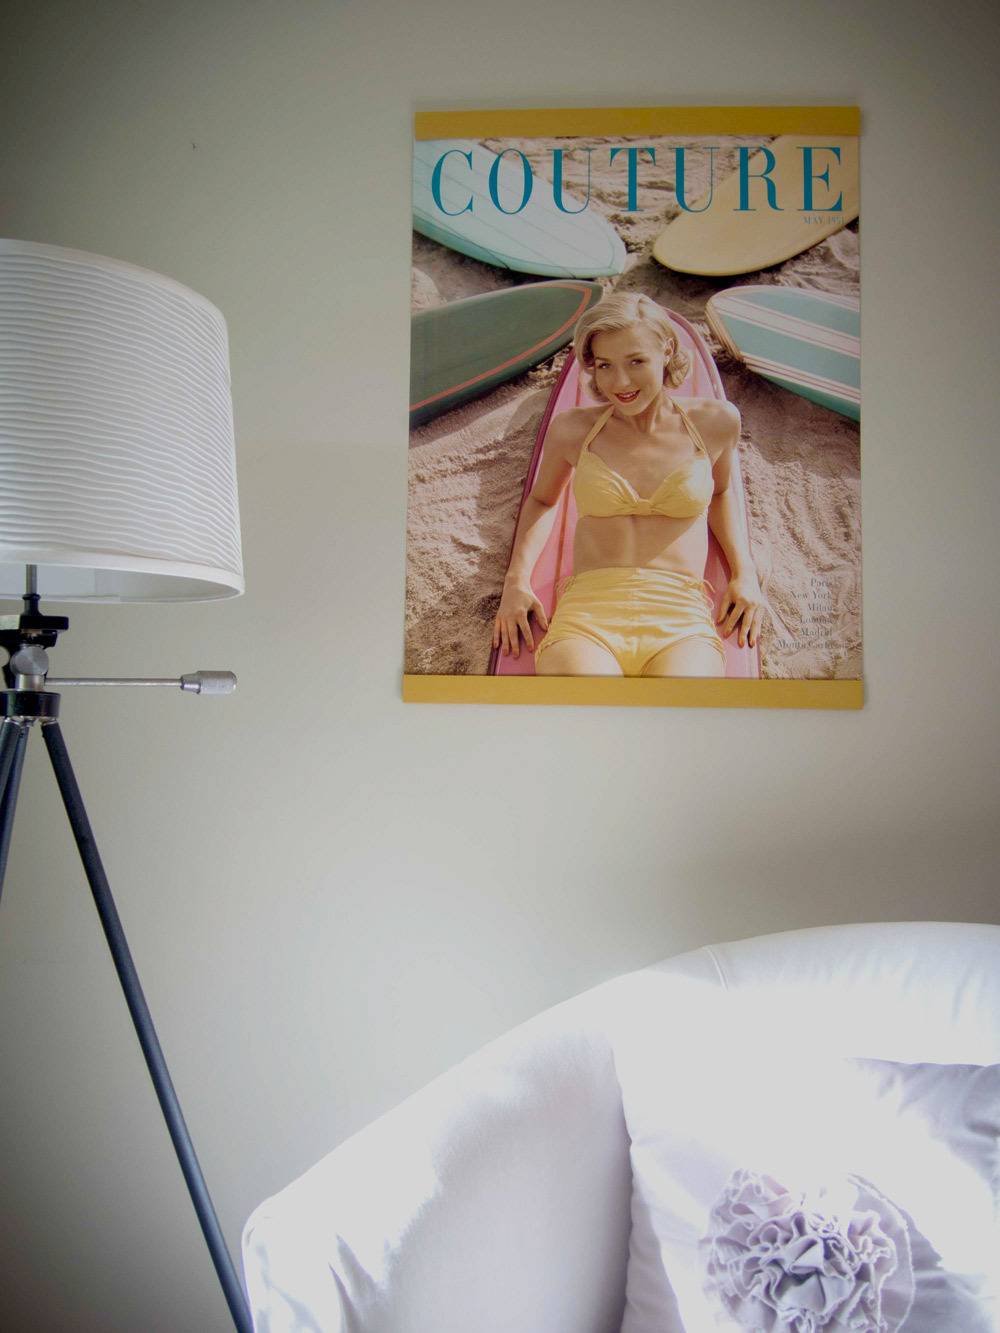
If you’re a DIYer, you probably have a stash of scrap wood somewhere. Various sizes and lengths of various species that you have no idea what you’re going to use them for, but you can’t bear to part with them, because you’re sure you’re going to use them someday.
In this, the first in a five part series, I’m going to show you how to make super fast and super easy projects using some of that stashed wood. Each will take less than an hour to make (not including paint/varnish drying times) and most—if not all—will cost absolutely nothing, because they can be adapted to whatever supplies you have on hand.
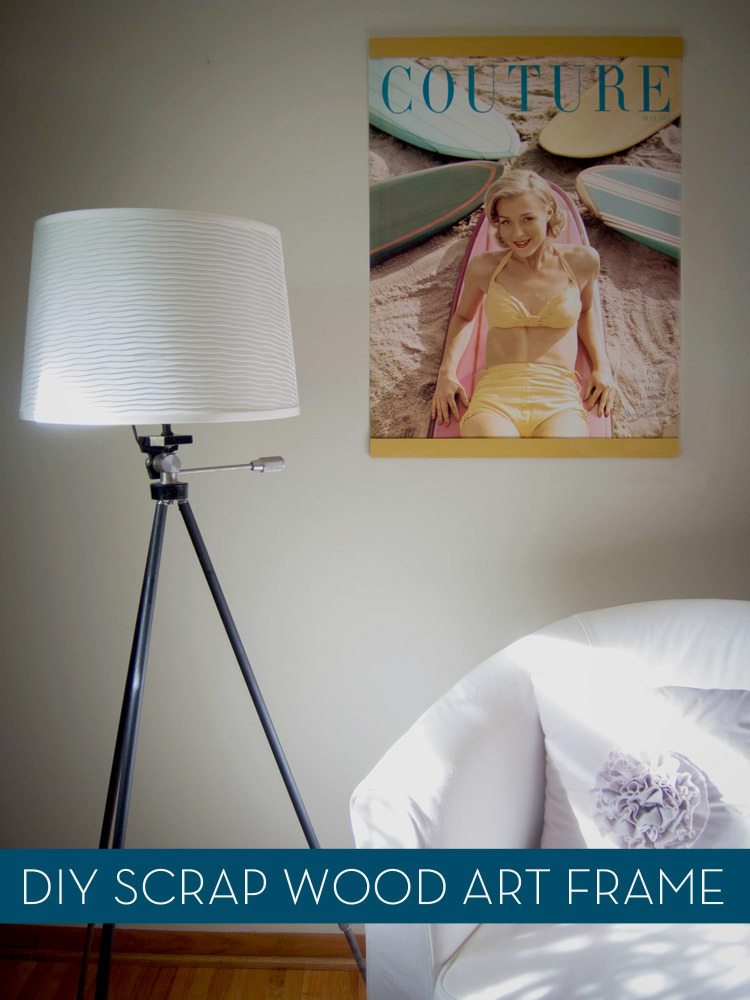
Today we’re going to make a poster slip frame. The inspiration for these were those plastic strips (with a slits running down them) that you ‘slip’ posters into. They’re cheap and they look it. Also, they’re usually only offered in one or two colors (black and clear at All Posters). Since my version is painted, the sky’s the limit, color-wise. So, let’s get started.
Because this project is customizable to what you have on hand, there really isn’t a ‘supplies’ list, but stuff we used included paint, varnish, a table saw, 180 grit sandpaper and shims. Also, NOTES are included to help with picking substitutions.
First we started with a length of wood just a bit longer than the width of our poster. We used a 3″ x 24″ x 1/2″ piece of oak that we ripped down the center to created TWO pieces of 1 1/2″ x 24″ x 1/2″.
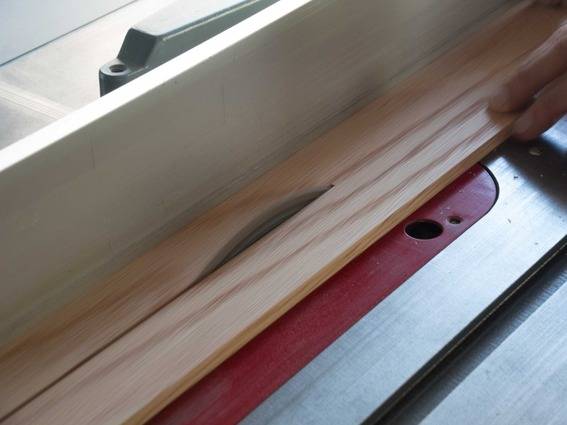 NOTE: We also could have easily used a 1 x 2 or even a 2 x 4 (ripped down to the right thickness). And speaking of thickness, 1/2″ was cool with us, but you could easily make it 1″ thick too. As for lengths, we made ours by ripping something close to the poster’s width in half the long way. If you have a longer piece of wood that happens to be thin, like a 1 x 2, you’d just want to cut this to length, not width. Get it?
Then we trimmed the TWO pieces we made in the last step to the exact width of our poster, 22″.
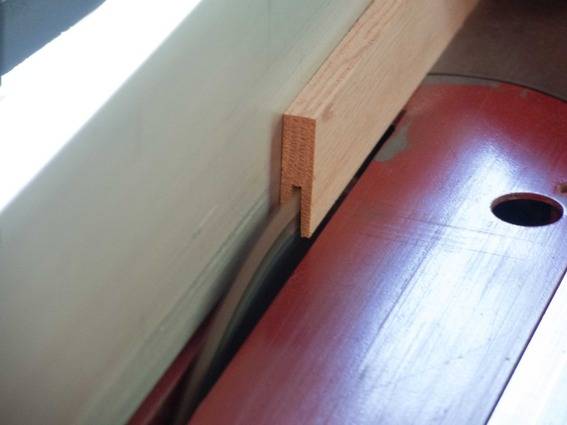
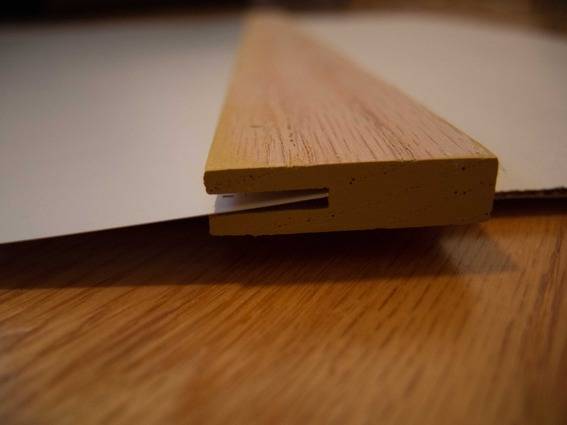
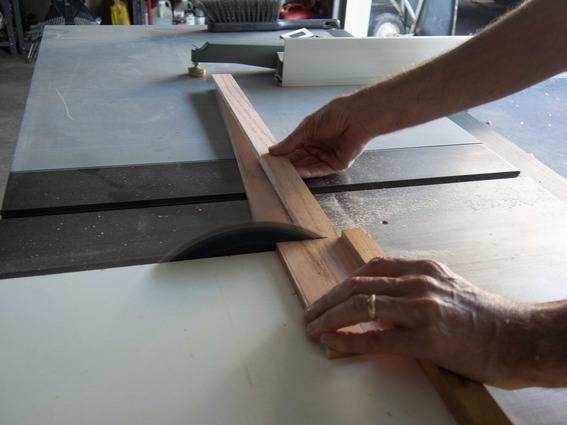 We measured to center of the skinny side of the wood, set the table saw’s fence accordingly and plowed a channel down the skinny side. HINT: To ensure the channels like these are in the exact center of your board, rotate the piece 180 degrees and feed it through the blade one more time.
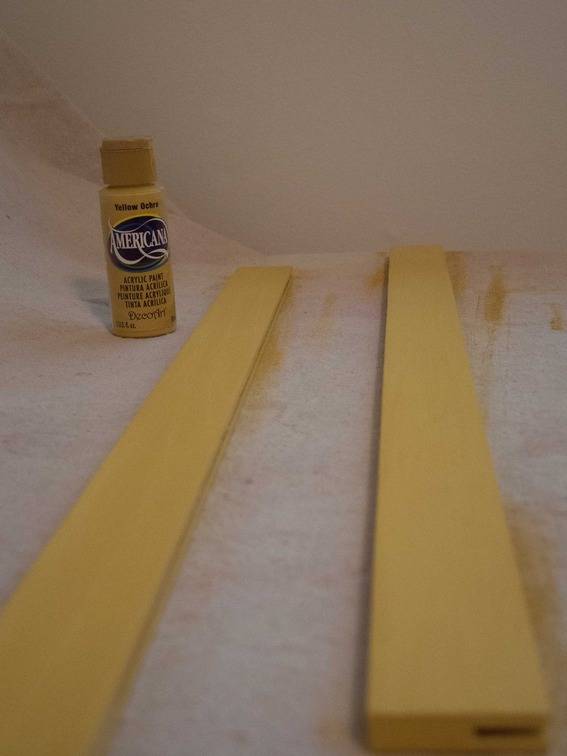
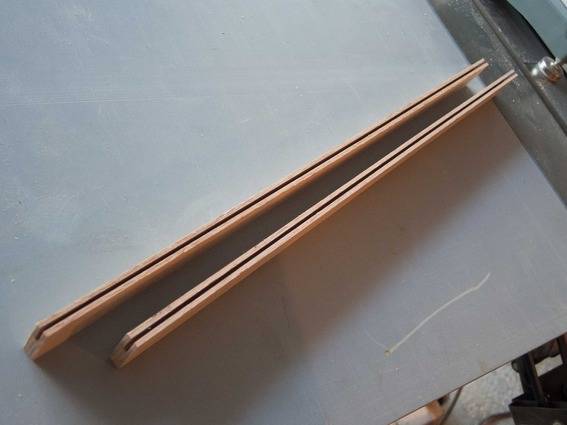 Now the easy part: sanding, priming, two coats of Yellow Ocher, and a coat or two of poly.
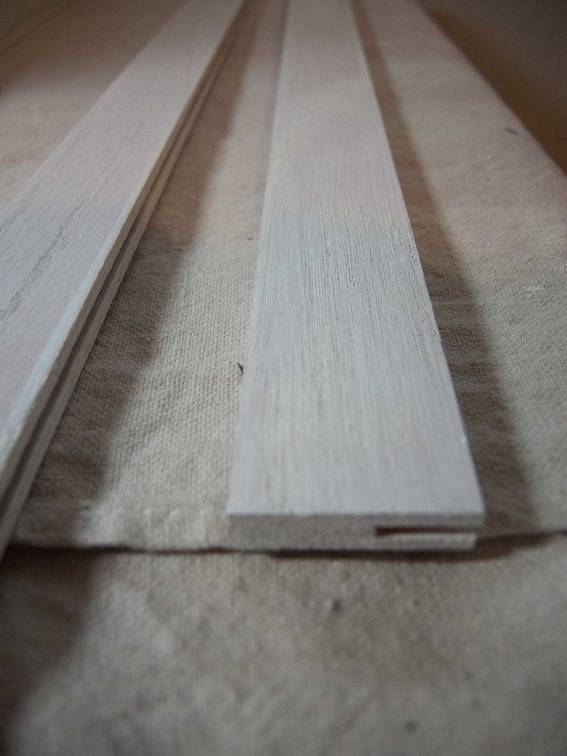
Yeah, I used craft paint because that’s what I had on hand.
Mounting time! Find a large, clean, flat surface and slip one end of the poster into the channel of one of the wooden lengths, and then repeat on the other end of the poster.
Grab some shins (4 should be plenty, but if you have a very large poster, you might need 6) and trim the skinny ends bit by bit until they fit very snugly into the channel on the back side of the poster.
NOTE: Why shims? Because we didn’t want to put holes in our poster. If you don’t mind doing so to your poster, you could probably staple the poster in place from the wrong side.
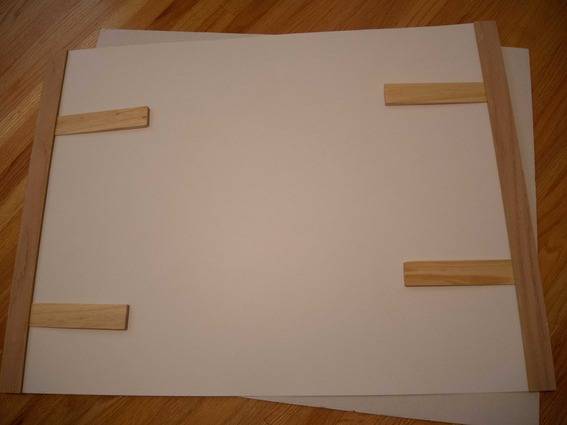
When they’re all nice and snug, pull the shims out and trim down the fat sides.
NOTE: You COULD omit this step if your scrap wood is thicker than the fat end of the shims, but keep in mind that the shims will add a bit of weight to the upper slat.
We cut our shims down to 2″. Then we fitted them back into the channels.
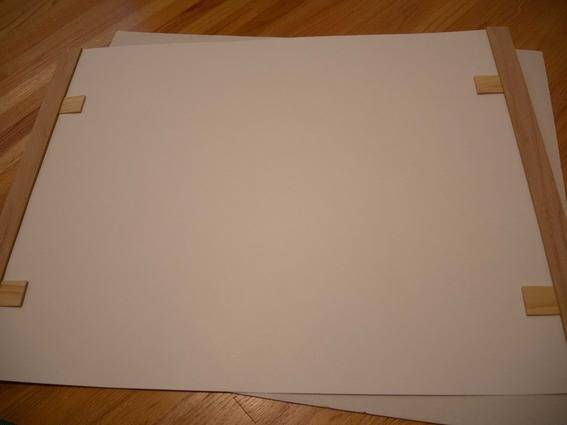 Because the top slat has a channel, it fits PERFECTLY over the head of a small nail. Just makesure the nail is perfectly centered and you’re ready for hanging.
 We call her ‘Betty’, for obvious reasons.
Check back through the entire month of October to see four more fast and easy projects to use up that scrap wood stash!!
