Capree Kimball

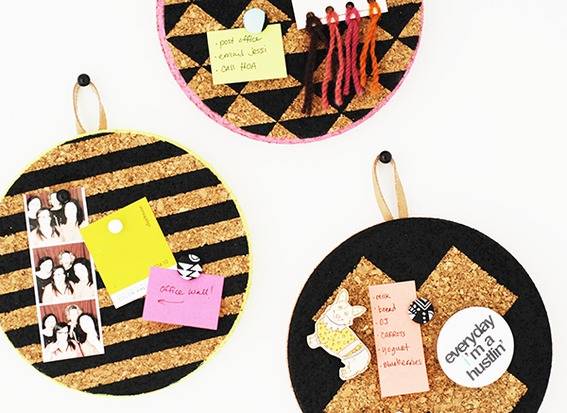
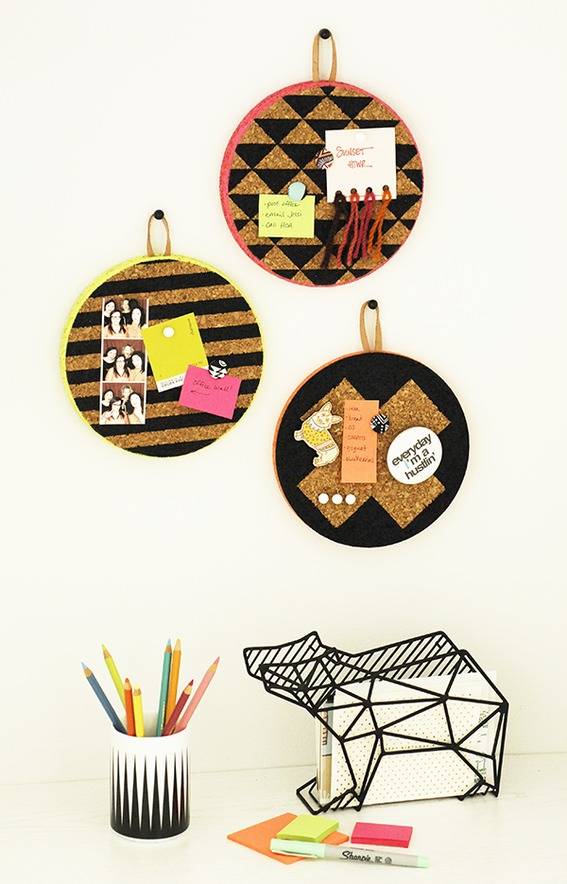
After recently completing our office makeover, I realized I needed somewhere to put all those random little notes and lists and other office-y bits. You know, something people like to call a “memo board”. After looking around, the only options appeared to be giant rectangular boards, emphasis on giant. And rectangular. Since I like to keep things a little quirky (and colorful and covered in pattern), I decided to make my own!
 Capree Kimball
This is an easy afternoon project for just about any skill level. So, let’s grab some supplies and hop to it!
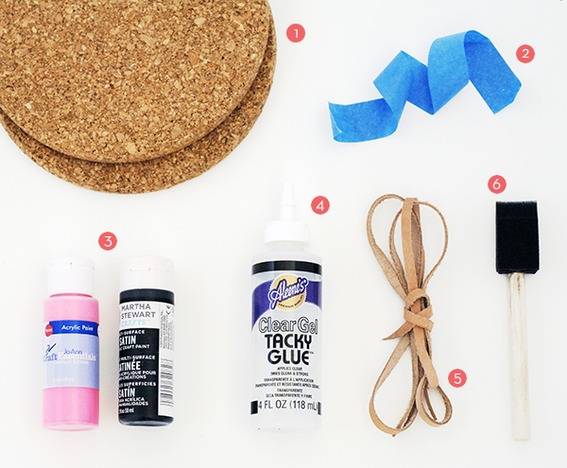
Materials:
 Capree Kimball
1. cork trivets (2 per memo board — I got mine from IKEA)
2. painter’s tape (contact paper or a stencil will work as well)
4. clear craft glue
5. leather cording (you could also use ribbon, cotton cording, etc.)
6. foam paint brush
Optional: Xacto knife and ruler (if you’re planning to get fancy with your design)
Steps:
 Capree Kimball
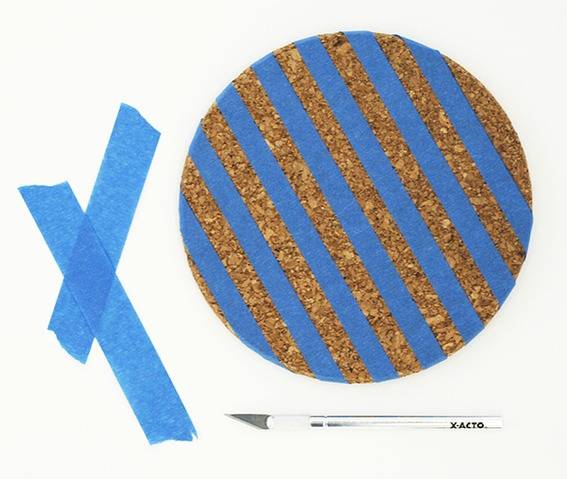
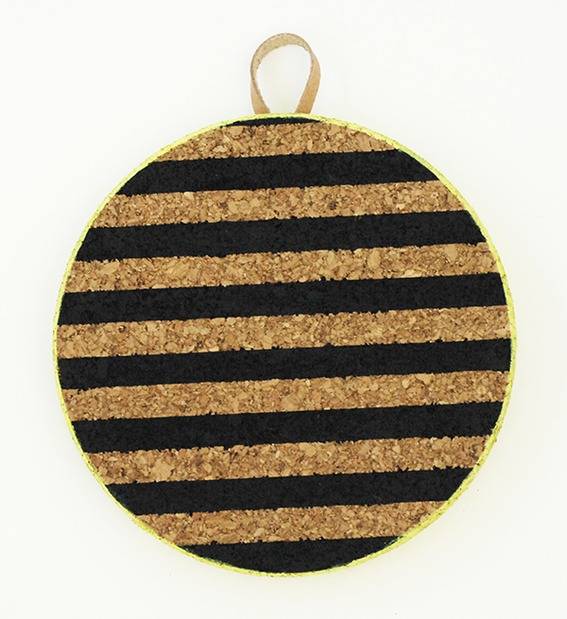
1. Tape off your design, rubbing and sealing the edges of the tape well to prevent as much paint-bleed as possible. Same goes for contact paper if you’re using it (like I did here). If you’re gonna get fancy with your design and use a craft knife, you can cut directly on the cork itself.
 Capree Kimball
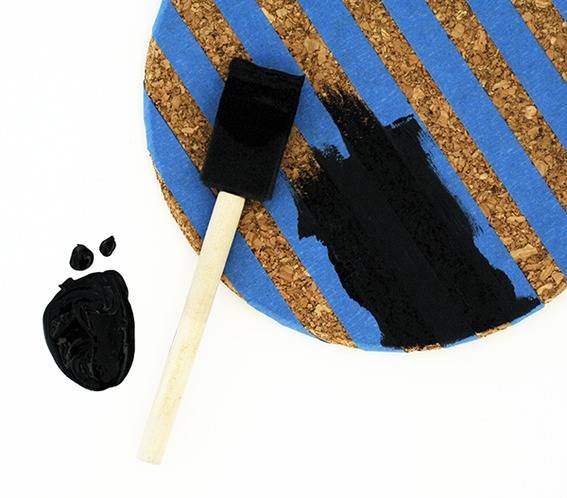
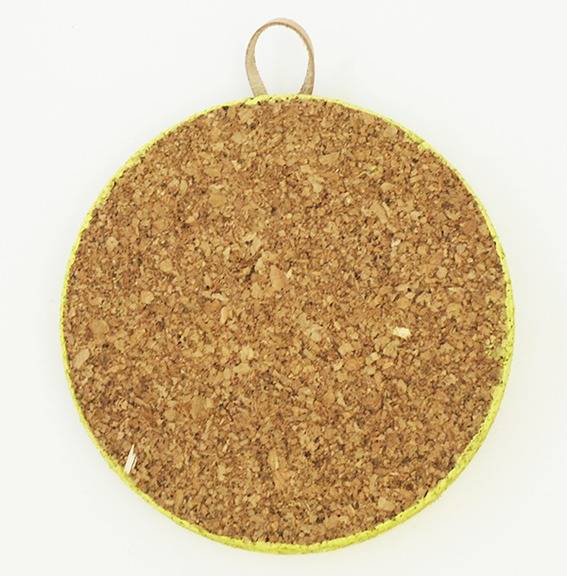
2. Using the foam paint brush, apply the paint to the open cork areas first by dabbing (to get the paint in all the nooks and crannies) then brushing. If you’re painting the edges of your memo board a contrasting color, you can do it now or at the end. I chose to paint the edges of both trivets now.
Note: Depending on the color you use, you may need to apply more than one coat. If so, just wait until the first coat is dry, then go for it!
 Capree Kimball
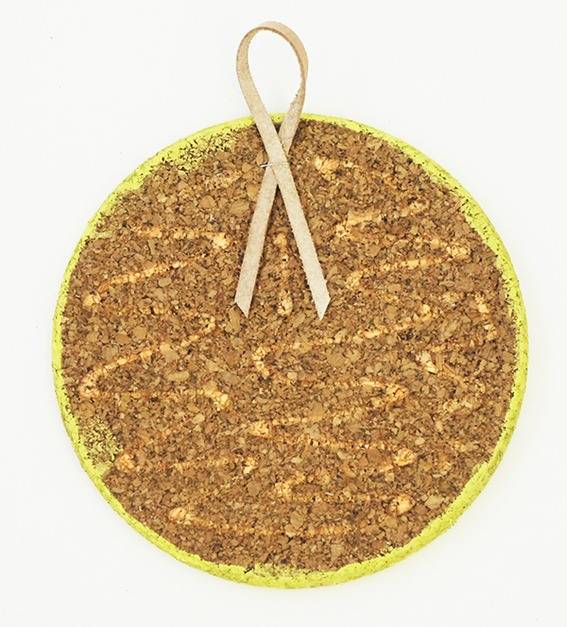
3. Once the paint is dry, flip the memo board over. Cut a length of cord, about 9 inches, and create a loop. Place the loop where you’d like your board to hang, then staple it in place. Grab the clear craft glue and apply it generously to the backside of the memo board, as well as underneath the loop.
 Capree Kimball
4. Take the second trivet and place it on top of the exposed glue, lining it up with the edges of the first trivet. Now, grab a large, flat, heavy object to set on top. This could be a box full of books or rocks, etc. I used a box of leftover tile from our kitchen makeover. Whatever you use, set it on top and leave it there while the glue dries, which will take a few hours.
 Capree Kimball
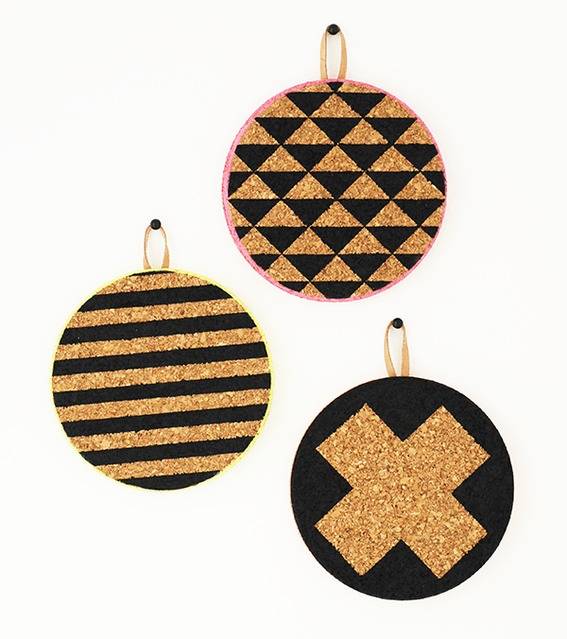
5. Once the glue is dry, remove your big heavy object, flip the memo board over, and admire your handiwork. Voila! You just made a mini hanging memo board! Now go make a bunch more!
 Capree Kimball
 Capree Kimball
Happy crafting!