
Remember those overhead projectors from your K-12 days that allowed you to watch the teacher work as they droned on about math equations or verb tenses? Yeah, I had stuffed it to the recesses of my mind as well. Still, since my student days have come and gone, there are other uses for projectors that are more applicable to my current child-rearing, home-sprucing, DIY-ing life. But those projectors can be hard to come by if you aren’t pals with a 3rd grade teacher. That’s why a DIY version can be so handy! So, basically, a real overhead projector consists of a light, a lens, and a mirror. The lens lays flat and focuses the image, and the mirror lets you see what is laying flat on the lens. If you aren’t too worried about focus, you can take those two factors out, and what are you left with? Light! Who doesn’t have a light bulb in their house?
Instructibles user mmelville3 just gave that light a direction, aiming it at their transparent design, using a cardboard box. It is like shadow puppets, except with transparencies! Brilliantly simple.
I love finding ways to do things I previously thought I couldn’t do… like make an awesome chalkboard typography sign for my family room using fonts already on my computer- no skill involved.
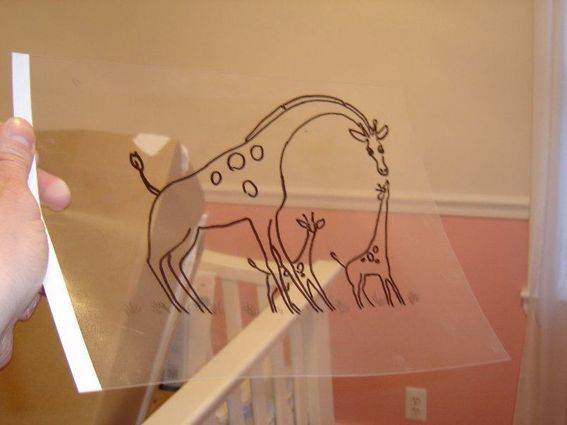
What would you use a projector for? Melville3 used it for a nursery mural, seen here, on Instructibles.