
I feel sorta bad for the nutcracker as an object… I mean, people like to eat nuts during other, non-holiday times of the year, right? But then, some German Romantic fantasy writer decided it made a pretty good gift from a crazy, creepy uncle, and then good old Pyotr Ilyich thought that adventure made a mostly awesome subject for a ballet, and now, any glimpse of those wide-jawed wooden soldiers simply screams, “It’s Christmas! It’s Christmas!”
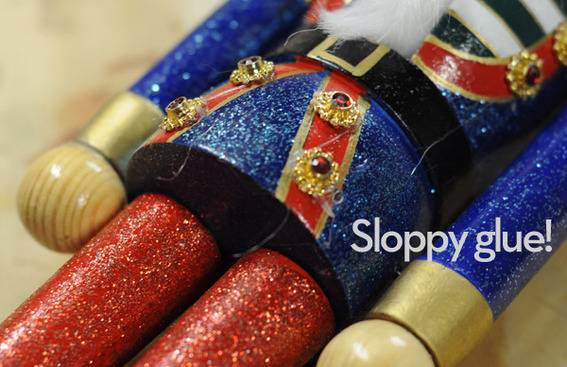
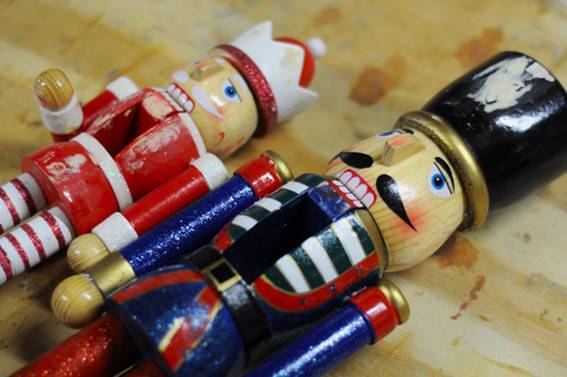
Or, perhaps, I feel bad for most actual nutcrackers…cause they’re, well, kinda tacky. I mean, I know there are really quality, beautiful, carved wooden ones, especially the handcrafted ones from the German forrest tradition. But the ones sold nowadays in discount stores are low-quality, poorly sanded and hastily glued pieces of mass-produced junk.
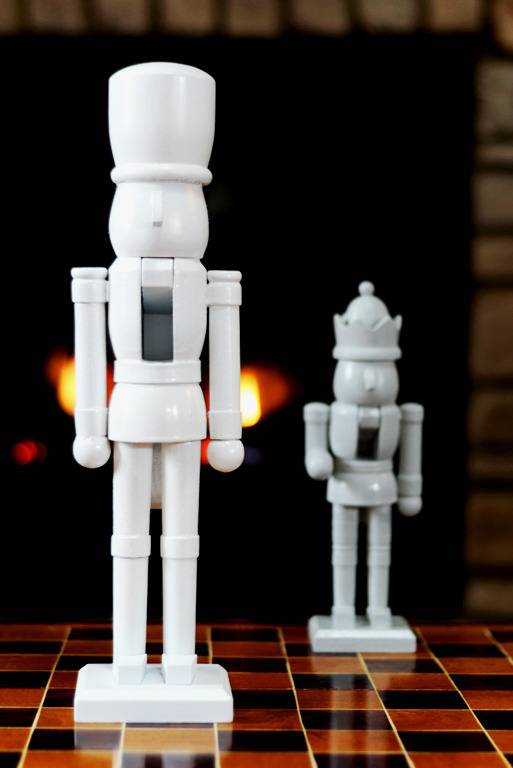
Which means they’re perfect, inexpensive opportunity for a modern, minimalist makeover. Like this:
Materials and Tools
- Decorative wooded nutcracker, likely 50% off right now at the craft store, or perhaps even the dollar store
- Fine grit sandpaper
- Craft knife, utility blade, or butter knife
- Wood filler (with the glue and adhesives at the hardware store)
- Spray paint
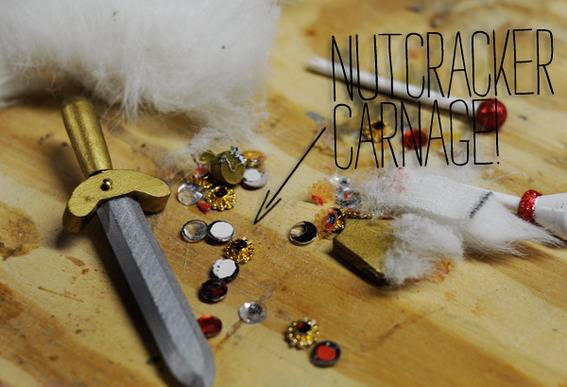
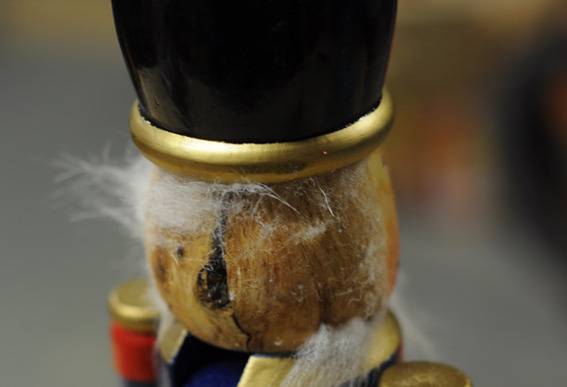
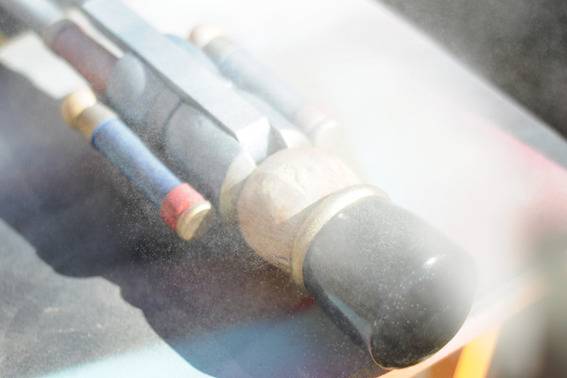
3. Most of the hair and beard will come off with an easy pry. The remaining whispies can be removed with a little bit of sandpaper. This will definitely show up when painted, so be sure to remove all the little hangers-on.
4. Fill any resulting gaps, nail holes, or imperfections in the wood with a thin coat of wood filler. (The regular $2.00 stuff from Elmer’s is fine). If you’ve cut something out of his hand, sand it flush, and fill the holes. Allow the filler to dry for thirty minutes or so, then sand everything smooth. Pay extra attention to the areas previously covered with fur, as their likely not as smooth as the rest. You can see my guys up there, ready to be painted.
5. Take your soldiers outside or into a well-ventilated area, and start spray painting. Begin by holding him upside down (use a latex glove to keep your hands clean), and covering the base and underside of his body, arms, hat, and, er, mouth hole. Then, set him upright, and spray a smooth, even basecoat.
My guys took three total coats of spray paint, since the colorful paint that was already on there kinda melted under the chemicals of the spray paint, and showed through. Still, it only took me about 15-20 minutes total painting time, with an hour rest in between.
So, less than an hour of work, and only $5-10 a piece. I made out with two for a total of $12.00, plus the cost of spray paint. (I used way less than the whole can for both. I had the grey lying around.) A similar two nutcrackers would cost you more than $100 at West Elm, and they probably came from the same overseas factory.
Quite the transformation, yeah?
Hello-great tips! But what kind of spray paint did you use?
What type, etc.?