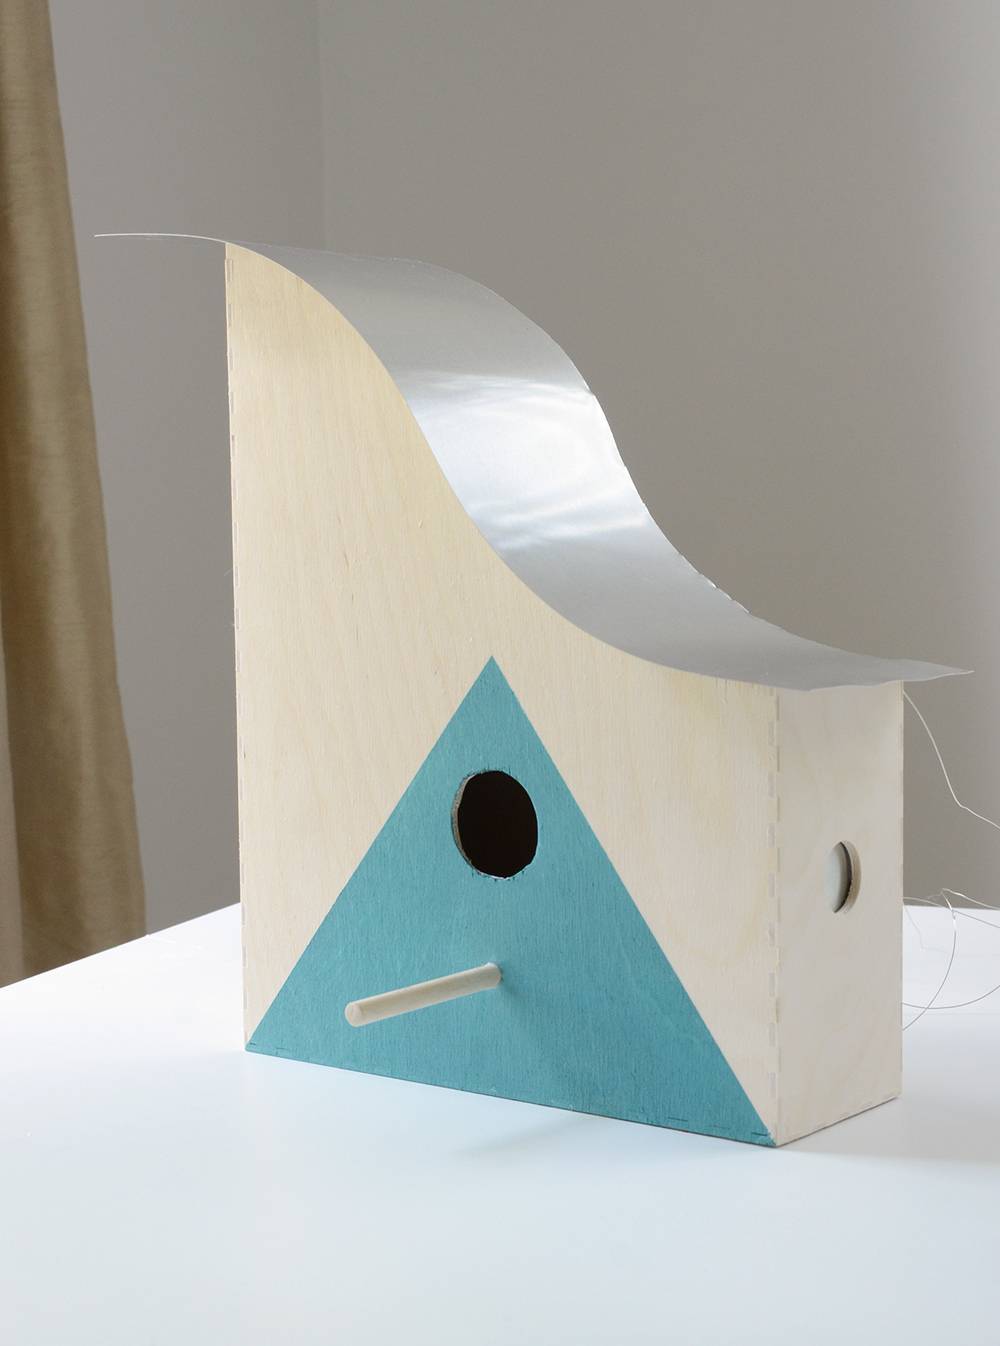
In case you haven’t noticed, we love making IKEA items even cooler. So when I decided I needed a birdhouse for our yard, it occurred to me that the wooden Knuff magazine file might be the perfect solution. Keep reading to check out the stylish, modern birdhouse that I came up with.
The birds in your yard will be thrilled to move into this hip little haven! Here’s what you’ll need for this project….
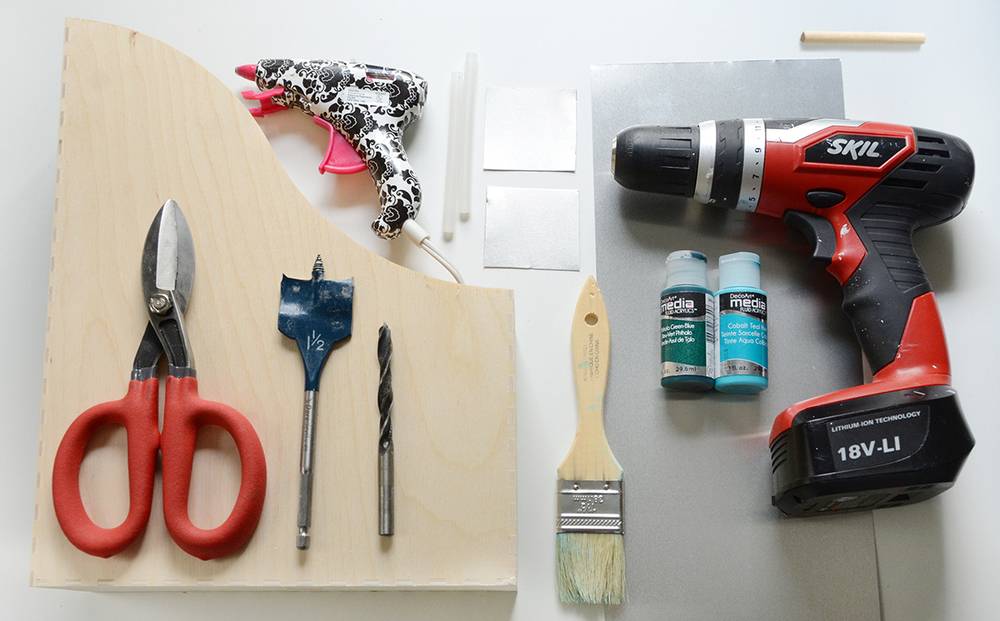
Materials
- IKEA Knuff Magazine File
- Aluminum flashing (available in the gutter section of your home improvement store)
- 1/4 inch dowel rod, cut to 3 inches
- Acrylic paint
- Paintbrush
- Washi or painters tape
- Hot glue gun
- Tin snips
- Drill (The Skil Drill pictured is only $64.25)
- 1/4 inch drill bit, 1 1/2 inch drill bit
- Thin guage gauge(not pictured)
- Sandpaper (not pictured)
Step
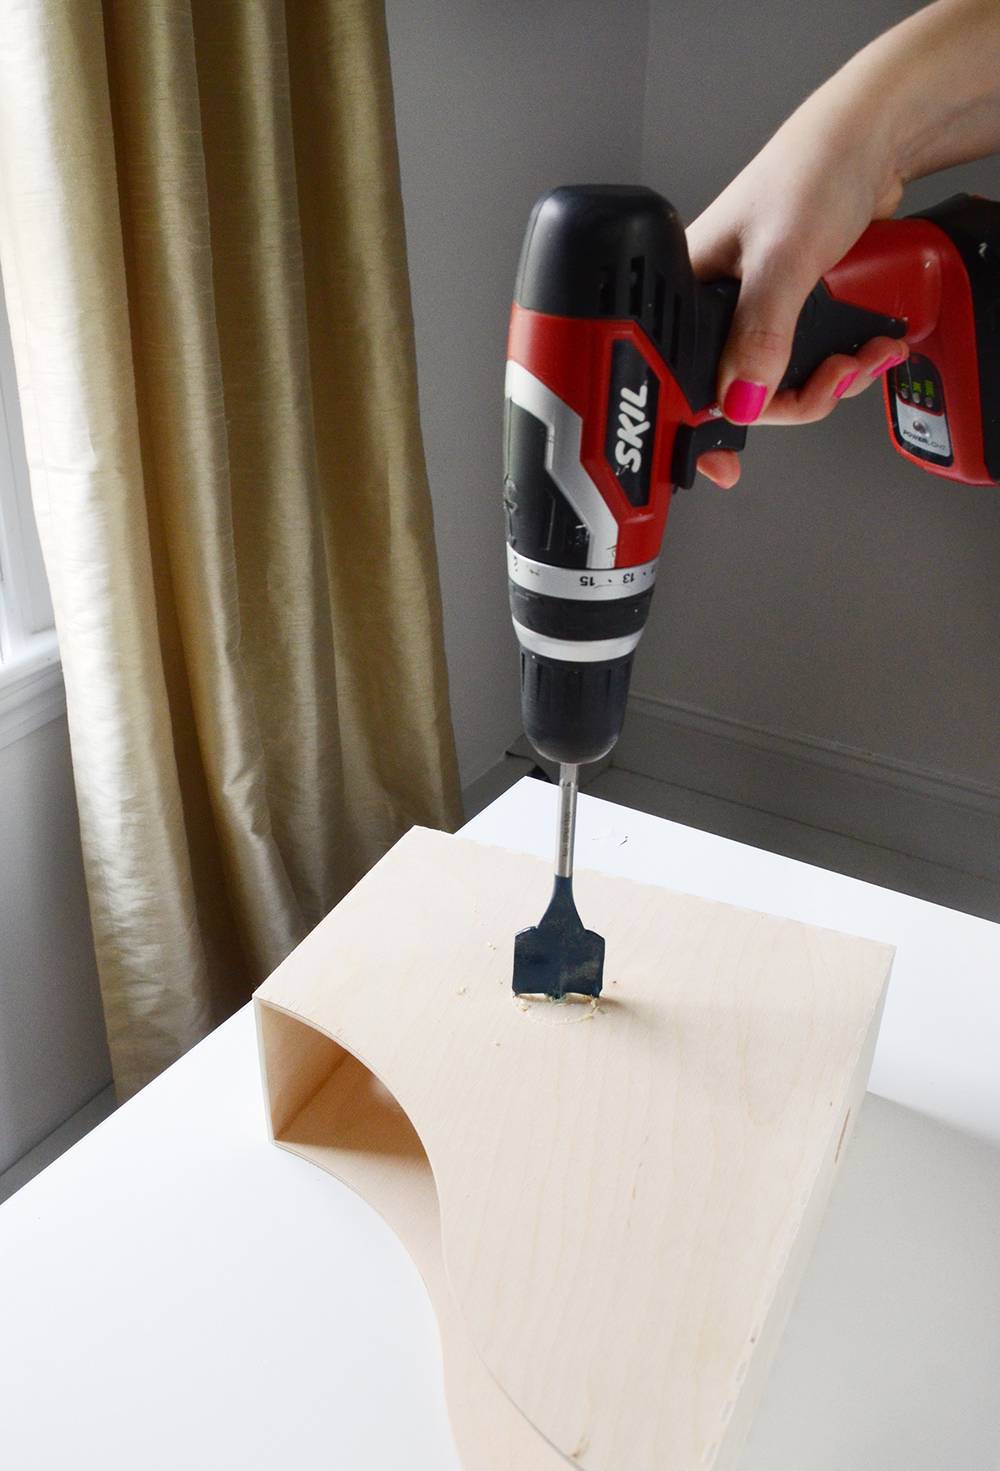
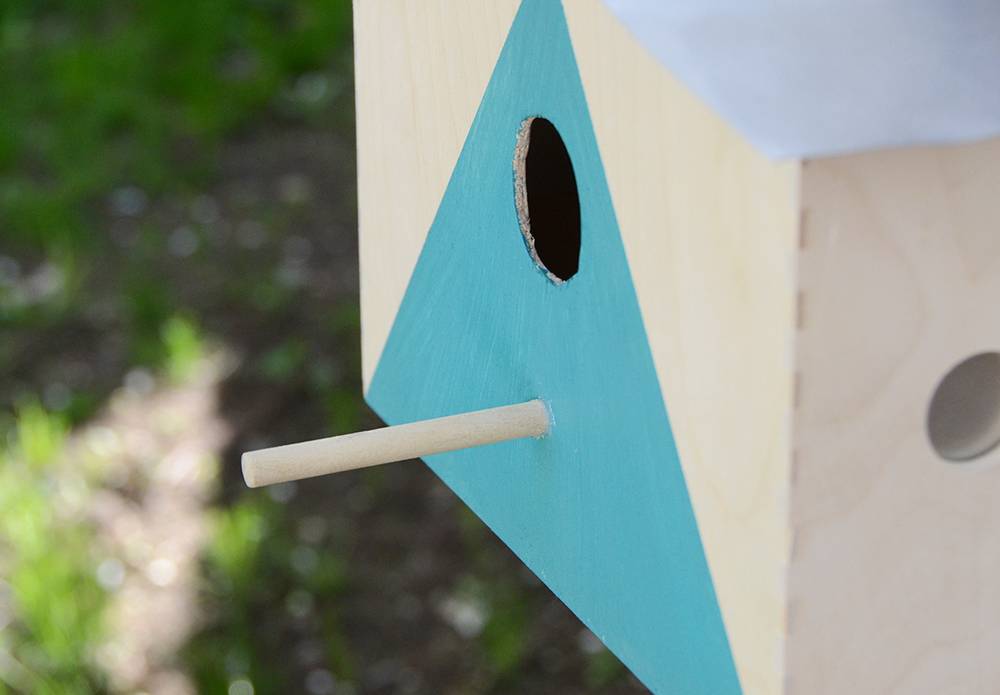
Begin by drilling a hole in the front of the Knuff file using a 1 1/2 inch drill bit. It should be somewhat centered on the bottom half of the file.
Step
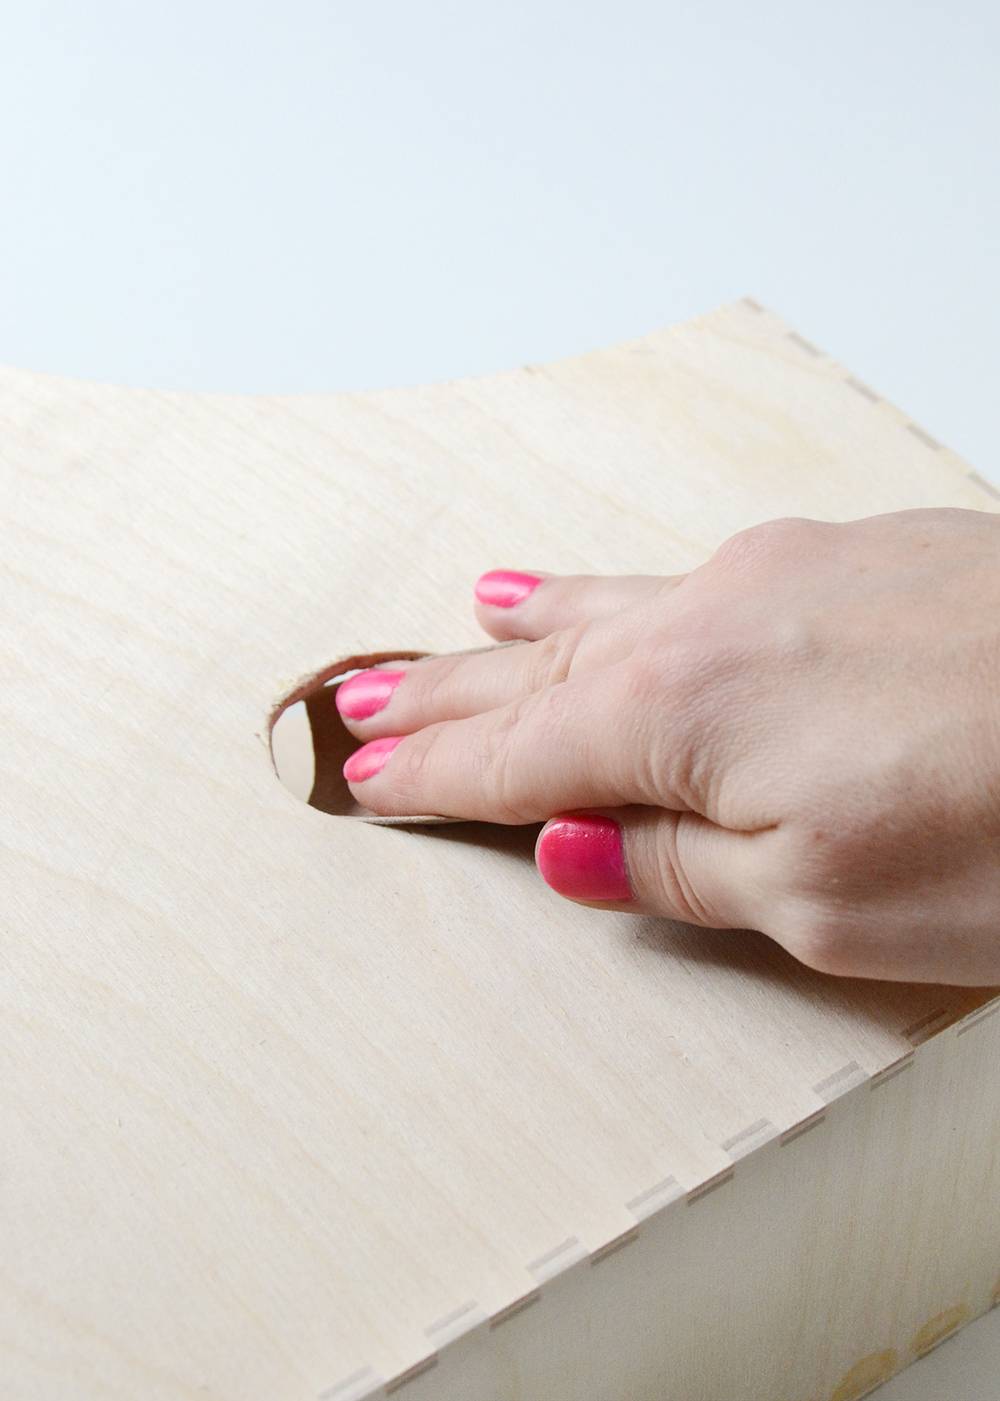
Next, sand the hole using a fine grit sandpaper so the birds don’t catch their feathers on their door. Don’t forget to sand the inside as well. Don’t mind the wonky shape of the hole… I think I need to get a new drill bit!
Now drill a 1/4 inch hole about 1 1/2 inches below the large hole. This will eventually be the perch for the birds.
Step
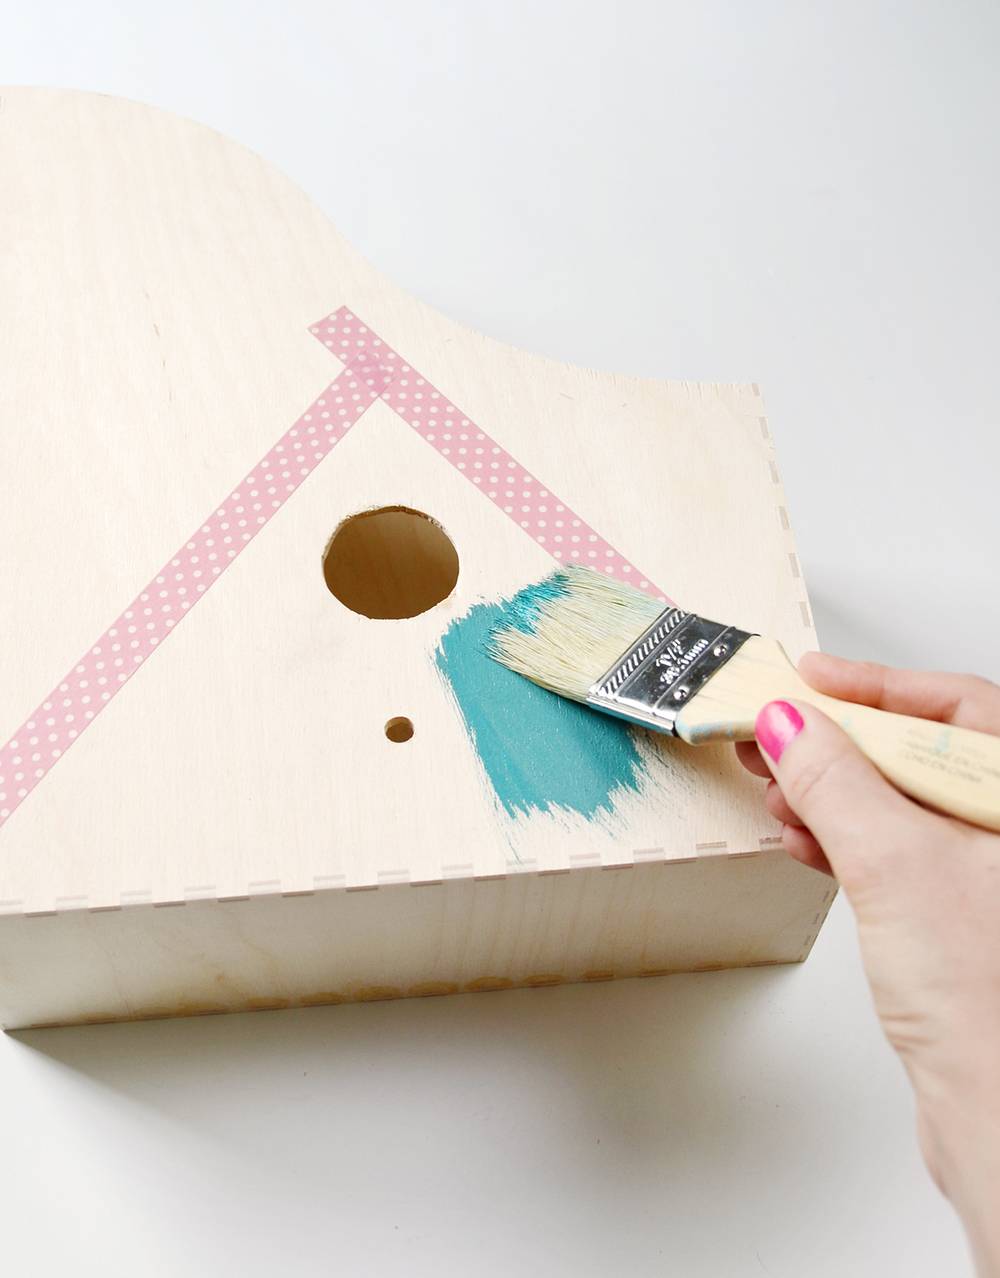
Next, use washi tape or painters tape to section off a triangular section around the holes as shown above. Paint the triangular section the color of your choice. Let the paint dry and then carefully remove the tape.
Go crazy with the paint if you like… any color or shape will work!
Step
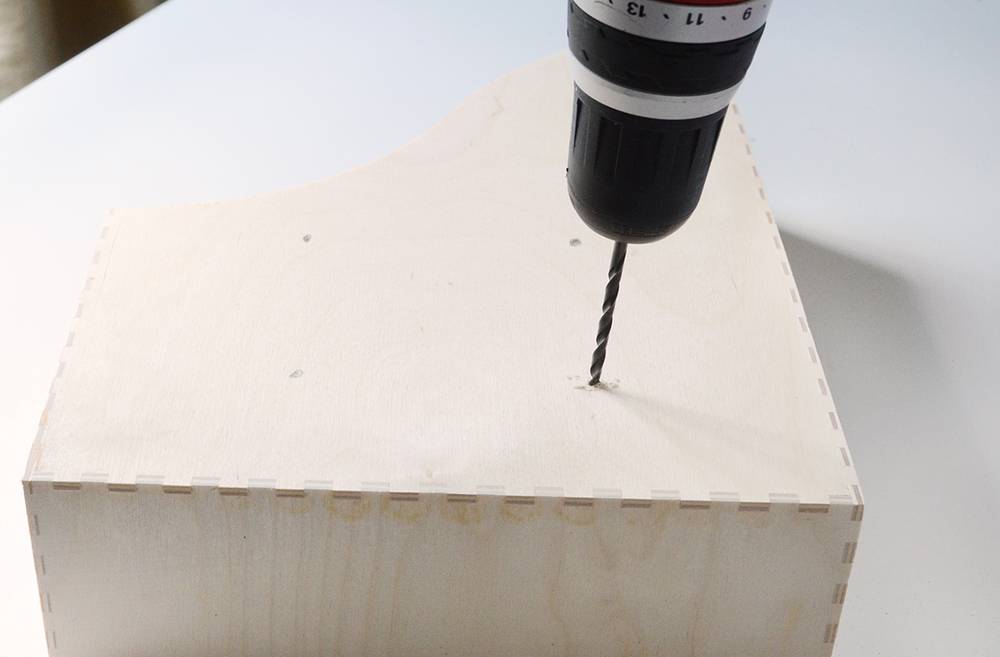
Now, drill four small holes on the back of the birdhouse. These will accommodate the wire which will be used to hang your birdhouse later on.
Step
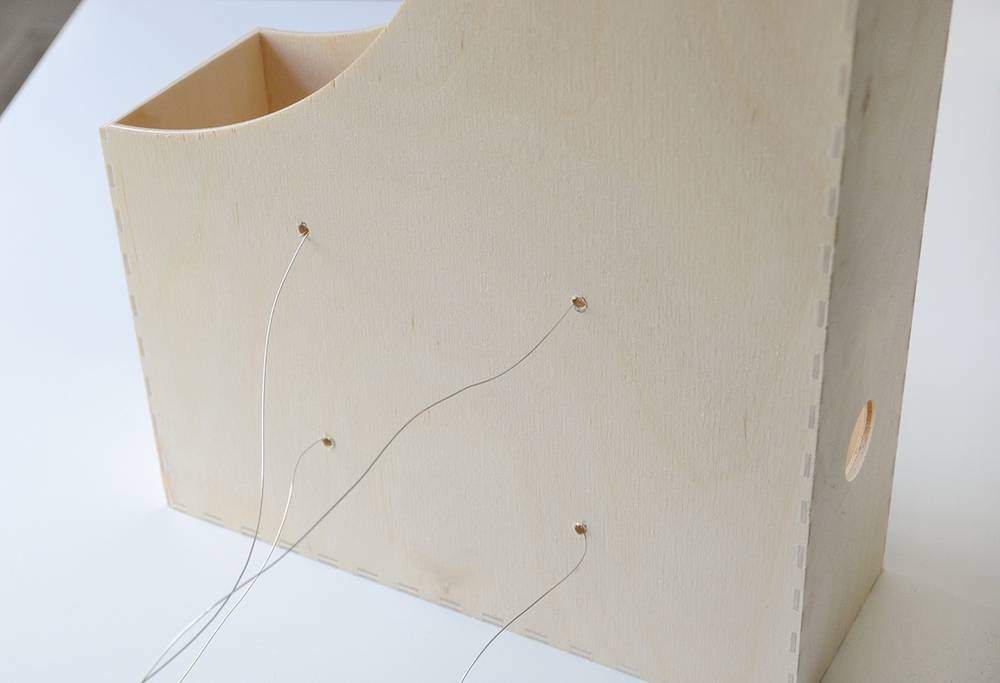
Cut two pieces of wire that are long enough to fit around the tree or post that you’ll be hanging the birdhouse on. Mine were each about 2 feet long. String one piece of wire through the top two holes so that it goes in one and back out the other, and string the other through the bottom two holes.
Step
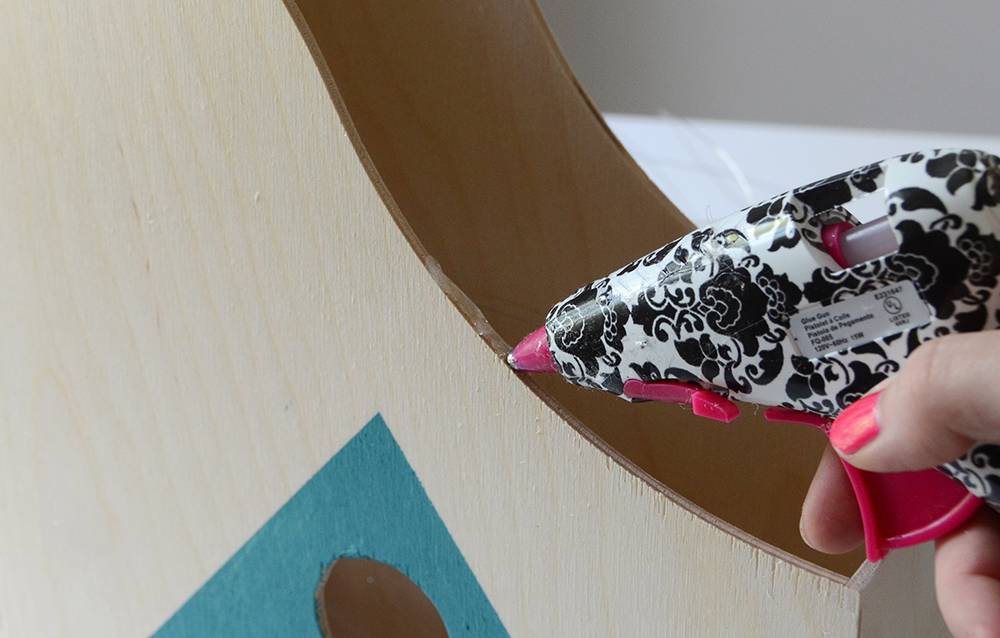
Next, put a very small dab of hot glue on the end of the dowel rod and insert it into the 1/4 inch hole that you drilled earlier, creating the perch.
Lastly you will attach the aluminum flashing. The Knuff comes with small holes on the front and back (now the sides of the birdhouse), so you’ll want to cover those first (unless you want your house to have windows!). Cut two 2×2 inch squares of flashing for this purpose. Put a small line of hot glue down each side of one square and place it on the inside of the file to cover one of the small round holes. Be very careful, because the flashing will heat up. Do the same to the other small hole.
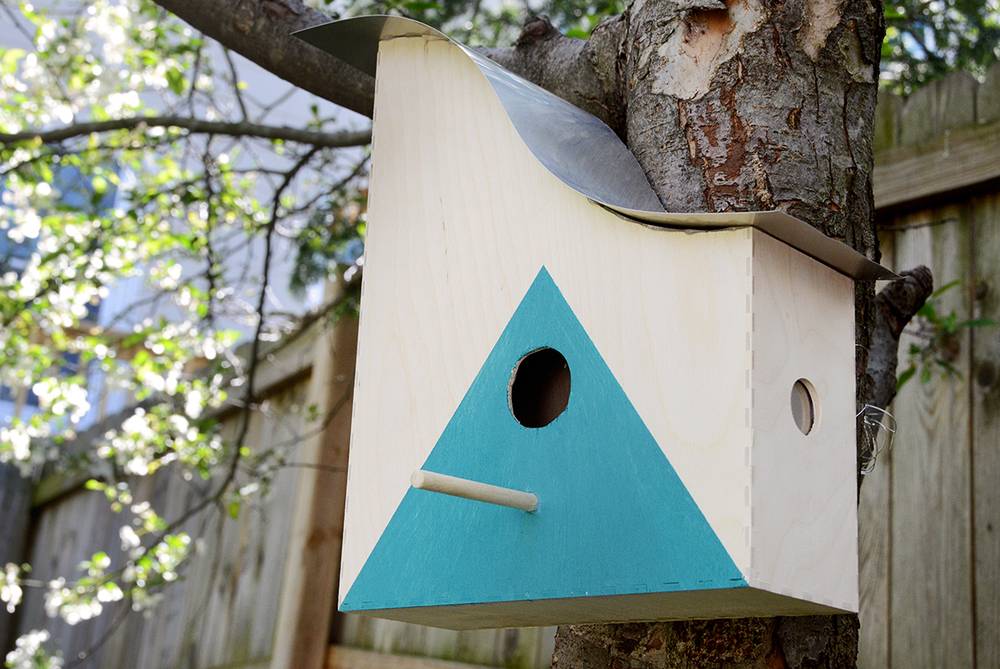
Now cut a piece of flashing that is about 14×5 inches for the roof. Glue it to the top of the file as shown above. Again, be careful that you don’t burn yourself as the flashing will warm up with the heat of the glue. And that’s it! Now go attach it to a tree or post using the wire and a screw, and your birds will surely be nesting in no time!
Here are some pictures of the finished product….
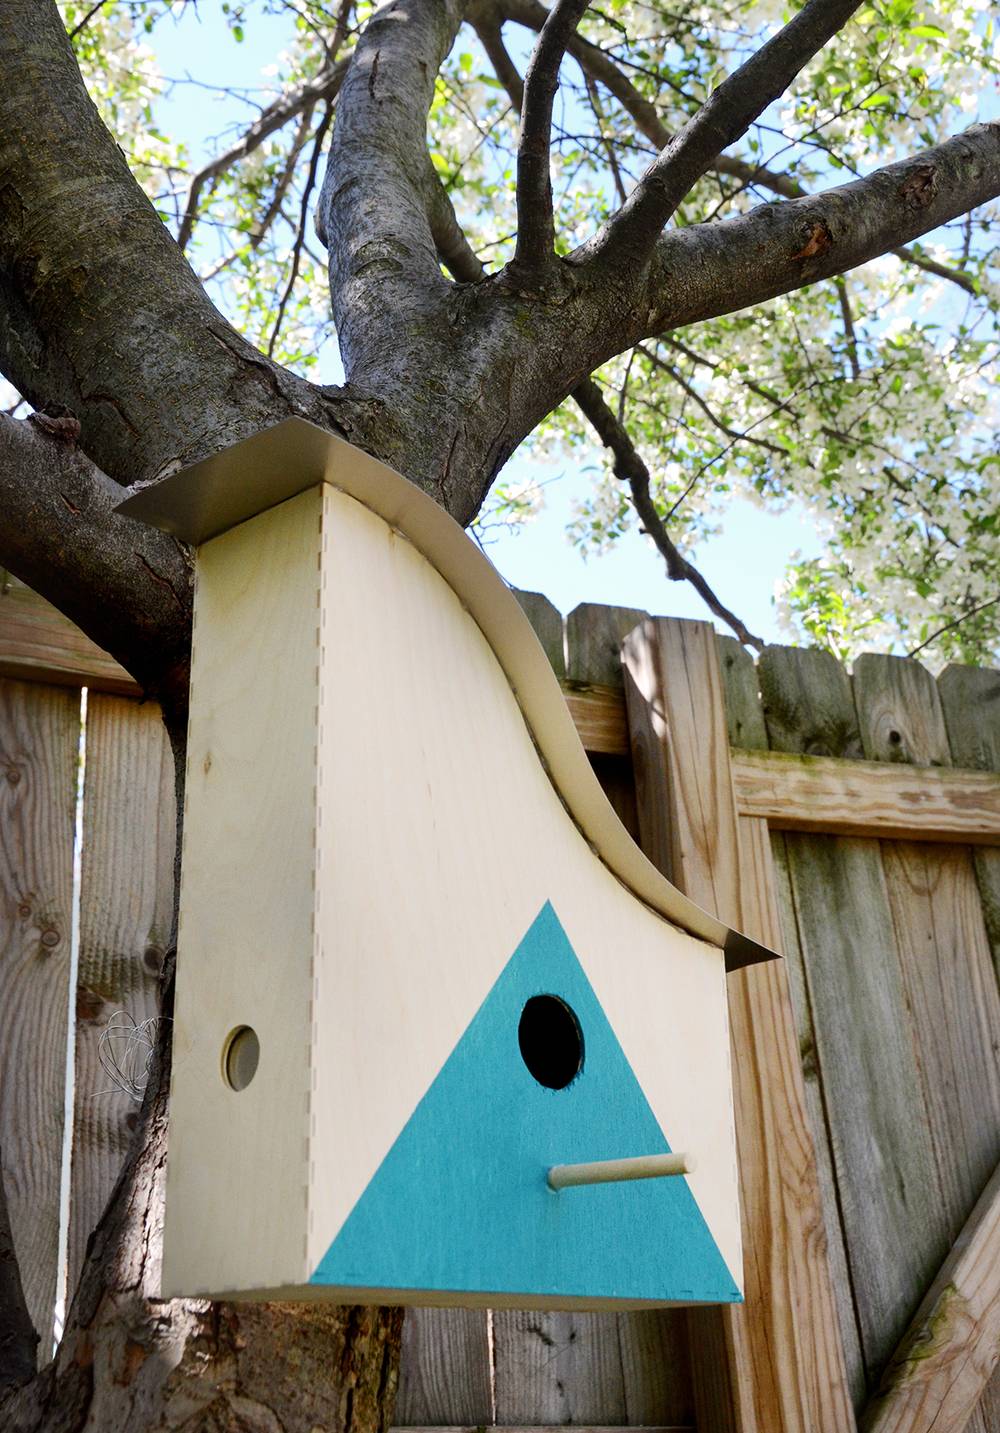
You might also consider embellishing it in other ways, perhaps by staining it or even using paint pens to create a fun pattern. The sky’s the limit!