
The inspiration for this easy holiday project came to me in a dream. I know, I know…that sounds like an elaborate and somewhat ridiculous setup for a blog post, but it’s true, in this case. Sparing you the details, I’ll just share the effect- in which I woke up a few days ago, and immediately felt compelled to Google “sparkly OR glitter platypus ornament”. No results. Surprised?
At some point that day, I decided I couldn’t bear to live in a world where there were glittery platypus ornaments didn’t exist. So, I figured I’d have to make one myself.
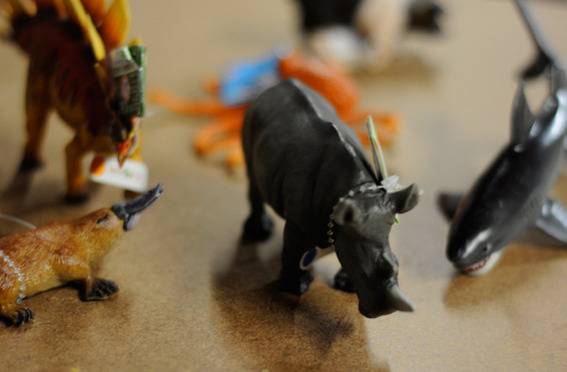
First I thought, “Stencil?” No, not nearly as cool. “Paint it on a bulb?” Nope, don’t trust my drawing skills enough. So, I headed to the craft store, and, to my surprise…there it was. A plastic toy platypus. And a shark, rhino, pig, octopus, and stegosaurus. Merry Christmas to Me.
Tools and Materials
- Plastic animals – check your local toy or craft store. I scored mine at Michael’s for 40% off each!
- Small screw eyelets
- Electric drill and small drill bits
- Colored spray paint – I used Krylon Dual paint and primer in one, very helpful with the smooth surface of the plastic animals
- Krylon Glitterblast paint – I used “Cherry Bomb,” “Posh Pink,” “Lucky Green,” and “Sparkling Waters”
- Krylon Glitterblast clear sealer
- String, embroidery floss, or ornament hooks
1. Remove any tags and stickers from your animals, then use some soap and water to clean off any craft or toy store grime, so that the paint will adhere well.
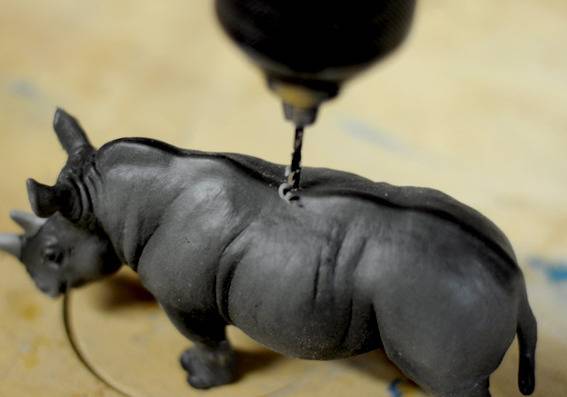
2. Begin by drilling a hole that’s a bit small than your screw eyelet into the back of your creature. (Or the head, or whatever makes sense. That sounds more violent than it is.) Try to drill in the center of piece’s weight, as opposed to it’s length, so that the creature will hang evenly.
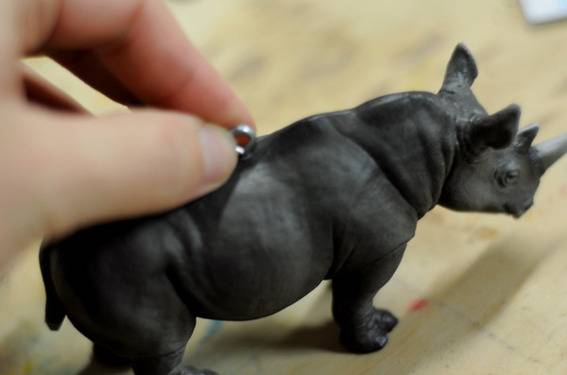
3. Use your fingers to screw in the eyelet, turning the animal onto the threads.
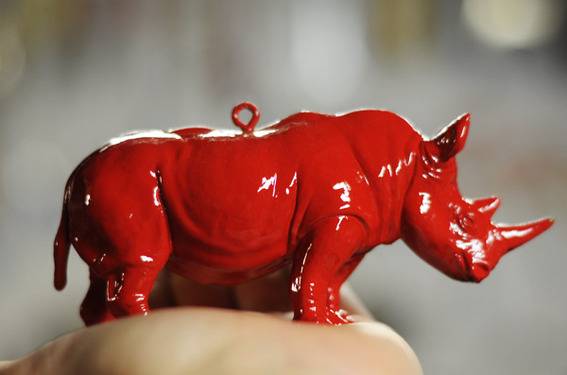
4. Give the whole thing a solid basecoat of colored primer or paint. Since the Glitterblast is (understandably) a bit more pricey than normal spray paint, its a great way to get a deep saturated color without using too much of the sparkly stuff. I hung mine from the eyelet from some monofilament/fishing line, using a loose knot to prevent the thread from blocking the paint.
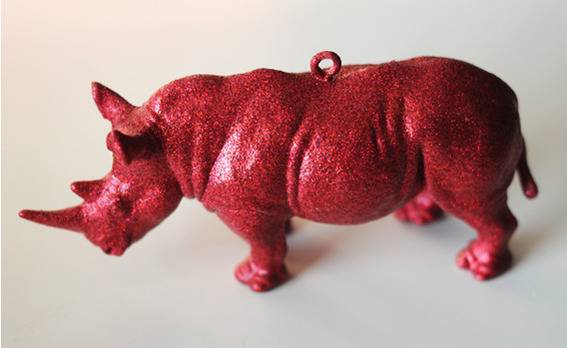
5. Allow to dry, and cover with Glitterblast. Be sure to shake the can for a full two minutes, then use short spurts of sparkle to cover the whole thing – back, front, and belly.
Then, give it a coat of Glitterblast clear sealer, which’ll keep the sparkle on your critters and off your Christmas tree.
There you go. My dreams have literally come true. And that’s what the holiday season is all about. 🙂
Happy Glitterdays!

Got your own awesome DIY holiday project using spray paint? Show us!
Perfect! This made my day!