
Truth be told, I’ve never actually owned, made, or utilized a dining table “centerpiece.” See, I’m lucky enough to have any dining area at all in my urban apartment, in which I barely manage to fit a small table big enough for four. Once the table is set, filled with glasses, place mats, and the like, there’s no room for extra decor. I would need an actual dining room, with an actual dining table.
But, this holiday season, I decided to make one anyway. Small space concerns be darned, my table deserves to be as decked as my halls. (I don’t have a hallway either…) And since I’ve decided to embrace the glitter, I figured this was the perfect opportunity to get sparkly.
This project took less than ten minutes of work, and cost me well under $10.00 in materials. That’s a lot of glittery cheer for the effort, in my book. So, there’s no reason not to make one yourself!
Tools and Materials
- Paper-mache cones (see Step 1)
- Solid color spray paint (I chose black)
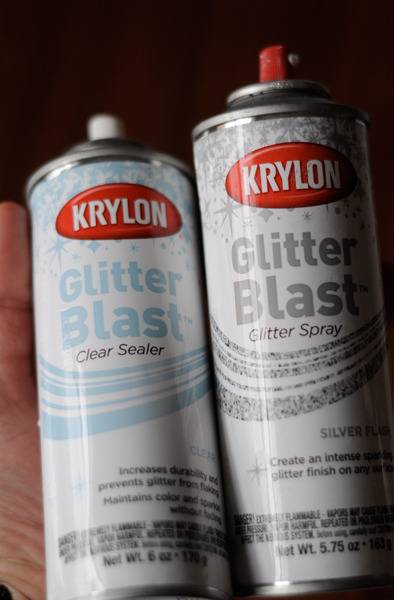
- Krylon Glitterblast, I used:
- Starry Night (black lid)
- Silver flash (silver lid)
- Krylon Glitterblast Clear Sealer
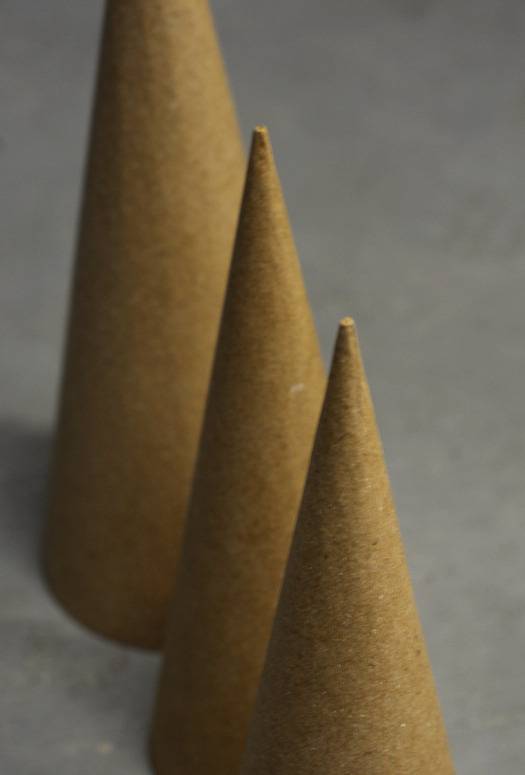
1. The ease of this project centers around these paper-mache cones. I have no idea what they’re for…making glittery Christmas trees, I reckon. But you can find them with the doll-making supplies at the craft store, and they come in various sizes. I went with two 10″ and one 12″
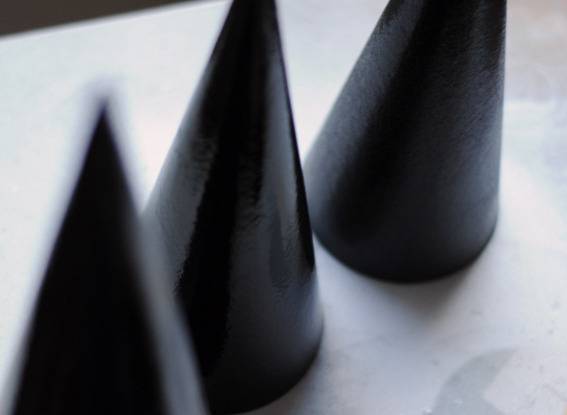
2. Spray everything with a color base coat. I wanted a subtle, contemporary look (dare I say elegant), so I started with a coat of Krylon Dual in black.
3. Next, start adding the sparkle! I slowly built mine up in thin layers. I started with a basic coat of Starry Night, added one more layer of the same, and then brightened it up with a thin coat of Silver Flash. Lastly, add a finishing coat of the clear sealer, which will keep all the glitter on the trees, and out of your food!
4. To finish the centerpiece, set up your trees anyway you’d like, and add some accessories. Try some battery powered string lights, ornaments, snowflakes, or glittery reindeer! I opted for some basic clear bulbs for this setup, which matched the cherry dining table and basic red runner well. (To the commenters – it’s my mom’s, taken at our Thanksgiving celebration. I didn’t manage to get a dining room and tables, since I started writing this.) I kept them in place with those little sticky dots they sell for mounting photos and stuff in scrapbooks. Which are awesome, and infinitely handy.
That’s it! Happy Glitterdays!

Got your own awesome DIY project using spray paint? Show us!