Brittni Mehlhoff

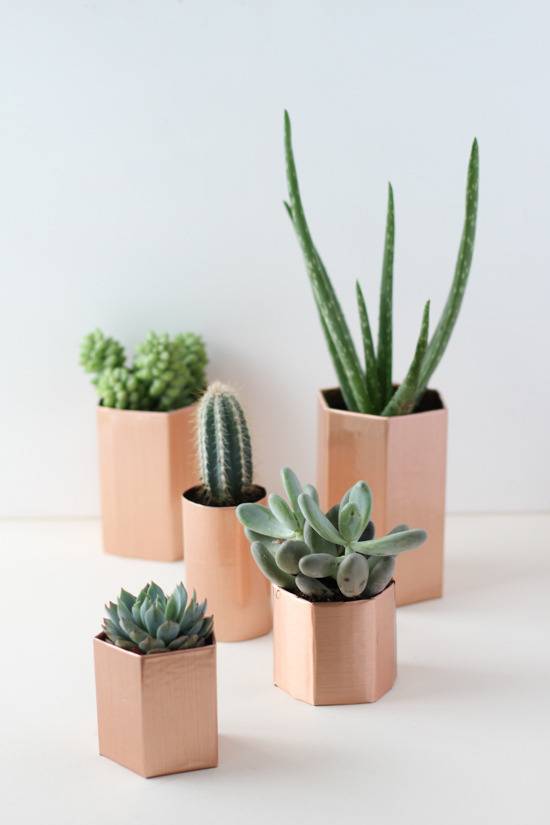
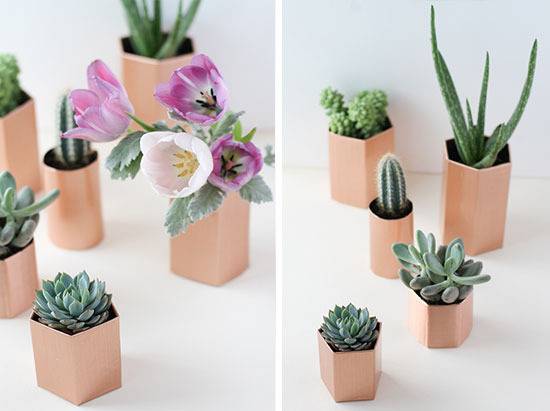
Save money on expensive pots and planters with this quick and easy project that will conceal any ugly plastic container in about five minutes, for less than $1 a piece.
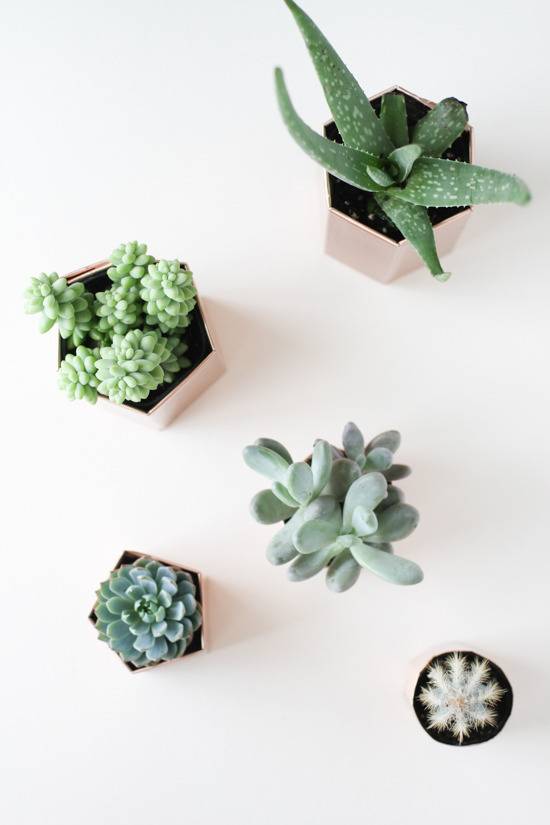
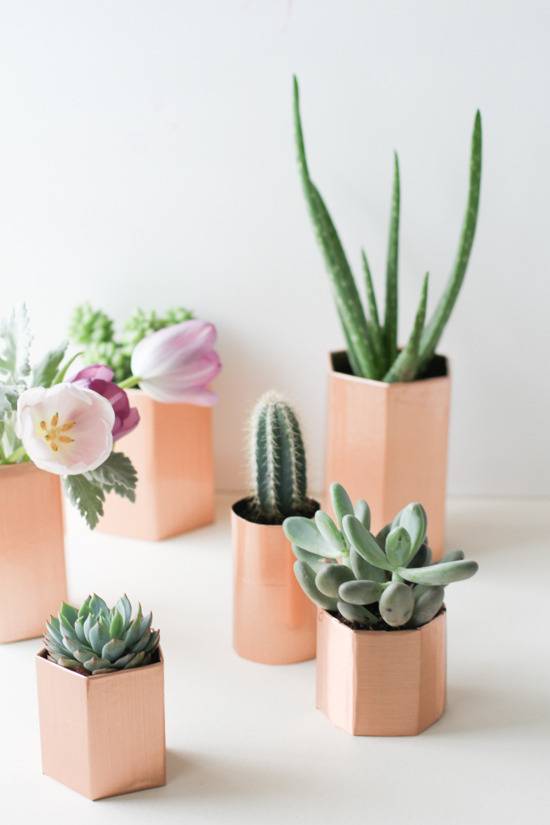
Using some leftover contact paper, you can whip up some faux metal containers to hide the ugly plastic ones your store-bought houseplants came in.
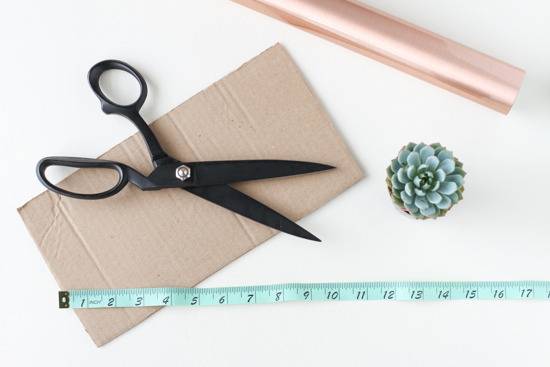
Materials
- Scrap Cardboard
- Copper Contact Paper
- Small Plants or succulents
Tools
- Scissors
- Measuring tape
How To do it
Step
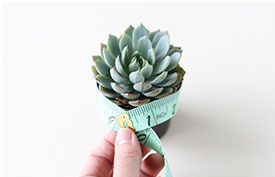
Measure the diameter of the widest part of your plant, which is most likely the very top of the plastic container it came in. Then, measure the height as well.
Step
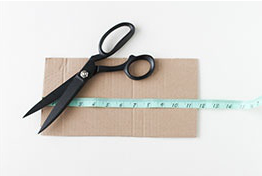
Measure a piece of cardboard to the length of your diameter in step one and roughly the same height as what you measured in the previous step. Cut out.
Step
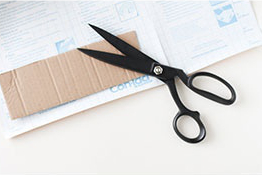
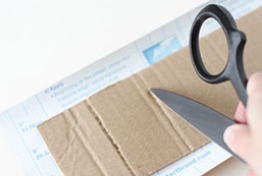
Roll out a sheet of contact paper and place your cut out cardboard on top, leaving at least 3/4 of an inch all the way around before cutting the contact paper to size, as shown in photo.
Step
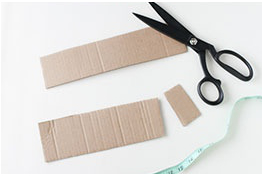
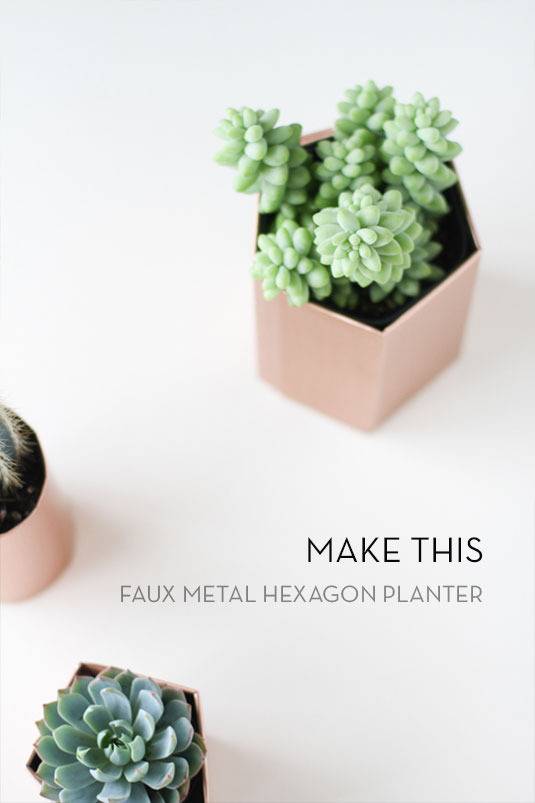
Next, score the cardboard every 1-2 inches with a pair of scissors or a craft knife. This will create the various sides of your faux copper planter. *There are five sides to a pentagon and 6 sides to a hexagon, so score your cardboard accordingly.
Step
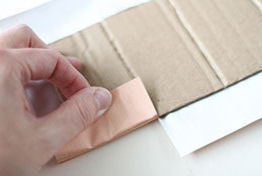
Remove the paper backing from the contact paper and place the cardboard down slowly (centered so that there is excess contact paper on all sides), one scored increment at a time, bending and pulling up the pieces that have been attached to the contact paper as you go. This will help avoid bubbles and bumps that have to be smoothed out later.

Step
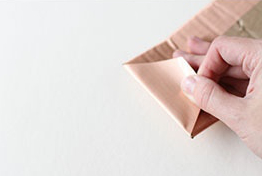
Cut slits in the contact paper at each score mark, on all sides. Then, one by one tightly pull each flap over and secure to the back.
Step
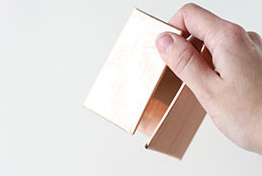
Secure the ends in the same way, before folding the faux planter up and joining the two ends with another piece of contact paper.
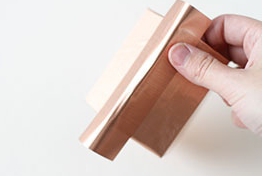
Step
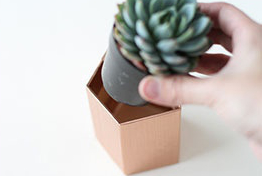
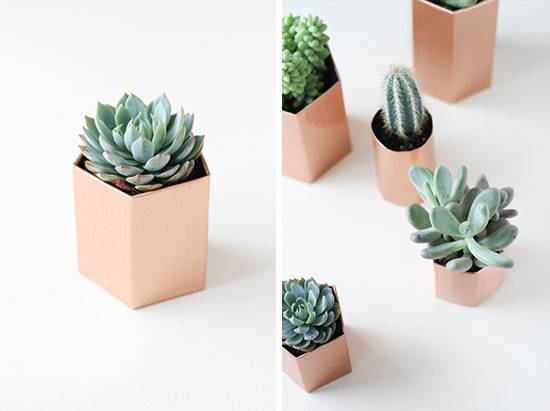
Cut and tuck in excess from either side the same way you did in step six. Then, add your plants and you’re done!
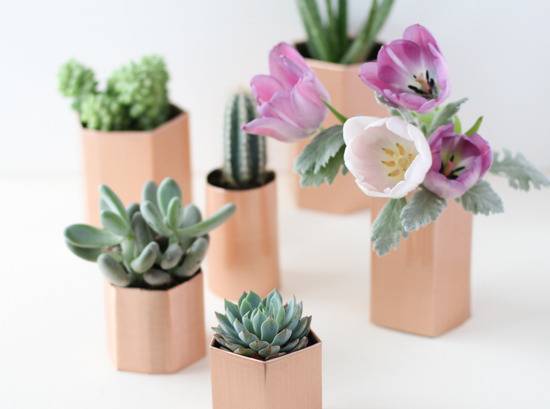
You can also take this DIY project a little further by painting designs and patterns onto the covers after they’re finished. Or cover them in marble contact paper, instead of copper, for a completely different look!
 Brittni Mehlhoff
 Brittni Mehlhoff
 Brittni Mehlhoff
 Brittni Mehlhoff
 Brittni Mehlhoff
Love, love, love these Brittni!
Thanks Capree. 🙂
So brilliant! Those plants look super happy in their shiny little houses 🙂
Ahhhhh-mazing!
Thanks Alicia and Evie.
I love this!!!! Such a wonderful idea, thanks for sharing!
xo, Kat
Thanks Kat. 🙂
SInce there are so many Contact papers, one could do any colour, or use normal construction paper with the ‘frosted’ contact paper to waterproof it.
Foremost- please know that this is coming from a kind and helping place in my heart and not a know-it-all-jerky place…. I just wanted to make one tiny correctional note on the instructions to this AWESOME diy. Steps 1 and 2 say to measure the “diameter” and height of the original container of the plant; using these dimensions the DIYer then cuts the cardboard (or whatever material choosen) to the correct size. After some shaping & beautification, the result is a cover that slips right over that ugly plastic pot it came in. Knowing that the cover has to be a.) big enough around to slip the ugly pot inside but not b.) big enough around to create a gap that will expose the ugly pot, and c.) tall enough to cover the plastic pot but not d.) too tall that it completely encapsulates the plant…these measurements are pretty important! So, my correction is this: please do not measure the “diameter” of the original pot and use that as the length to cut your cardboard. Instead, measure the circumference of the pot, add about 3/4″, and that will be your length. Measure the height of the original pot and add maybe 1/4″, that will be the height of your cardboard piece. Then follow the original directions because this is an awesome DiY that I love and have used many times (I’m a sucker for the 1$ mini succulents sold at my farmers market 🙂 Many thanks for this wonderful DIY!
These look great! Thanks so much for sharing!
Very beautiful!!!
Very nice!
I love this cute little planter!! Thanks so much for sharing! I intend to make quite a few as I’m LOADED with succulents and they all have 6-9 babies on them!! I ordered them and they arrived burned from heat or sun. I used the fertilizer I ordered and WOW! Within about 3 days they exploded with a growth spurt that sent them ALL over the place!! I MUST get them out and in containers!! This will help me SO much! Thank you so much for sharing!