Brittni Mehlhoff

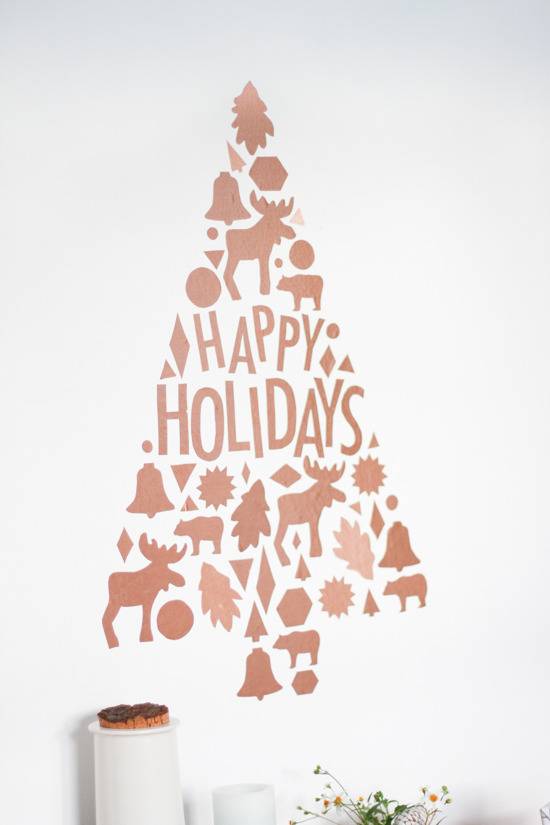
When it comes to holiday projects, you can’t beat easy and affordable DIYs, right? So, this year I wanted to make something that was both inexpensive and very straight forward: custom graphic copper cut outs . The entire project cost me $15 and is super easy to remove, without damaging your walls, when the holidays are over. Want to make your own?
 Brittni Mehlhoff
Materials:
- Scissors
- Copper contact paper / shelf liner (which can be found here)
- Cookie cutters or printed silhouettes
- Marker or pencil
- Printed holiday message in desired typeface
- Low-tack masking tape, painter’s tape, or washi tap (optional)
 Brittni Mehlhoff
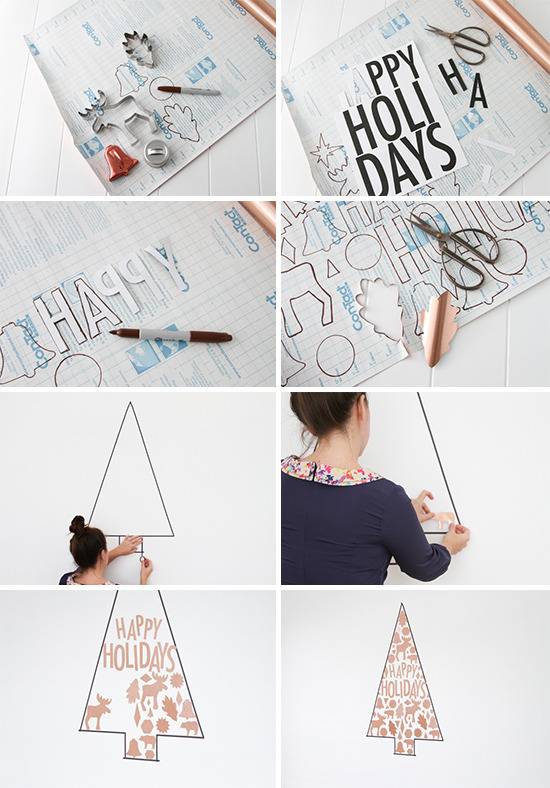
How-To:
1. Lay out a roll of contact paper flat, wrong side up, and start tracing holiday cookie cutter shapes onto the paper.
2. Next, cut out the letters from your printed document.
3. Once they’ve been cut out, flip them over so that the letters are backwards. Then trace the letters onto the contact paper.
4. Next, cut out all the letters and shapes.
5. Now, create a Christmas tree shape with washi or masking tape on the wall where you want you finished wall art to be. This step is completely optional, but it acts as a guide for laying out the shapes and letters on the wall. Once the piece is finished, you can remove the tape and everything will be perfectly in-line and contained.
6. Remove the paper backing and start sticking shapes to the wall. I started in the bottom corner and worked my way out from there, filling in holes and small blank spots at the end. Continue this process until the entire tree shape has been filled.
7. Remove the washi tape border to reveal the finished Christmas tree shape. Done!
 Brittni Mehlhoff
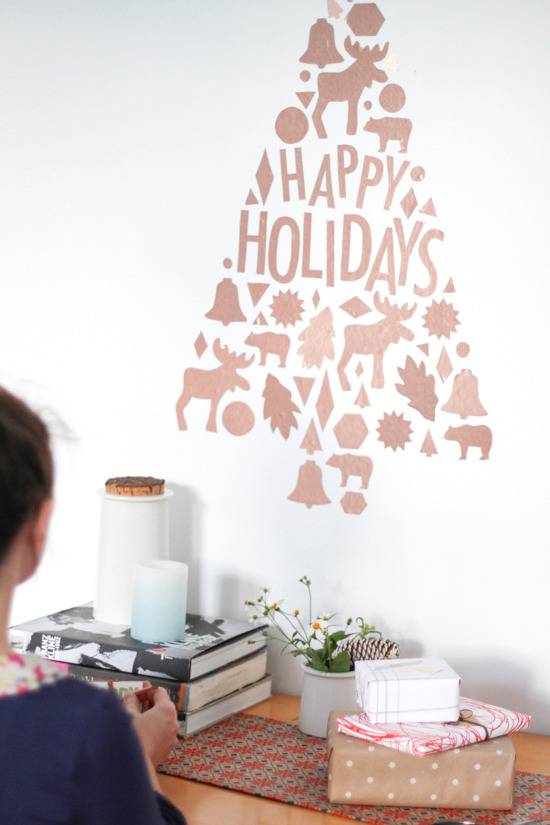
Once the holidays are over, remove the stickers quickly and easily. Note: I had no trouble removing the contact paper from my wall after completing this project. But it is probably wise to test out a small section of your wall first before applying sticky contact paper to a large area, just to be safe.
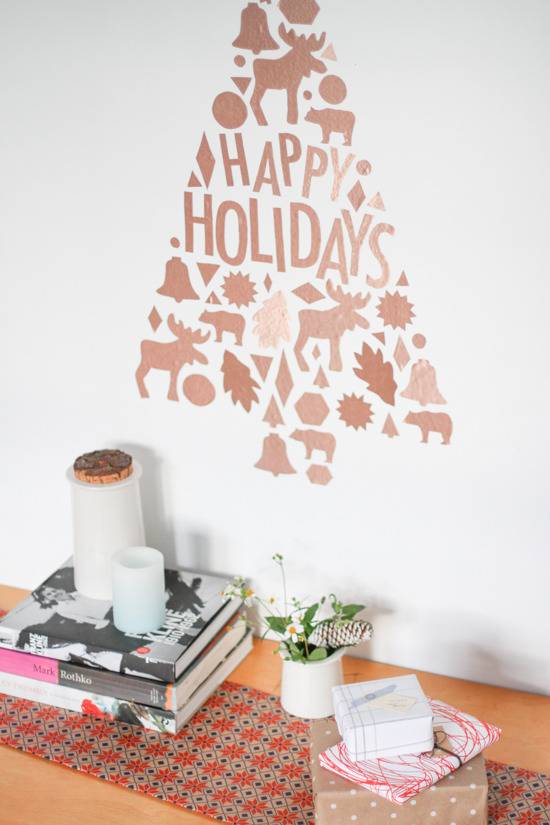
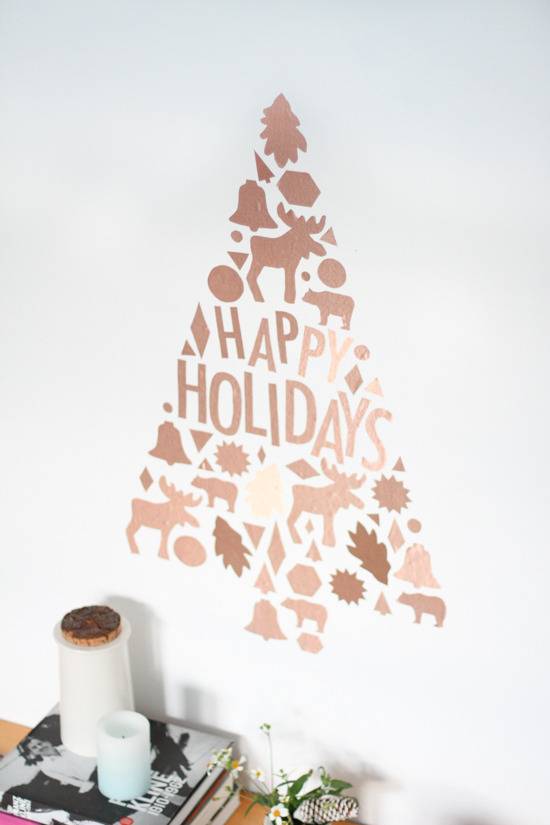
Here’s the finished piece…
 Brittni Mehlhoff
 Brittni Mehlhoff
 Brittni Mehlhoff
Customize it: You can easily customize this project however you’d like, using a different silhouette shape, like a giant snowflake, sleigh, or other holiday shape. And depending on the cookie cutters you’re able to find (or clip art that you can print out, cut, and stencil onto the contact paper), the possibilities are pretty much endless for the interior silhouette shapes as well. This could be a fun project for the front door too, if you’re unsure what room would be best suited for this project.
Lastly. there’s no reason to confine this technique to the holidays only: you can whip up a custom decal or typographic phrase for any time of year.
Happy Holidays!

This is absolutely stunning! Thank you for sharing.