
Welcome to our newest blog series, My Total Office Makeover, in which Curbly’s editor-in-chief, Chris Gardner, realizes that as a full-time design and craft blogger working from home, he’d better transform his second bedroom into an inspiring space where work can actually get done.
Part III: The Custom Desk
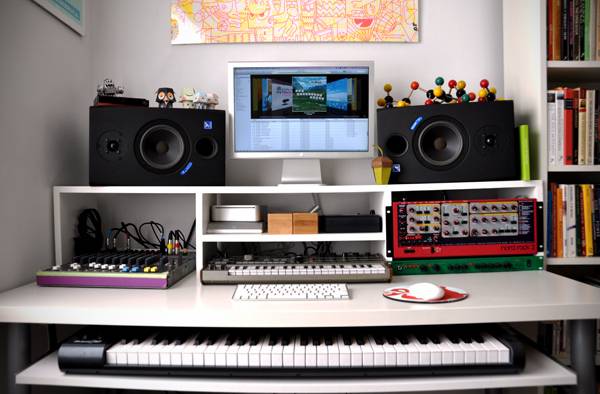
(Read Part II here) Having figured out a functional floorplan, I busted out the hex-key and got things assembled. I chose a basic rectangular desk top with basic legs for my media workstation, and weeded my collection of gear down the essentials. It was still very apparent, however, that I needed more space: 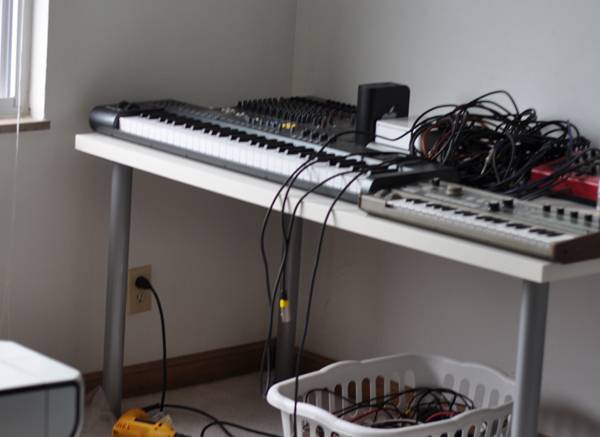
So, I decided to build a custom tiered shelf made to fit my specific needs. You can totally follow the example here, just alter the measurements to fit your space and requirements.
I constructed the whole thing out of single piece of 14″ wide 3/4″ melamine coated fiberboard, using glue and dowels, as that best matched the base piece from IKEA. To learn how to get nice clean cuts in melamine or laminate, check out the how-to here.
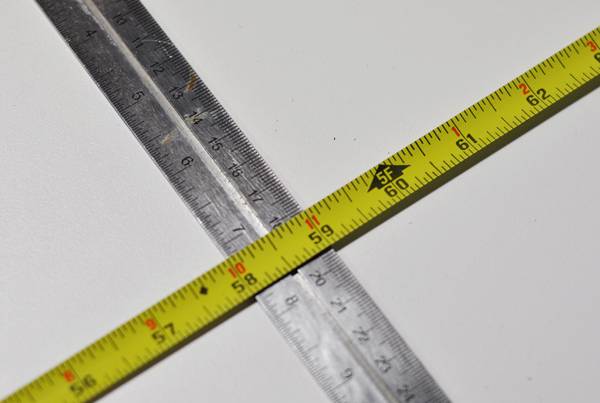
1. Cut a top piece to the desired length. Since I got the 59″ desk top from IKEA, I cut it to that length.
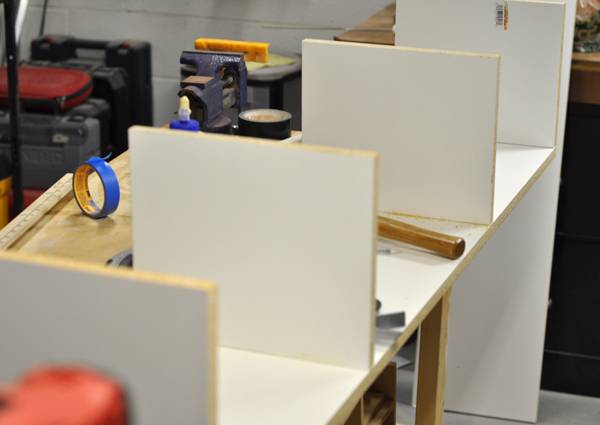
2. Next, I determined I wanted three compartments to store my various pieces of equipment. I knew I wanted the outside sections to be able to house 19″ rack gear, and have an extra shelf in the center compartment. So I cut four 10″ vertical supports, which makes the overall height of the unit 10 3/4″. I glued the outer panels flush, and the inside panels to support the rack gear at 18 3/8″ on center.
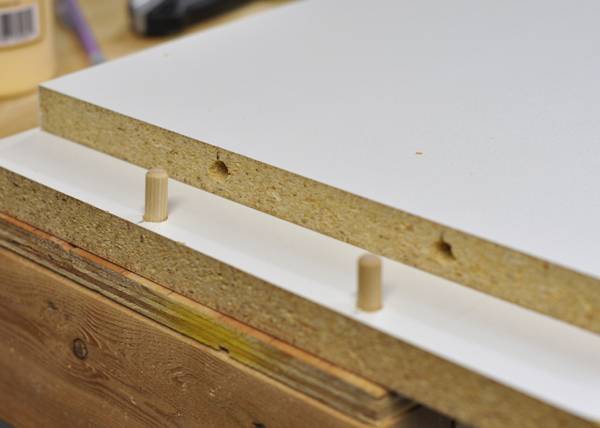
3. To provide a strong joint between the top and the vertical panels, I opted for dowel joints. I don’t have a biscuit jointer, and I figure it works for IKEA furniture, so it should work here. I used 3/8″ fluted dowels from the hardware store, and drilled the holes at 1/3 and 2/3 along their width. Be careful with your drilling depths here, as you don’t want to puncture the top surface. Use a piece of masking tape to mark your final depth on the bit. Fill all holes with yellow wood glue, and then use a mallet or other stuff heavy object to fit everything together.
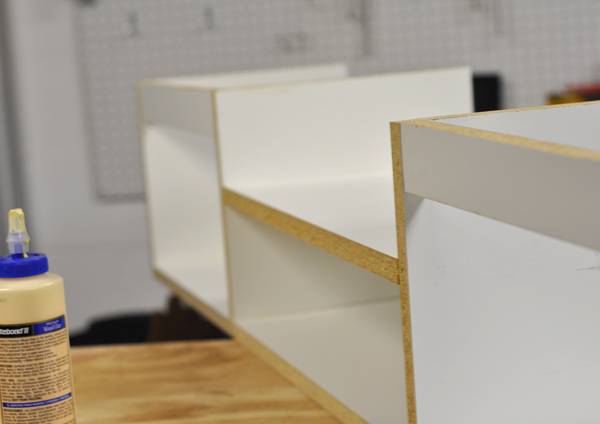
4. The unit will need some sort of horizontal support to keep everything square. I opted for a shelf in the middle section, and then small supports along the bottom on either side. I cut these to size, adding a 1/16″ to each length to ensure everything was nice and tight. Secure with glue.
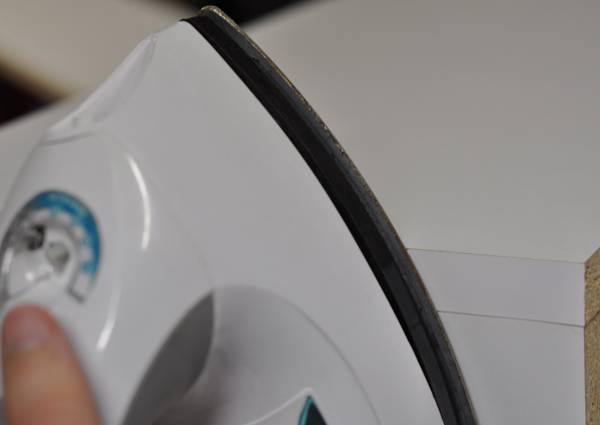
5. Lastly, you’ll have a few exposed edges from cutting the fiberboard to length. Cover these using 3/4″ iron-on edge banding, which is sold in the lumber section of the home center. Use scissors to cut your pieces to size, adding a 1/2″ or so. Then, follow the package’s directions to iron it on, and trim to size using a utility knife. Fill any exposed fiberboard with drywall compound or filler.
6. To attach the shelf to the desk, you have a few options. You could use L-brackets, or more dowels (without glue on one side). As you can see in the photos, my unit is wedged in on both sides, plus supported from the back, so it just rests on top, and, trust me, it’s not going anywhere.
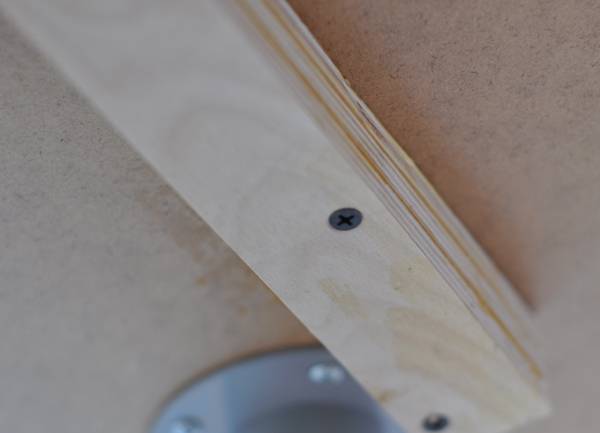
7. Lastly, I created the pull out shelf with an IKEA Antonius shelf and some old sliding brackets I found at the thrift store. In order to make enough room for my piano controller, I added laminated blocks of plywood to the bottom of the desk.
Certainly, you’ll have different requirements for your desk: a space for a desktop computer, printer, sewing or crafting supplies, etc. This model is perfectly adaptable to whatever you’d like, just take your measurements carefully, and be sure to account for the thickness of the particleboard as your figure it out.
If you have other ideas or questions, feel free to let us know at [email protected]
Good luck!