Hello everyone in Curbly world! My name is Kayla and I can’t really say just how excited I am to be guest posting for Curbly. I’ve been a fan for a long time, and just recently reached out in hopes of being able to share something beautiful with you. The response was more than I asked for, and I’m going to be sharing FOUR posts with you all this week.

One of my favorite things to work on when in art class in high school was clay projects, and this DIY Bone Vase takes me back to those days. It’s got the vibe of one of those old “curiousity shoppes,” but you don’t have to source any unusual animal parts.
There is something really satisfying about the weight and cold feeling of wet clay as you manipulate it into shapes and textures. It is just like a squishy stress ball that you can eventually turn into something beautiful. I’ve toyed a lot with making salt dough projects (like DIY baby hand dish), but it just isn’t the same as wet clay.
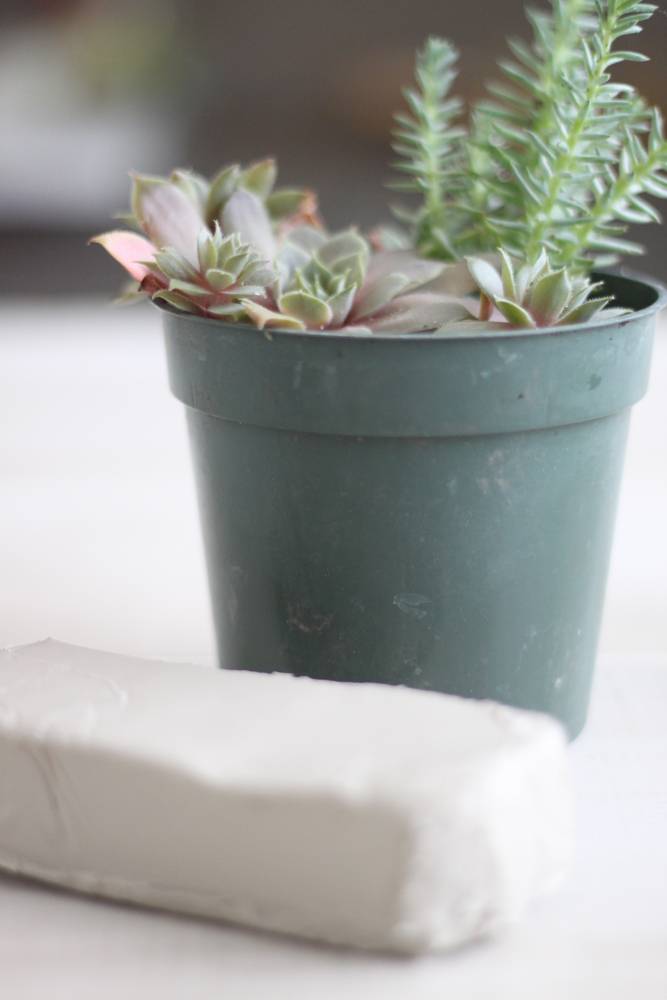
For this project, you’ll need a plastic planter that you’ll build your piece around, some white air dry clay, and some glue. You may or may not want to paint it when you are done. I personally like the look and feel of the rough clay.
Materials
- Plastic Planter
- Air Dry Clay (I got this on Amazon)
- Hot glue gun
- Knife (optional)
Step
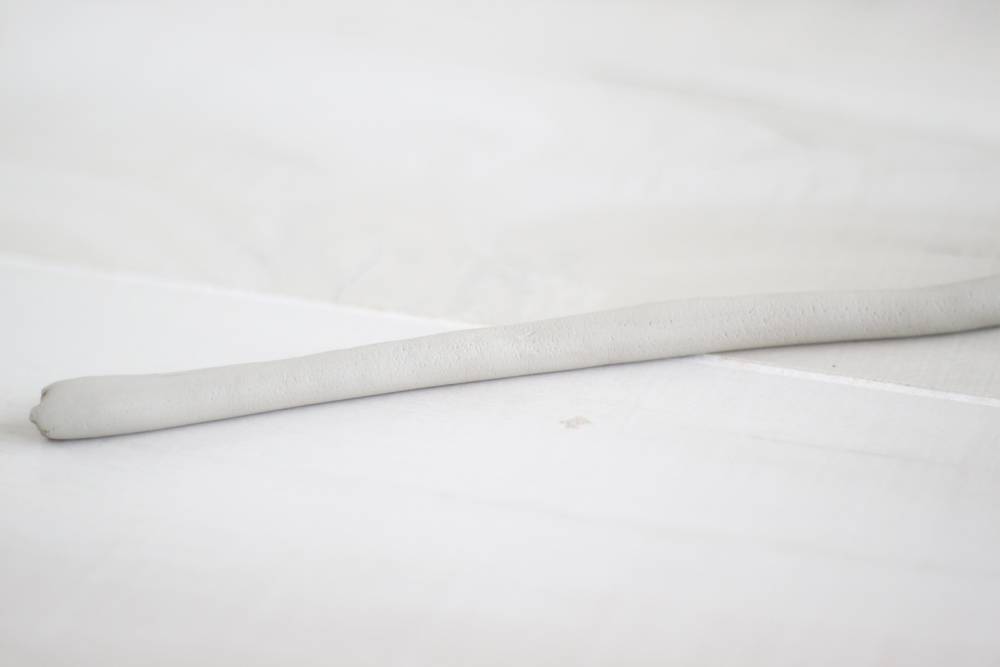
Use a chunk of your clay and roll it out to about 1/4 inch thick. It doesn’t need to be perfectly smooth, and a cracking surface is actually a really nice effect.
Step

Take your clay rope and loop it around your pot. Repeat until the whole rope is coiled up the surface of the pot and the whole pot is covered in clay ropes.
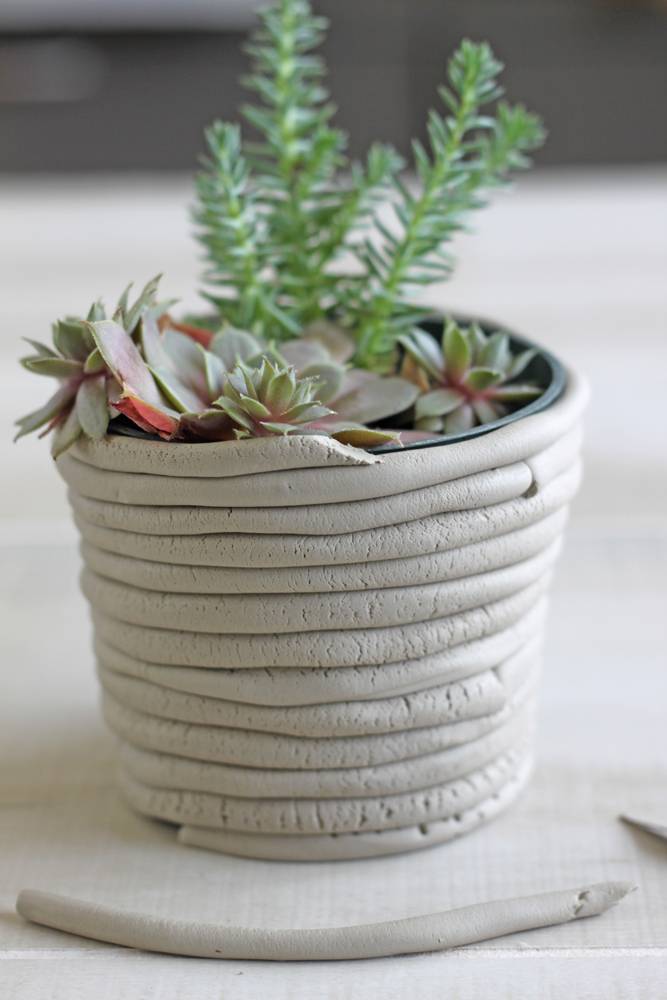
Step
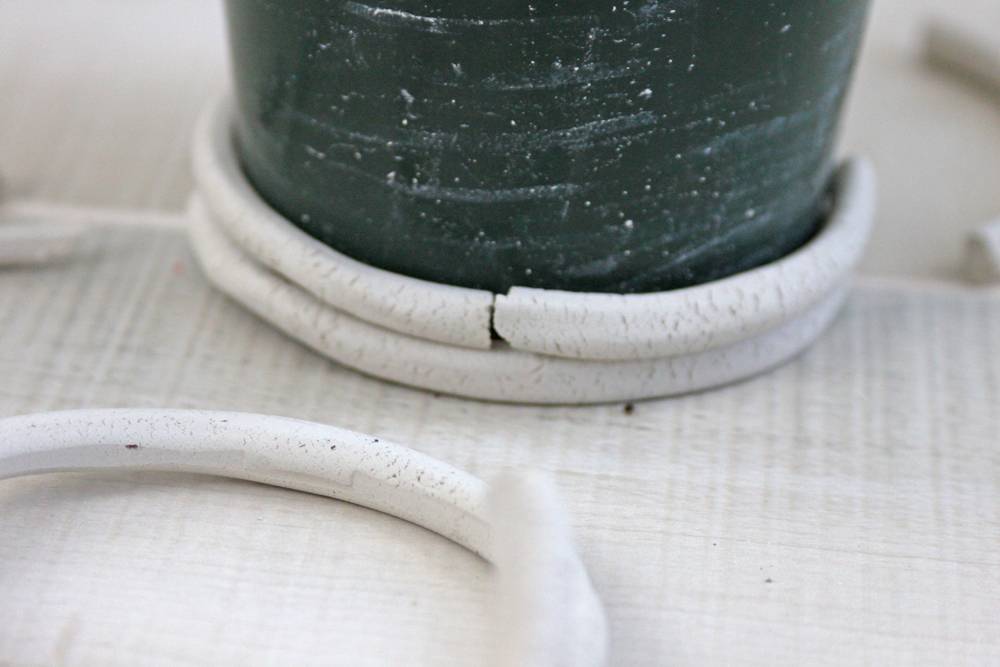
It looks great right!? Well, the bad news is it is going to break in a bit. You see, clay shrinks a bit as it dries, and since we’ve wrapped it around an object that won’t budge, our clay ropes are going to break as they dry. Prepare yourself for heart ache and let the clay dry thoroughly (in the sun maybe 12 hours, or in the house 24-48 hours).
Retrieve the broken bits of your clay rope, which are now dry and oddly reminiscent of an elephant graveyard, and wipe off the surface of your planter. Repeat steps 1 – 3, saving the second set of broken “bones” with the first.
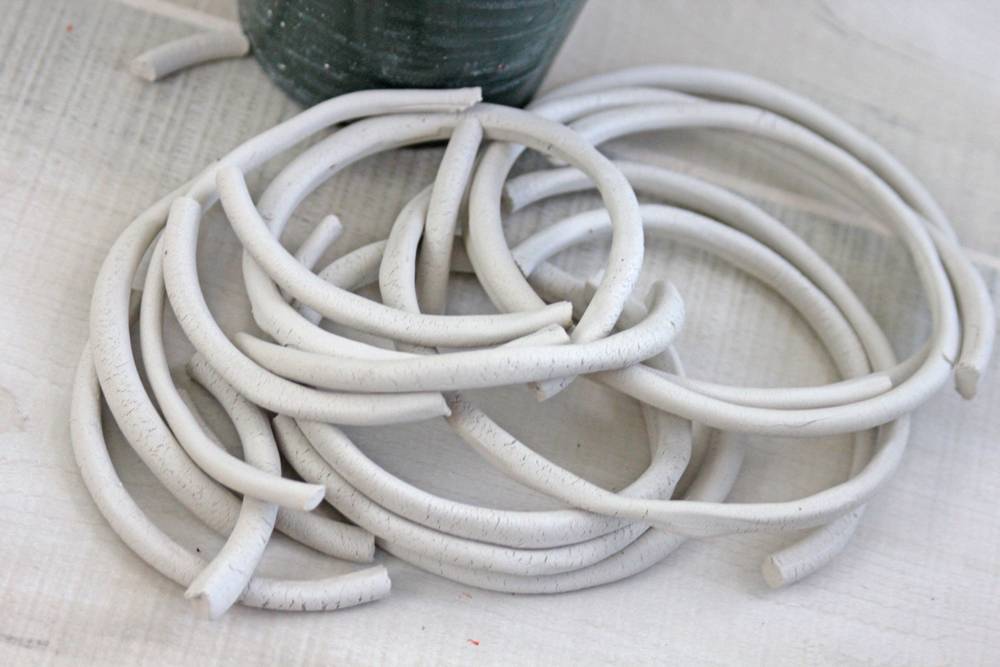
Step
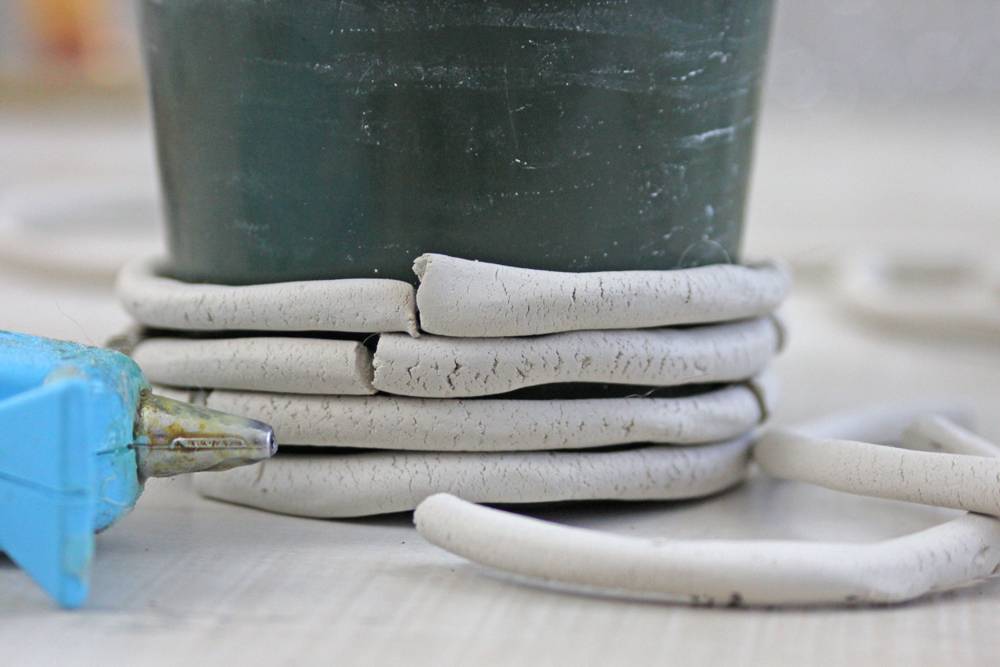
Now you are ready to assemble. Remember what I mentioned about shrinkage? Because of that, the total dried “bones” from our first go around won’t be enough to cover the planter. Since you made the ropes twice, however, you now have plenty of ropes to cover your planter. Clean and dry the planter’s surface, and get your hot glue gun heating up.
Starting at the bottom of your planter, glue your “bones” onto the surface with the hot glue. If your planter is like mine, some of your “bones” will have a tighter curl than others. The best way I found to assemble the vase is to simply test fit each piece before gluing it down. If a piece doesn’t fit, save it and try it again in another place. For variation, you might want to break apart some of the “bones” so that you have smaller bits as well as large ones. Be sure to clean up any hot glue strands at the end.
Step
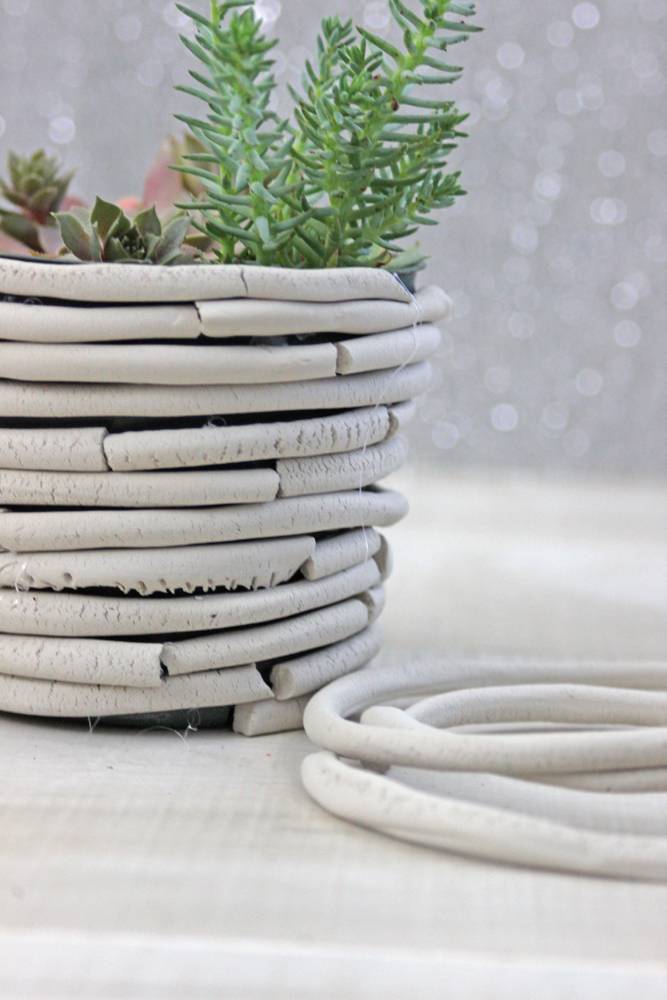
Spiral the clay pieces up the planter. You might have to use a knife to shave down a few pieces as you near the top. Remember – untreated, this air dry clay is likely not water resistant, so we don’t want it in contact with the plant’s soil.
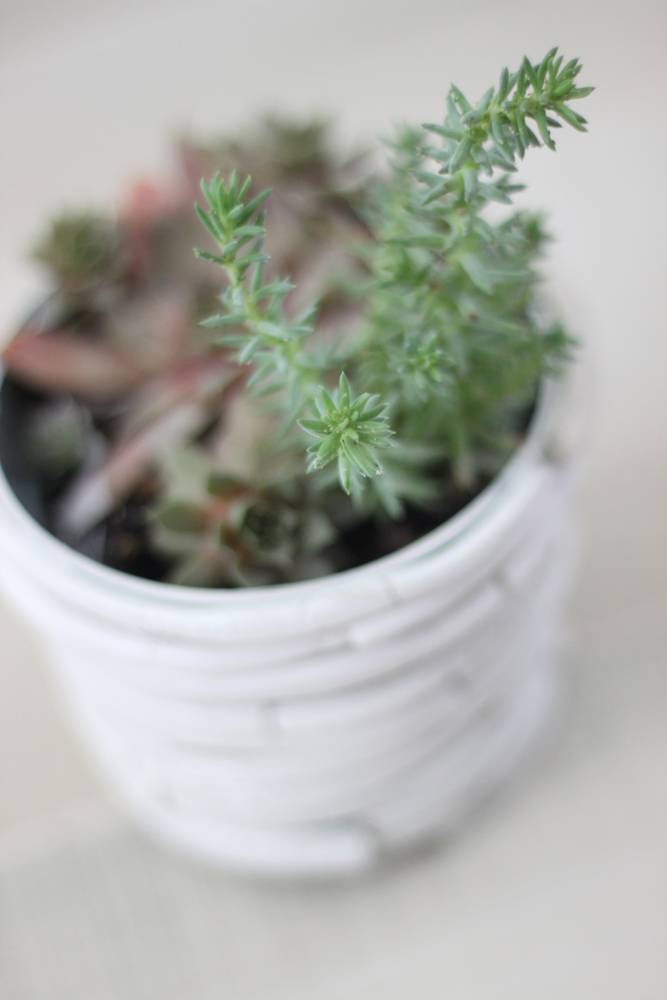
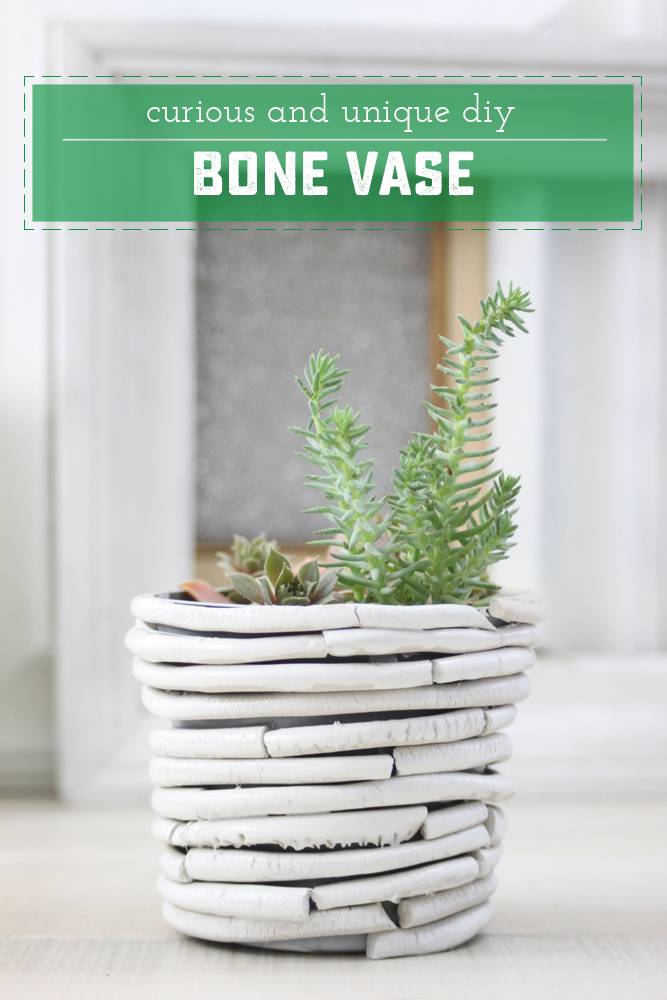
That’s it! A succulent makes a great match for this look, since it doesn’t require a lot of water, and it plays well off the porous texture from the clay. This curious and unique vase is already one of my favorites. For some reason the rawness of the materials really looks great against my other bright shiny porcelain pieces. I hope you check back tomorrow for more goodies from me!
 A little about Kayla: I’m a Creative Director for an international crafting company full time in addition to having my own crafting blog at SayNotSweetAnne.com. I’m a wife and a mother, and I work really hard so that I can spend my down time in the warm company of my 15 month old son and amazingly supportive husband. I love to make printables, jewelry, decor items, and I especially adore making DIY gifts. Don’t forget to stop by and say hello on Instagram!
Interested in learning more about DIY planters? Check out some more project ideas here.
Very interesting and do-able.
Thanks @troutay – I think so!