So you’ve downloaded an eBook. Now what? Well, if you’re a bibliophile like me, you might want to print out the ones you love. Like Curbly’s new Make It! Secondhand Chic, for example. I’m lucky enough have the new edition to the Curbly Library in perfect-bound, so I’m set for hard copy. However, I had a copy of David duChemin’s wonderful photography book ’10’ on my hard drive that needed to be birthed onto paper.
Now, I could have printed it at home and rammed a staple into one of its corners, but that would have been barbaric. I could have taken it to my local Kinkos and had them print and bind it, but that would have been uninspired. Instead, I printed it at home, bound it myself and included its own beaded bookmark into the binding. Here’s how I did it:
First, the supplies
- 2 pieces of card stock, the same size as the format in which you’ll be printing your eBook and as heavy as your printer can handle
- string or pearl cotton
- a few beads, large and small to coordinate with your string/cotton
- a ruler
- an awl or nail
- an embroidery needle
- Dremel/roto tool or drill and a 1/16″ or so drill bit
- 2 hinged paper clips
Second, getting down to business
Print out your eBook using one of the pieces of card stock for your front cover. I’d suggest printing the book the 2-side way (print on each side of every piece) to save on paper. Plus, some books like David’s ’10’ need to be printed two-sided as several of his images span two pages.
Stack your pages, including the second piece of card stock as your back cover, and clip them together. Use a bit of scrap paper under the clips to prevent them from marring your spanking new cover.
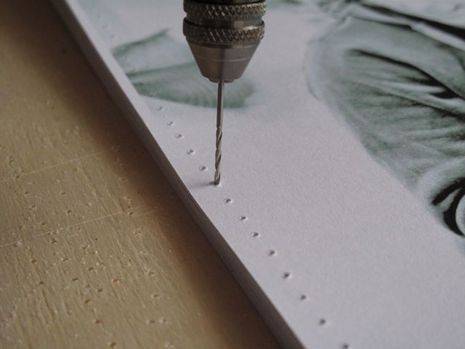
Measure your book’s inside margin. In my case, the margin was about 1/2″. Then measure out from the edge you want to bind an amount smaller than your margin. I measured out 1/4″.

Using your ruler, mark with a pencil or awl along that line every 1/4″.
Drill tiny holes at the markings.
Thread your embroidery needle with at least SIX TIMES the length of your bound edge.
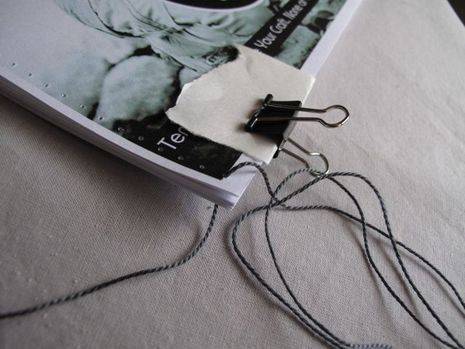
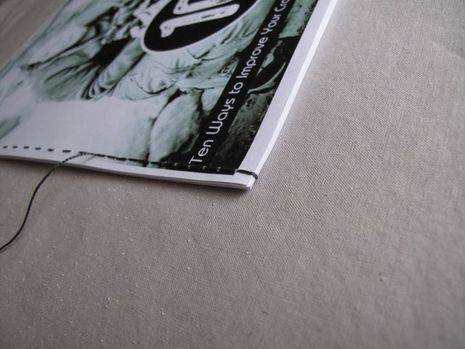
Start sewing the book at the bottom of the bound edge. Draw the thread HALFWAY its entire length through the first hole. Continue sewing, drawing the needle and thread through each hole until you get to the top of the book. It should look like the picture below when you’re done with this step. (If this or the next step is confusing, check out the comments below for further explanation.)
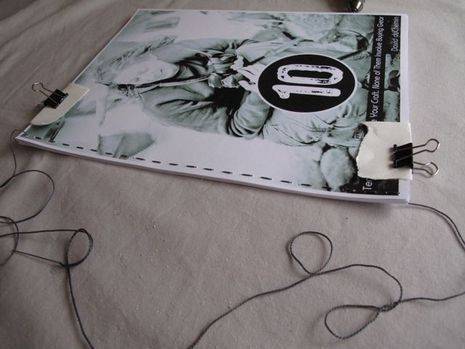
Remove the needle from the end of the thread you just finished sewing with and put it on the other end of the thread dangling from the bottom of the book.
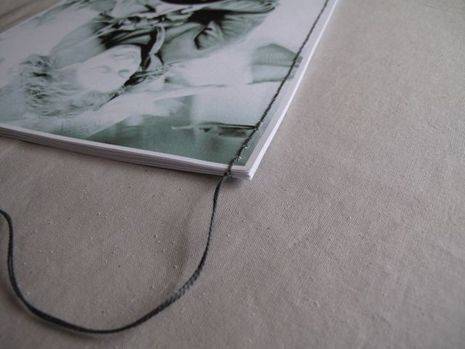
Now sew with that length of thread into those spaces skipped your first time through. Bring the thread around the bottom of the book and continue upward.
When you reach the top of the book, take out your needle and double knot the thread’s ends together.
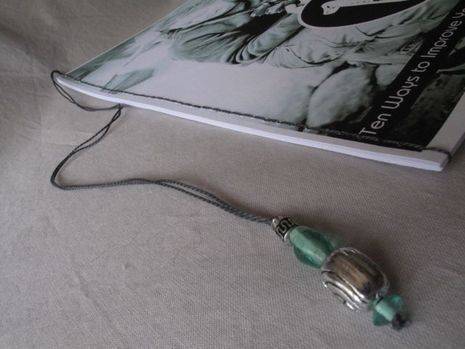
At the bottom of the thread ends, string several beads. I found some aqua beads in my stash that coordinated with the cover of David’s book perfectly.
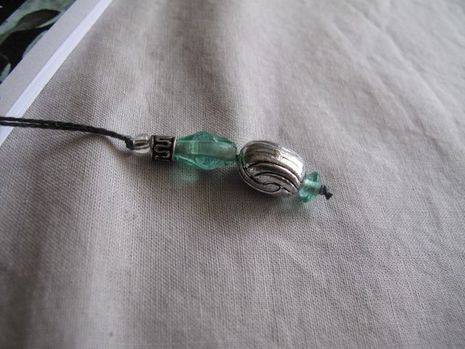
Knot the cotton at the top of your threaded beads and at the bottom. You can add a drop or two of glue to the knots to keep them secure.
And that’s it…a bound eBook with its own custom beaded bookmark.