Painting a room with an indoor paint sprayer saves time and results in a more consistent finish. Here’s how we used one to transform a spare bedroom.

One of my favorite things about interior design and home improvement is discovering tools that help us do our job better. Painting is one of those jobs. We paint things all the time – walls, furniture, floors, floor tiles, baskets. Why? Because nothing transforms a space (or an object) quite like paint does.
But painting can also be a chore. It’s time consuming, messy, and unforgiving. And it requires careful prep work. A few months ago, Bruno and I took part in a painting event at Wagner Spray Tech. Wagner specializes in paint sprayers that are total game changers. We had always been hesitant to use a paint sprayer indoors, but the folks at Wagner took us into their painting ‘lab’ and taught us some tricks, and I painted two large walls in less than 10 minutes. Then I looked at Bruno and said, “I’m never rolling a wall again.” And I meant it.
Not only did the indoor paint sprayer make the process go speedy-fast, but the paint coverage was flawless. No streaks, no thin areas that needed another coat, and no thick, drippy areas that needed to be retouched. It was the most satisfying painting experience of my life.
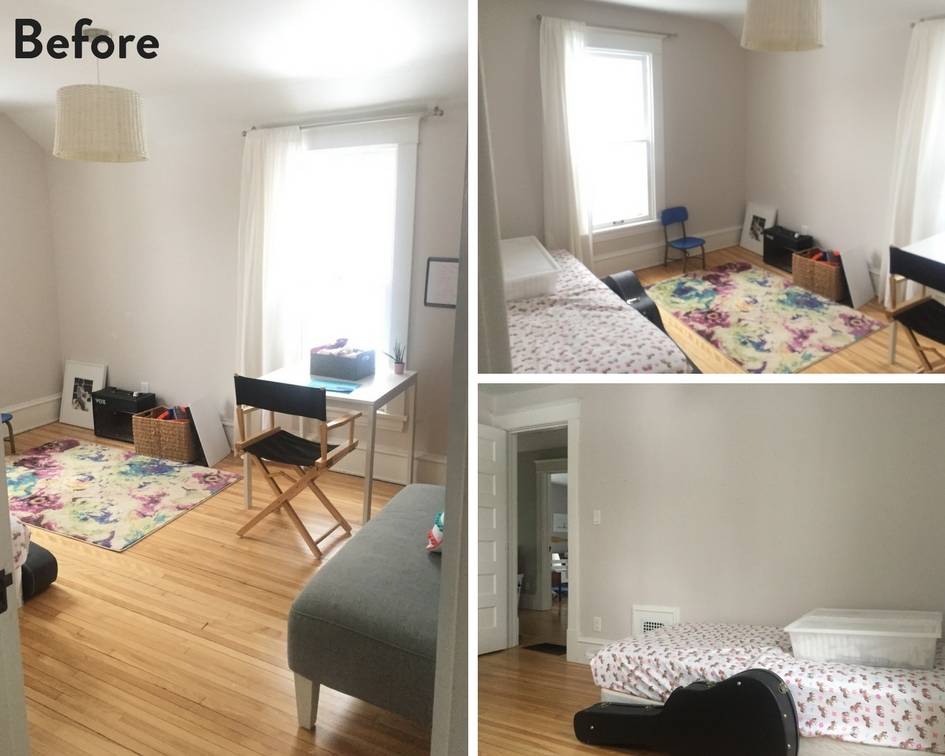
We recently completed a room makeover in our home, transforming an empty bedroom that served as a storage/play/catch-all nightmare room into a cozy den. The foundation for the whole room was a fresh coat of paint, and we were eager to experiment with spraying the walls vs. rolling and cutting in.
The Prep Work
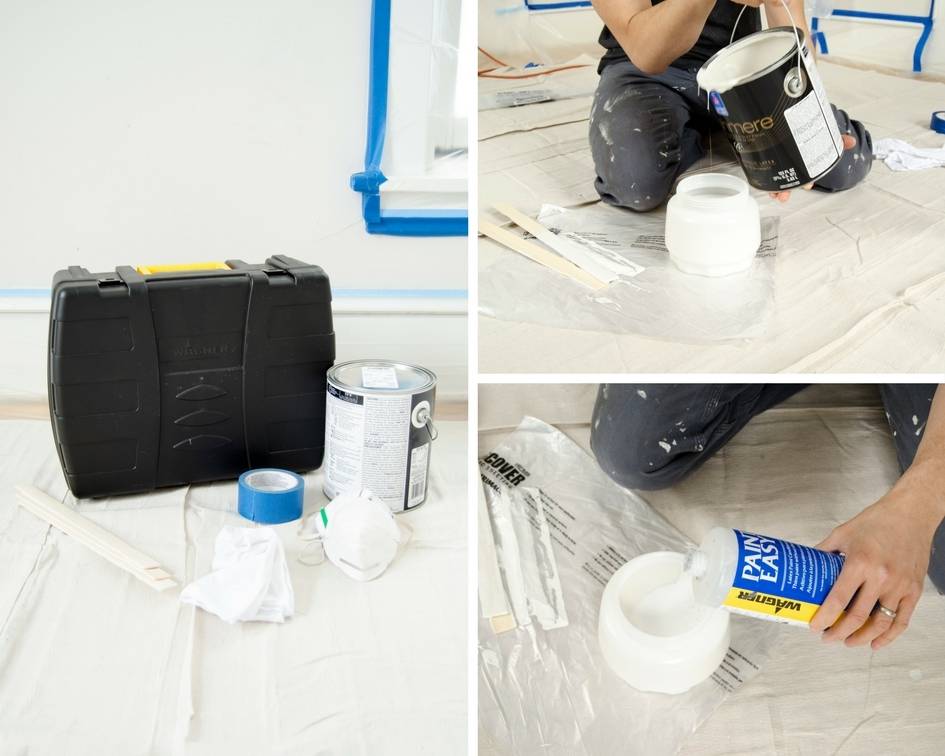
Spraying the walls of a room will save you loads of time – like, hours. But, you have to prep your room in order to ensure total success. And that prep work depends on having the right masking and surface protection products. We used a few key supplies from Trimaco to make sure our room was prepped correctly.
Trimaco makes all the painting jobsite protection products professionals use, and they have something for everything you can think of. When spraying a room, don’t be intimidated by the prep work – the truth is, even if you’re just rolling and cutting in, you’d have to do the same amount of prep (taping around windows, trim, and baseboards).
– Tape & Drape: pre-taped masking film makes covering windows, doors, and other surfaces super fast and easy.
– Cling Cover: self-adhering protective plastic sheeting. It clings to almost any surface and also attracts over-spray and dust.
Here’s how it all went down:
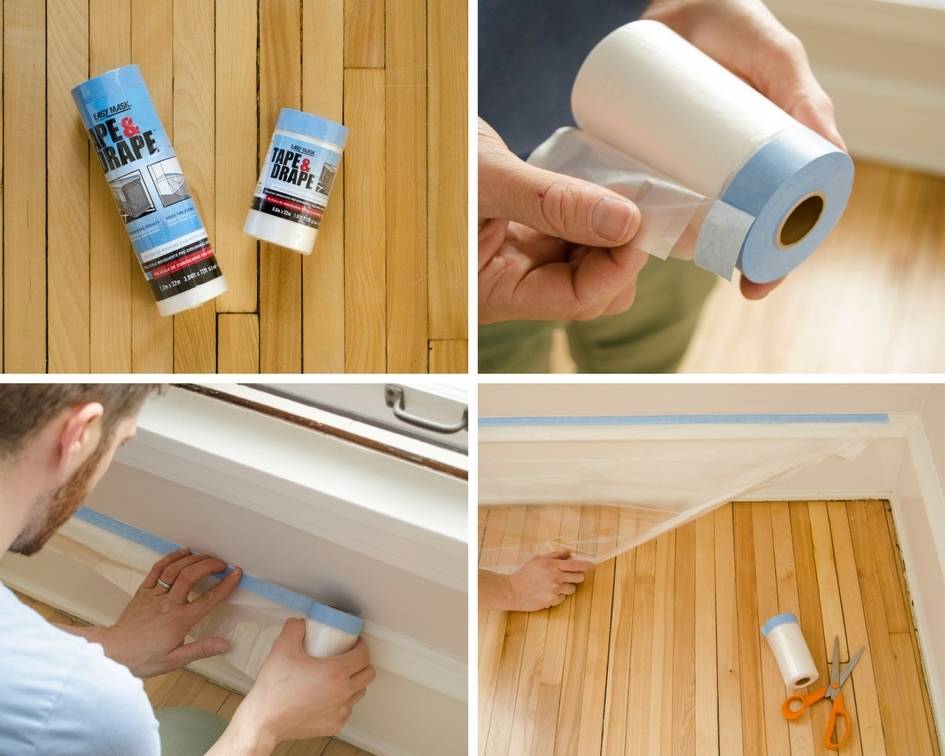
We taped around all the windows and baseboards using Trimaco’s Tape & Drape painter’s tape. This tape it the bomb! Why? Because it comes with plastic attached to it. You simply apply the tape to the trim, then pull the plastic out to create big swaths of coverage. We applied this same tape along the ceiling line.
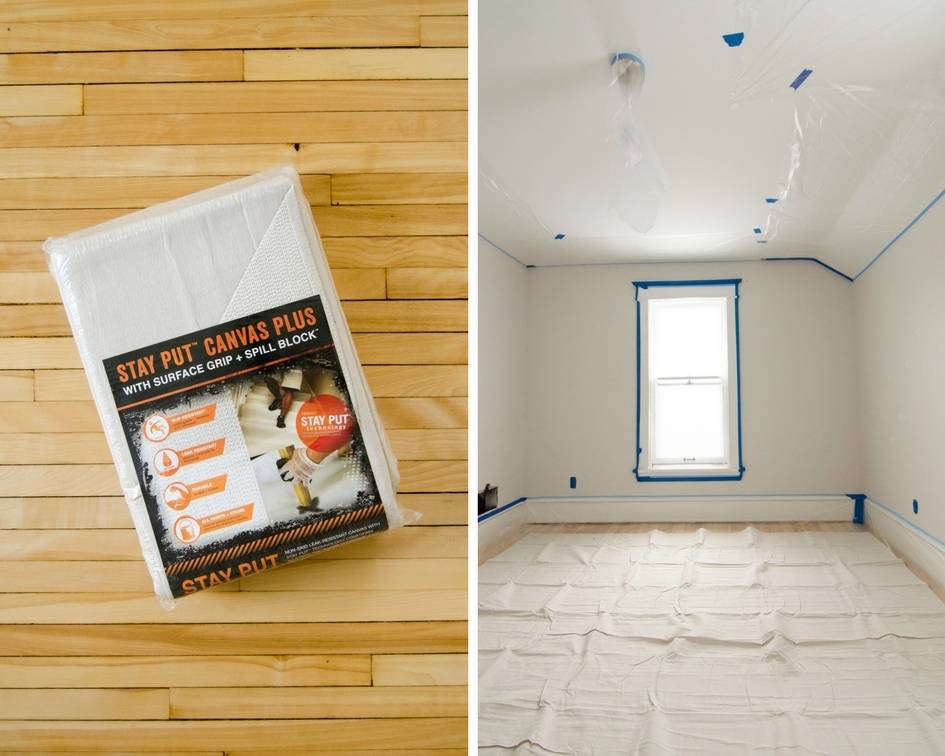
We covered our floor with a giant, non-slip drop cloth from Trimaco. Adding a tacky back to underside of a drop cloth was somebody’s masterstroke because it stays put!
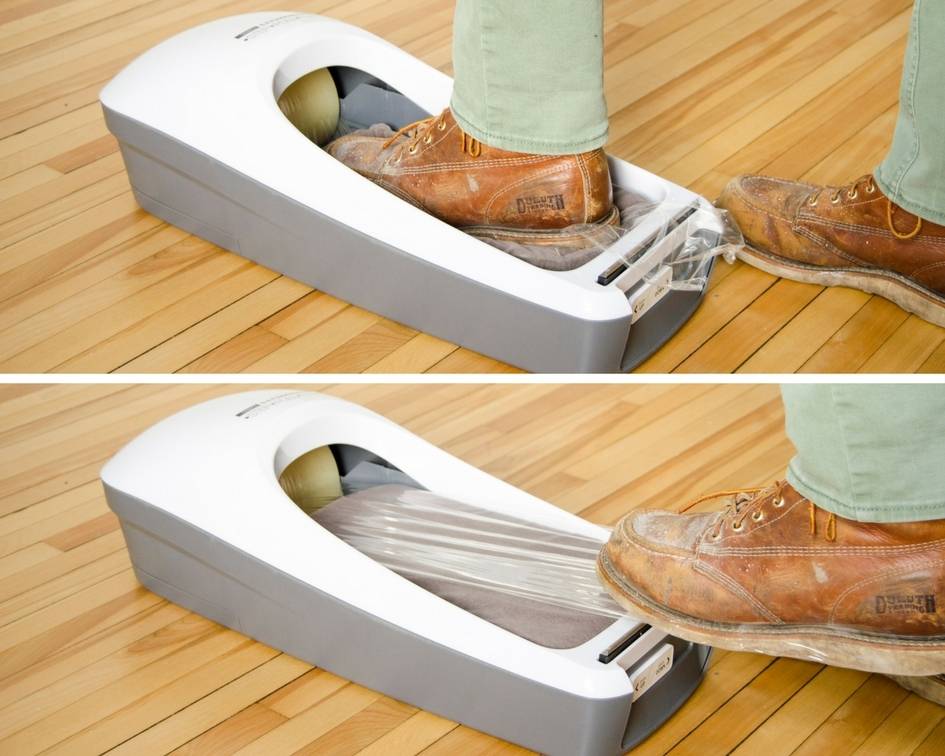
Bruno is gaga for gadgets and he likes to keep his work area super clean, so he insisted we wear plastic coverings on our feet. This was not totally necessary for a job like this, but this floor guard for shoes would be a great addition to a winter cocktail party where people want to keep there fancy shoes on in your house. I’m kidding … maybe.
How to use a Paint Sprayer in an Interior Space
We used the Flexio 590 Handheld Paint Sprayer. It’s perfect for an interior paint job like this, because it can cover an 8×10 foot space in 5 minutes! Before spraying, we added our paint to the sprayer and mixed in a bottle of Wagner’s Paint Easy additive to thin the paint and help it go on smoothly. Don’t let the notion of thinning your paint fool you into thinking the coverage will be poor. When paint is applied through a sprayed mist, the super-fine droplets land and attach to one another, making the finish smoother than the voice of Barry White.
Despite the fact that it was freezing when we painted the room, we opened the windows a bit for ventilation. I think anybody who paints indoors does this, but it’s especially helpful when spraying a room, because you have paint particles hanging in the air. Wearing a mask is also important – it keeps the misty-fine particles out of your lungs. That said, the Flexio 590 doesn’t over-spray nearly as much as you might guess. You won’t feel like you’re painting in the clouds.
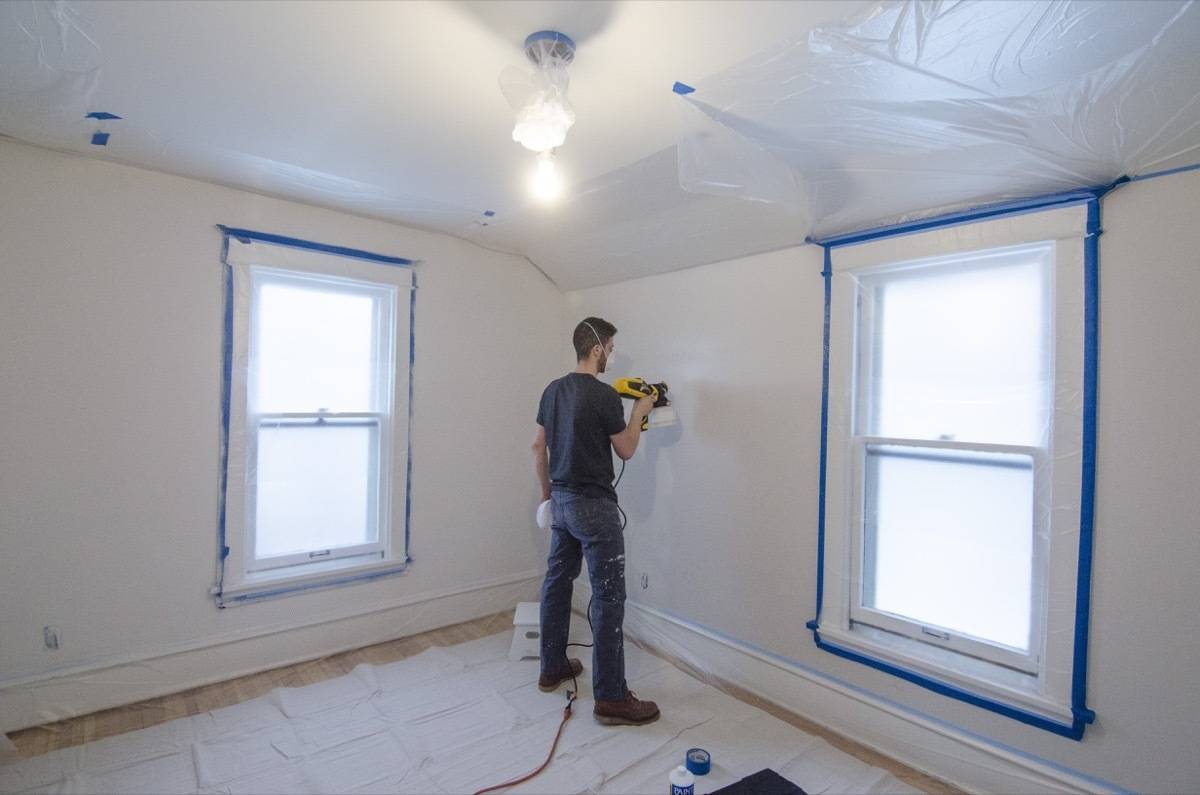
Bruno painted all four walls of the room in 20 minutes. That’s it. 20 minutes and he was D-O-N-E. No second coats, no touch-ups. Can you even?
Here are some of our best tips for using an indoor paint sprayer:
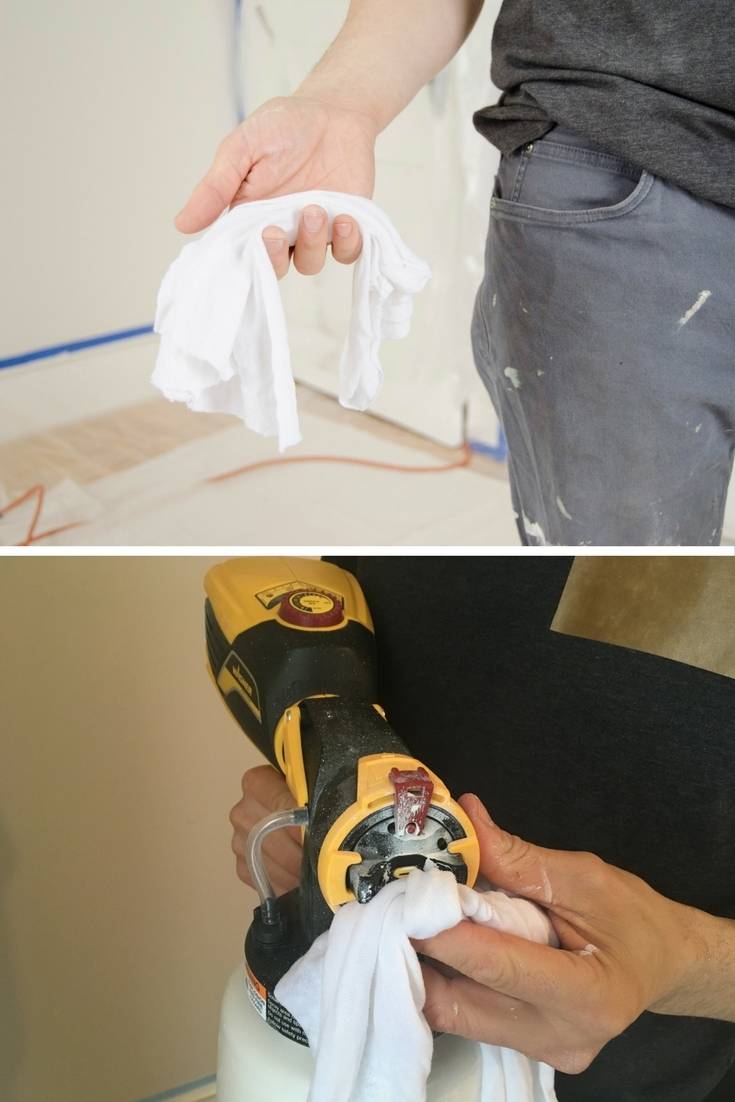
1. Keep a damp cloth in your pocket to periodically wipe the tip of the sprayer – it can get blocked as the paint begins to harden. This is important! You’ll need to wipe the tip more often than you think … but doing so will keep the sprayer from clogging and splattering. If your paint sprayer won’t spray, it’s often because the tip is clogged with dried paint. Keep it clean and you’ll have great results.
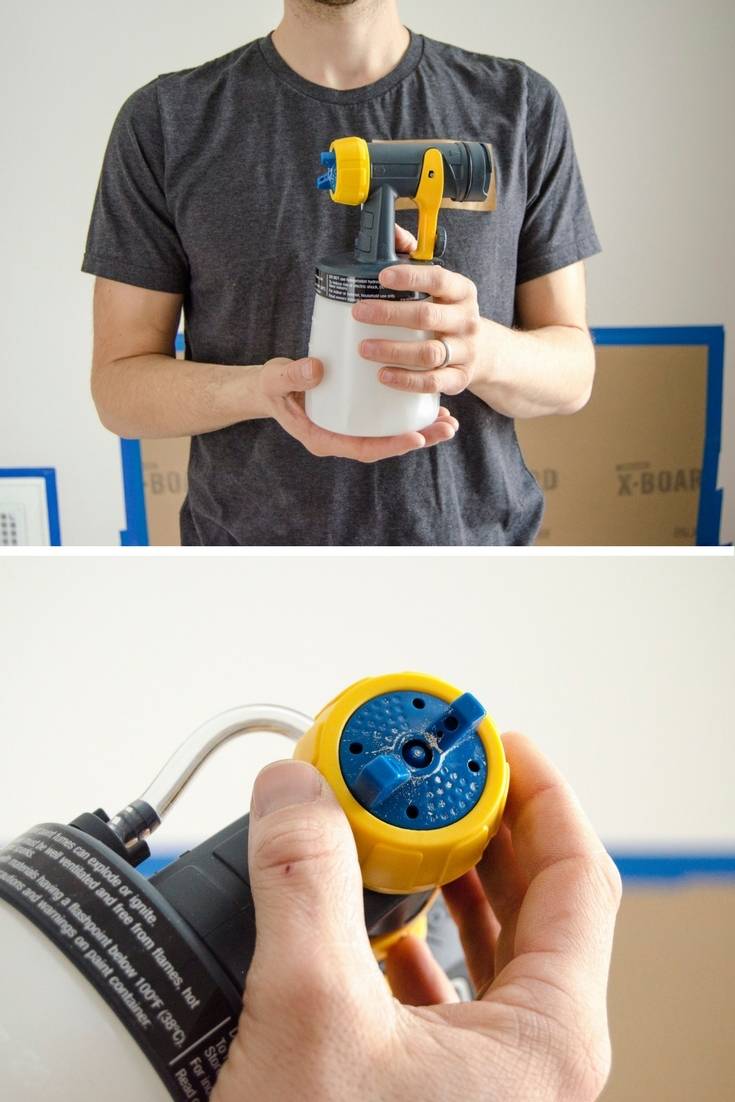
2. Learn how to adjust the sprayer nozzle to change the spray pattern. A horizontal nozzle position creates a vertical pattern; a vertical nozzle creates a horizontal pattern. Putting the nozzle at a diagonal will generate more of a round spray pattern.
3. Stand close to the wall and keep your sprayer 6-8 inches from the wall. The further back you go, the wider and thinner your painted area becomes. Standing close to the wall helps you get a nice, thick coat on the first try. You want to keep the sprayer closer to the wall than you think; if you feel weirdly close, you’re probably doing it correctly.
4. Apply the paint in strokes (we like horizontal strokes), and pull your finger off the trigger at the end of each pass to let the paint trail off (rather than doubling up an application by continuing to run the sprayer row-after-row). Overlap each spray pass by about 50% to ensure full coverage.
This video on how to use a paint sprayer was extremely helpful in getting us up and running:
We let the paint cure for an hour, then I removed all the painter’s tape and plastic film. We folded up the drop cloth, and the room was a perfect blank canvas set to become all denned out!
Before we show you all the pretty pictures of the finished room and talk about the design process, I really want to make sure you understand how smooth and efficient the painting process was. I feel like we have a golden key to Paintsville, and we have an obligation to pass on the ease of this method. It is a game changer. It makes painting so quick and easy. Try it out. I promise you’ll breakup with your roller and your old ways.
A Little Bit About the Den Transformation
For years, Bruno and I have been unsure about how to use the empty bedroom on our second floor. When we first moved in, it served as our baby boy’s nursery, because our house was still under construction and our master bedroom was not complete. Once our remodel was done, we moved him into a larger bedroom, and this little room met an ugly fate: The room where all the misfit toys and furniture lands. I know many of you have a room (or closet) that’s befallen this same sort of fate. It’s a luxury to have a room like this, especially because you can close the door and kind of forget about it. But, it’s also a big bummer. It bothered me that this totally legit room was being used for such a lousy purpose.
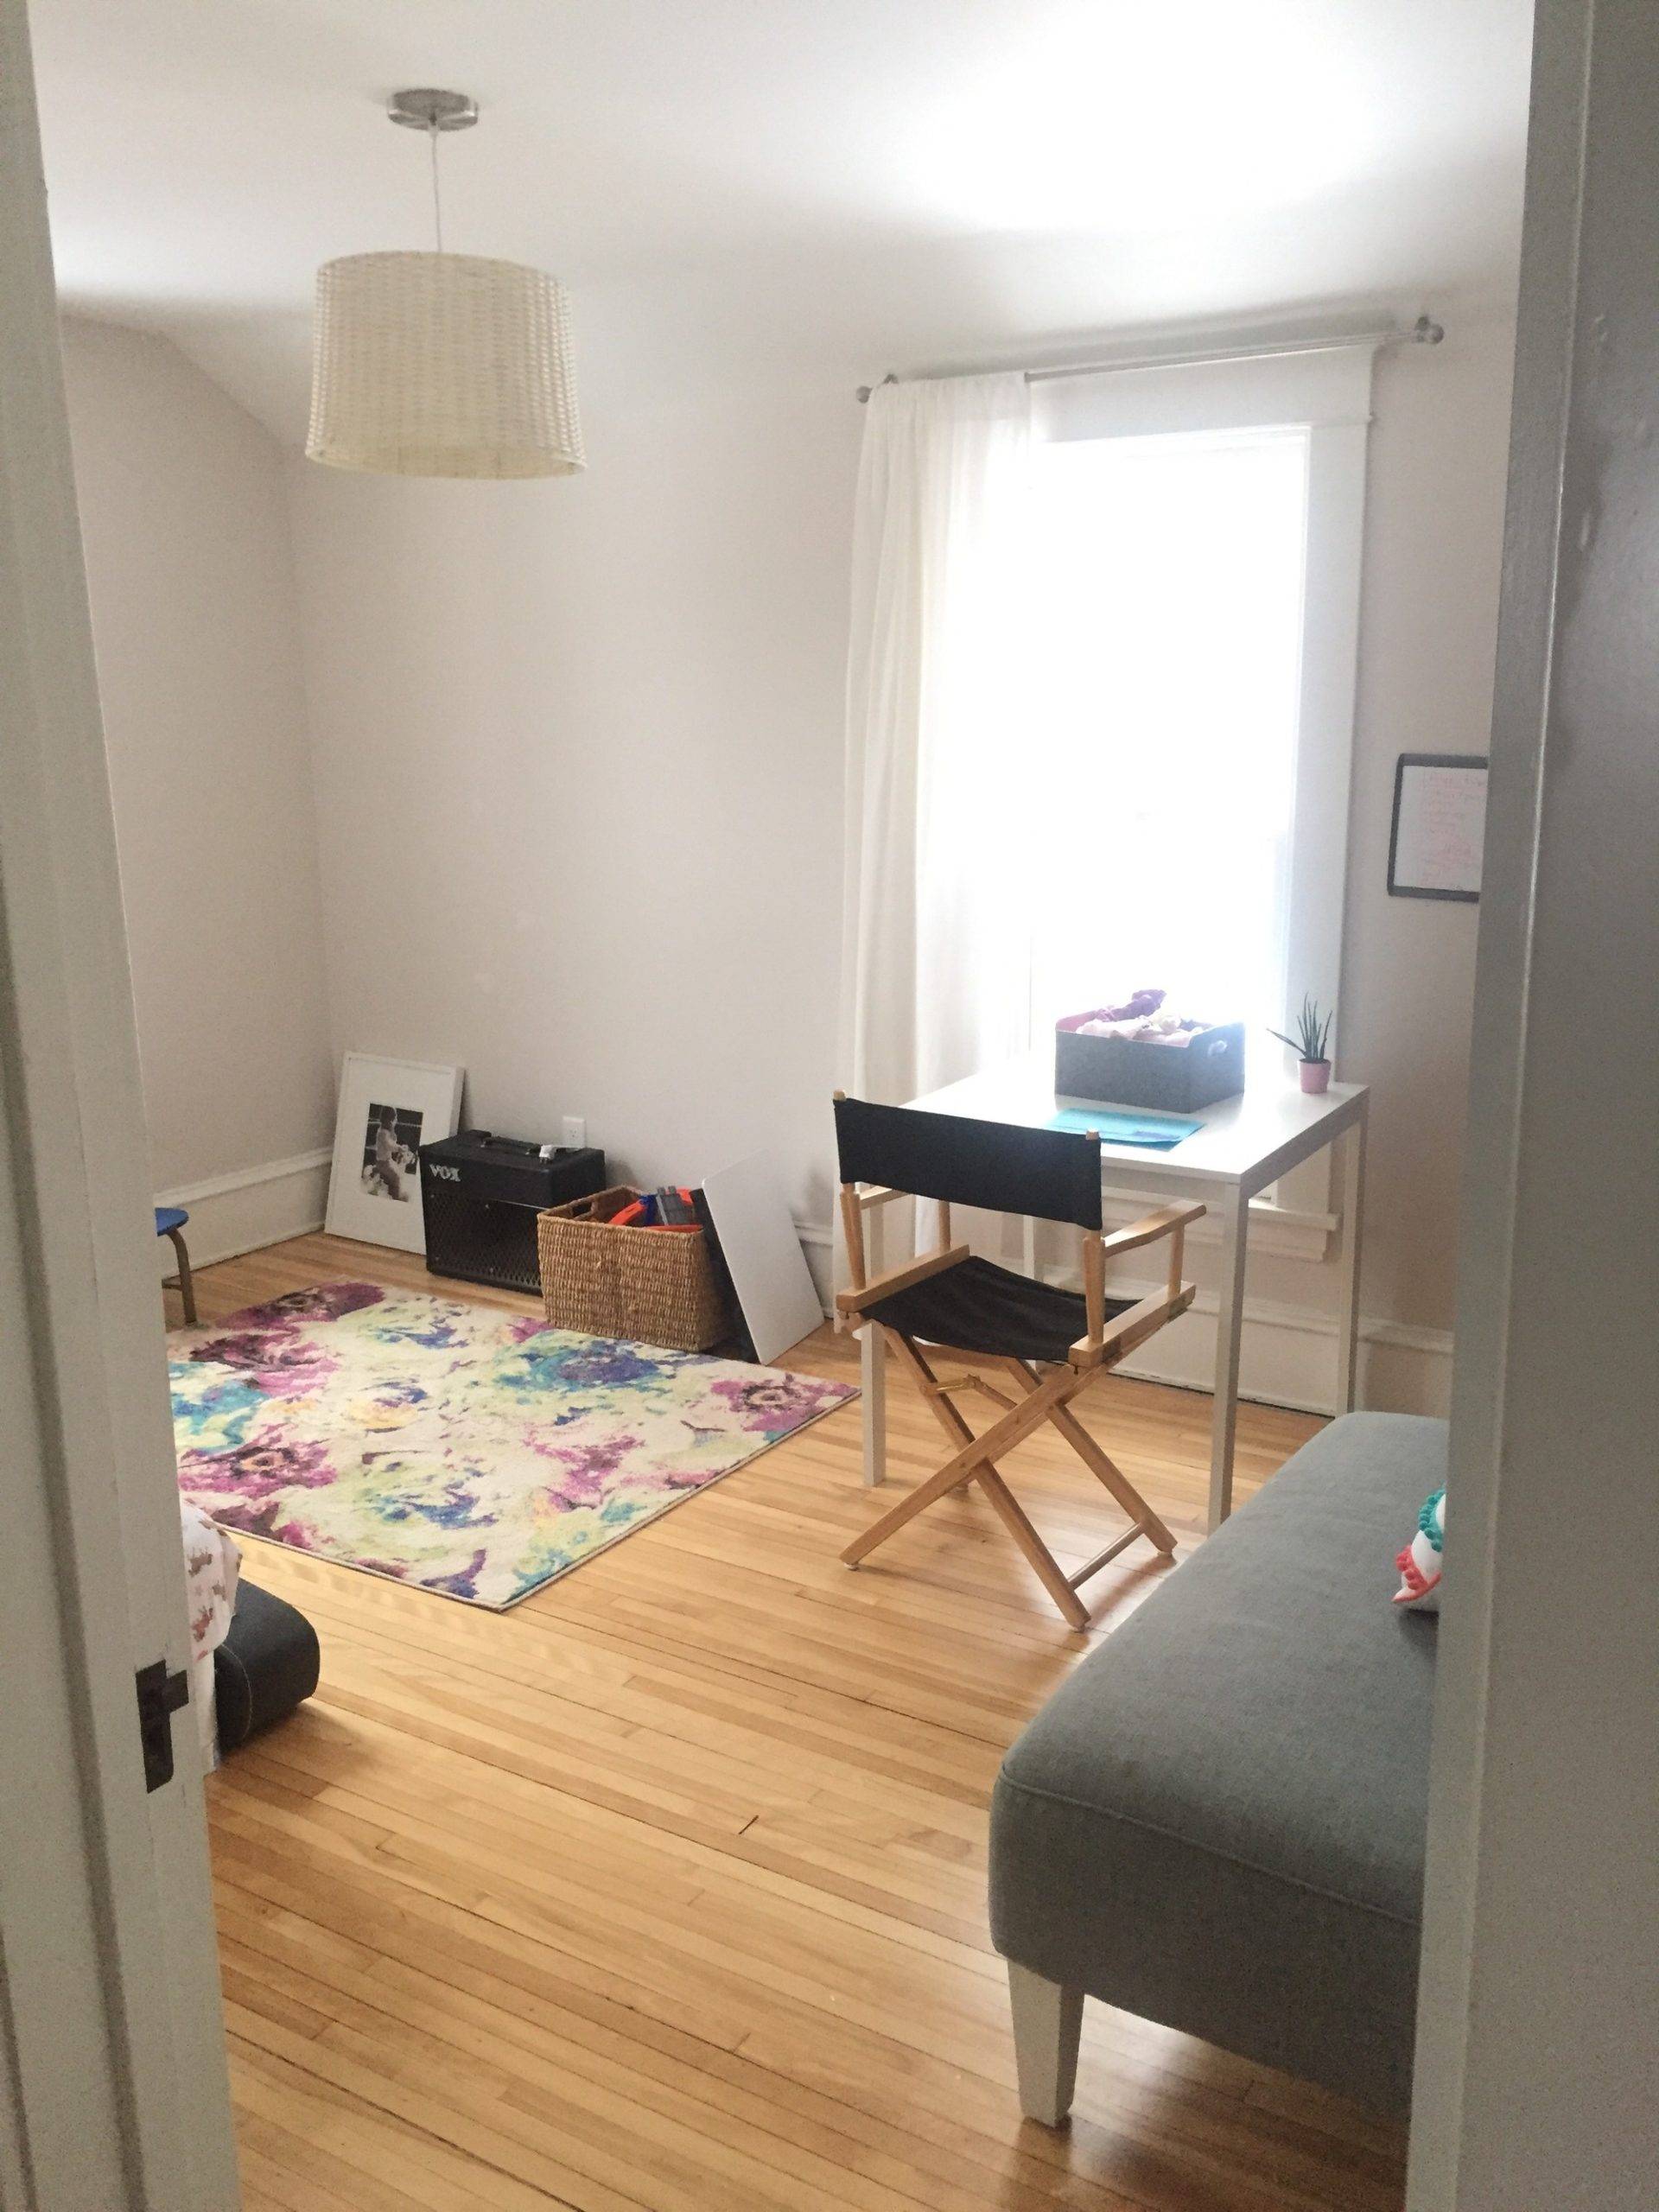
Bleh… what a shame of a room.
We wavered between making it a guest bedroom (it wouldn’t get much use that way) and turning it into a den. Bruno was fairly opposed to having a television on the second floor near our peaceful bedrooms. But, our current first-floor TV situation wasn’t working. Because of the configuration of our sunroom, the only furniture we could sit upon to watch a movie was a loveseat. We did this for years, spending many Friday movie nights with kids on our laps. But, our kids are now way too big to do this comfortably, and it was becoming more and more apparent that we needed some kind of family-friendly sofa in our lives.
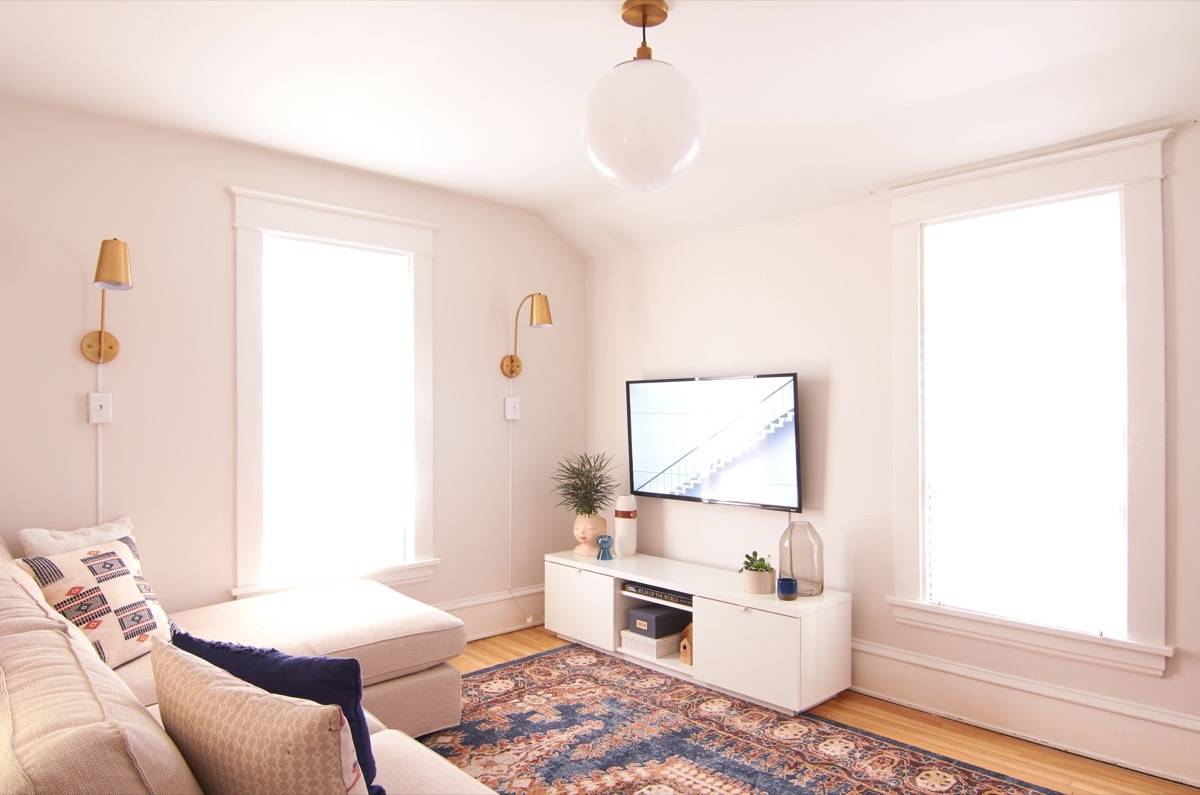
So Bruno got onboard with the second-floor den idea, and we made it happen in two weeks! We ordered a rug, chose a comfy sofa with a chaise (the best seat in the room), and bought a slightly larger television (but not a giant screened beast, because I’m completely opposed to them and don’t ever want to feel like I have an actual movie theater in my home – I like going to the movie theater for that kind of thing).
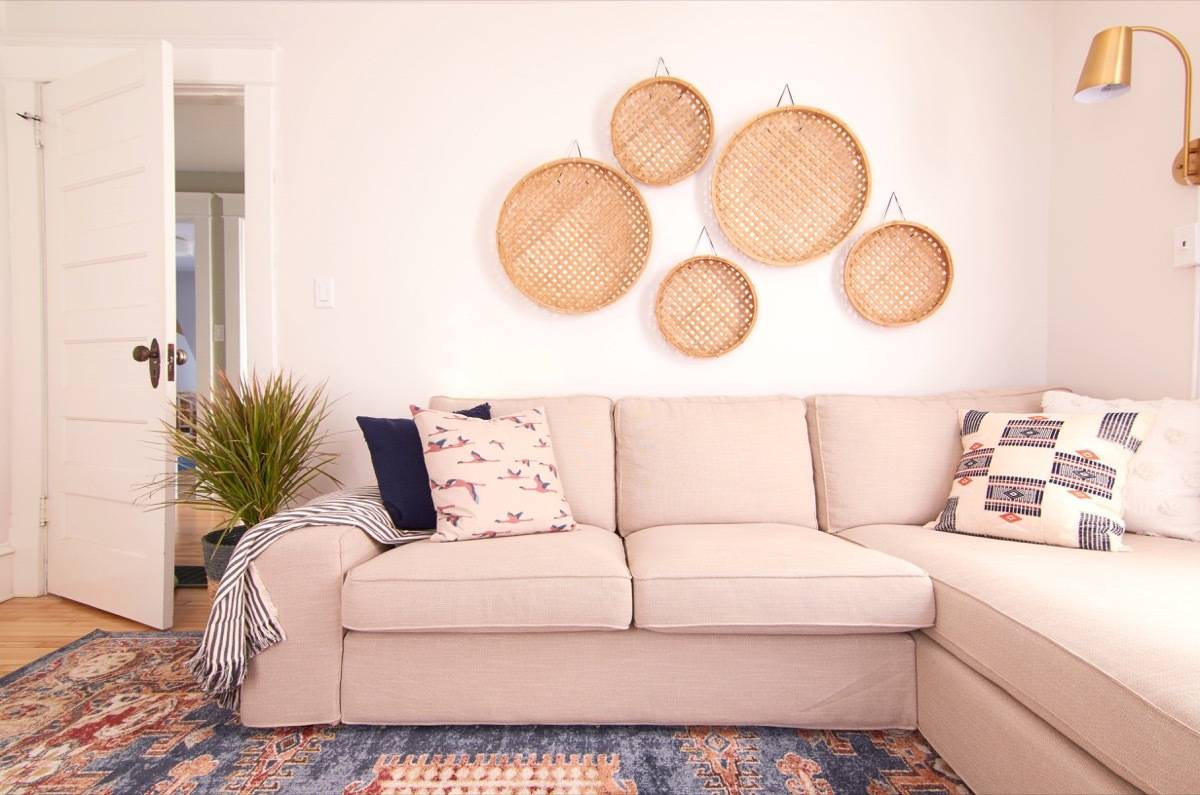
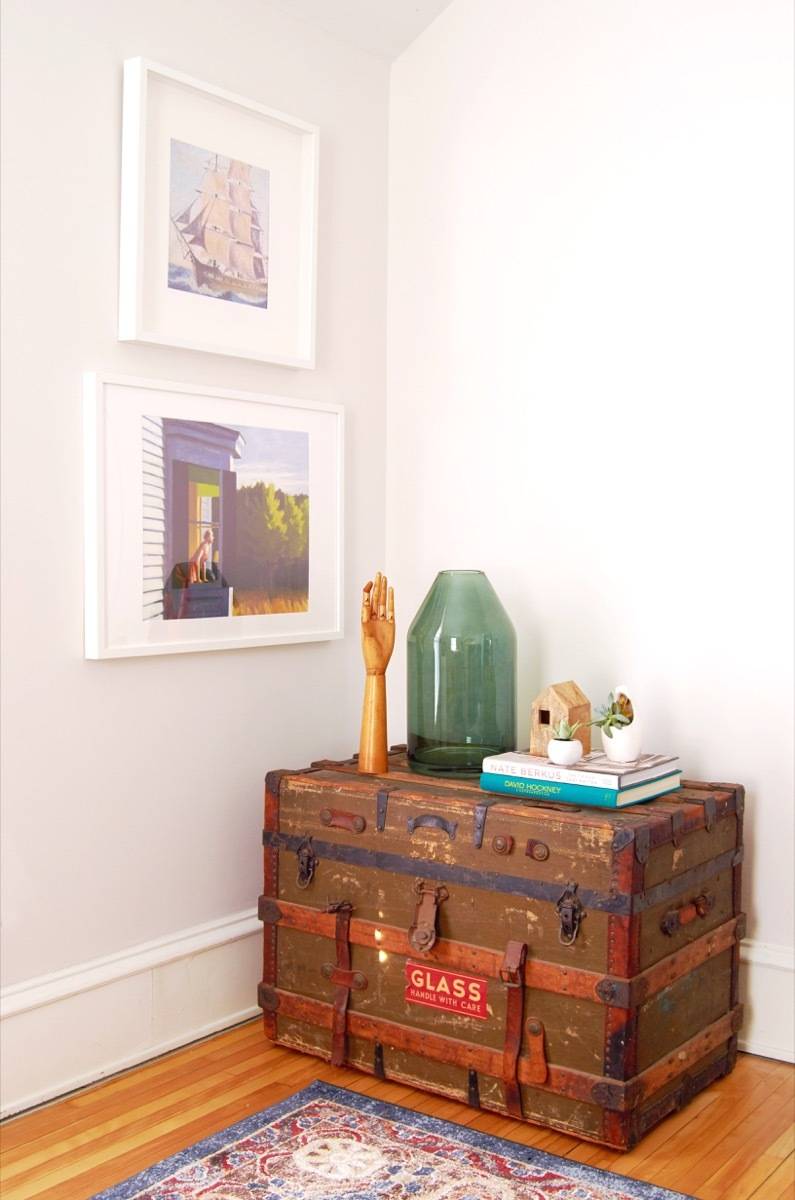
Here’s how the room came together:
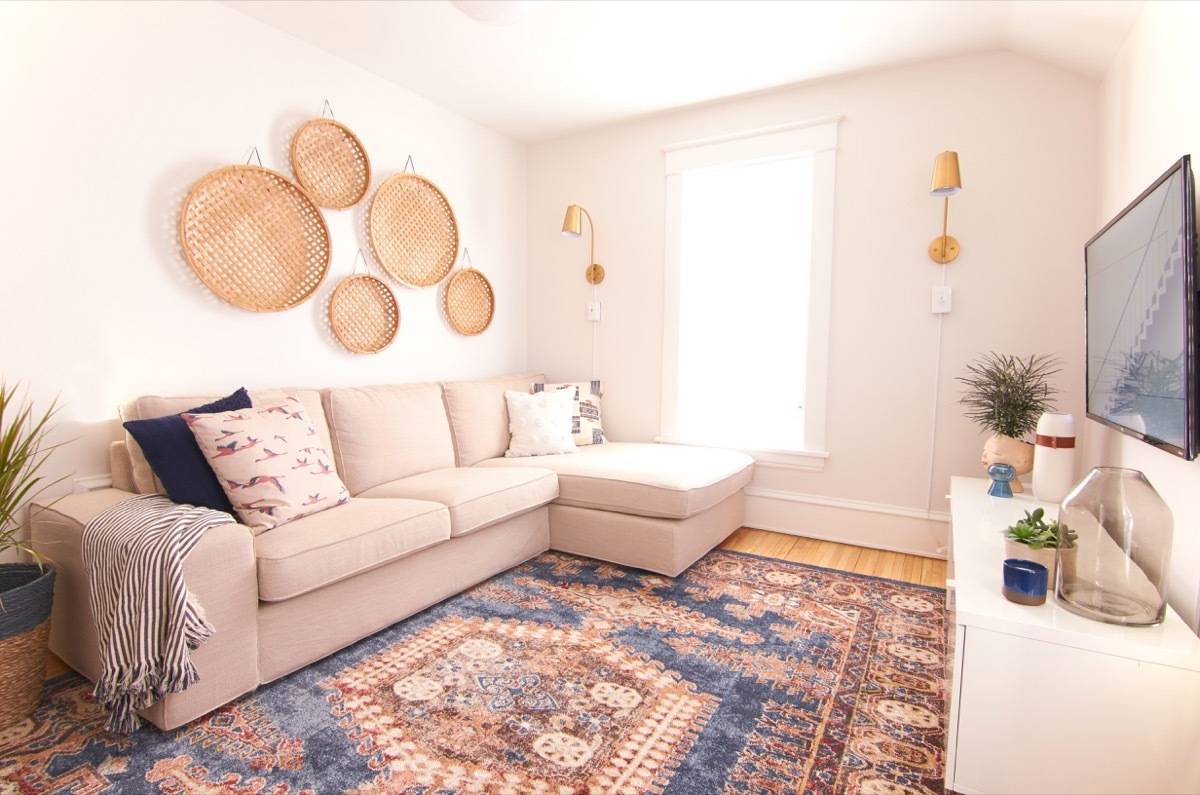
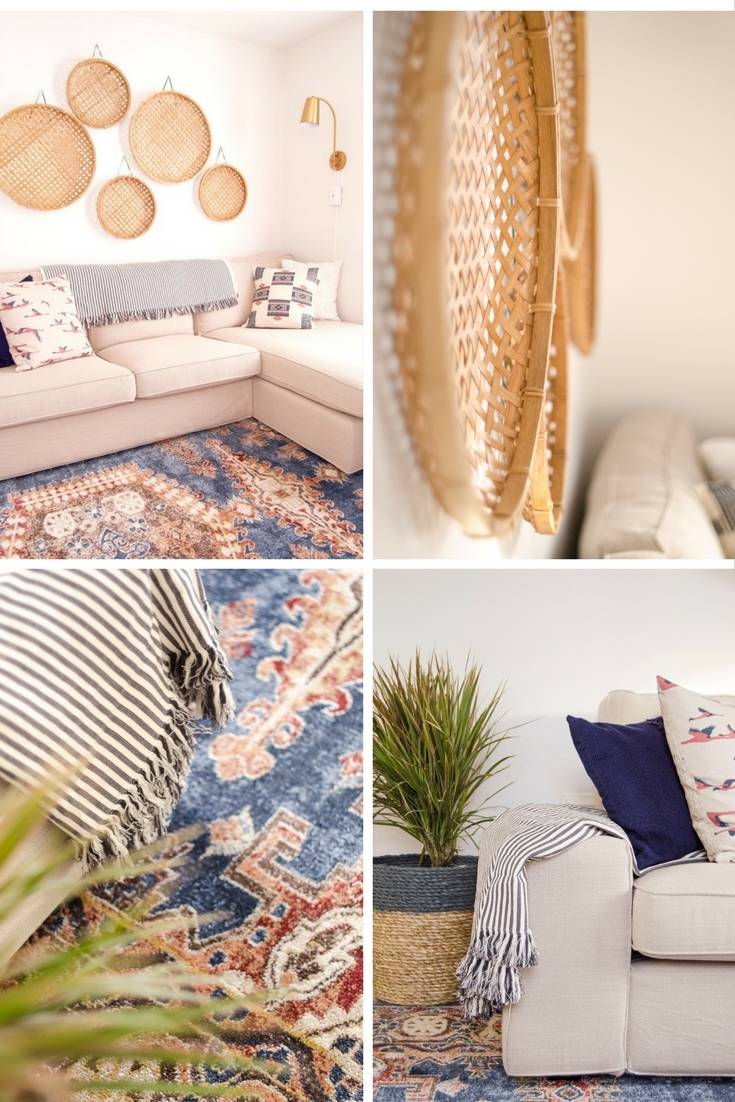
I really love it. It feels a little more country/boho than anything we’ve designed before. But, this is exactly what I love about it. It’s super cozy and understated, but a little hideaway-y and retro (the wall of wicker baskets is very 60s & 70s). And yet, it still feels like it belongs in our house.
We’re in love with our sweet, little den and thrilled with the ease and swiftness of the room’s transformation. I hope you’ll give spraying a try the next time you paint a wall because it’ll save you so much precious time, and the results will be stunning!
Product List
- Paint Sprayer: Wagner FLEXIO 590
- Paint prep: Trimaco Tape & Drape, Trimaco Cling Cover
- Paint: Sherwin-Williams Origami White (SW 7636)
- Rug: Arcadia Rug (8×10)
- Sofa: KIVIK with Chaise in Hillard Beige
- Hanging Baskets: Hearth & Hand Flat Rattan Wall Art
- Pendant: Large Sculptural Glass Globe Pendant
- Sconces: Sully Warm Brass Plug-in Sconce
- Toss Pillows: Waraniene, Navy, Cream, Birds
- Throw: TUVALIE
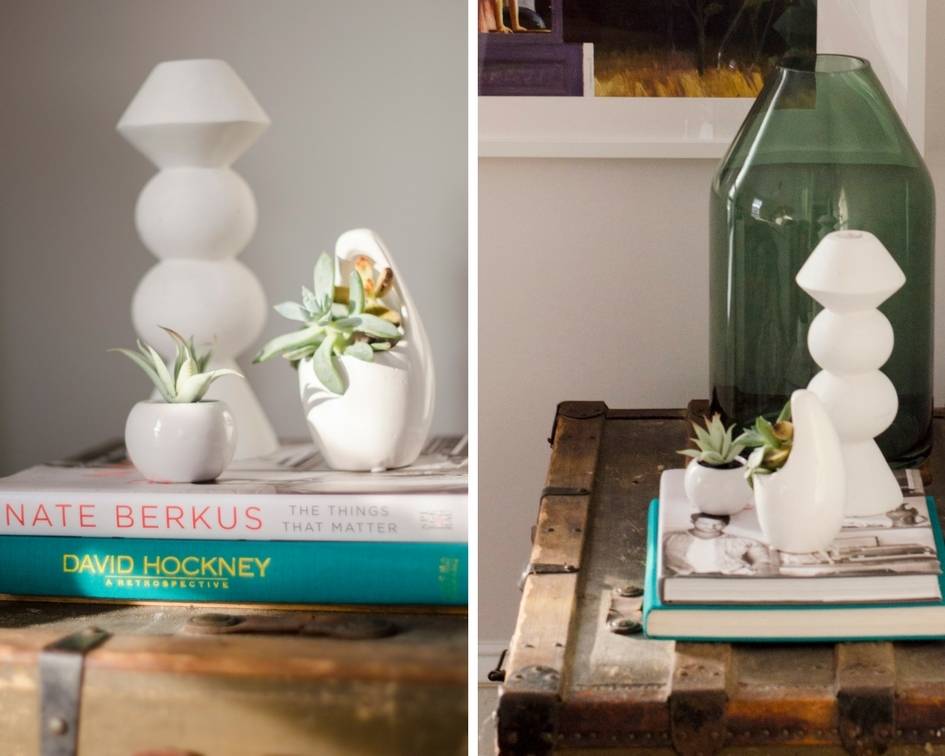
- Trunk: Vintage find from our neighbors!
- Face Planter: Head of a Lady Resin Planter
- Artwork: Edward Hopper + Ship
Thanks to Wagner and Trimaco for sponsoring this post; all opinions are mine alone. And thanks to you, for supporting Curbly and the brand partners that help keep us going!
I’m curious – how long did it take you to prep the room with the tape and drape? (I’ve never prepped a room this much before to paint). And do you have suggestions for taping off textured ceilings? I’ve found that tape does not stick well at all to popcorn ceilings…
Hi Kathleen!
It took us about an hour to prep the room for spraying (there were three of us prepping). In fact, it may have been less than an hour. It really doesn’t take much longer than just taping the room. You have to add a little time for the “pulling out of the drape”, and taping it down, but it’s minimal. Good luck with your project!
Love all the tips on painting, I’m feeling much more confident taking on my new home project! Wondering though, where did you find this rug!?
I agree! Spraying really saves time and the result is stunning. But it also depends on the paint sprayer your using. I had a bad experience using one on our newly renovated home. I’ve used a low quality paint sprayer. It was a back job! Looks like your paint sprayer is great. I better try that on our home. Thanks for sharing Alicia.