
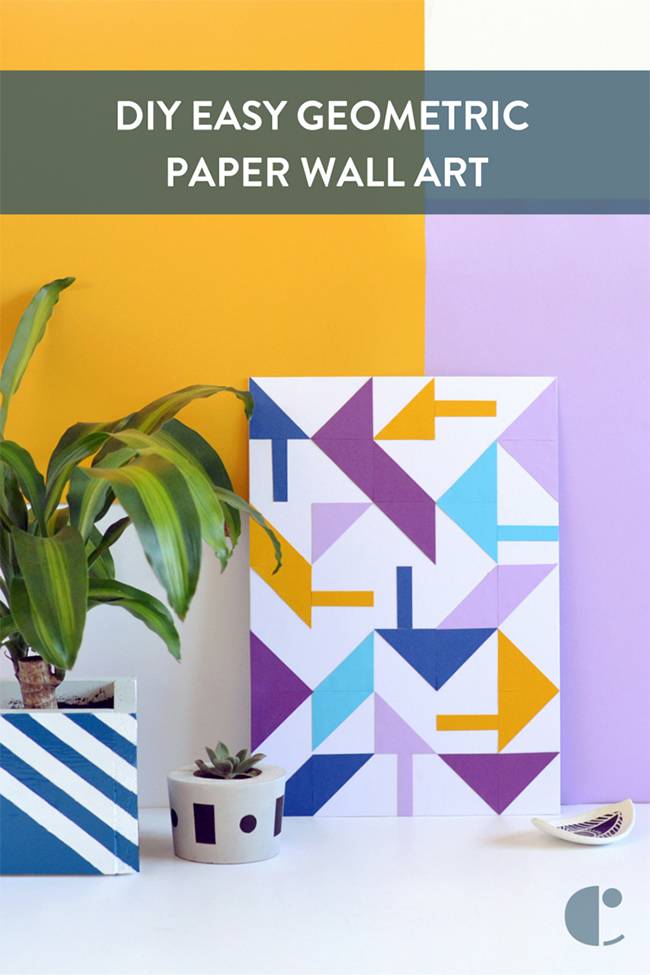
I’m a HUGE fan of DIY when it comes to wall art. Not because I don’t know any artists I like – on the contrary actually, there are so many creatives whose works I adore. But good quality art is expensive, so while I save my pretty pennies and wait for just the right piece to come along, I’m going to fill my walls with DIYs in the meantime!

And this is truly an easy one to make from the comfort of your own home. If you like the geometric look as much as I do, grab some scrap paper and follow along!
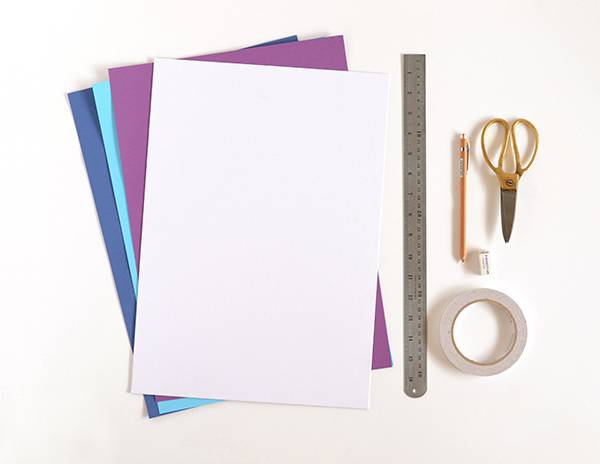
Materials
- White card (can be any size – I used a sheet measuring 11 x 17 inches)
- Coloured paper or card
- Ruler
- Pencil
- Scissors
- Eraser
- Glue or double-sided tape
Step
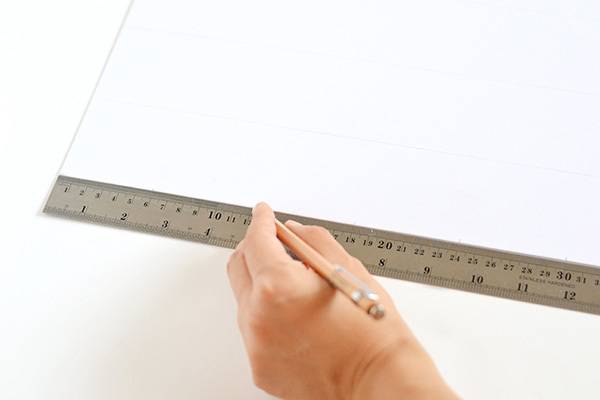
Using a ruler and pencil, measure and draw a grid on your white card to divide it into squares. Make sure you keep the grid lines as faint as you can so they’re easy to rub out later on.
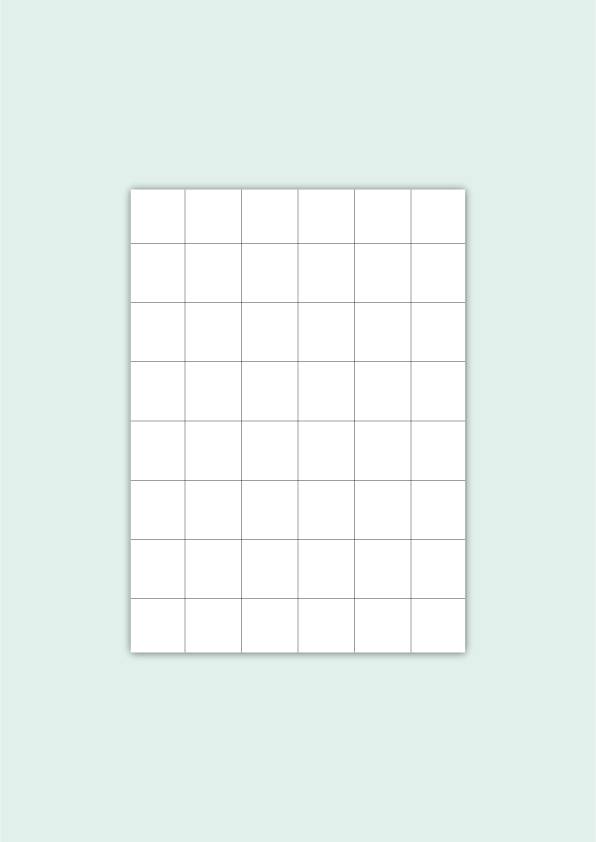
It was a bit hard to take a good photo of the faint grid lines that I drew on my white card, so see below for an example of what yours should look like. 🙂
Step

Measure and cut squares out of your coloured paper. Make sure the squares measure the same length and width as the squares in the grid you drew on your white card (in Step 1).
Step

Trim your coloured squares into triangles and strips.
To make the triangles, measure diagonally across a coloured square as shown above and then cut the square in half.
To make the strips, use a ruler and pencil to divide one of your coloured squares in half. Then divide both those halves in half again – this will create four long rectangles for you to cut out.

Step

Once you feel you’ve got enough triangles and strips to fill your artwork, start laying them down in the grid squares on your the white card. Each triangle (or strip) should be placed in its own square in the grid.
Don’t be afraid to play around and experiment until you get your wall art looking the way you want it – nothing is stuck down yet, so move the shapes and colours around until you’re completely happy with how the finished piece looks.
Step
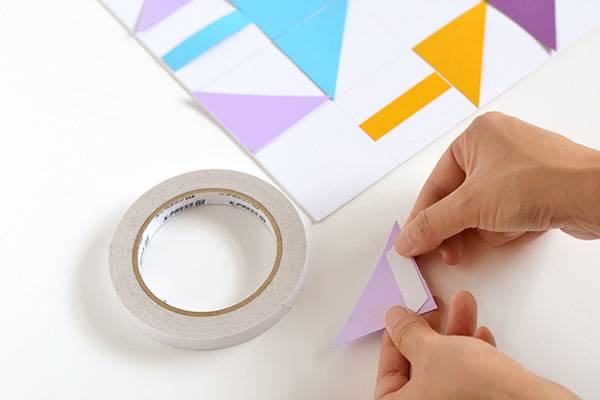
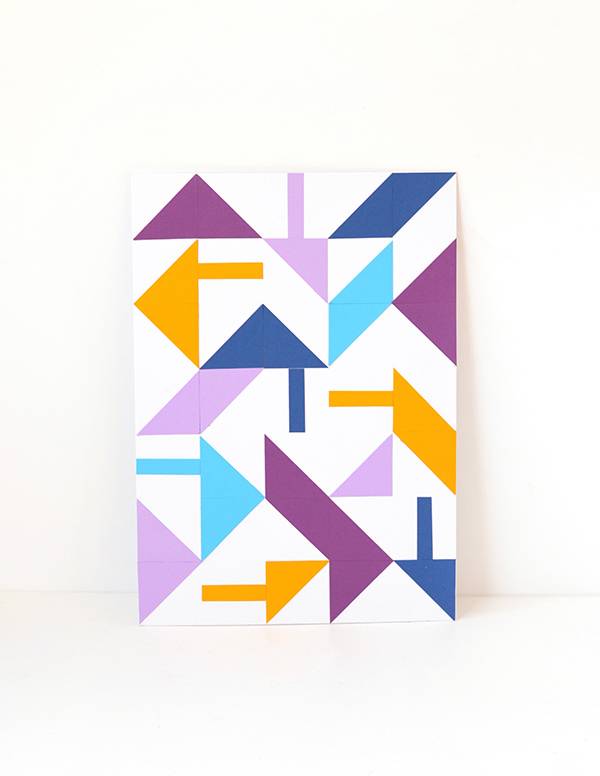
Once you’ve filled all the squares in your grid with shapes and you’re happy with how it all looks, it’s time to start sticking the pieces down.
To do this, it’s best to work one piece at a time so you don’t lose track of where they all belong – pick one shape up, flip it over, apply glue or double-sided tape to the back, then stick into position on the white card.
Work through all the shapes until every single one is stuck down.
Step
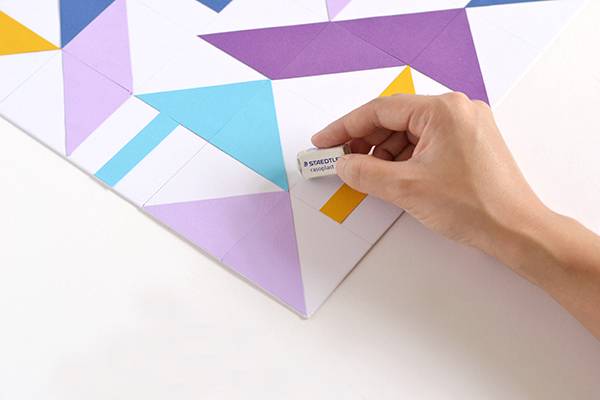
Lastly, rub out the faint gridlines you drew in Step 1 with an eraser. Then all that’s left to do is hang or frame your finished artwork!

Buy or DIY?
This wall art can be hung outdoors or indoors, so you’ll always have somewhere to put it.

Thanks Linda, I’m so glad you like it! 🙂