
I’ve always loved Scandinavian prints. They manage to be both sophisticated and fun at the same time, and they combine so many of my favourite things; bold colours, plenty of patterns, playful shapes… what’s not to love? So when I needed a little something to brighten up my bare walls, a Scandi-inspired wall hanging was the first thing that came to mind. Click through to make one of your own!

Materials
- Fabric (I used white cotton)
- Scissors
- Ruler
- Iron
- Hemming tape
- Leaf template
- Foam sheet
- Stamp mount (or cardboard box lid, jam jar lid or similar)
- Cardboard
- Craft glue
- Fabric paint
- Balsa wood
- Twine
Step 1
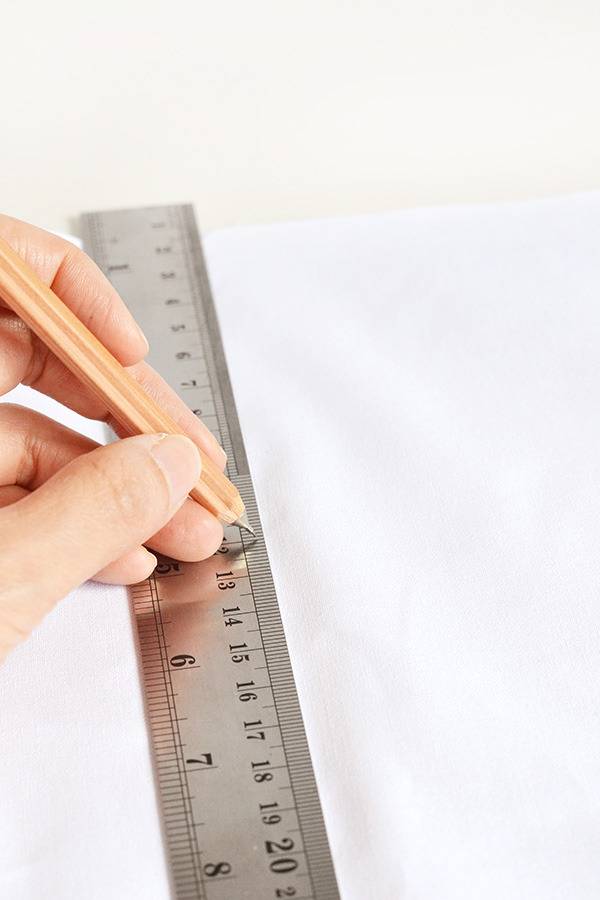
Measure out a length of fabric based on how large you’d like your finished wall hanging to be.
When you’re measuring, remember to leave around 1/2 an inch (1.5cm) on either side for the hem and the same amount at the top and bottom so you have space to attach the wood strips to mount your fabric.
Step 2
Cut out the length of fabric you measured.

Step 3
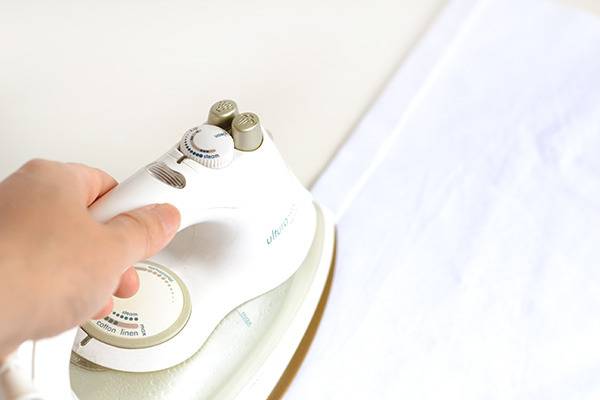
Give your fabric a good iron to remove any creases, then fold two hems along the long edges of the fabric. Iron the hems so they stay in place.
Step 4
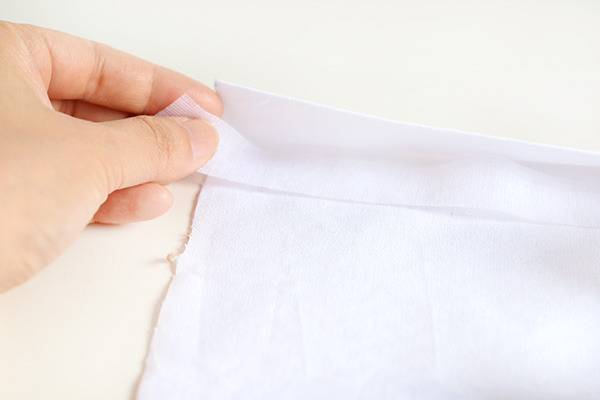
Insert a strip of hemming tape underneath each hem and iron over the hems again so that the tape fixes them in place.
You can also sew the hems in position if you like, but I used tape so that there would be no stitches on the front of my wall hanging.
Step 5
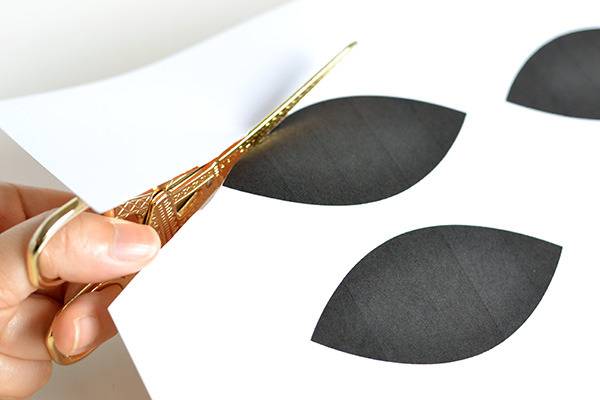
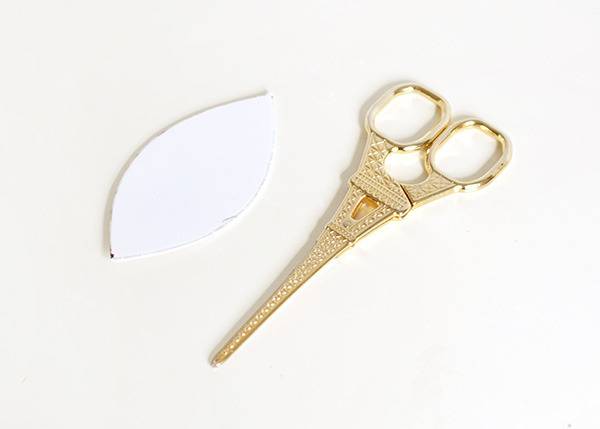
Print out the leaf template onto a piece of card and cut out one of the leaves using a pair of scissors.
Step 6
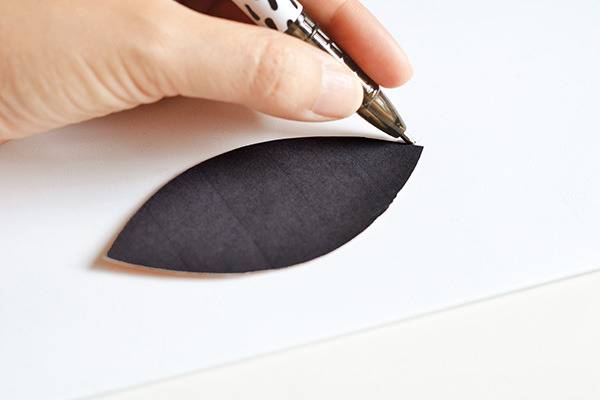
Using the cardboard leaf as a guide, trace a leaf shape onto a sheet of foam.
Step 7
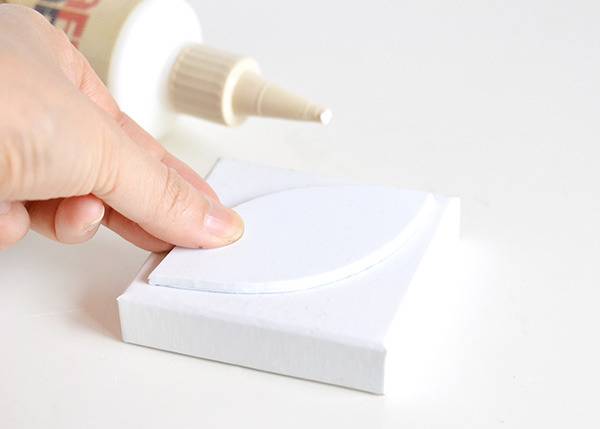
Cut out the foam leaf with a pair of scissors and stick it onto a stamp mount with craft glue. If you don’t have a stamp mount (I didn’t!), just use a jar lid or a small cardboard box lid instead.
Step 8
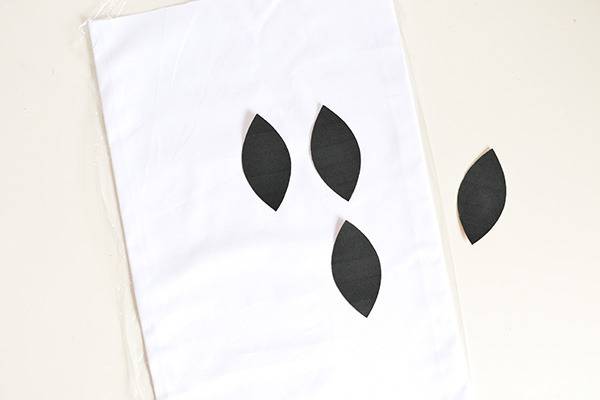
Place a piece of plastic film on your workbench to protect the surface from paint. Then lay your material flat so that the side with the hems is face-down. With a pencil, mark out roughly where you’d like your leaves to go.
If you’re having difficulty figuring out where to place your leaves, an alternative is to print out more cardboard leaves from the leaf template to use as placeholders. Cut them out and lay them on top of your material so you can clearly see what your fabric will look like when stamped.
Step 9
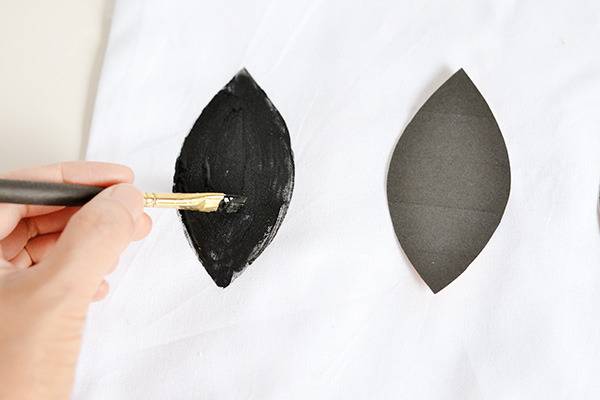
Paint your foam stamp with fabric paint. Remove one of the ‘placeholder’ cardboard leaves from your fabric and stamp a leaf in its place.
Repeat this step until you’ve covered your fabric with leaves (for best results, reload your stamp with paint after stamping each leaf).

Stamping tends to have an ‘imperfect’ finish, where some parts of the stamped image aren’t quite filled in. If you’ve found your stamping has left patches and you’d like your leaves to be completely opaque, get a paintbrush and fill in the gaps.
Step 10
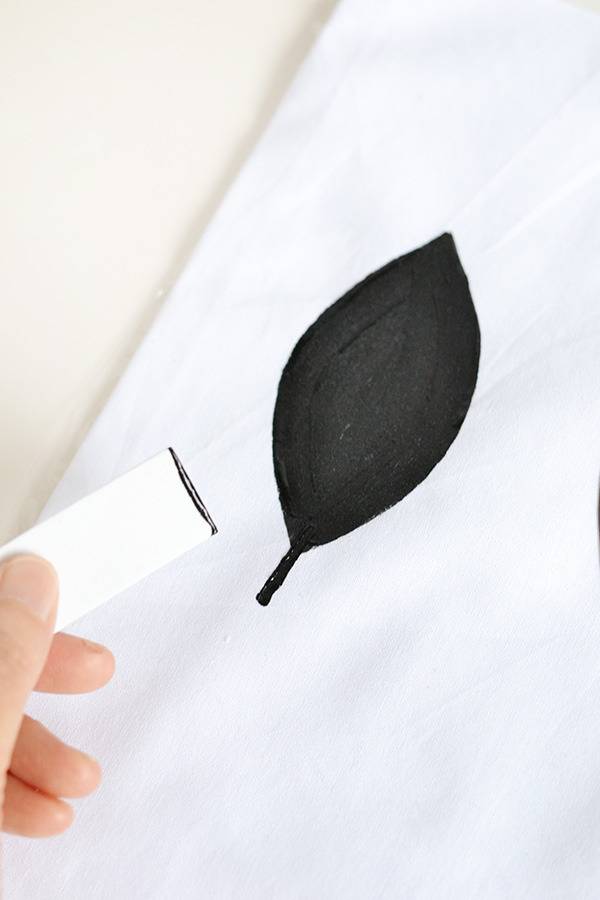
Once all your leaves have been stamped on, cut a small section of foam about 0.75 inches (2cm) long. Coat the edge of the foam with fabric paint and use this to stamp in the leaf ‘stems’.
Step 11
Wait until your leaves have fully dried, then get some cardboard and cut a few strips in different sizes – we’ll use these to start stamping in the patterns on your leaves.
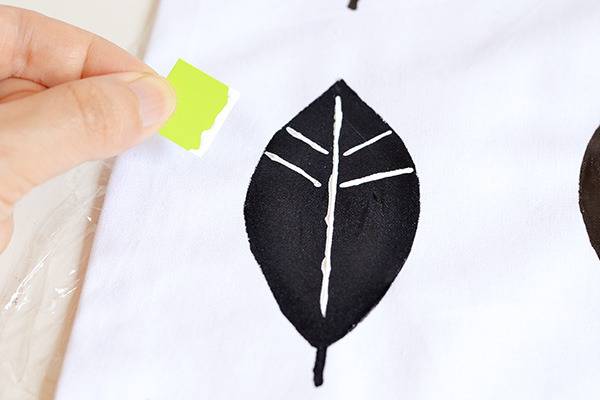
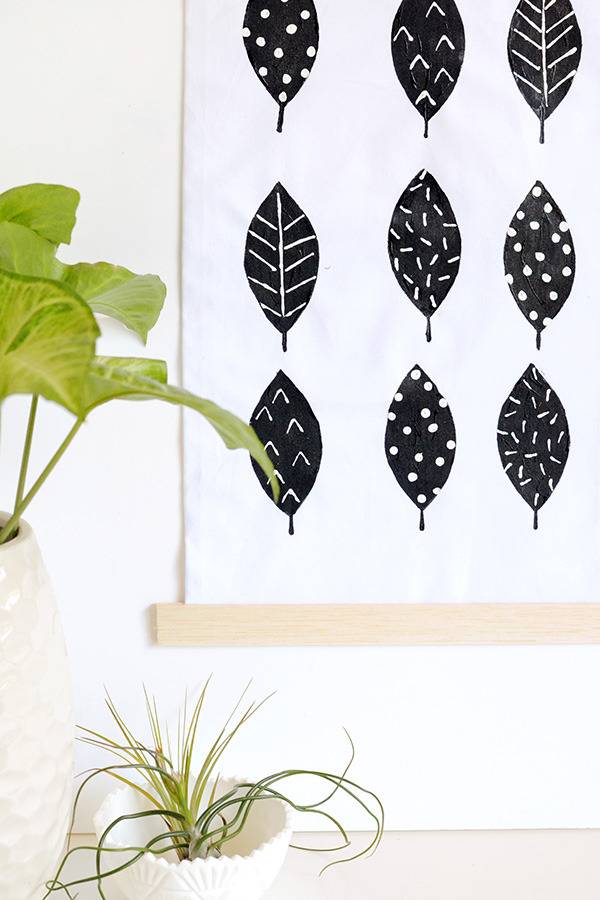
To add a centre vein, cut a piece of cardboard that’s the same length as your stamped leaf. Coat the edge of the card with white paint and stamp a line all the way down the centre of the leaf.

Then use a shorter piece of card to stamp in the rest of the veins.
Don’t forget that the leaves don’t have to be realistic – this is Scandinavian inspired after all! I used smaller bits of cardboard to create ‘v’ patterns and dashes on the other leaves.
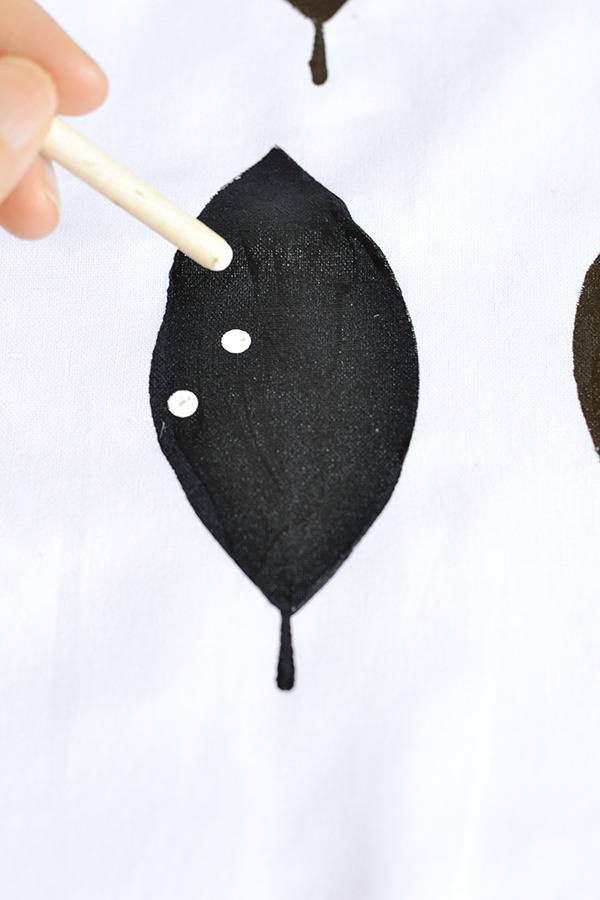
I also created dots on a couple of the leaves by dipping the end of my paintbrush in fabric paint and using that as a stamp.
Step 12
While you’re waiting for the patterns to dry, cut four pieces of balsa wood that are around 0.6 inches (1.5cm) thick and just slightly wider than your piece of fabric.
Step 13
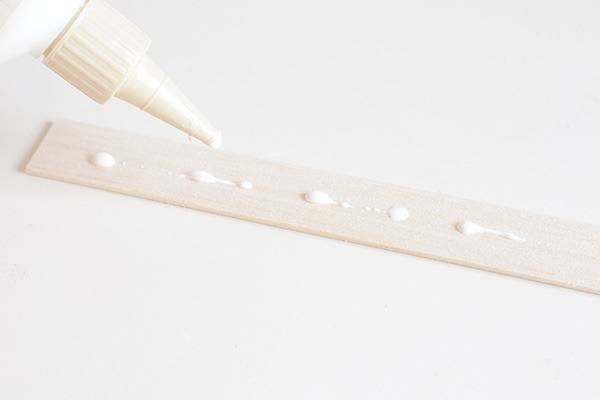
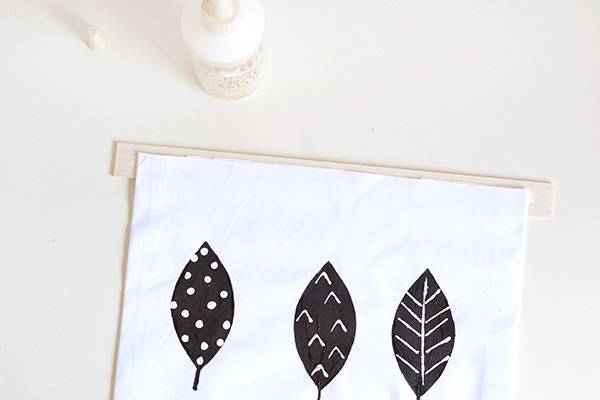
When the paint on your wall hanging has completely dried, lay one of the wood pieces on your workbench, add some glue and then stick down the top of your fabric.
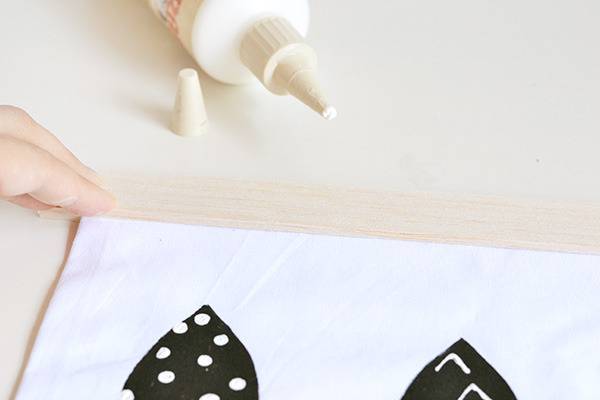
Step 14
Apply glue to a second piece of wood and place it on top of the fabric you’ve just stuck down. This will sandwich the top of the wall hanging securely between the two wood pieces.
Repeat this step for the bottom of your wall hanging.
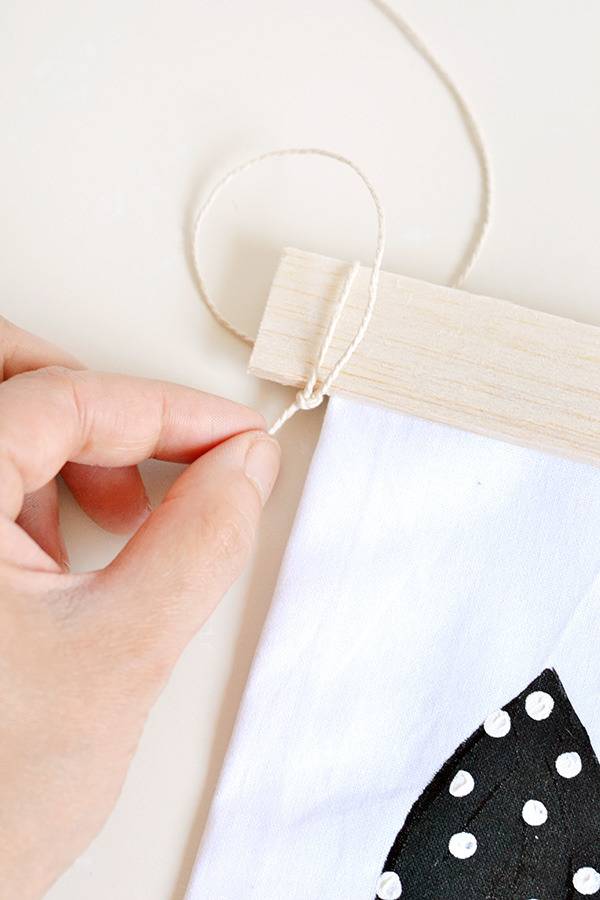
Step 15
Cut a piece of twine long enough to hang up your wall hanging and then tie it to the top wood strip, on either side of the fabric.
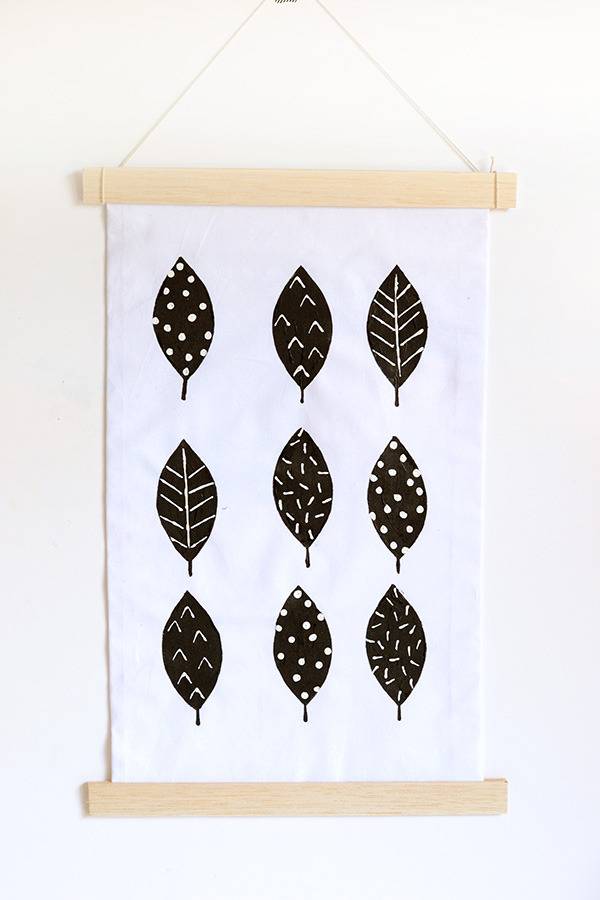
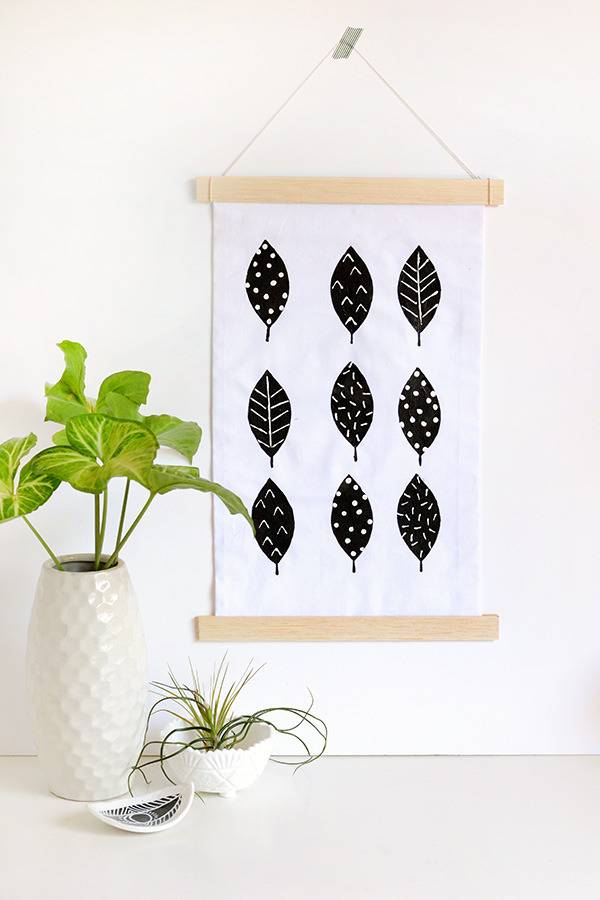
And hey presto, your wall hanging is complete! Don’t forget you can customise the colours, patterns and positioning of the leaves on this wall hanging to suit your personal taste and existing decor… there’s plenty of ways to have fun with this project and make a piece that’s unique to you!
Beautiful job, and wonderfully executed! Simple and super doable. I love it, Stephanie!
Thanks Chris – I’m so glad you like it!