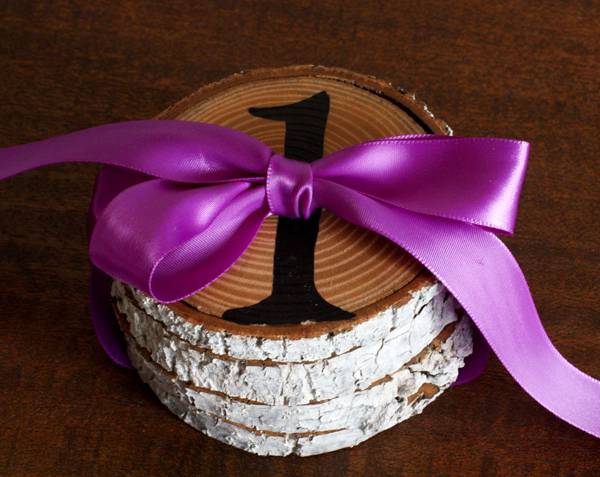
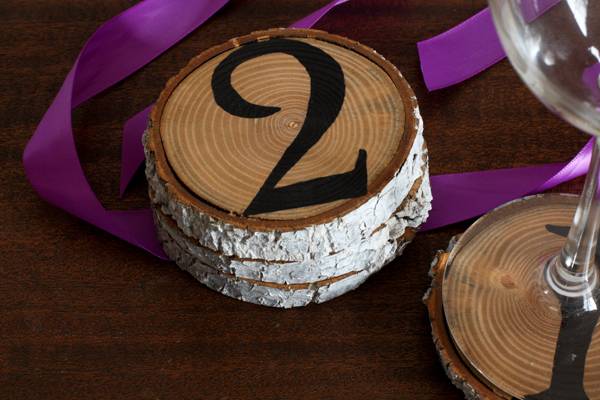
This holiday season, I just can’t get limbs, stumps and branches out of my system. I’ve been out in the wood pile again so I decided to slice up some more tree limbs to create a set of great big graphic number coasters with whitewashed bark. The numbers allow you to keep track of your drink, and add an awesome punch of type. It’s so easy to set up the assembly line and start cranking out these always useful handmade coaster sets for gifts!

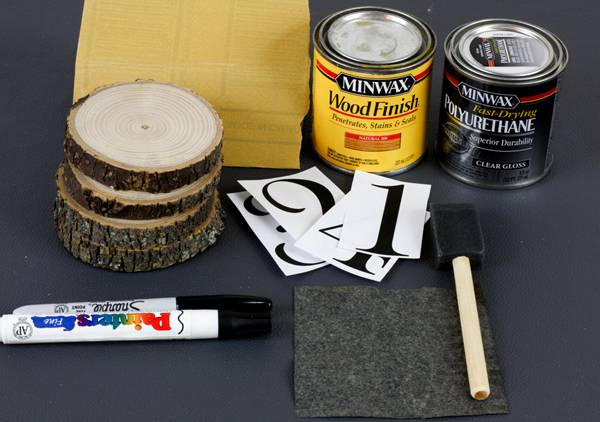
Materials and tools:
- dried tree limbs approximately 4-5 inches in diameter
- miter or chop saw
- white latex paint and water
- fine sandpaper
- small paint brush and foam brushes
- printout of numbers 1-4 from your computer
- transfer paper
- blunt end of a small paintbrush
- black permanent sharpie
- satin finish polyurethane
- pretty ribbon
In the tradition of dear old mom, I’ll combine this gift with, say, bottle of wine for a knockout themed gift. Perfect for Christmas, Hannukah or any gift giving event.
Take a walk through this step by step tutorial.
1. Gather your materials (I switched out the stain for white paint mixed with water for a whitewash)
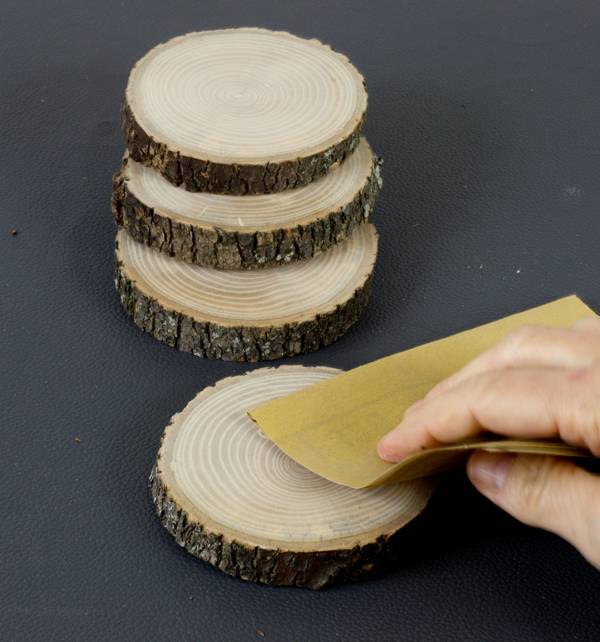
2. Slice up four 3/4″ thick pieces of tree branch and sand one side
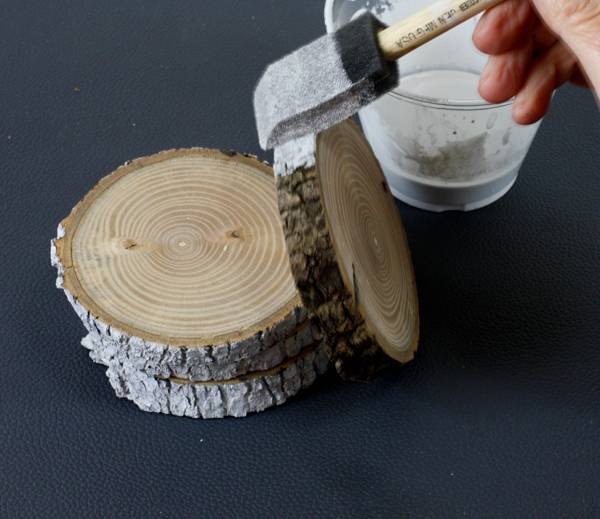
3. Mix equal parts of white paint with water and brush the whitewash on the bark edges
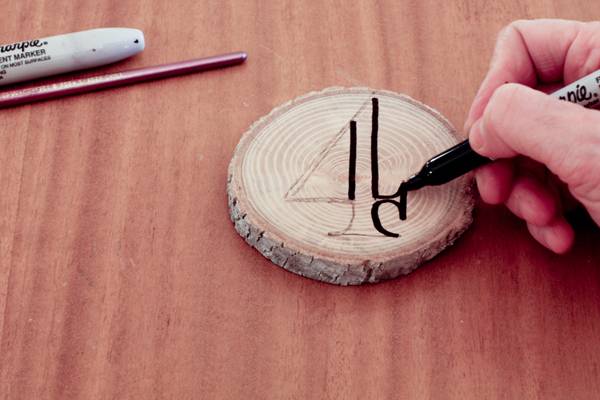
4. Transfer your graphic design onto the top surface using transfer paper and a dull end of a paintbrush
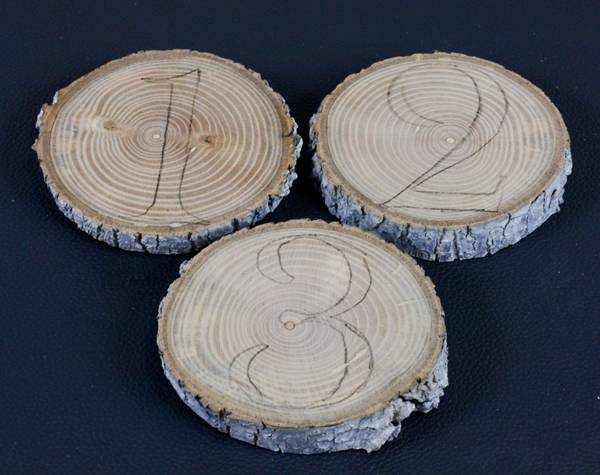
5. Use a permanent black Sharpie to fill in the numbers
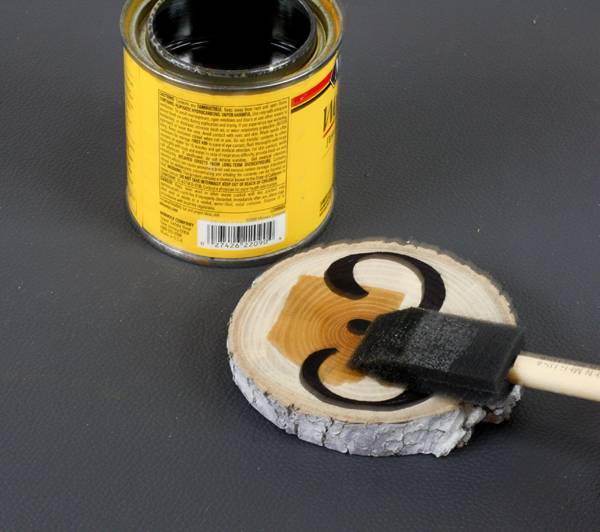
6. Brush satin finish polyurethane on the surfaces and sides of each coaster
Optional: Cut out and glue felt circles on the under side of each coaster.
Did you intend to stain them before applying the poly?
Yeah did you actually read your own artcile before publishing it?
Hi ‘dude’: If you read the article, ModHomeEcTeacher explains that she decided to use a whitewash instead of staining. –>
“1. Gather your materials (I switched out the stain for white paint mixed with water for a whitewash)”
Sometimes when creating a tutorial, you make a few changes after already taking photos. It happens. 🙂
Then why not take more pictures?