
Kitchen chairs, bar stools, porch furniture, patio furniture, window seats, sofas, chairs, floor pillows, dog beds, doll beds, cat beds, and that’s all I can think of, this tutorial will show you step-by-step how to make your own boxed and corded cushions.
You can ditch the cord for a more modern look.
Have at it this Spring with the beautiful large graphic print fabrics available for the interior and the new outdoor fabrics–to die for!
Let’s get started-
what you need:
sewing machine
zipper foot
fabric
foam for cushion
scissors
batting
stuffing
zipper
what you do:
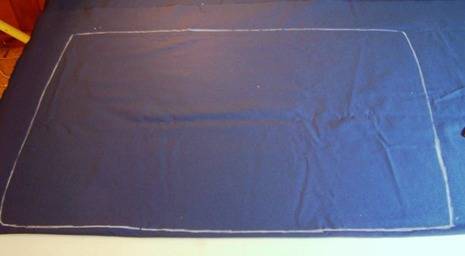
1. using old cushion cover, foam cushion, template or measurements, trace cushion pattern on wrong side of doubled fabric
2. cut out boxing long enough to go around cushion front and two short sides, the back piece will be the zipper piece
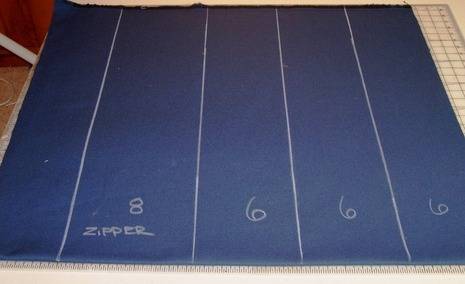
This cushion measured 40″ x 30″ x 5″. The front piece of boxing was cut from a width of fabric measureing 54″ x 6″. The front piece wrapped around the sides 7″ on each side. 1/2″ will be lost to a seam allowance on each side. Two additional pieces measuring 25″ x 6″ were stitched on both short ends of the front boxing piece. It’s better to have a little extra than not enough.
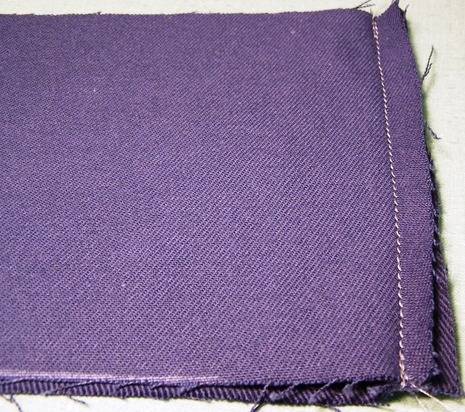
3. stitch both short boxing strips to either end of the front boxing
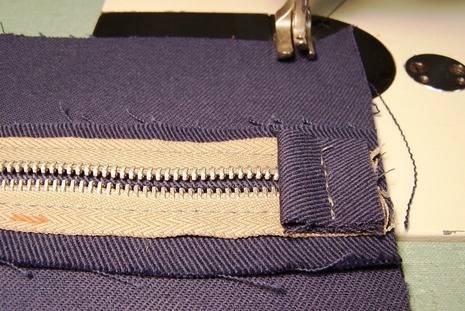
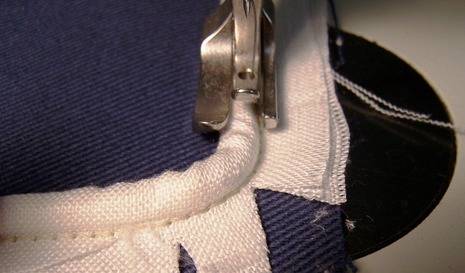
4. stitch zipper boxing to one end of zipper boxing
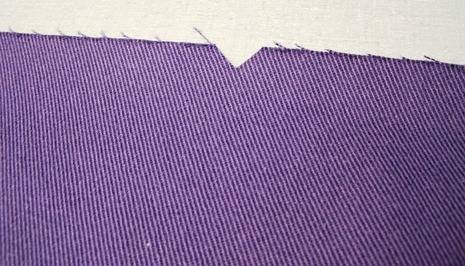
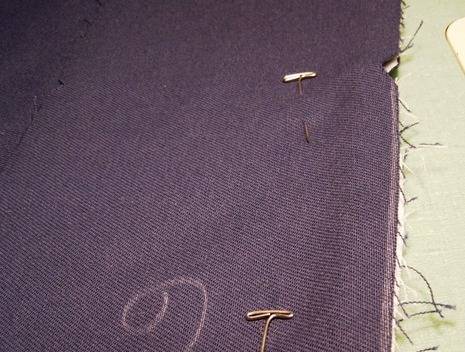
5. cut notches to mark center points of top and bottom of cushion cover, center of long boxing piece and center of zipper piece as guides when pinning and sewing pieces together
6. with raw edge of cording lip lined up with raw edge of cushion top piece, starting in middle of one long side, stitch cording on top piece all the way around
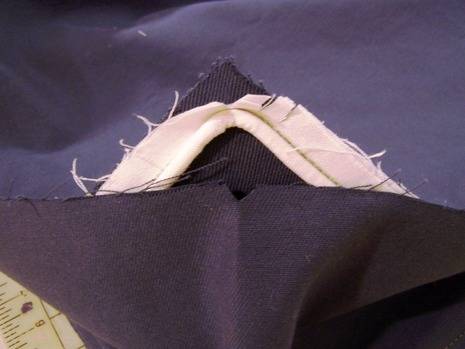
7. at corners, snip lip of cording to allow cording to turn corner, keep stitching close to cording
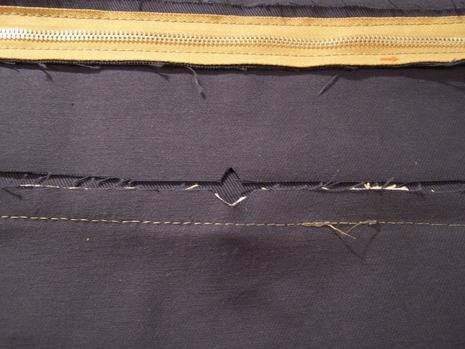
8. when coming around to start point, cut cording at a point approximately two inches beyond start of stitched down cording
9. open stitching up about 1 1/2 inches, snip off cording at the point where it butts up to other cording end
10. fold fabric back and under, encasing other end of cord and stitch down
TIP: See: Curbly’s How-To Reupholster Round Bar Stools for a photo of finishing the cord ends
11. stitch cording to both top and bottom pieces
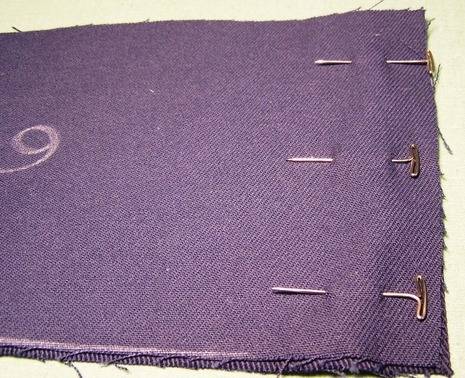
12. aligning notches on cushion top piece and long boxing piece, pin boxing to cushion top, right side to right side
13. match notch on zipper boxing piece to notch on back of cushion top, pin corners to corners, pin all the way around and stitch
TIP: Always stitch with the smaller piece placed on top of the larger piece
14. anticipating where the open boxing end will meet the open zipper boxing end, pin and stitch together so that boxing is continuous all the way around the cushion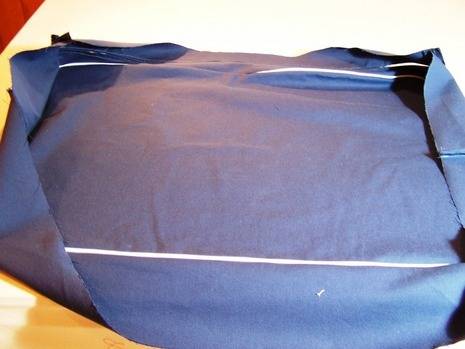
15. pin the cushion bottom piece exactly the same way as the top, matching notches and corners to keep cushion straight
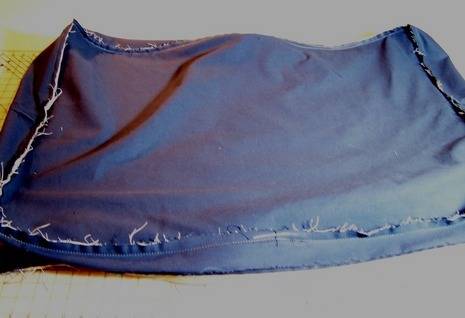
16. turn right side out
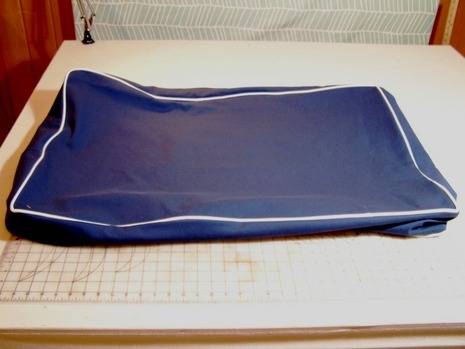
17. get foam ready to stuff in to cushion cover
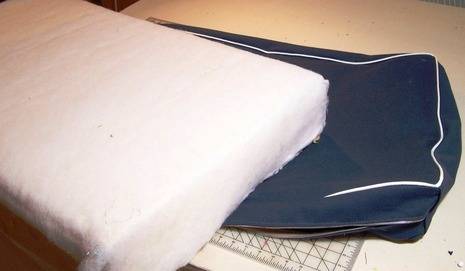
18. scrunching and wrestling with the foam cushion, insert it into cushion cover
19. work the foam around, adjusting cushion cover to make the cushion look uniform and smooth
20. use extra stuffing in corners to fill out cushion (every upholsterer does this)
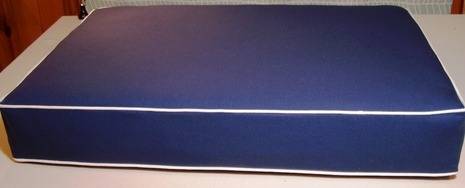
21. zip up the back and enjoy your new skill
TIP: Sometimes there is a little extra between the zippe and the foam, in that case, cut a strip of batting to fill in the extra space.
Start fabric shopping for all the new cushions you will make this Spring.
It gets easier every time you do it.
Do you pre wash your fabric? Or can it just be steam ironed for shrinkage?
Love this tutorial! What kind of fabric did you use for this? It looks so crisp and wrinkle-free. I’m hoping it is machine washable…?
Thanks,
Christi