

I made this ‘Sham-delier’ to give my balcony a little indoor/outdoor
ooh la la. It was inspired in part by Philippe Starck’s Ghost Chairs, I
love the whole classic shape/modern material juxtaposition. Anyway, if
you want to make your own here’s what you’ll need:
- Two Flexible plastic chopping boards, mine came from the Dollar Store but Ikea does them too.
- Two flameless tea lights, again, Dollar Store finds, but you could try here
- Some decorative scrapbooking chain… yup, it’s from the Dollar Store…
- This PDF template, or you could try your own design.
Step 1:
So, you can either print out the PDF thingy or you can try your own hand at a design. Once you’ve got your template, pop the chopping board over the template then trace your design onto it in PENCIL… (really, you’ll be erasing it later).
Step 2:
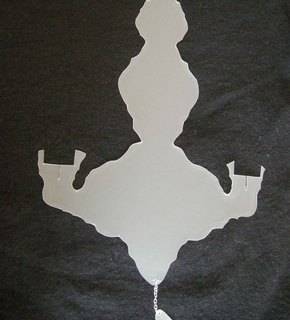
Carefully cut around your design so you have something that looks like this:
Step 3:
Repeat Step 1.
Step 4:
Trace then cut out two of the side bits and three of the ‘crystals’.
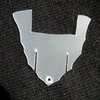 x2
x2 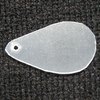 x3
x3
Step 5:
Using a hole punch or a sharp craft knife poke holes into the bottom of one of your main body pieces both of your side pieces and at the top of all three of your ‘crystals’. Make sure that the holes are close enough to the egde to get a attach a chain link, like this: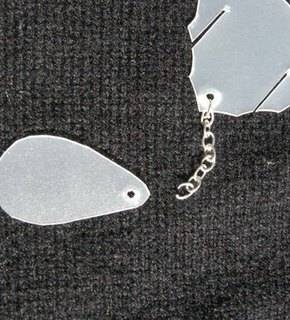
Step 6:
Attach your ‘crystals’ with a small lenght of chain. Turns out you should use needle nose pliers or something for this, unless you WANT to break your nails horribly.
Step 7:
Pop some chain through the top two hole of the main body peices. This is the hanging chain so if you know where your sham-delier is going to live so much the better.
Step 8:
Slide the side peices into the slots. It should look like this.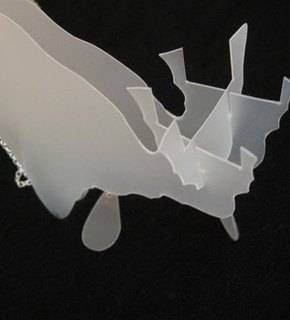
Step 9:
Pop your flameless tealights into the ‘holders’ you have created.
Step 10:
Light it up and enjoy!