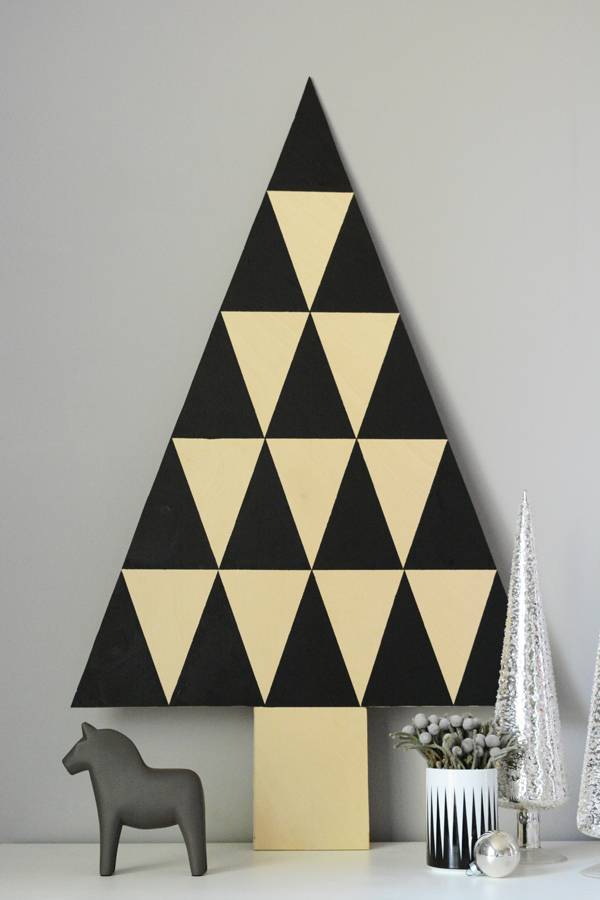
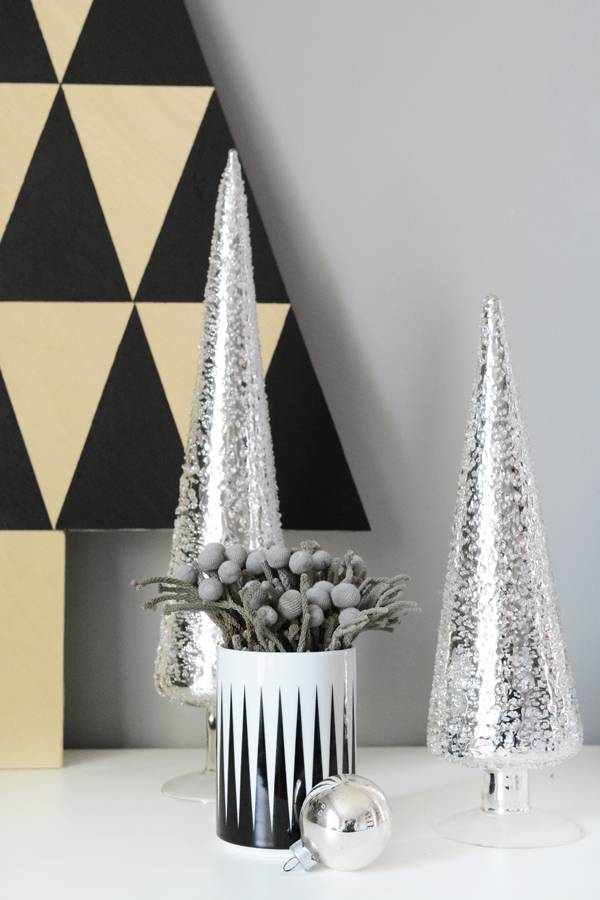
I am a huge fan of simple, clean shapes, and triangle are my all time favorite. This little alternative Christmas tree was inspired by a tree I saw in a shop window in Sweden a couple years ago.

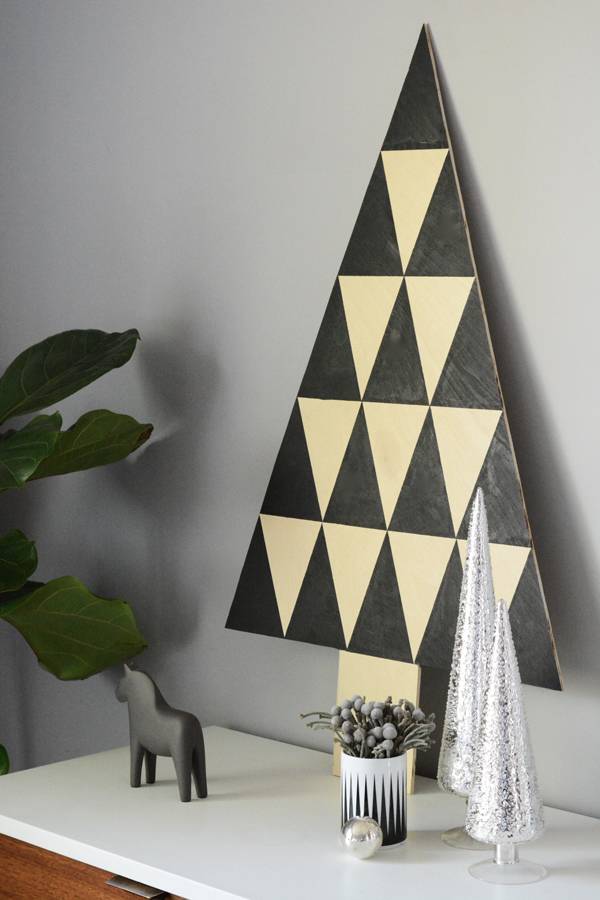
I’m loving this little graphic tree in my bedroom. Most of the rooms in our house have a touch of Christmas here and there, but our room had nothing.
Here’s what you’ll need:
- a small piece of 1/4″ plywood (about 30″x20″)
- a jigsaw, table saw, or hand saw
- painter’s tape
- pencil, ruler, and straight edge
- small paint brush
- black craft paint
- sand paper
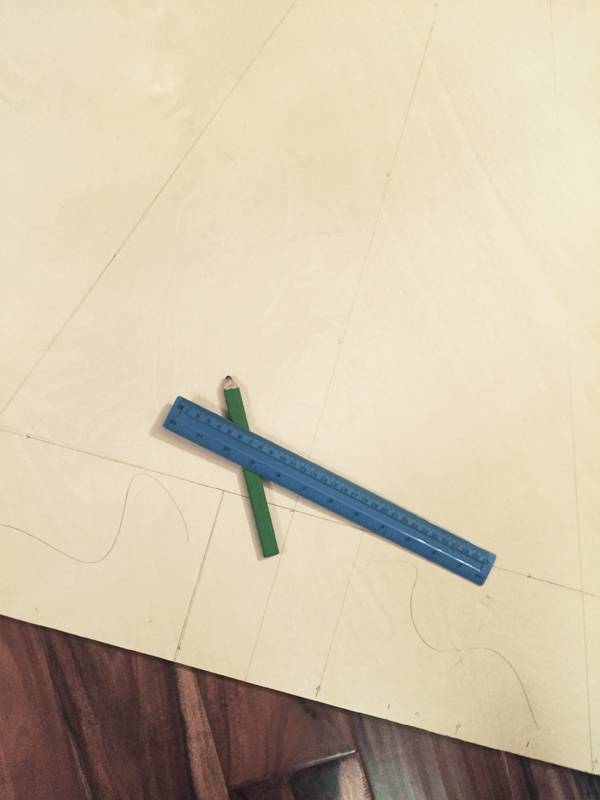
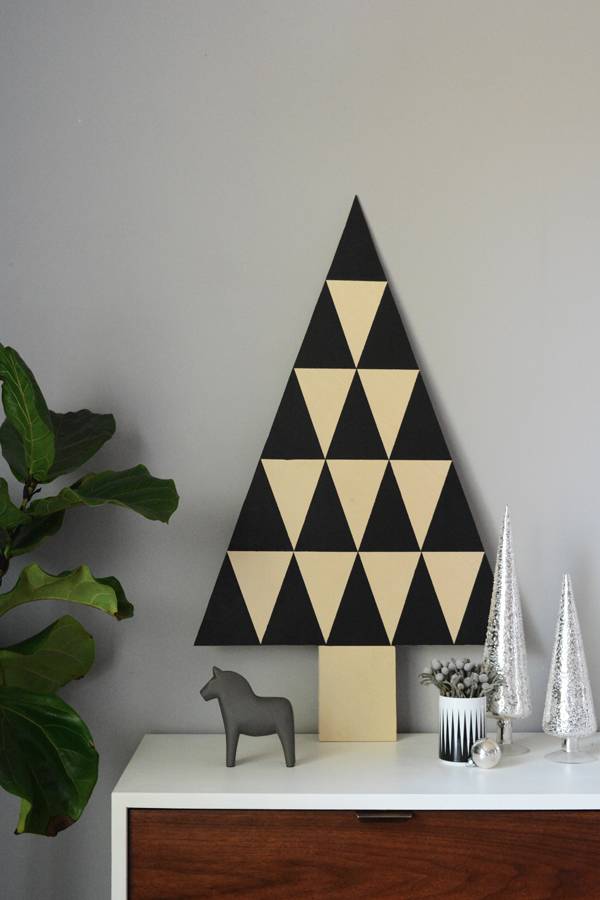
Start by drawing out your tree shape. It’s best to start from the bottom and work your way up. The triangle on my tree are 4 inches wide and their bases and 5 inches tall. So, the overall tree is 25 inches tall (without the trunk) and 20 inches wide. I started with the trunk, which is 5 inches wide and 6 inches tall. Then I drew and center line for the tree up 25 inches and the base of the tree 20 inches. This allowed me to connect the sides of the tree.
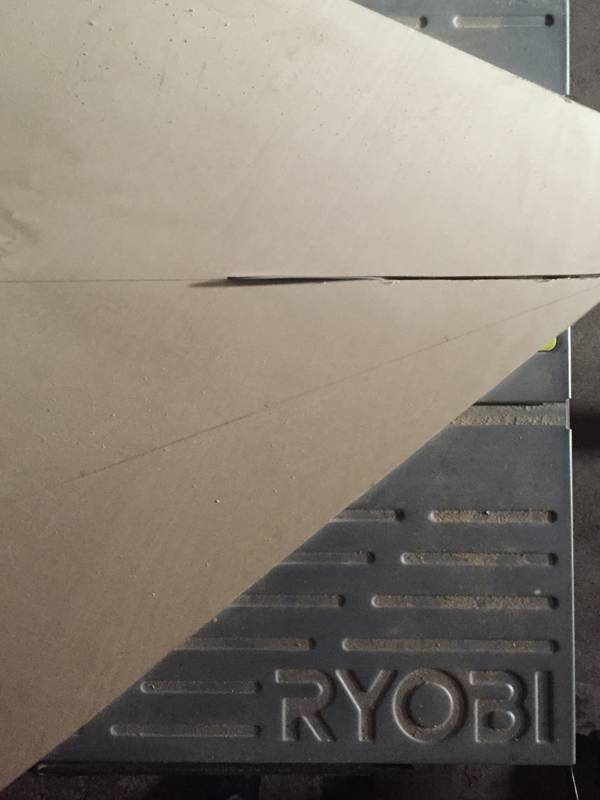
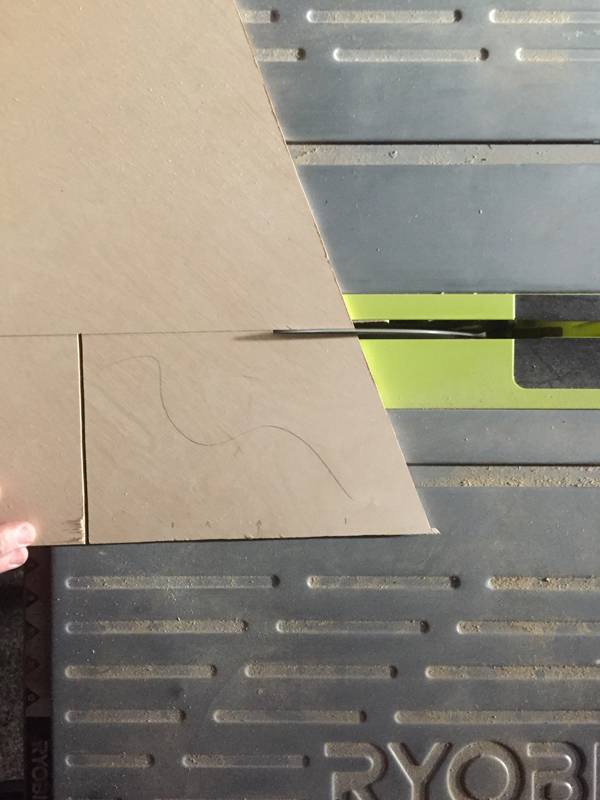
Using a tablesaw, I cut (well technically my Dad) cut down the sides of the tree first. If you don’t have a table saw, a jig saw works well, or even a hand saw.
Finally, cut out the trunk.
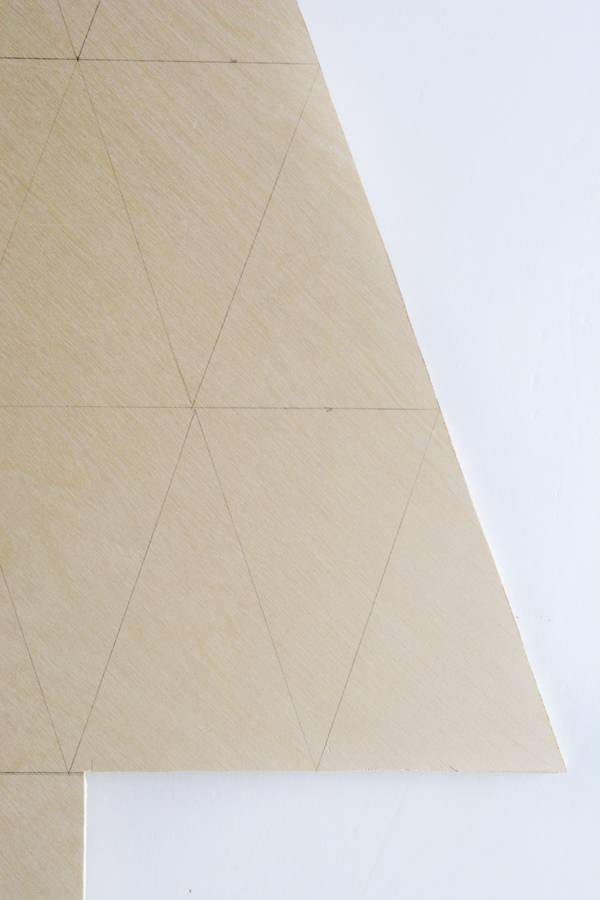
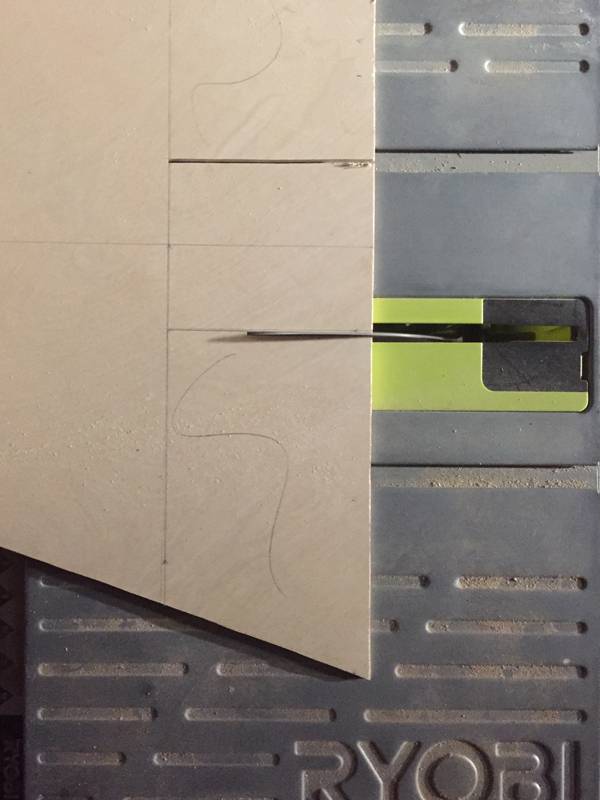
Next I drew lines across the tree 5 inches apart. Then I marked off 4 inch distances across those lines and connected the points to create the 25 smaller triangles that make up this large triangle of the tree.
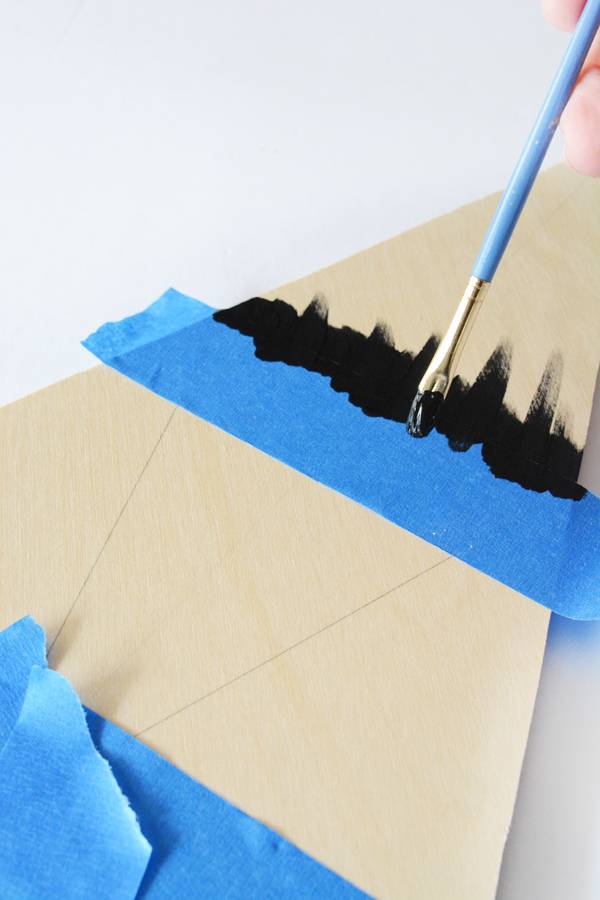
Give the edges a light sanding and then you can begin to paint. I chose to alternate black and natural triangles, but any combination of colors could be used. I used blue painters tape to get sharp, clean lines. You really have to allow for a little drying time between triangle and paint every other black traingle in a row to begin with.

So that the paint does not seep under the tape lines, using and small paint brush, paint away from the tape, towards the center of the triangle on all sides.
Then you can paint in the center of the triangle. Remove the tape and quickly as possible, to avoid any of the painting running under.
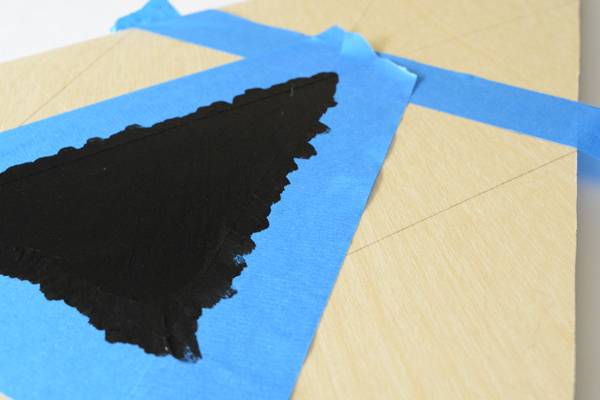
Once the triangle is dry, you can tape over the painted parts in order to paint the other triangles in that row. It’s a little bit of a slow process, but with a little drying time, you can have nice crisp lines.