
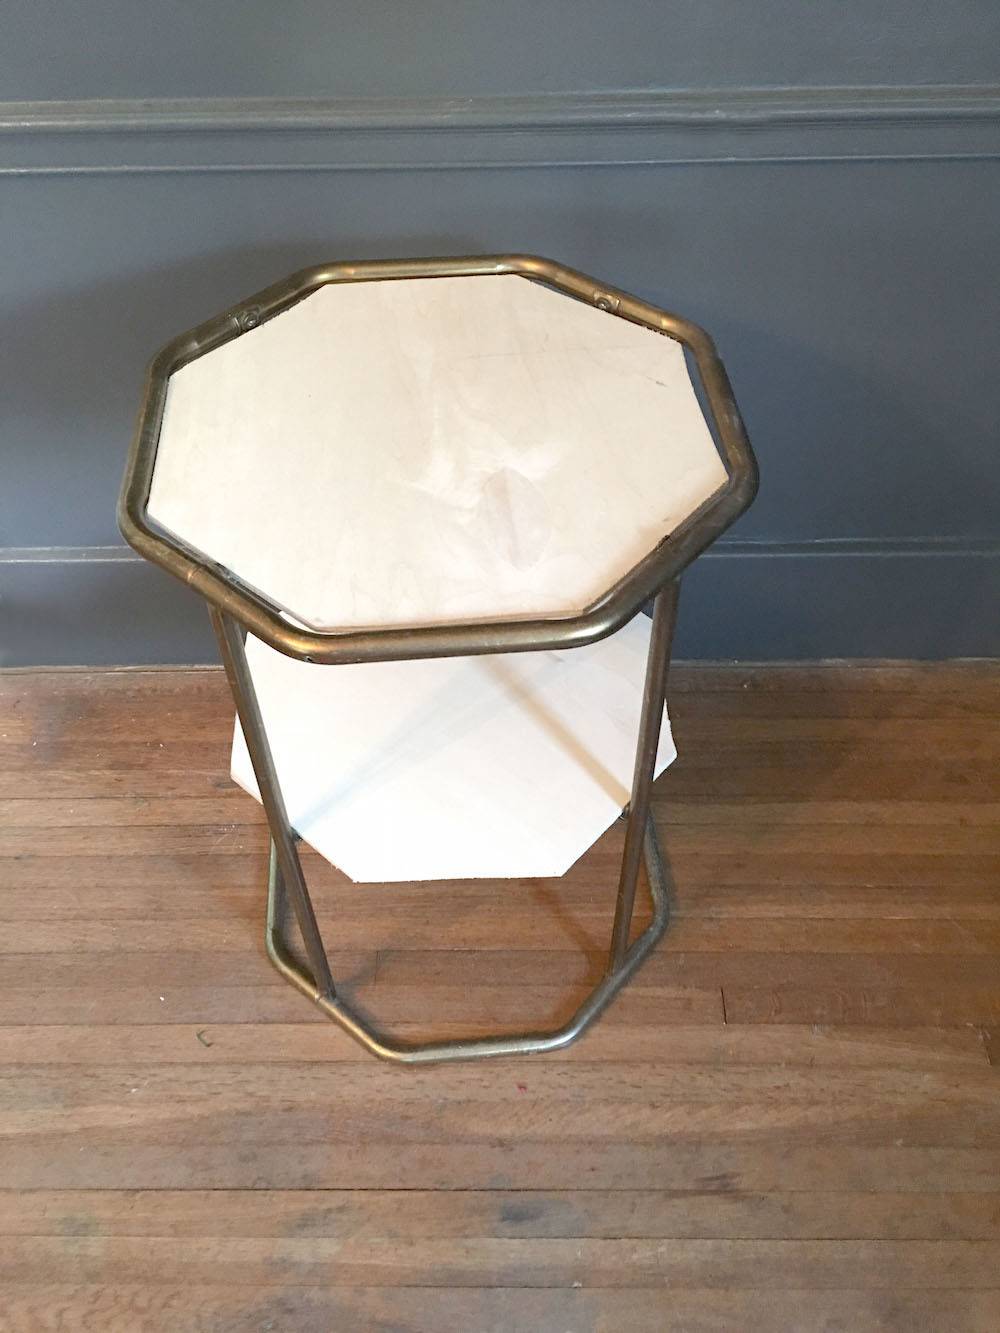
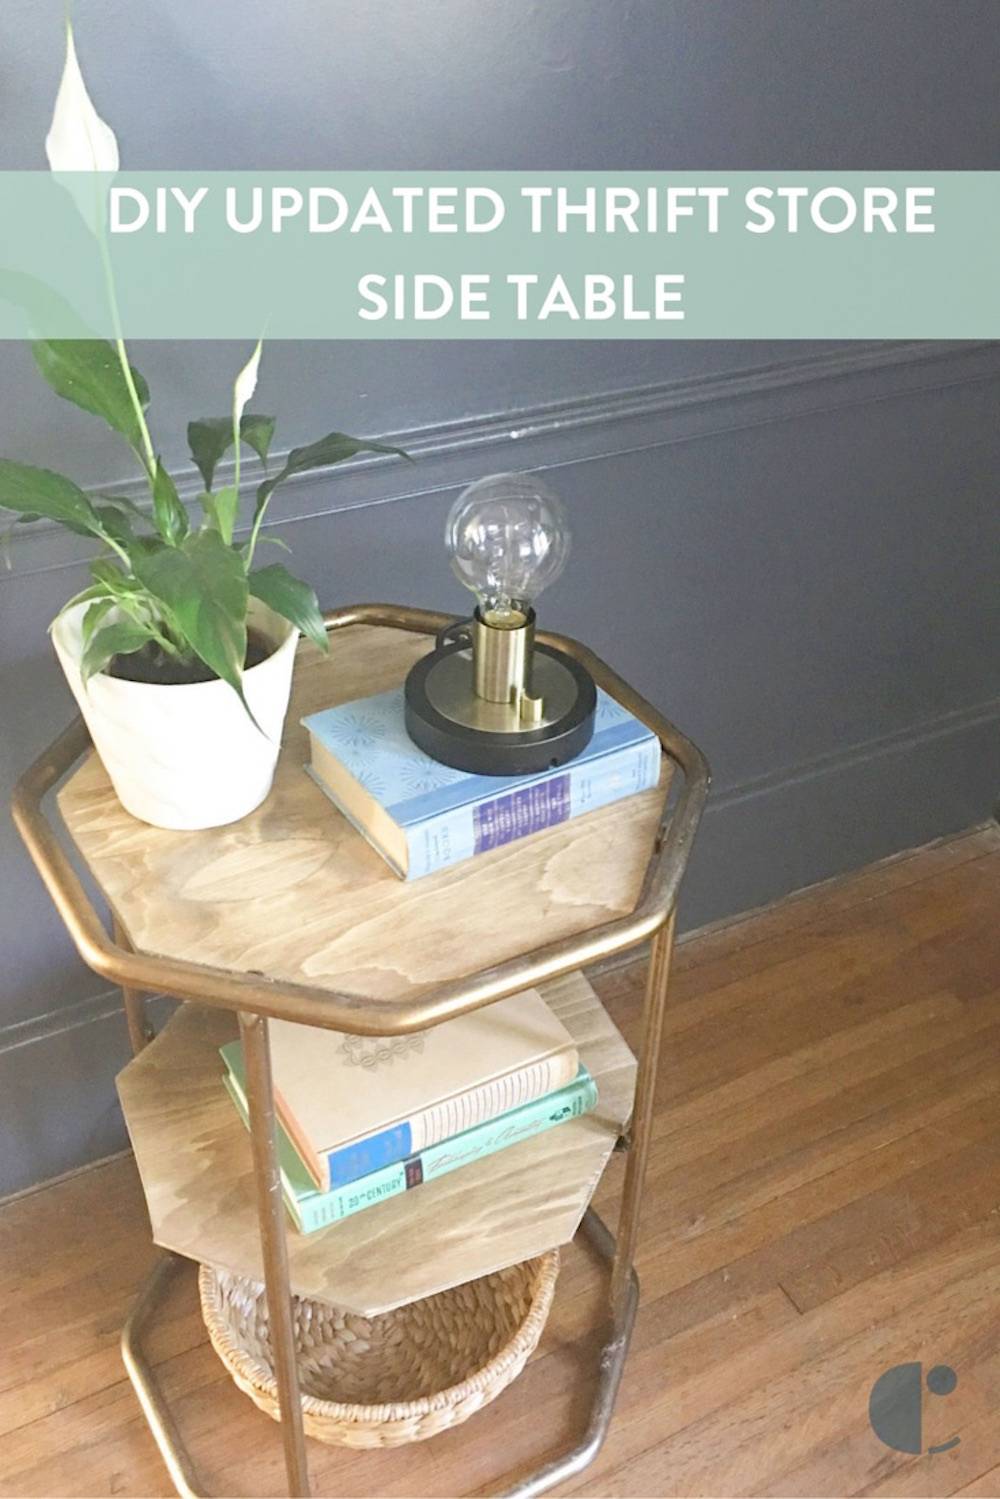
A common find in my local thrift store are glass and brass side tables, coffee tables and console tables. Here is how even a beginner DIYer can make these 1980’s cast offs something special in their home.
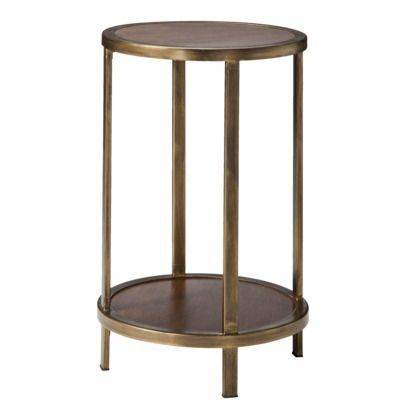
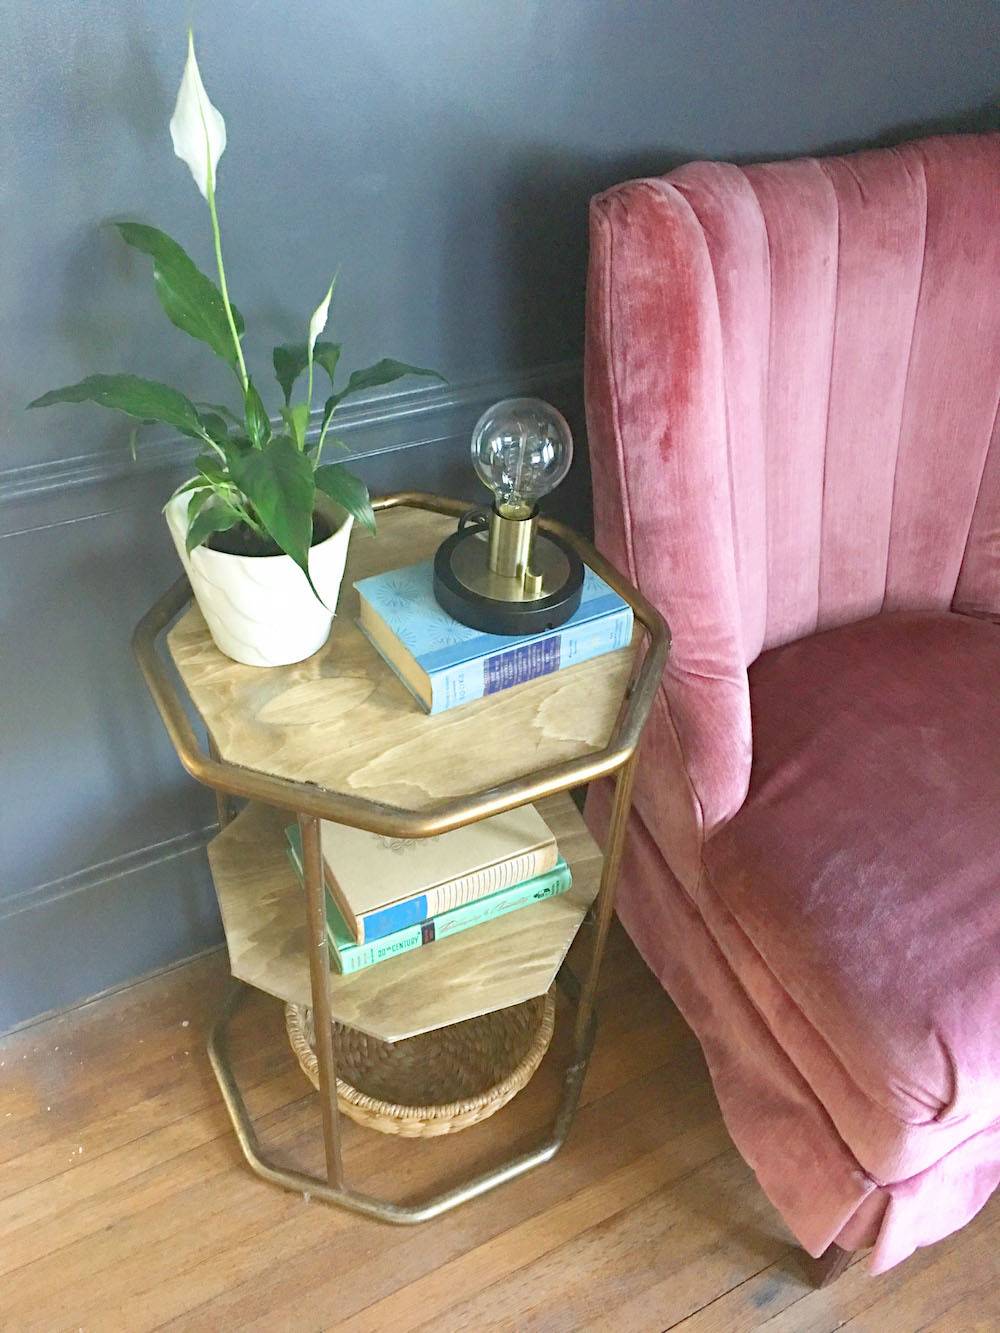
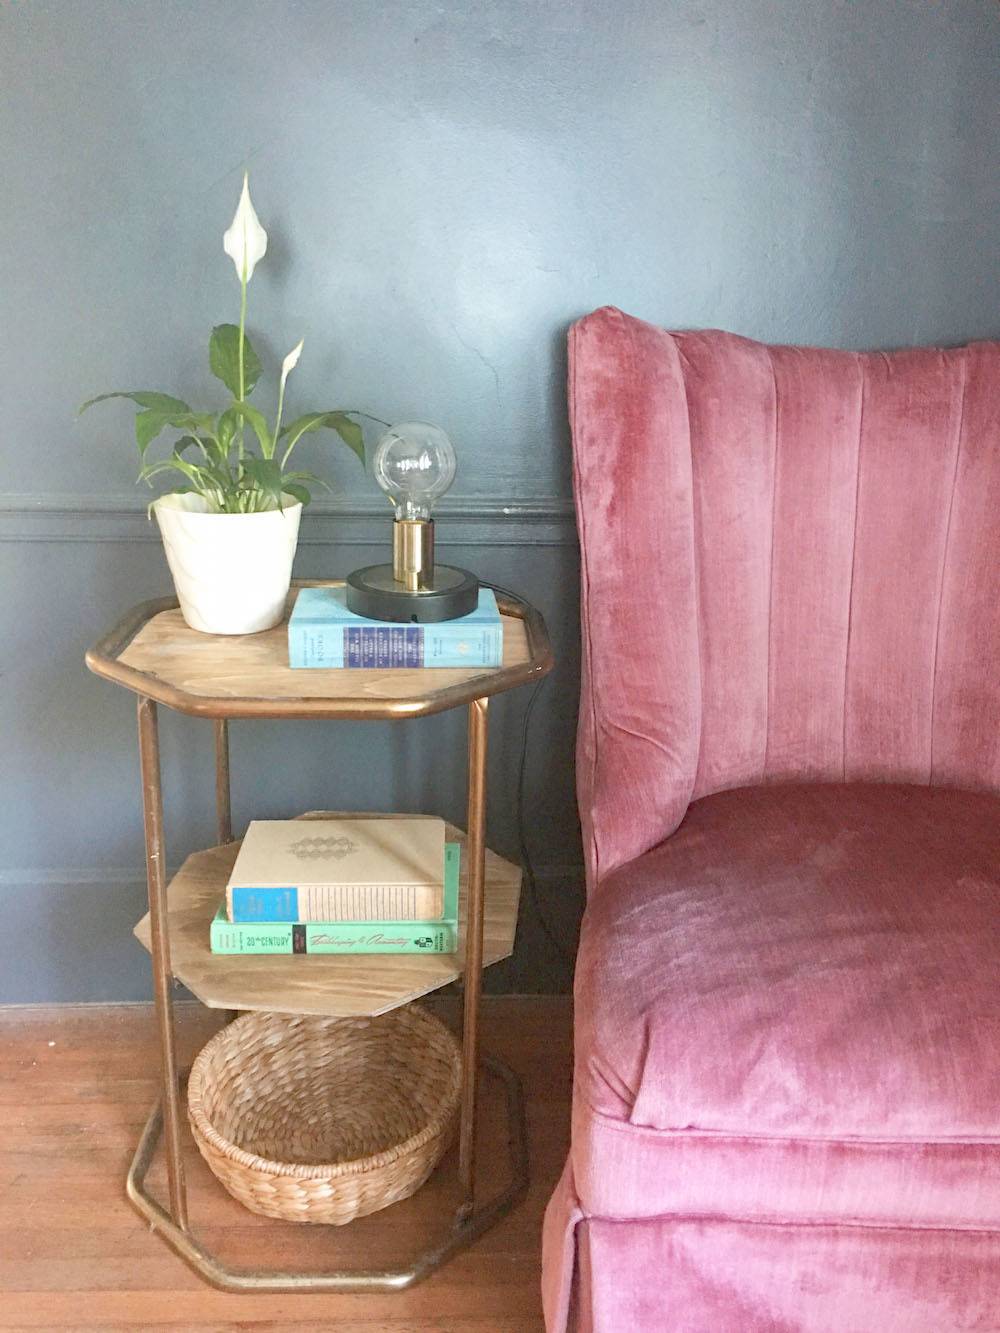
Lately I have been loving the matte brass and wood look in furniture. The above version is one of my favorites.
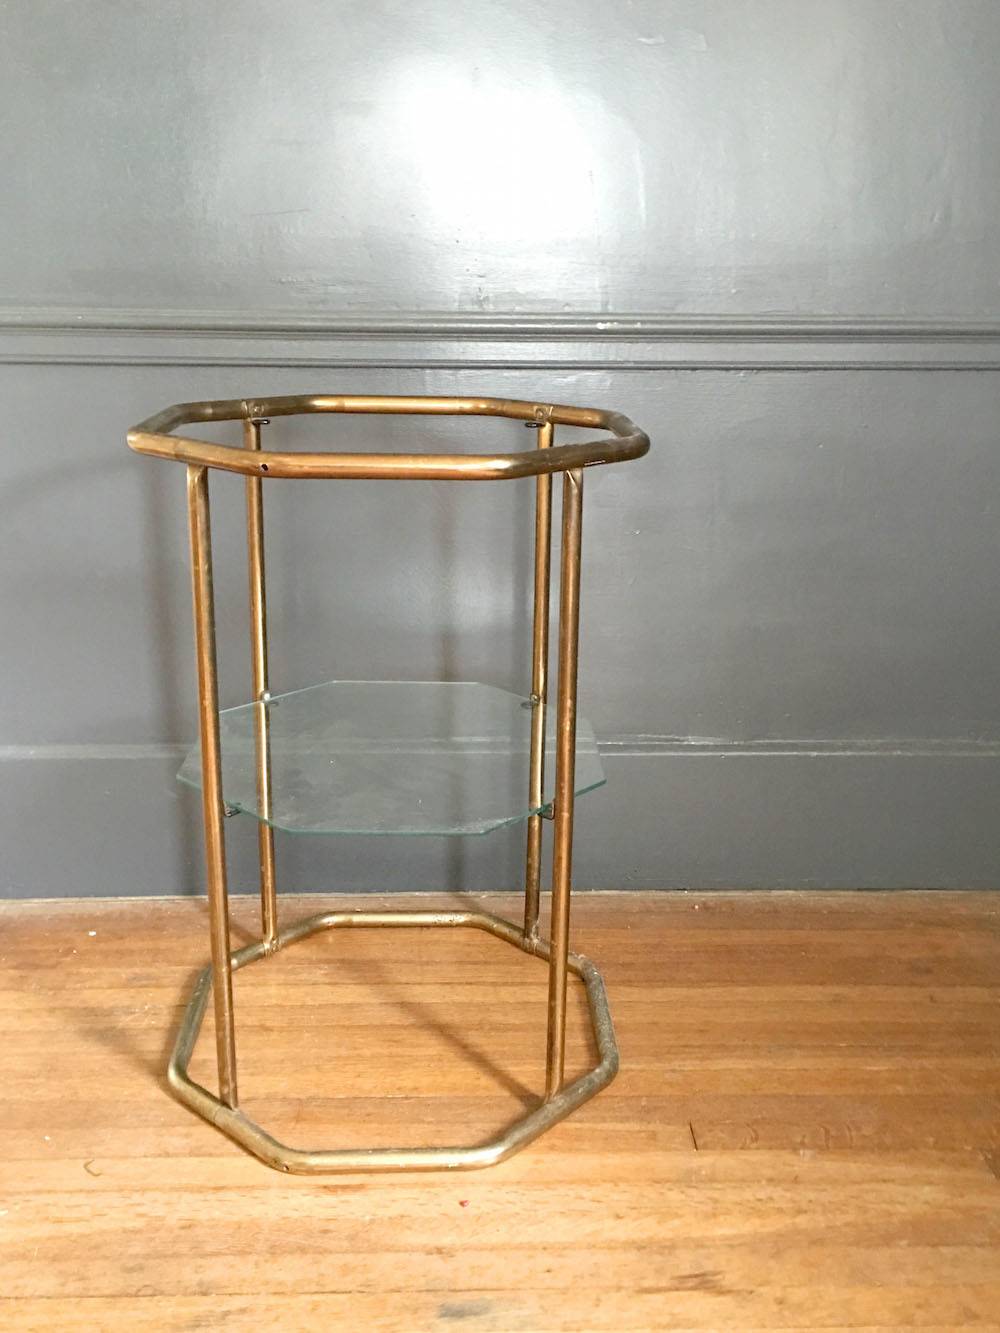

I found a pair of these side tables at a thrift store for $7. I lucked out because they just happened to be matte brass but they had glass. One was in good shape so I used it in my guest bedroom. The other was missing a piece of glass. I decided to add some stained wood instead.
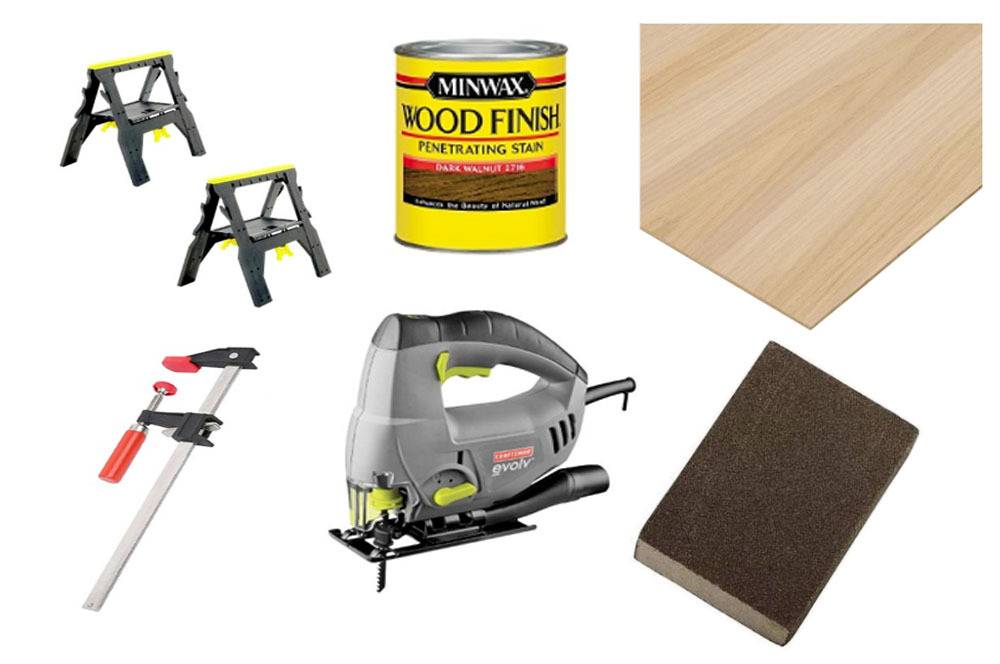
Here is what you need:
Materials
- glass and metal table from your thrift store
- plywood (size depending on your project. I just needed two 2X2 sheets)
- Jig Saw (I used a Craftsman Corded saw, $49.99 on Amazon)
- Saw horses
- clamps
- Sander or sanding block
- Small Can of Wood stain ( I just needed a sample size)
- Spray Paint (optional…I did not need this but if you find a 1980s bright gold and glass treasure you might want to do this step)
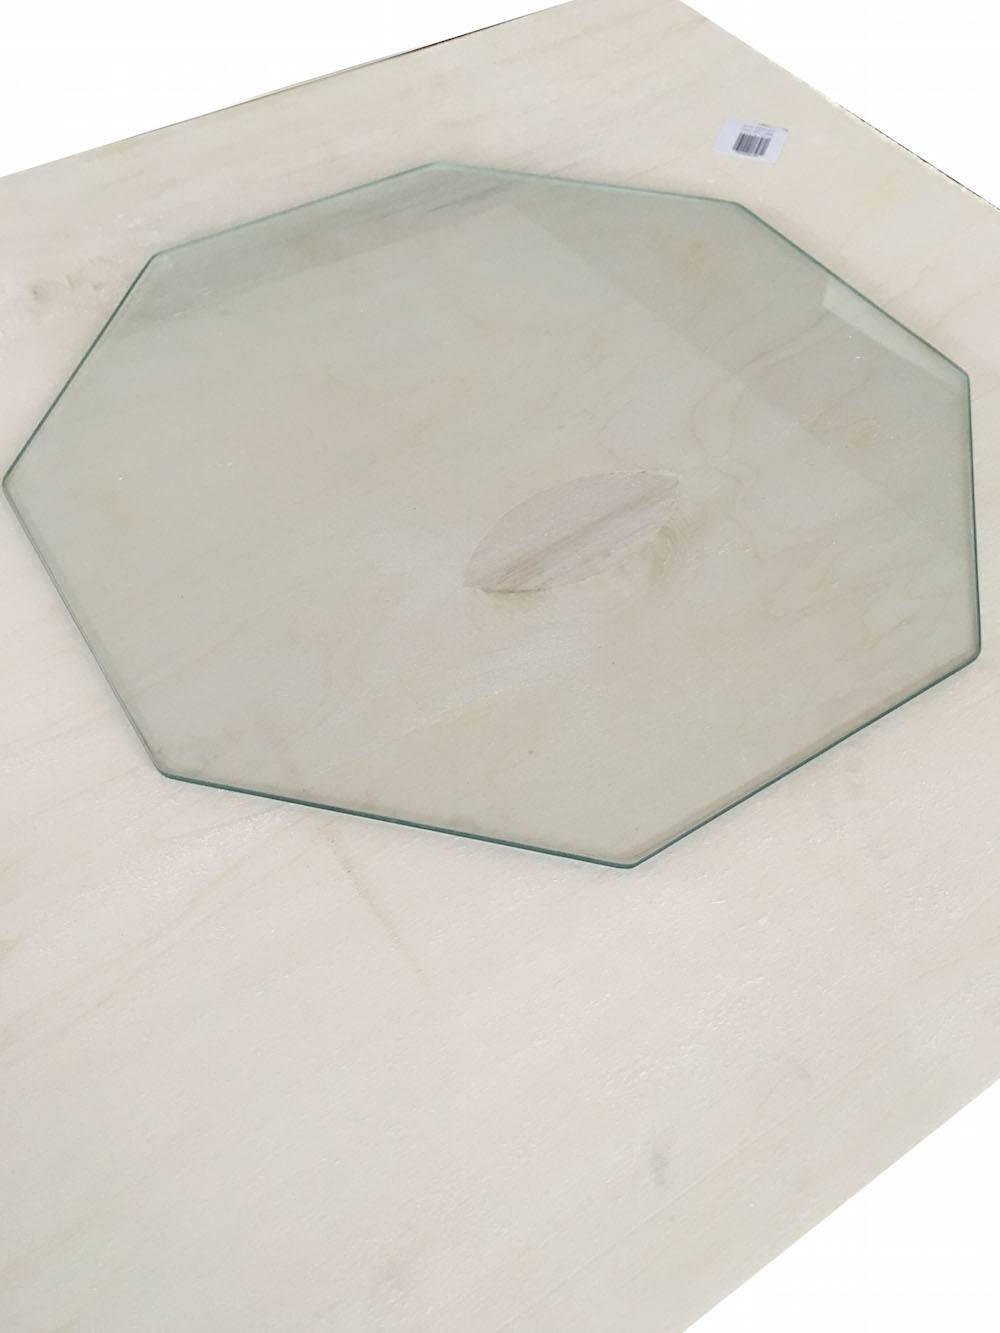
Step
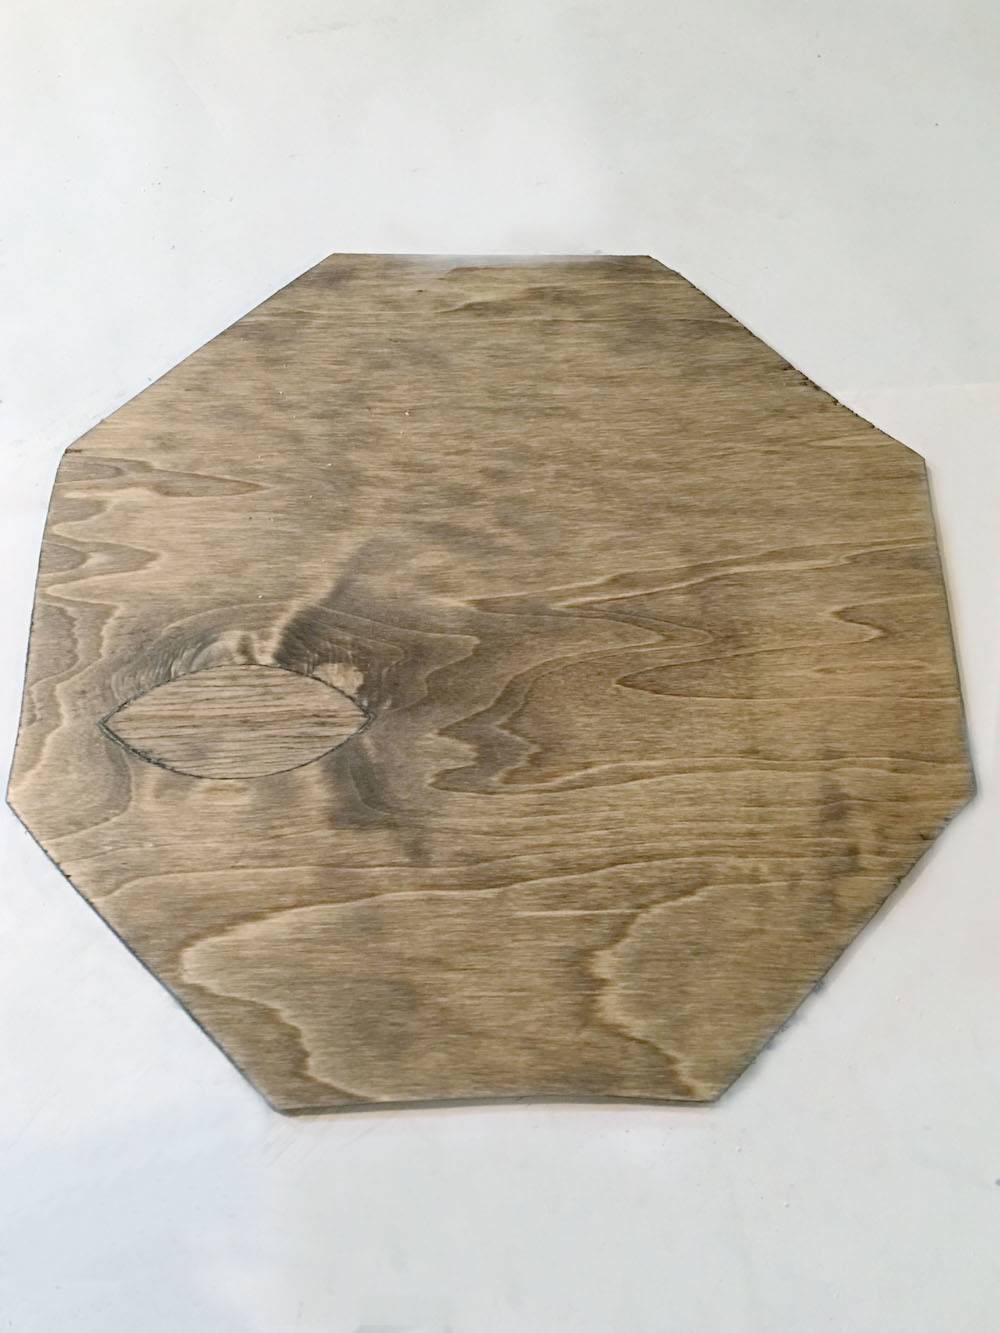
Use the existing glass to trace your cut.
Step
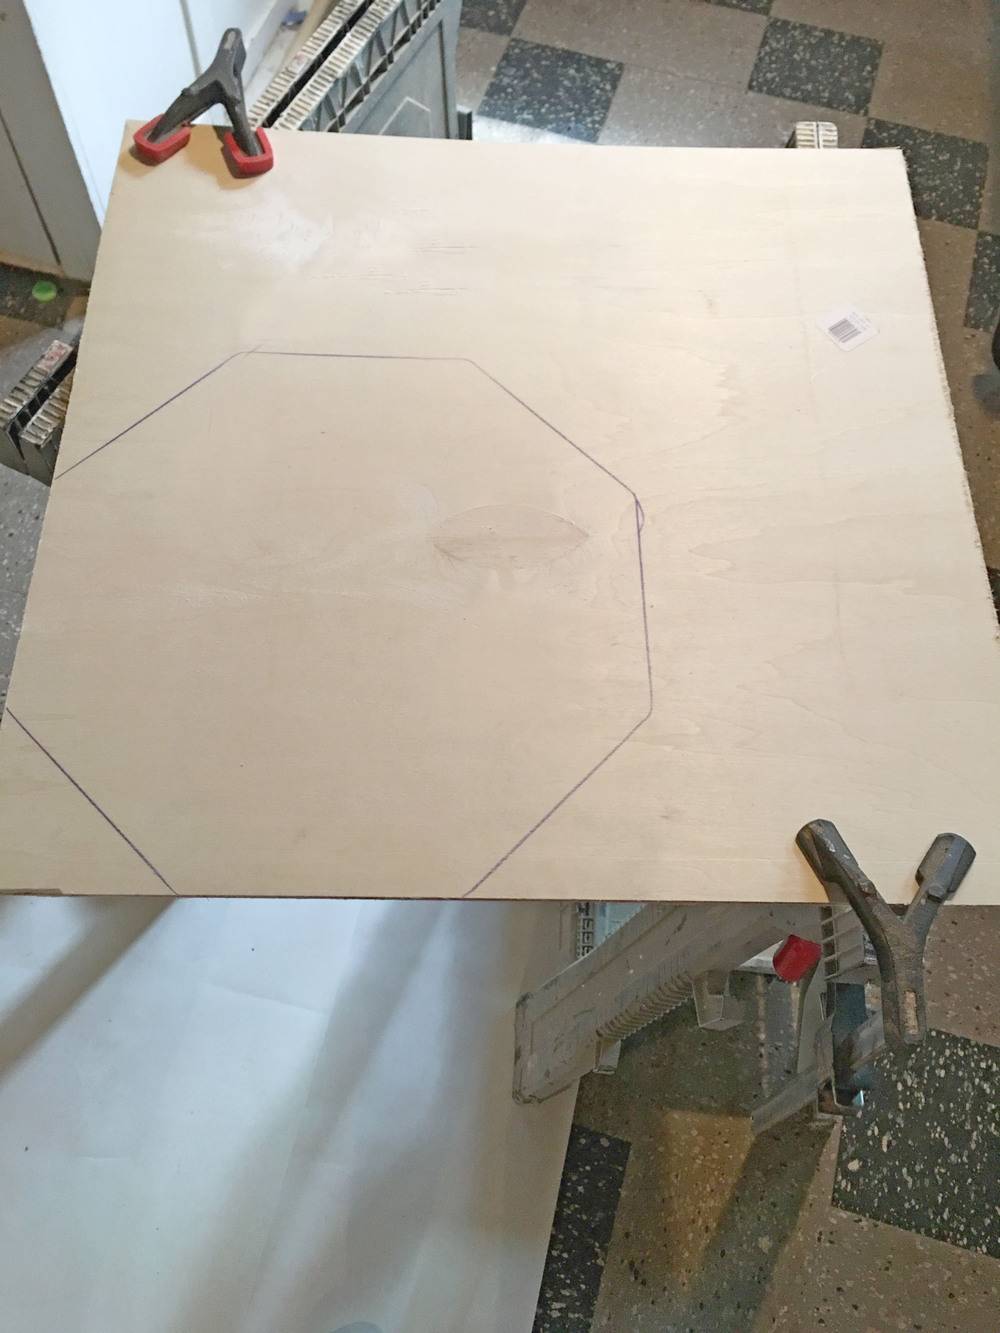
Use saw horses or wood working table to clamp your wood down.
Step
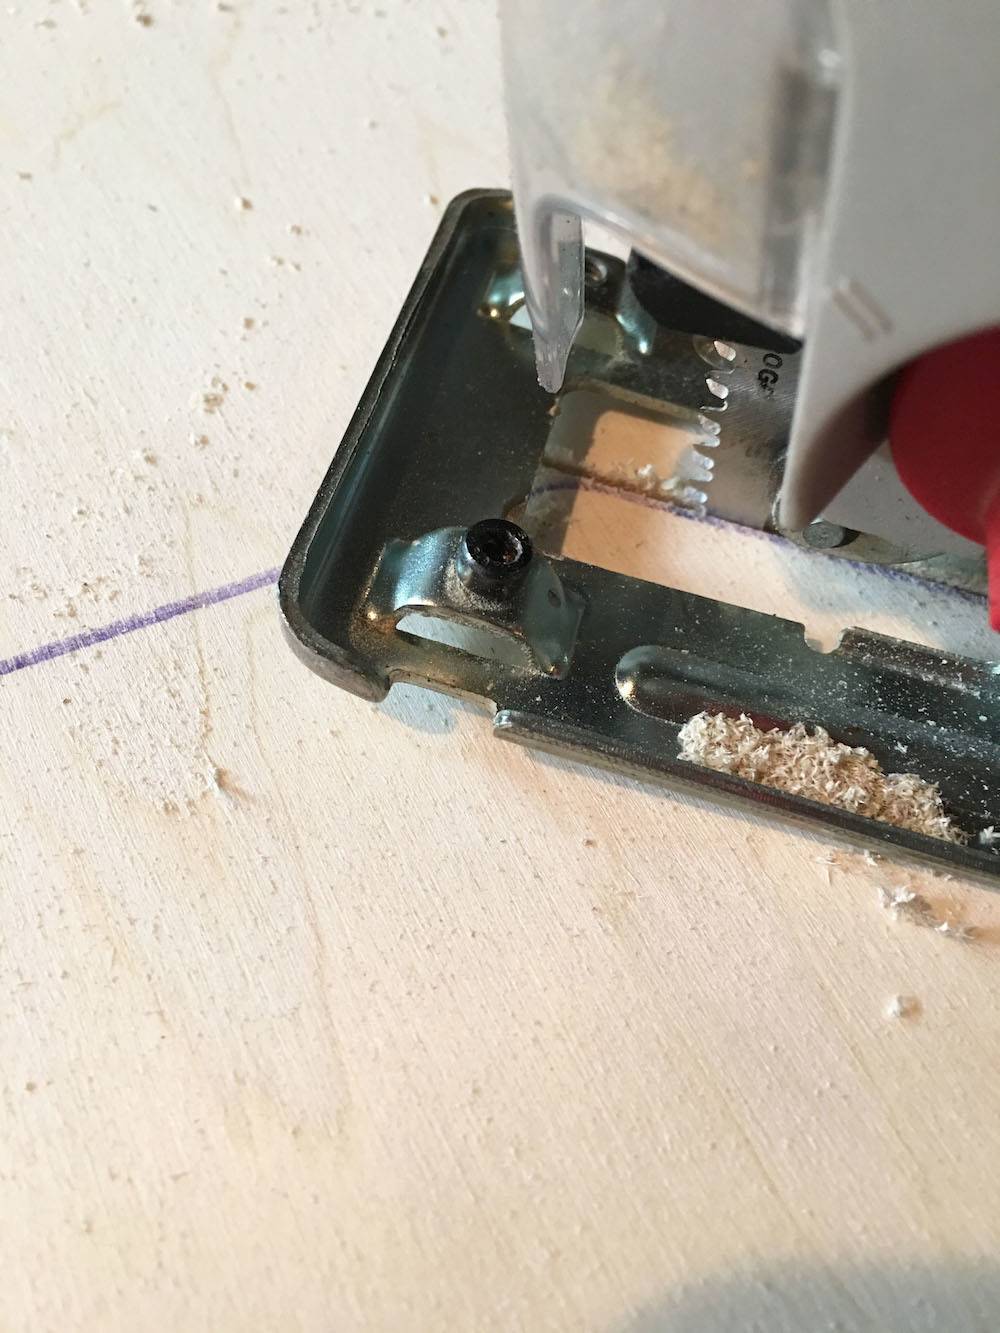
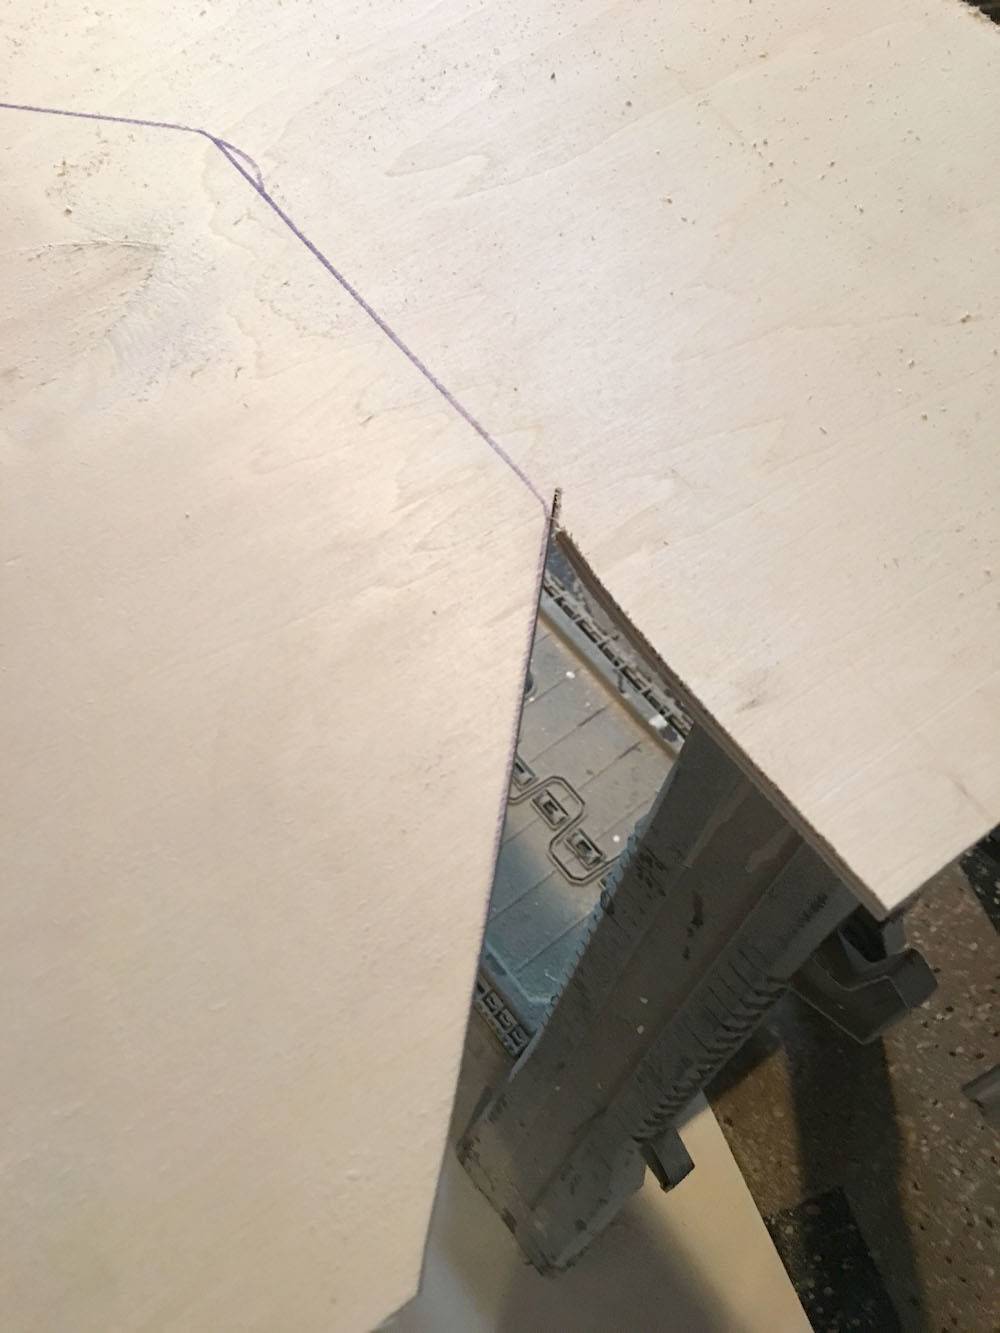
Put on your safety goggles and use a jig saw to cut your shape out. You will make more accurate cuts by cutting away at the excess of the wood piece. I had to turn the wood and reclamp the piece a couple of times to cut our the piece completely. This will be safer and more accurate so don’t skip this step.
I had a hexagon shaped piece and it was easier to use a jig saw. If you have a more rectangular wood shape the table or circular saw might work best.
Step
Sand down the sides and top once you are finished cutting and place back in your table. Mine fit perfectly.
Step
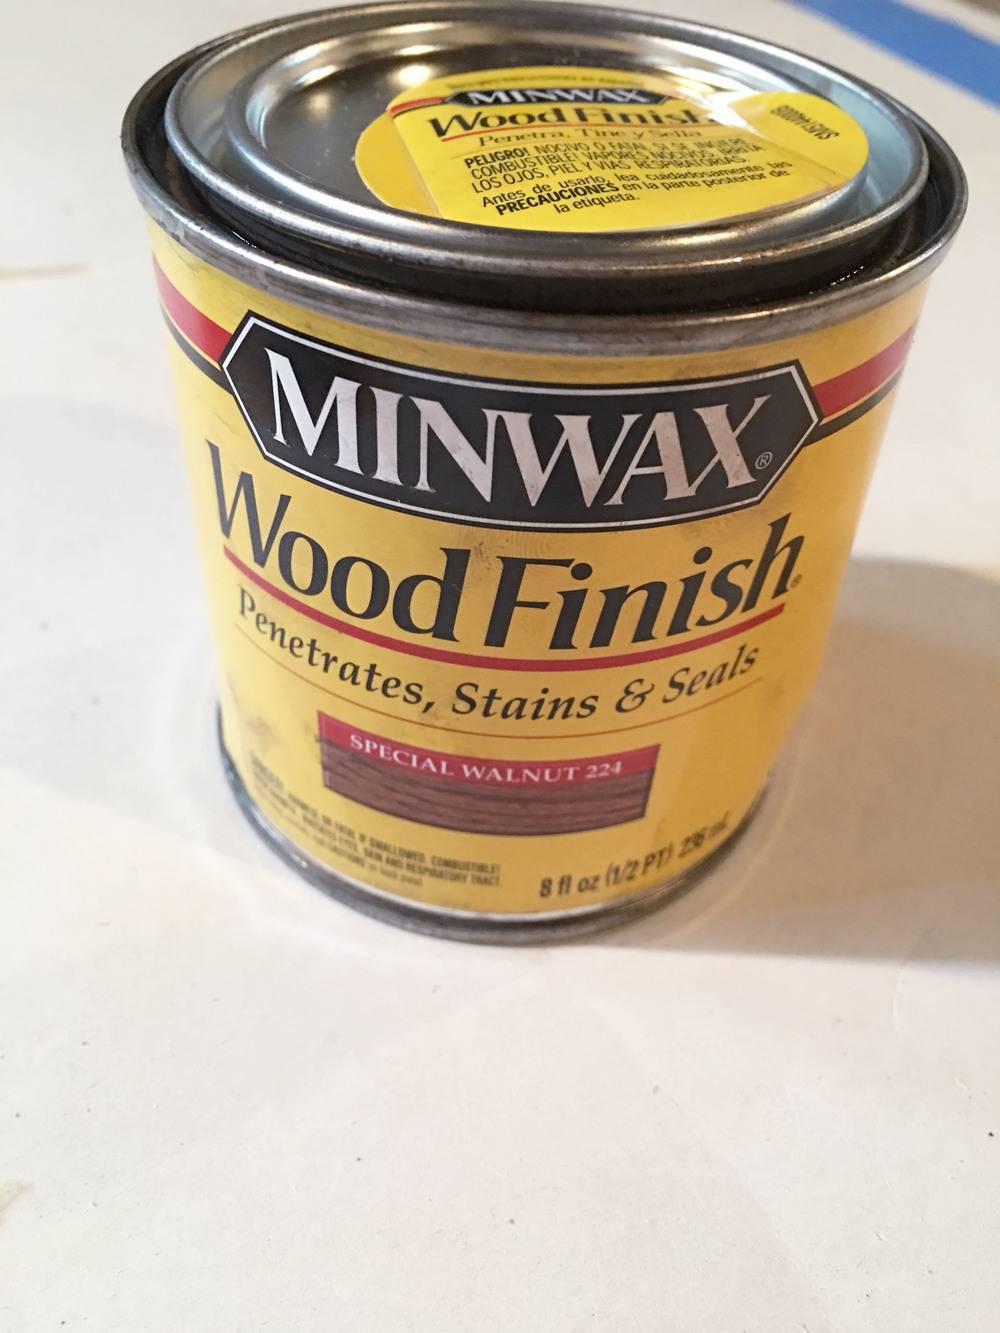
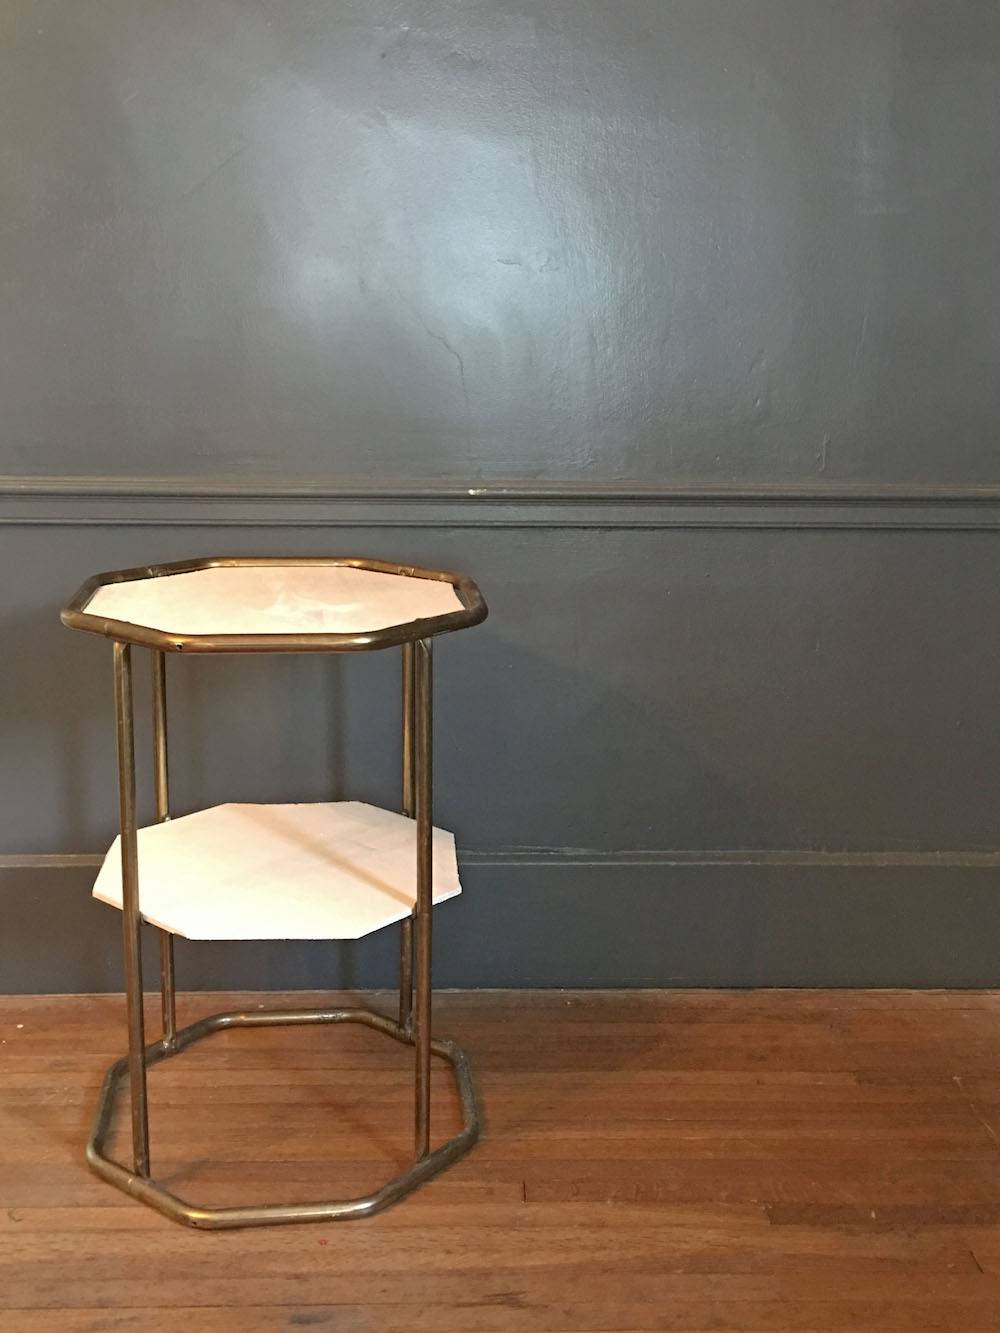
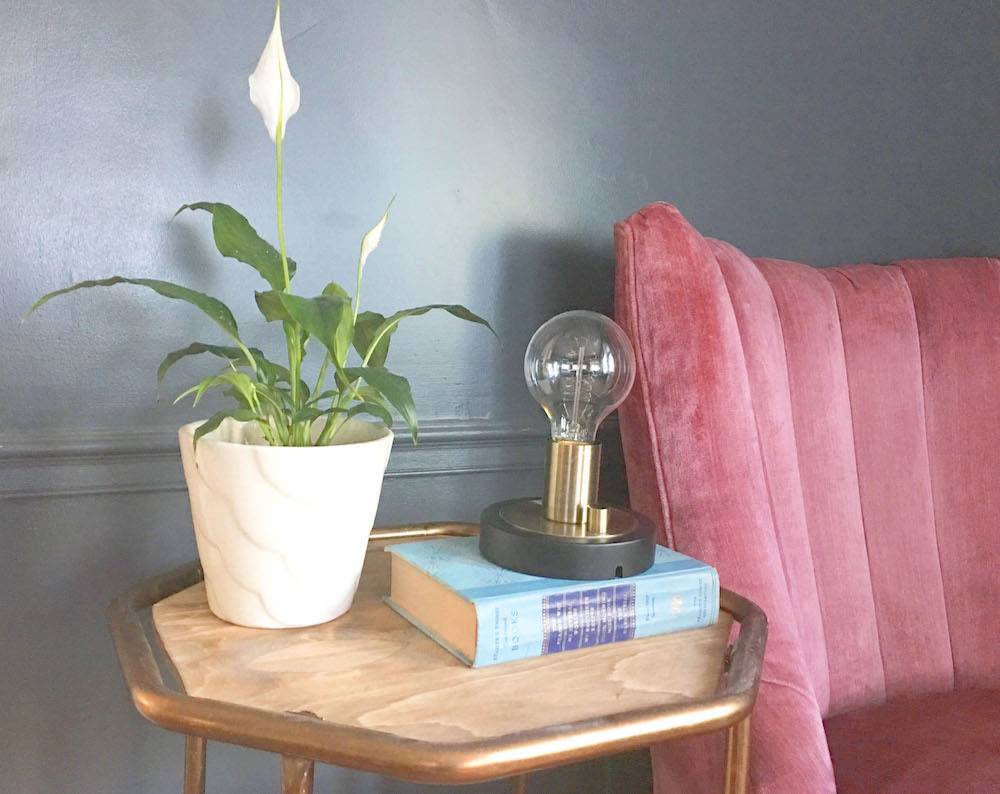
Stain your piece with wood stain and place it back in your table.

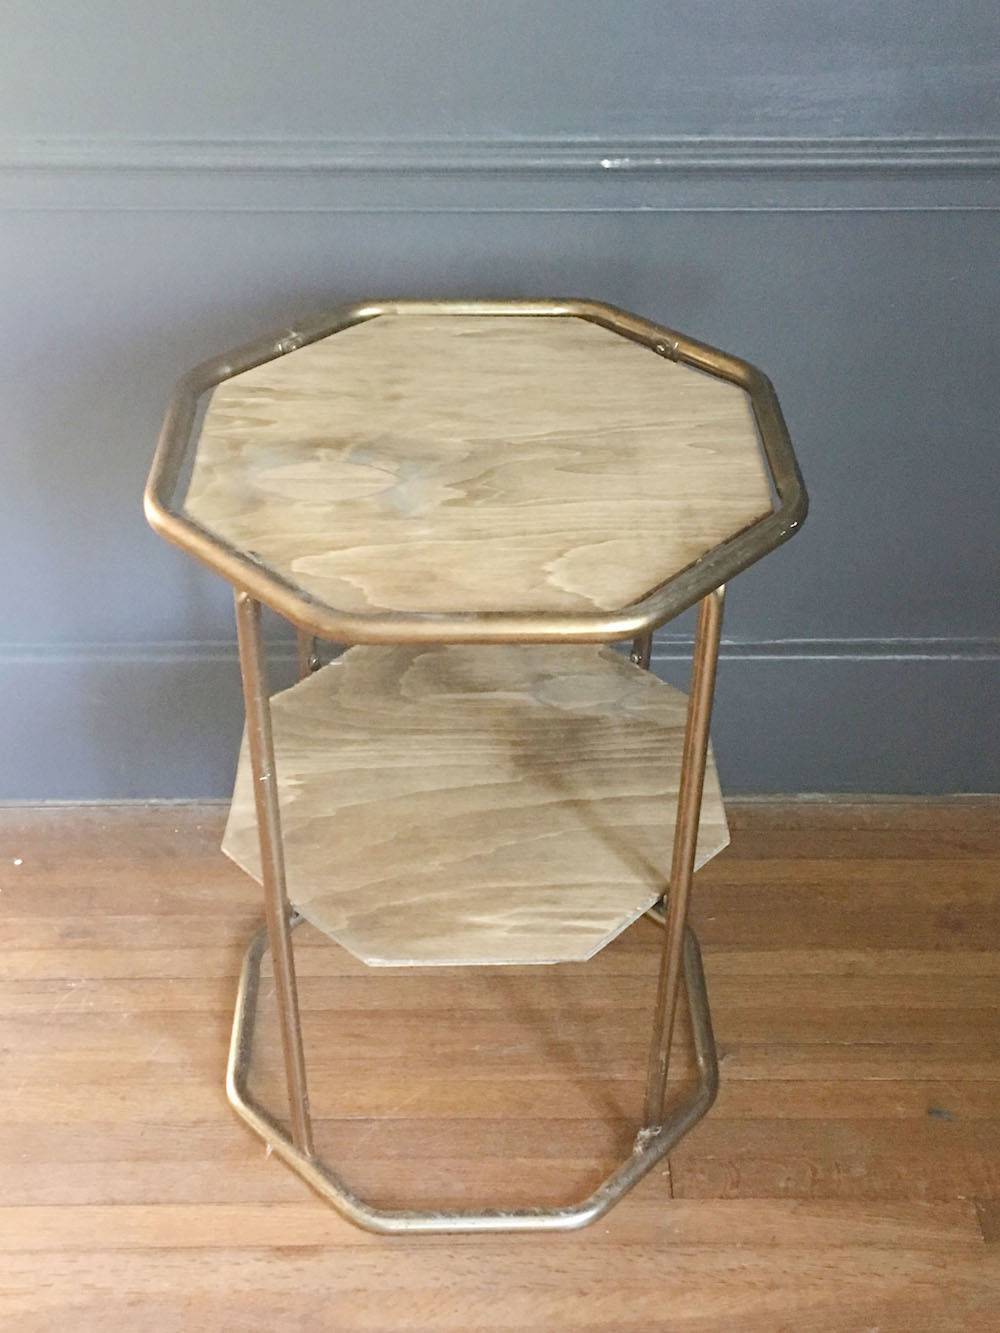
The wood gives the brass a mix of femine and masculine.
Okay go get your 80s glass and brass thrifted piece and give it some love.
I absolutely love this <3