
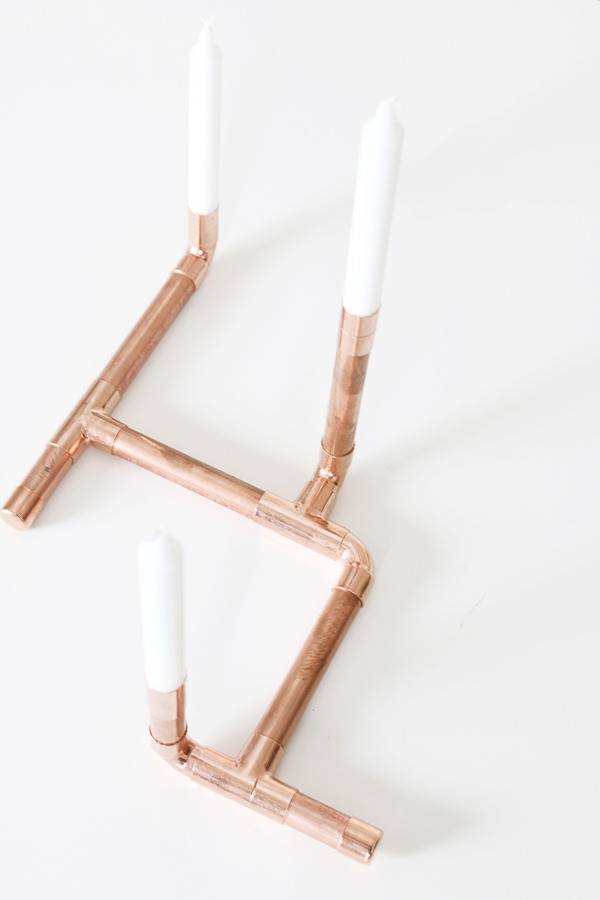
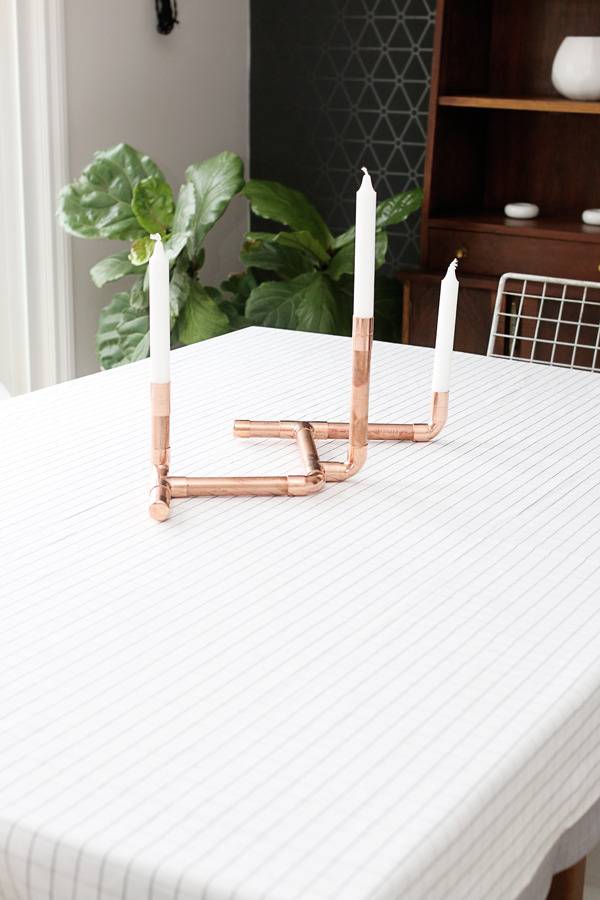
It’s officially fall and the weather is already beginning to change. The air is cooler, leaves are changing and days are getting shorter. It’s the perfect excuse to create a warm environment inside the home to snuggle and keep warm. And this DIY Copper Candelabra is a great start to cozy-up any space!
Materials
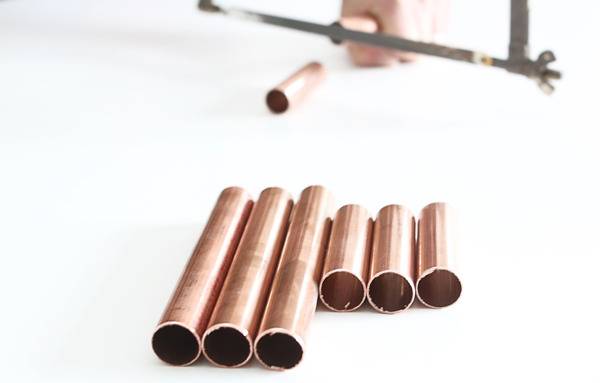
- 1-3/4″ Pipe (3′ section)
- 3-3/4″ Elbows
- 3-3/4″ Ts
- 3-3/4″ Cuplers
- 2-3/4″ Caps
- Hacksaw
- Sand Paper
- Pencil
- Tape Measure
- 3 Candles
Instructions
1. First measure and mark your 3/4″ copper pipe into 4-3″ sections and 4-6″ sections. Cut using your hacksaw accordingly.
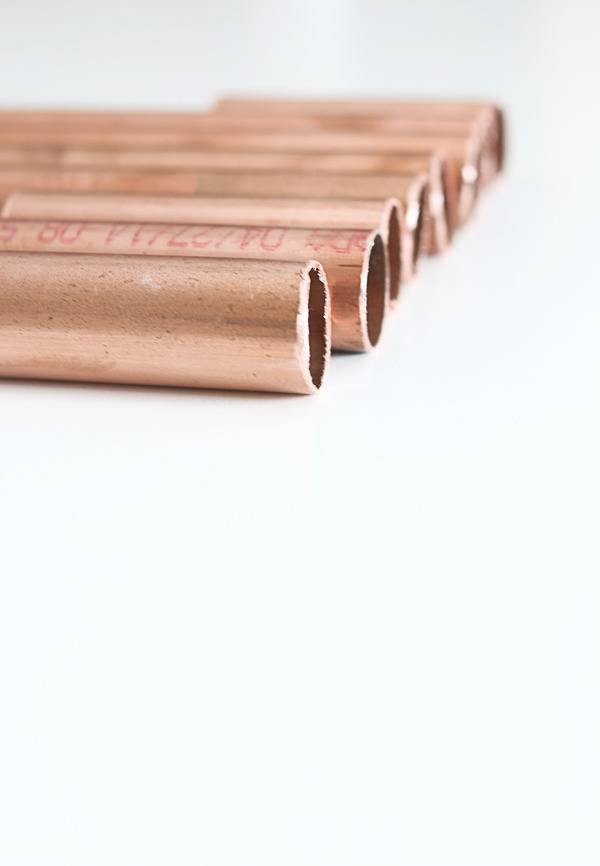
Be sure to sand any burs off the ends of your pipe pieces.
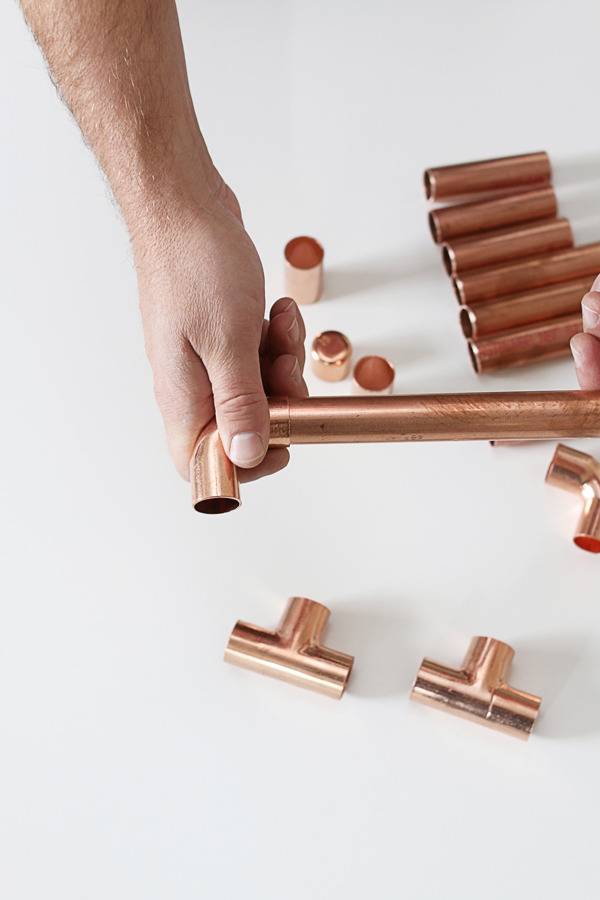
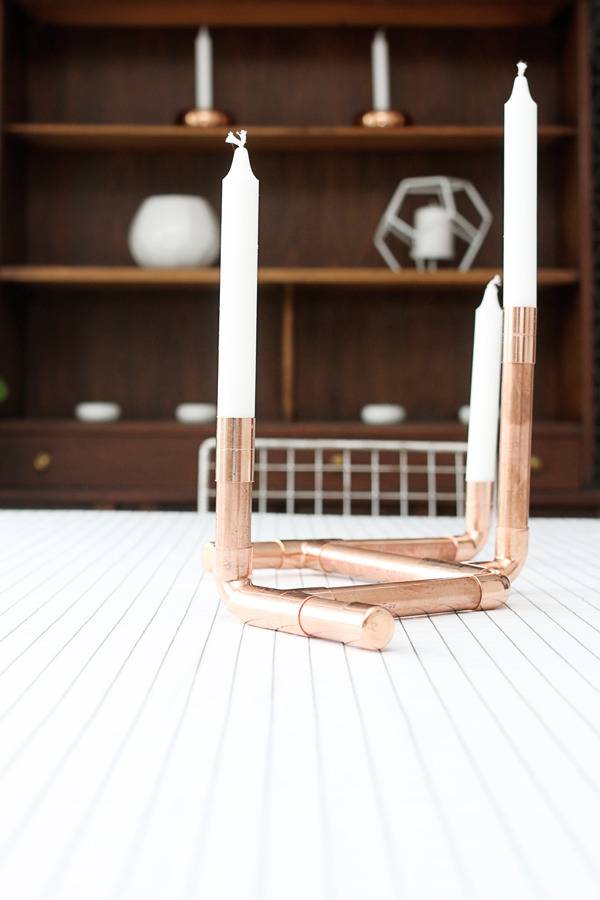
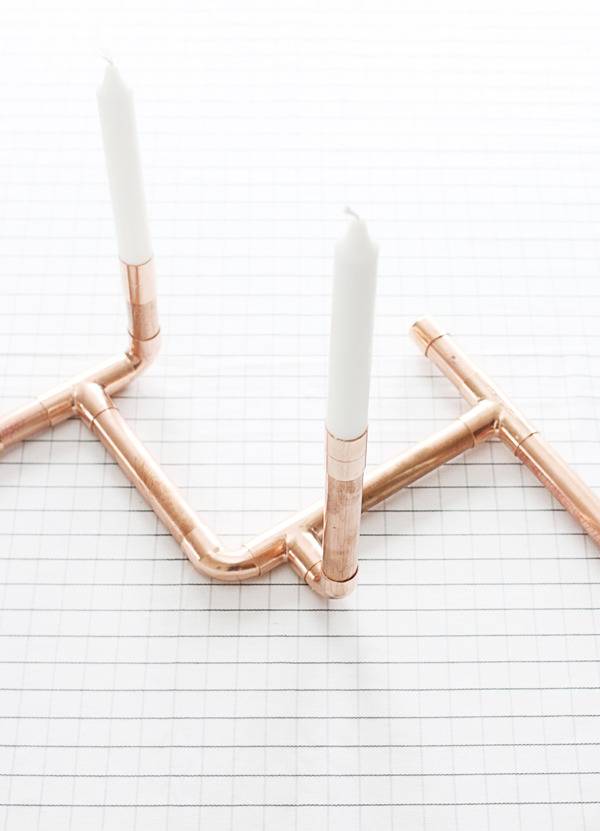
2. You can have as much creative freedom as you want when it comes to piecing together your candelabra – it’s really like playing with lego. But for grown ups!
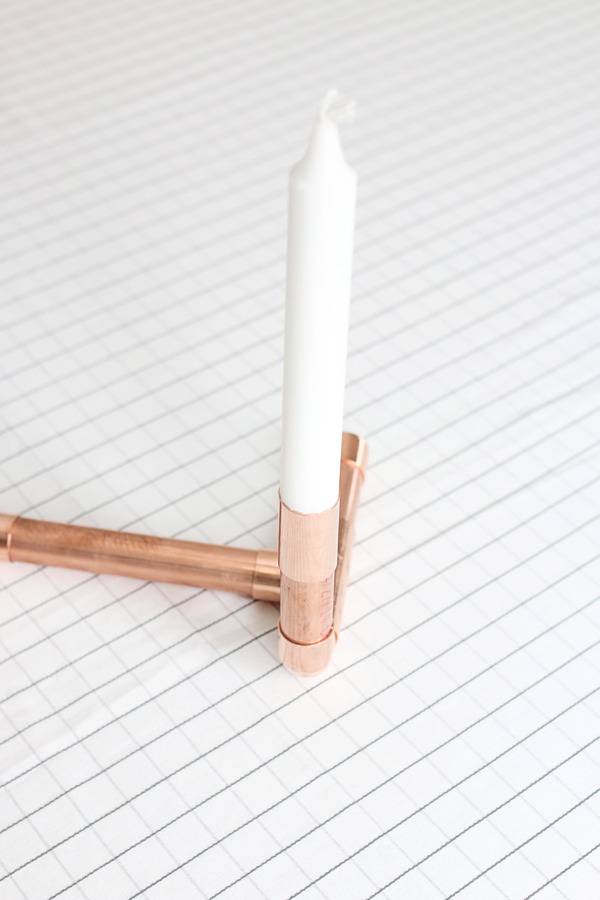
3. Once you’ve decided on a design, simply place your candles into the cuplers, display and enjoy!
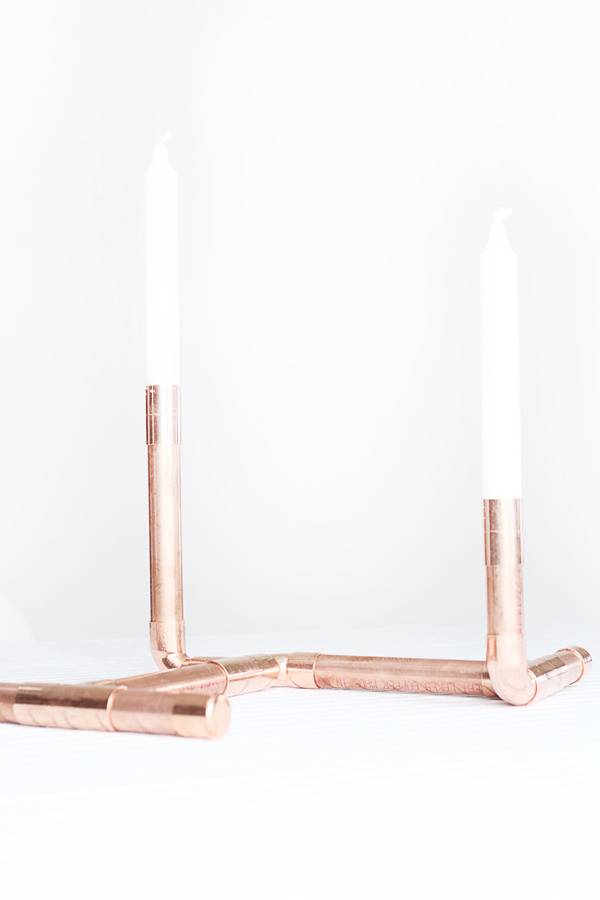
This DIY is so simple, you can really have a lot of fun with all the variation it offers. The finished look is funky, modern and fascinating. It’s truly the perfect centerpiece for any table this fall for those family meals or sipping tea and coffee with friends!

I really love this idea. Simple to make, modern, but slightly whimsical! Looks like a piece I saw long ago in West Elm.