
Not everybody has space for a giant Christmas tree. And some of us just love to have a variety of different trees (that’s me!). If you’re short on space, this hanging twig Christmas tree might be the perfect solution for you. It can be suspended over a tabletop, and you can also make it any size you like. Continue reading to check out the final result and to find out how to make one yourself.
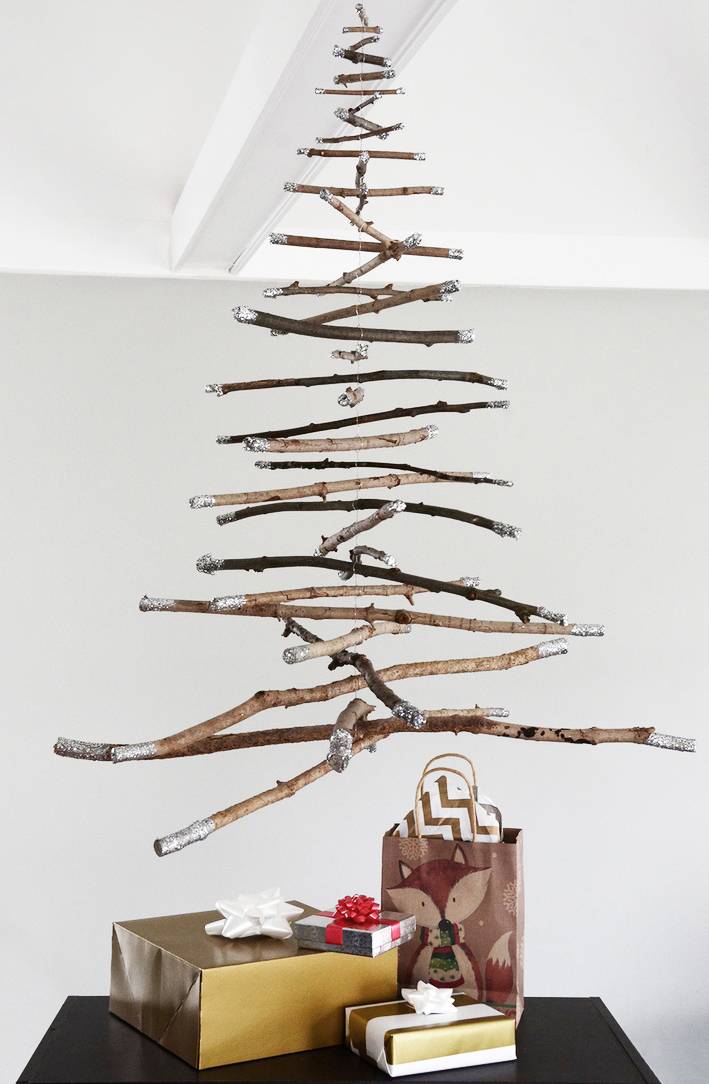
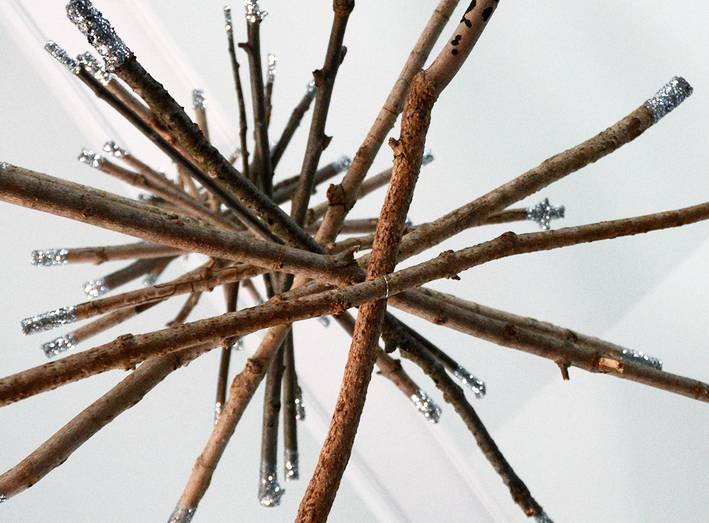
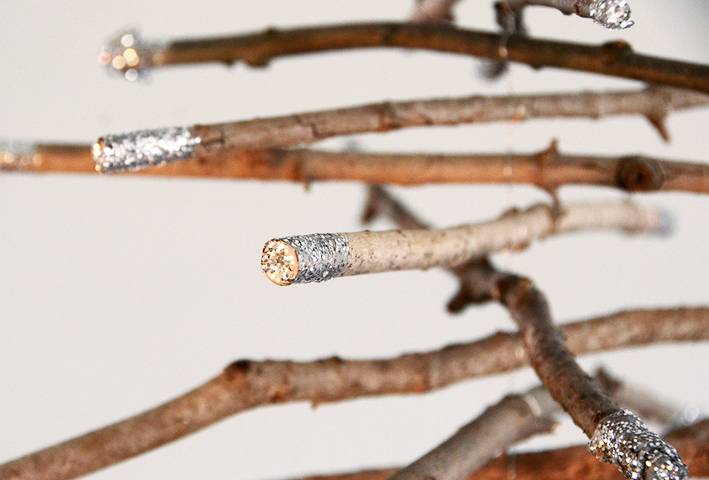
The tree has a lovely rustic feel, with a tiny burst of glittery goodness on the end of each branch. And here’s the best part – it won’t strain your wallet (which is probably already feeling the strain with all the gift-buying) since it is made primarily from sticks that you can find in your backyard or at the park.
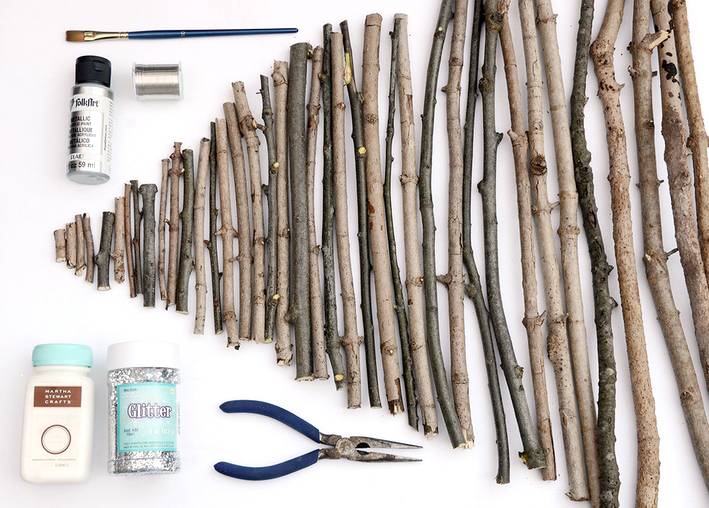
Let’s get started. Here’s what you’ll need for your tree:
- Twigs ranging in length from 1 inch to 30 inches
- Pliable crafting wire
- Wire cutters
- Metallic silver paint
- Silver glitter
- Glue (any water based type that dries clear)
- Paintbrush
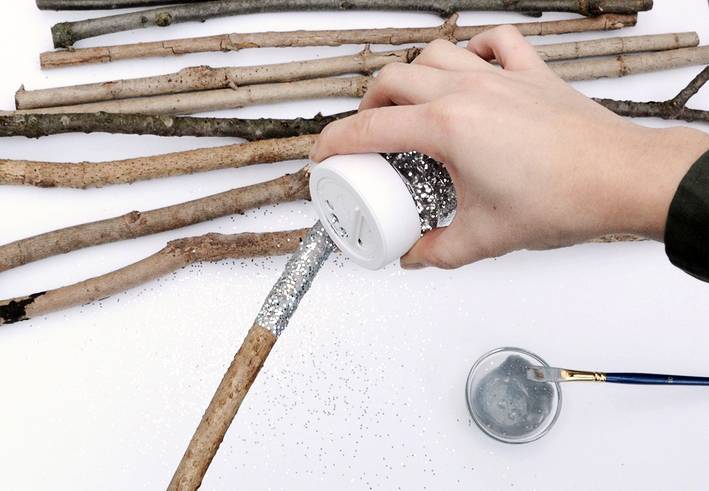
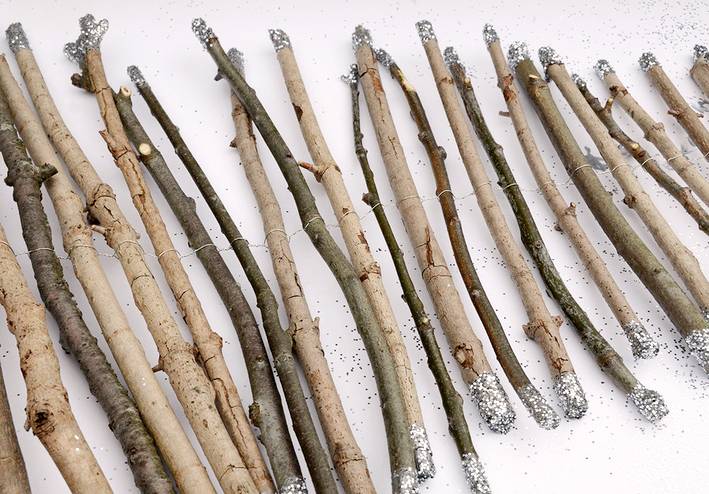
Begin by laying all of your twigs out in descending order. There should be quite a few – I ended up using about 40. In a small bowl, mix together equal parts paint and glue. Start with the longest branch, and paint the mixture onto the end in a 3 inch long strip. Then sprinkle the glittler all over the painted section. Repeat this process on both ends of every twig, and decrease the length of the painted sections as the twigs get smaller.
Now would be a good time to tell you that this project is messy. So if you don’t want glitter all over your workspace, consider doing this outside. You’ll likely end up with a mountain of excess glitter which can be scooped up and put back in the container, but some will inevitably escape.
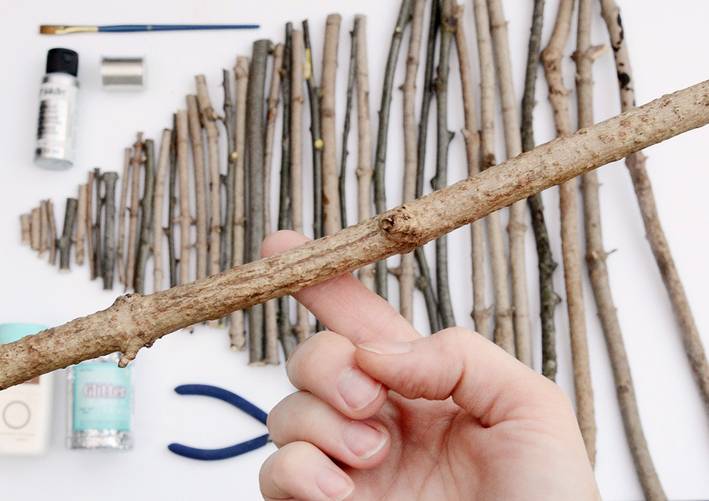
Let everything dry thoroughly for a few hours. Now you’ll begin assembling your tree. Cut a piece of wire that is about 8 feet long and fold it in half. Grab the longest branch and balance it on your finger to find the middle point.
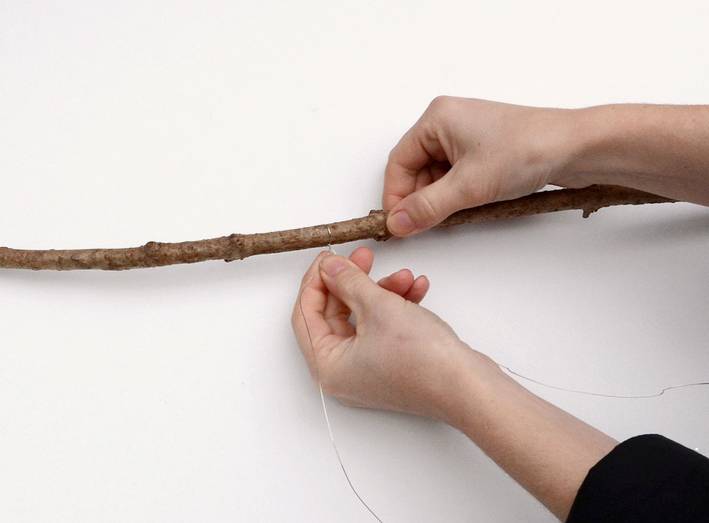
Wrap the folded end of the wire around this point and twist it 5 or 6 times. Then attach the next twig in the exact same way. And continue on until you’ve attached every single branch.
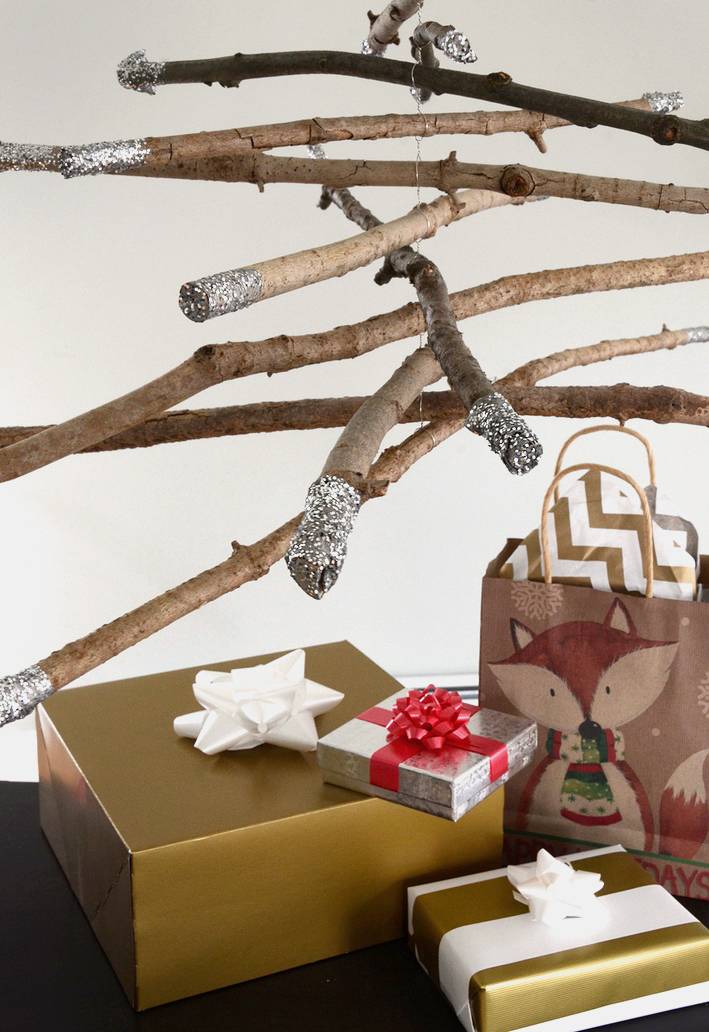
It should look something like this. When you pick it up, it will not look perfect… branches will be drooping one way or another. But the benefit of using wire is that you can slide the brances back and forth a bit so they are balanced. And you’ll want to rotate them left and right so they are not all lined up.
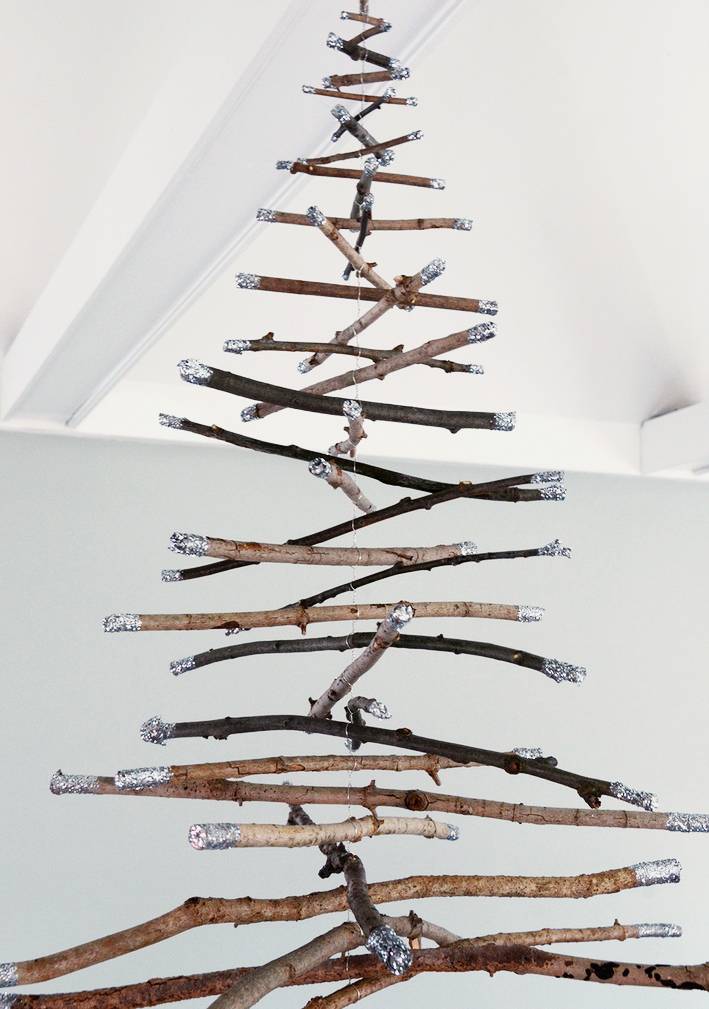
And you’re finished! Use the excess wire at the top to suspend it from where ever you like. I hung mine from a ceiling beam in the living room, but you could just as easily put a hook and eye screw in the ceiling and attach the wire to it.
This project would work well with driftwood too, or you could even construct one using dowel rods if you prefer a more uniform look.
And you can experiment with the glitter too – try red glitter for a more colorful tree, or white glitter for a snowy, winter wonderland type of look.
Happy holidays everyone!
Love it! It’s such a simple idea and BEAUTIFUL!! I will try to make it myself for this Christmas.