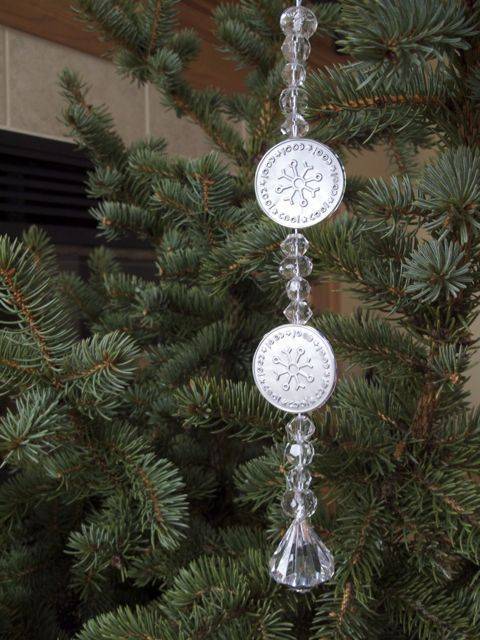
Twinkling icicles are lovely and romantic, but like romance, they can also be downright dangerous! First, they can be a sign that something is very wrong in your attic (like not enough insulation or ventilation) and second, they can poke your eye out, kid. My snowsicle, on the other hand, provides all the twinkling romance of the real thing without the menace. So why not make one for your boo this holiday season?
First, the materials:
- plastic crystal beads, various sizes
- one large crystal bobble
- 2 feet of nylon cord, I used mini-blind cord that I bought at the fabric store for about 30 cents a yard
- hot glue gun and glue stick
- an empty soda can
- an embossing machine & embossing folder (like a Cuttlebug & the snowflake from the Winter Jelly set that I used) OR a sheet of foam or cardboard and a sturdy pen for embossing by hand
- a scissors
Step 1:
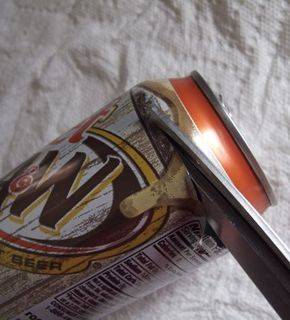
Cut the top and bottom off the soda can to create a ‘sheet’ of aluminum. Run it along a table or counter edge to take the flatten it.
Step 2:
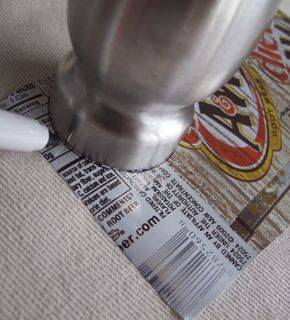
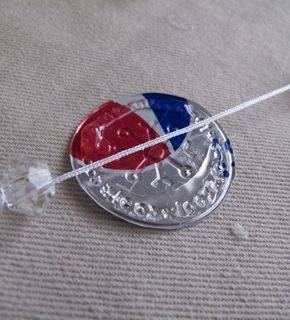
Trace four circles onto the aluminum sheet using a round object as a pattern. I used my pepper mill, which is about 1 3/4″ in diameter.
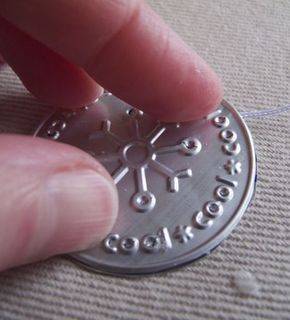
Step 3:
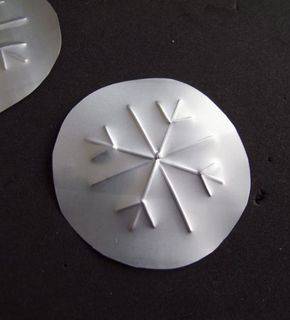
Cut out the circles and emboss with the embossing machine OR emboss snowflakes onto them with a sturdy ballpoint pen. Here’s a link to a great how-to showing the process of embossing by hand, using a sturdy pen and styrofoam or cork mat.
Step 4:
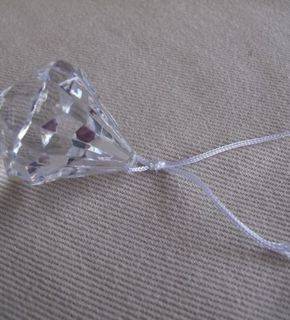
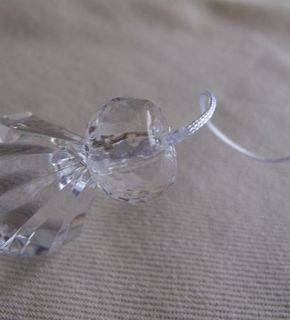
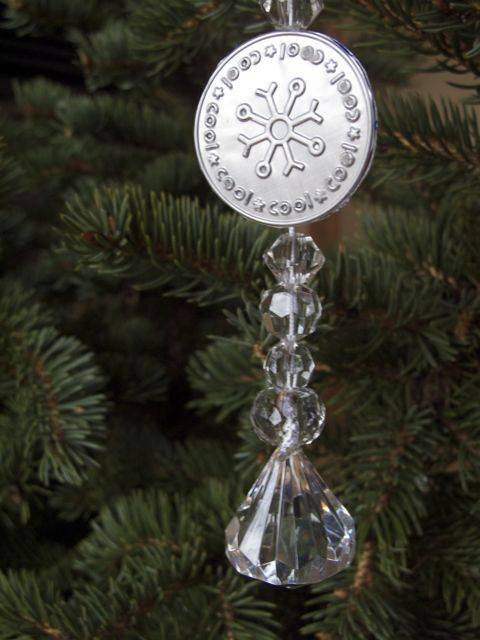
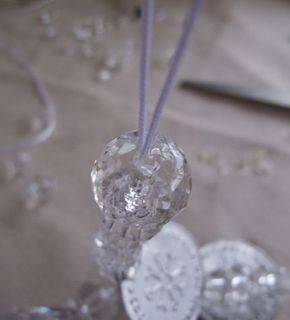
Thread the large crystal bobble to the end of the cord. Tie a knot at the top of the bead and secure with a drop of hot glue. Thread on crystal beads, vary the size as you go.
Step 5:
Position embossed discs between beads. Using hot glue, glue two discs together, sandwiching the nylon cord in the middle, thereby forming an aluminum ‘bead’. Repeat with the remaining two discs.
Step 6:
Form a loop at the top of the cord, knot and feed through the beads below. Secure knot with a drop of hot glue, and you’re done! Hang ’em indoors or out. They make great replacements for wind chimes you don’t want subjected to the harsh winter months.