
Yesterday, in my review of the new Craftsman Nextec 12-volt right angle impact driver, I mentioned I used it to build a trellis and promised a how to. Here it is!
Trellises can be one of the easiest structures you can make for your garden. With the right tools, you can whip one up in about an hour.
Materials and such that you’ll need:
- 2 – 1″ x 6″ x 6′ cedar boards OR wood of your choosing
- 30 or so #6 1-1/4″ zinc-plated, flat head screws
- a drill, or a Nextec impact driver 😉
- a #6 screw pilot, which is what we used, or a small drill bit appropriate for a #6 screw
- a Phillips driver bit
- a table saw
- tape measure
- this schematic
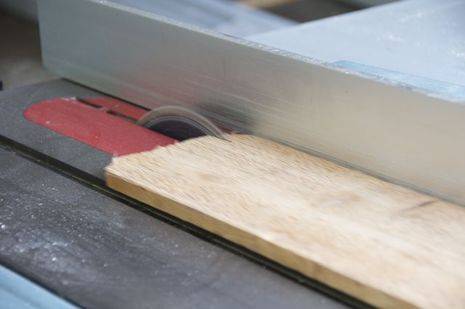
Step one: Using the table saw, rip the boards down to 1″ widths.
Step two: Cut your new slats into the following lengths, which will now be designated by letter for easy assembly.
- A = 4 at 6 feet
- B = 1 at 68 inches
- C = 3 at 3 feet
- D = 4 at 21-1/2 inches
Step three: Lay out your boards using this schematic. Lay the horizontals out first and then lay the verticals over them. In this way, the back side of your trellis will be facing you.
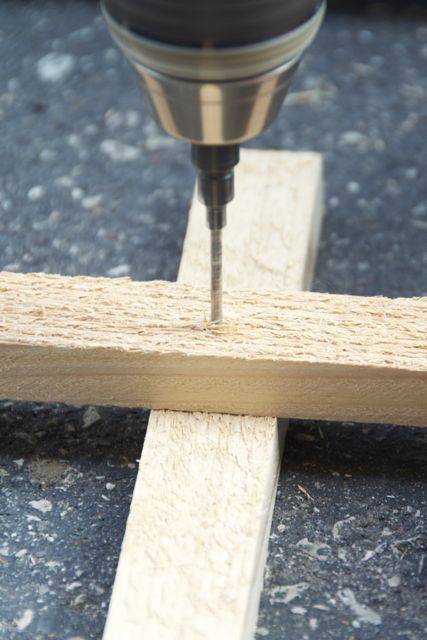
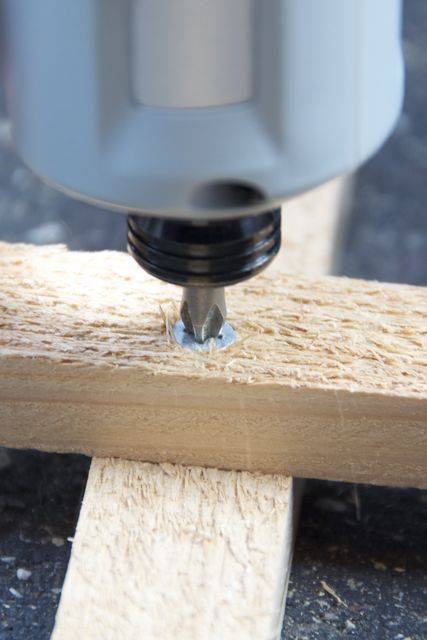
Step four: Pre-drill a pilot hole at any join and drive in a 1-1/4″ screw at the point. Continue for each join.
Step five: If using cedar, stain if desired. (I stained mine Pickled Oak to give it a whitish appearance.) If using non-treated pine, you’ll want to prime it with an appropriate primer followed up with a good-quality house paint.
I can not find the lay out schematic for the boards. Can you help me?
@ john–it doesn’t come up on Scribd?
Hi
Can you email me the lay out schematic for the boards at [email protected] I do not understand “it doesn’t come up on Scribd?”
John