Most chandelier makeovers we see on the intertubes these days consist of a quick shot of spray paint. Although they’re always fun to see, when I started looking for projects for this roundup, I wanted to find chandelier makeovers that did something that went above and beyond just color transformations. Here are ten that will make you think outside the box. Or should I say ‘can’?
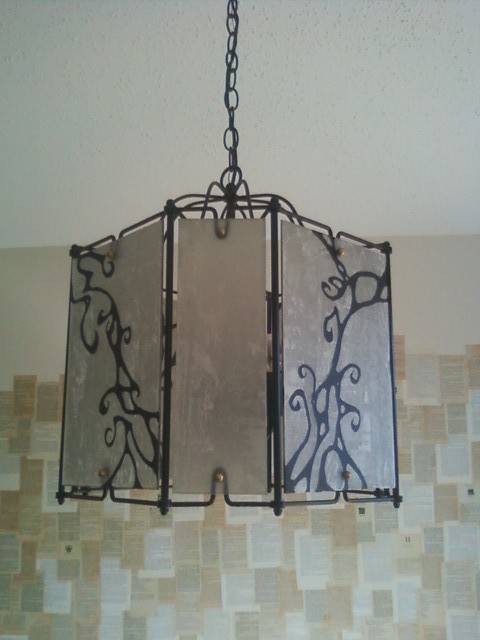
We had a light fixture in one of our houses that looked very much like Chelsie’s. Brass with dangling glass sheets. Ew. Chelsie spray painted hers in situ (oye!) and then adhered tracing paper onto the glass pieces with wallpaper glue. Then she hand-painted a cool design on the tracing paper itself.
Here it is before:

And after:
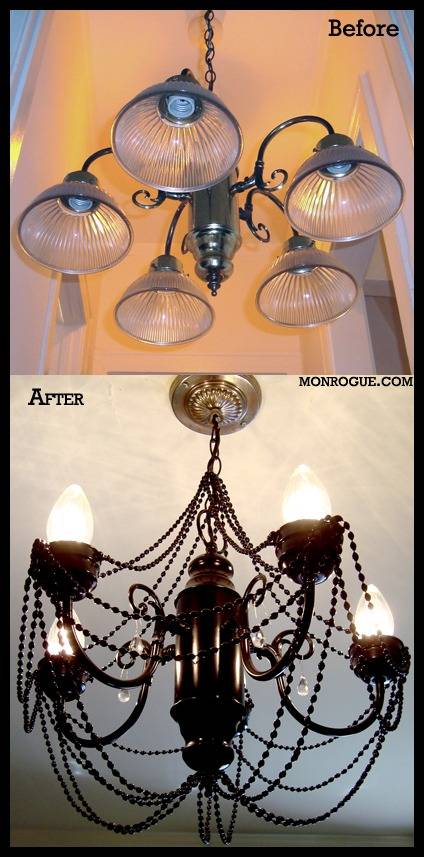
Hanna had a one of a million light fixture before her makeover. After inverting it, giving it a shot of spray paint and stringing beads, now it’s one IN a million:
Here’s Remodelaholic’s Pottery-Barn inspired re-do:
The barely-recognizable after (click here to see how she did it):
Yet another brass monstrosity. Thanks to Dwellings by Devore, it looks nothing like it did in this before shot:
The amazing after (click here to see how it was done):
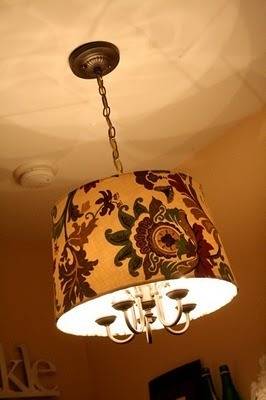
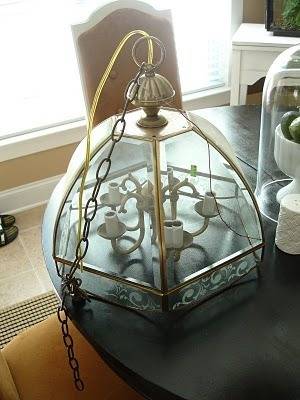
Jen’s makeover is an example of a totally paint-less makeover. She gave her brass chandelier some class with new shades, fabric and some crystals.
Before:

After:
This next one might look like it is one of those ‘just painted’ projects, but it’s a bit more than that, as Casa Cullen sprayed painted not only the metal parts but the glass parts too (minus the crystals). Click here to see how they did it and how they came to the decision to spray the entire thing. (The first ‘after’ shot after the ‘before’ is worth a look-see.)
Before:
And after:
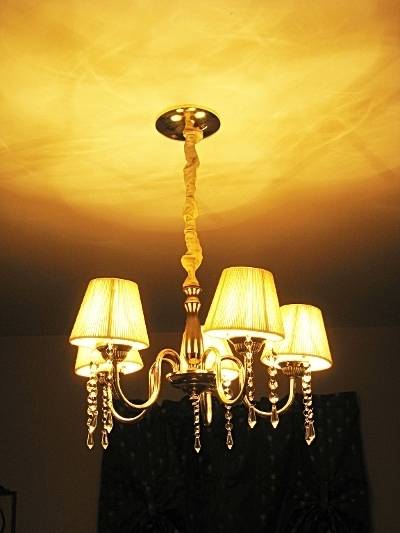
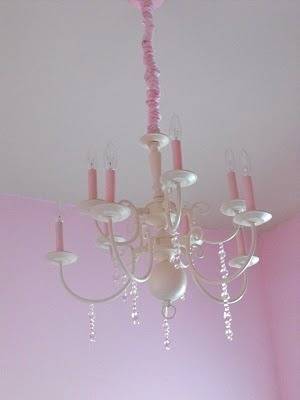
Sarah chose to soften the look of her brass chandelier with white and pink spray paint, a pink (handmade) cord cover and crystals.
Before:

After:
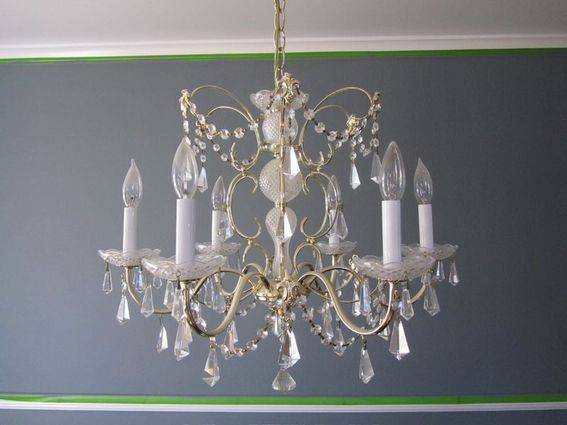
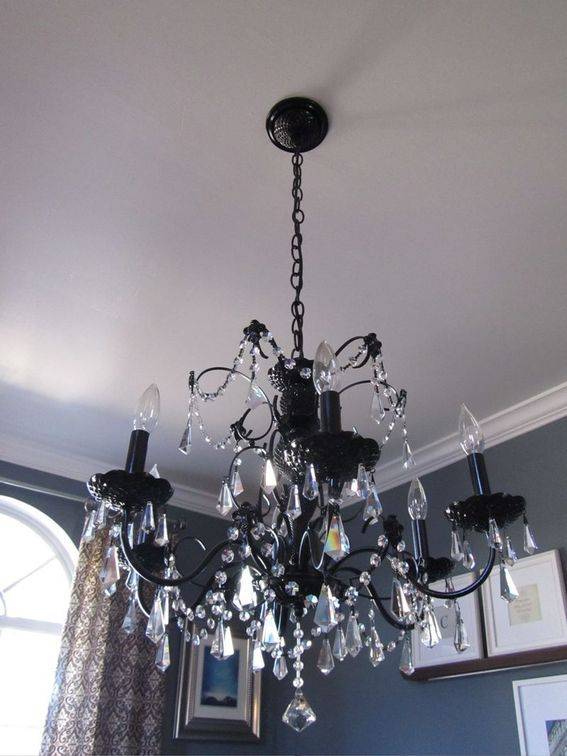
Check out Katie‘s $3 tag-sale chandelier. She decided to ditch the shades and bling it out with crystals as well.
Before:

And after:
(I love this story.) Anna had a familiar-looking chandelier on her hands that she hated, so she tried to sell it on Craigslist. After a few months of languishing there, she pulled the advert. Good thing she did, because after making it over, it looks amazing, and, most importantly, Anna loves it.

And after:

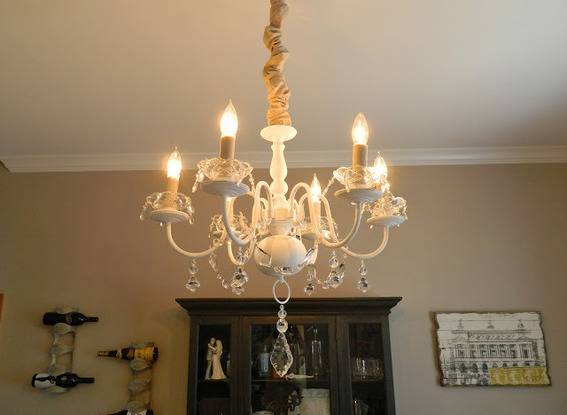
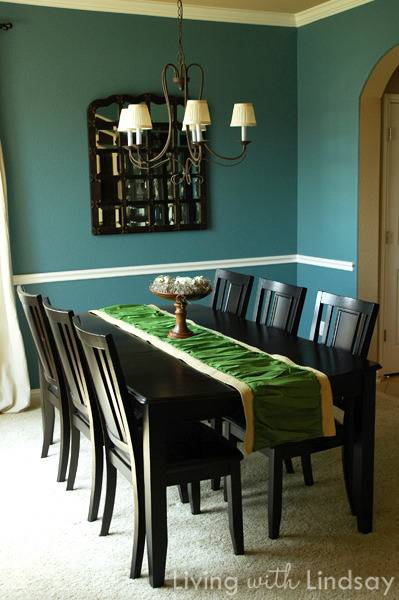
And, finally, we have Lindsay’s builder-grade, dining room chandelier. She wanted to bead it, but she didn’t bead it in the way you’d think. Oh, no.
Here it is before:
And–BAM–the after (click here to see how she did it):