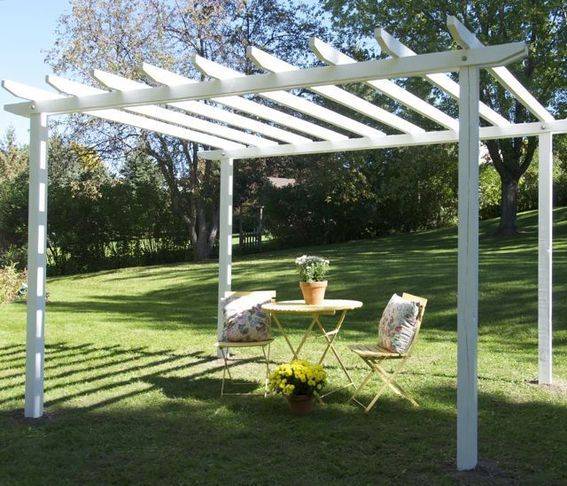
Hands down the best, easiest and most cost effective way to make a big impact in your outdoor living space is by adding a pergola. Not only do they provide visual interest, they also provide a dappled shady spot in which to relax.
This particular pergola assignment began with some ground rules. First, the pergola had to be affordable to most of us in Curblyland (my budget was 200 bucks). Because of this, we chose to make ours out of green treated timber. The second criteria was that we’d only use power tools most DIYers already have in their DIY arsenals. In this case, that included a drill and a Skilsaw (aka circular saw), thus the title of the project.
Materials List:
- A Skilsaw (or circular saw): $69
- Tape measure
- Straight edge
- Drill and 1/2” auger bit: $45 & $18 respectively
- Pencil
- Hammer
- Wood chisel
- Line level & line
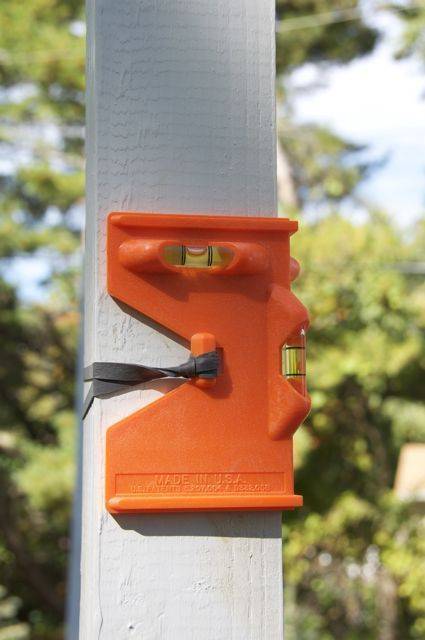
- Post level: $8
- Post hole digger
- Masks
- Primer, exterior paint, brushes, etc. (optional)
- 5 Bags of Quikrete: $4 each
- 4 – 6” carriage bolts (with washers & nuts)#8 deck screws
Timber, green-treated:
- 4 – 2” x 4” x 12’
- 9 – 2” x 4” x 10’
- 4 – 4” x 4” x 10’
NOTES ABOUT GREEN-TREATED TIMBER:
- Green-treated timber is almost always wet. REALLY wet. If you paint your pergola, you’ll need to make sure that the timber is dry before you do so, otherwise your paint will peel off. We bought an inexpensive moisture meter to check our wood’s moisture content. It was off the charts, so we brought it into our garage and elevated it on some strapping to let it dry out before we started construction.
- ALWAYS WEAR A PROTECTIVE MASK WHEN CUTTING PRESSURE TREATED TIMBER.
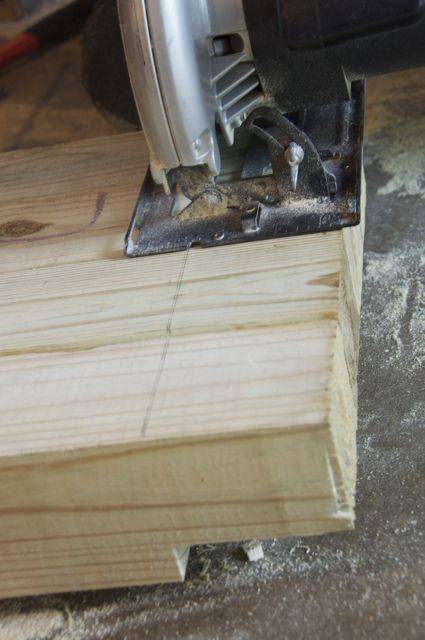
Step 1: Using the circular saw, clip each end of the 9 – 2” x 4” x 10’s and each end of the 4 – 2” x 4” x 12’s. Measure 5” in and 2” up and draw a line, as shown, to establish your cut line.
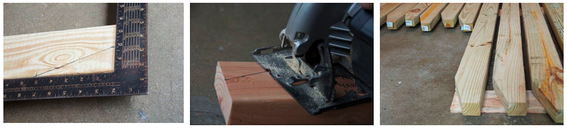
Step 2: Next we’re going to make 2 notch cuts on one end of each 4” x 4”. To do this measure 3 1/2” down and 1” in and mark with pencil.
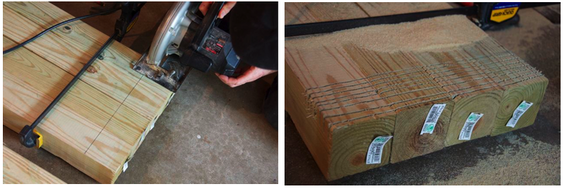
HINT: Use a clamp to hold all 4 posts together to make these cuts.
Step 3: Using the circular saw set to 1” depth, make multiple cuts, starting at the line you drew in step 2, one after the other.
 Step 4: Use a hammer to knock out the cuts you made in Step 3. Smooth out with a wood chisel.
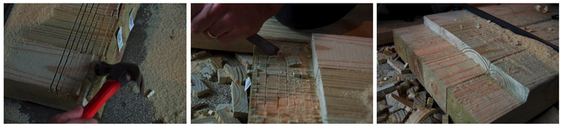
Flip the 4” x 4” and repeat Steps 2 – 4 on the opposite sides of the cuts just made.
Step 5: Prime and paint all the boards.
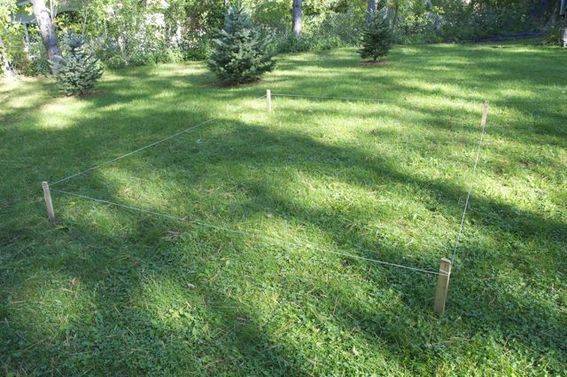
Step 6: Mark the four corners (8’ x 10’) at your installation point. Use string and stakes to make sure your four corners are square.
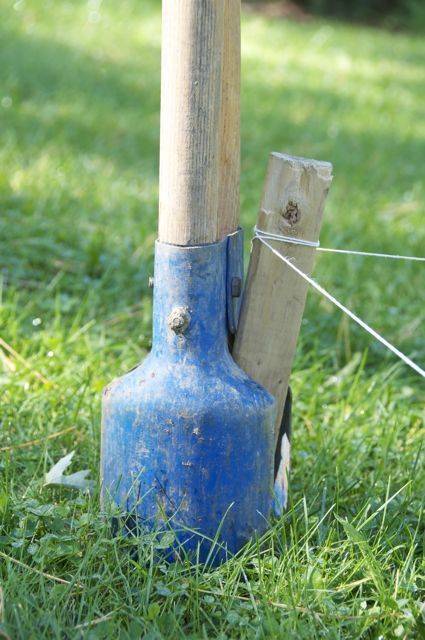
Step 7: Dig your footings–about 3’ deep. Remember to call your utilities providers to be sure it’s safe to dig!
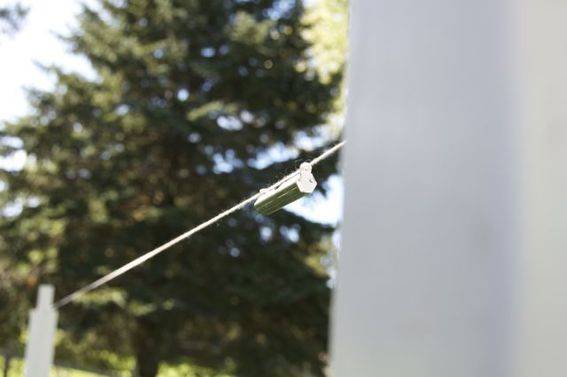
Step 8: Place your posts into the holes, lap joints facing in/out along the 10′ side. Use your string level to make sure the notches are all the same height. Adjust the depth of the holes to make them level.
Step 9: Fill the holes–with the posts in place–with Quikrete, according to instructions on the bag, and use the post level to make sure the posts are plumb.
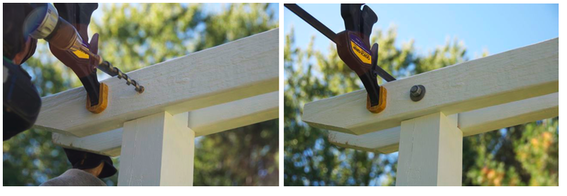
Step 10: After the Quikete has cured, clamp the 4 – 12’ beams to the lap joints of the posts. (They are going to overhang the posts about a foot.) Use the 1/2” auger bit to drill holes through the beams and posts. Secure with carriage bolts.
Step 11: Space the 9 – 2” x 4” x 10’s evenly across the 12’ beams (starting at about 1’ in from the ends and centered front to back) and toenail each side of board into place with deck screws.

Step 12: Find a chair or two to put under your pergola and take a load off. You deserve it!