
In my house, white walls are de rigueur. Why? Well, mostly cause my landlord says so, but I also dig the fresh, clean Scandinavian vibe they lend. But, with pure white walls and lots of white furniture, I try to bring in pops of color with accessories whenever I can so I don’t feel like I’m living in an art museum. So, I love to take store-bought materials and add a little extra color for a customized, handmade look. I’ve had these little off-white vases in my linen closet for more than a year, and when they fell out for the Nth time on laundry day, I knew I had to either do something with them or pass them on. So, I made ’em colorful (neon, even) and display-able in less than an hour of work. Here’s how:
Materials and Tools
- Flower vase or other small container
- Matte white spray paint
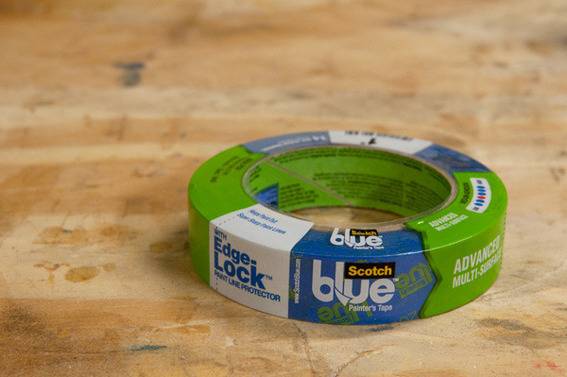
- ScotchBlue Painter’s Tape – I went with the green label: Advanced Multi-Surface
- Scissors and pencil
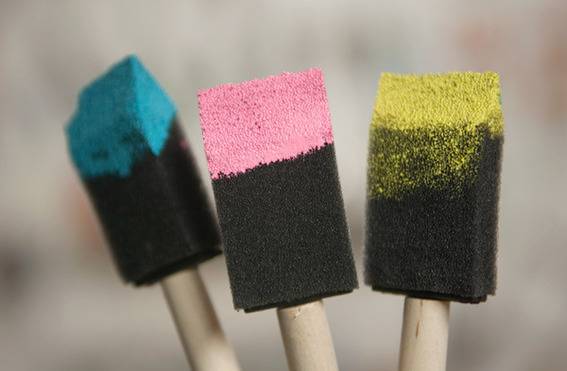
- Acrylic craft paint and brushes
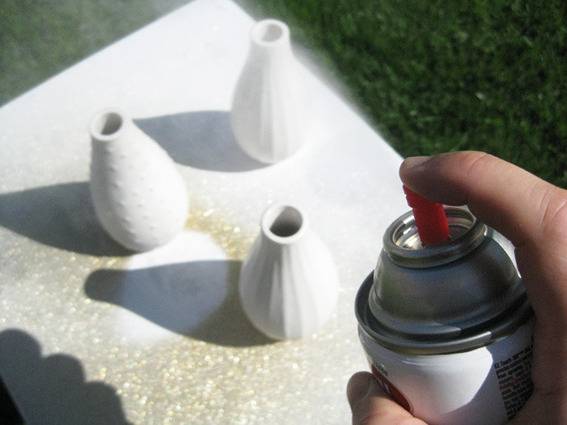
1. Take your vase(s) outside and give it a basic coat of matte white spray paint. This will give it the appearance of porcelain or ceramic, which matches nicely with the bright colors.
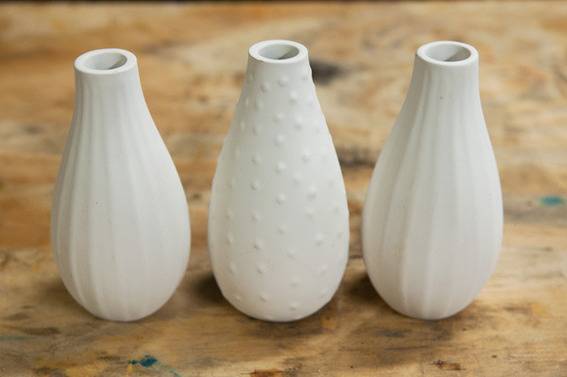
Plus, it will give your vases a uniform color and texture, allowing you to mix shapes and styles and make them look like a collection. (Hit the thrift store!). Make sure you let the spray paint fully dry before moving on to the next step.
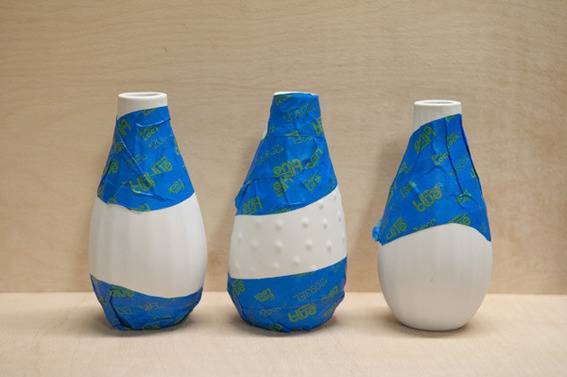
2. I wanted to give my vases a dip-dyed look. I wanted the color to be consistent (multiple coats) and don’t really trust my hand-painting skills, so I knew I wanted to use tape to make a resist and get nice, crisp edges without worrying about pulling off the base coat. I wanted a more organic look than just the straight lines, so I came up with this technique:
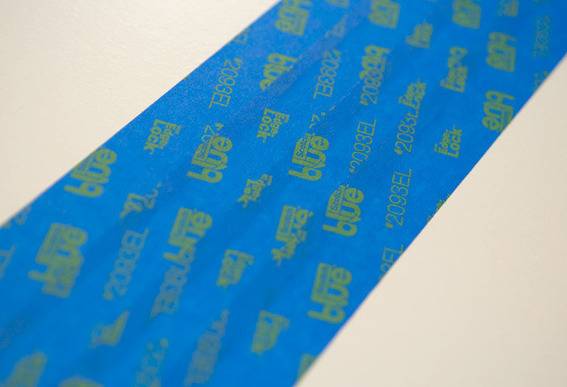
Line up a few strips of ScotchBlue tape, allowing the edges to overlap a little bit. Then, you can use scissors to cut a flowing, wave like shape, mimicking the look of actually dipping the vase in paint. Or, you could even use a craft knife and cut out little shapes for a more stenciled look.
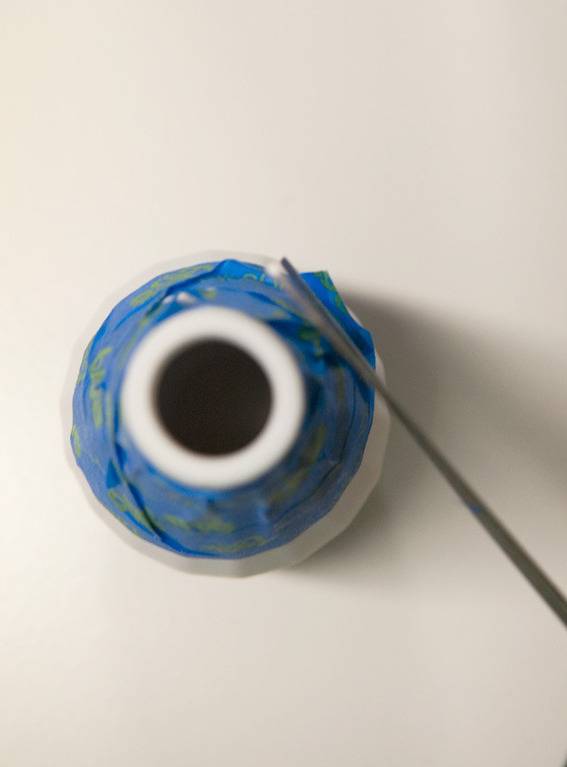
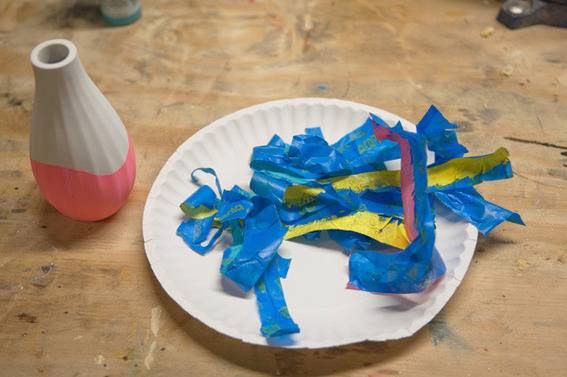
3. Wrap your tape “fabric” around the vase. Focus on getting great adhesion on the paint line, then use the excess tape to cover the rest. Work carefully around the curved surfaces, and use scissors to trim away any extra tape where the sides meet.
Lastly, use your fingers to press down all the edges to guarantee that no paint will creep under the tape.
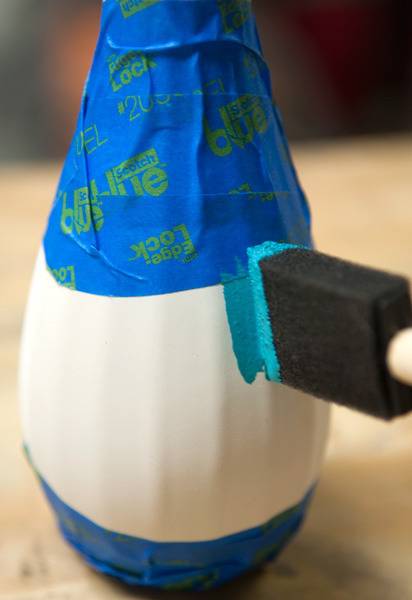
4. Then, mix up your colors, and get to painting! Likely, you’re going to need at least two coats, but the tape offers at least 14 days of clean removal, so you can add as many coats as you want without worrying about the tape pulling off the base coat.
5. Once the paint has fully dried, carefully remove the tape, add your buds, and enjoy a little pop of color wherever you place them. Have fun!
Visit ScotchBlue Ribbons on Facebook to learn how to win one of hundreds of daily samples!