At this point in my relationship, we’re sorta past making a big deal for Valentine’s Day. As I look back, we never really did much, but these days, it’s simply a reminder that we’re a pretty great fit for each other, and that every day feels special. I’m grateful that I don’t have show up with gems and jewelry, but can we’ll likely just stay in, make a thoughtful dinner together and treat ourselves…perhaps with a bottle of champagne.
Of course, as a crafter, I can’t just leave things alone, and it’s precisely because there are no expectations that I wanna do something a little extra. So, this year, I’m customizing our celebration bottle with a special message in type. Gold glittery type, that is. A perfect match for champange.

Materials
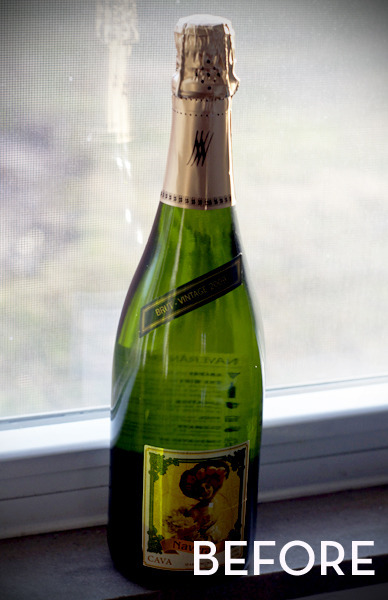
- Wine or Champagne bottle – I usually go for Cava, a sparkling white from Spain
- Soap and water
- Utility knife or razor blade (optional)
- Computer and printer
- 8.5 x 11″ full sheet decal paper
- Craft or X-acto knife
- Painters tape
- Krylon Glitterblast – I used “Golden Glow”
- Krylon Glitterblast Clear Sealer
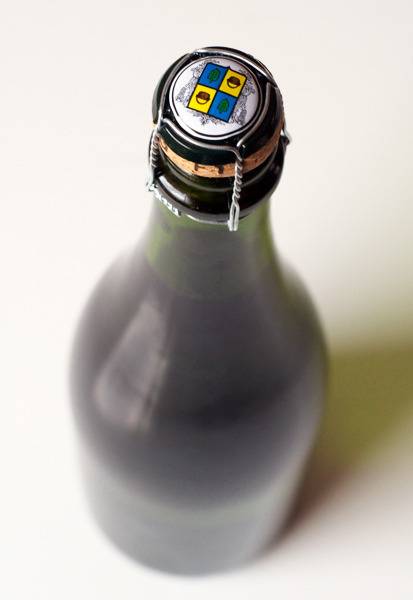
1. Begin by removing the labels on your champagne bottle. Unless your intended graphic is super big, try leaving on the foil on the cork. It makes for a better presentation, especially if it’s gold and you’re using gold Glitterblast. Soak it in warm soapy water for a few minutes, then rub off the glue with your fingers. If it doesn’t come off, use a utility knife or razor blade to scrap it away.

2. While your bottle is soaking, fire up your computer and create your text. Make sure you letters are fairly solid, and spaced well so the can be distinguished in the final application. Also, be aware that you’ll be cutting the stencil by hand, so the less flourishes the better.
I choose “You’re The One”…which, for some reason, has always seemed like a really sweet thing to say to somebody. I’m guessing it’s due to my unabashed love for this song by The Vogues. Listen to guy with the vibrato and the falsetto during the guitar solo. This is about as perfect as a pop song gets, people.
3. Print out your design on regular paper, and test it for size.
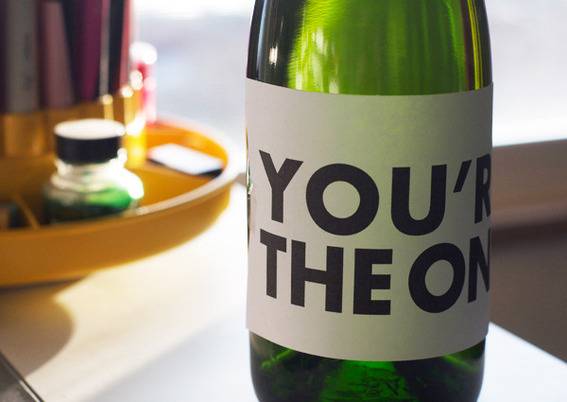
I found around 4 1/2″ wide was just right for my bottle.
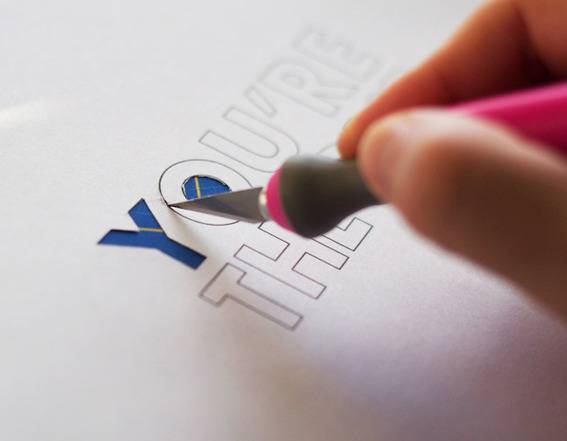
4. Next, print it out onto the full sheet decal paper, and get to the cutting. I switched mine up to just have a single 1 pixel stroked outline, and cut directly on the line. Be sure to save any “islands” so you can stick them on later. Of course, if you have a cutting machine like a Cricut or Silhouette, by all means, use it!
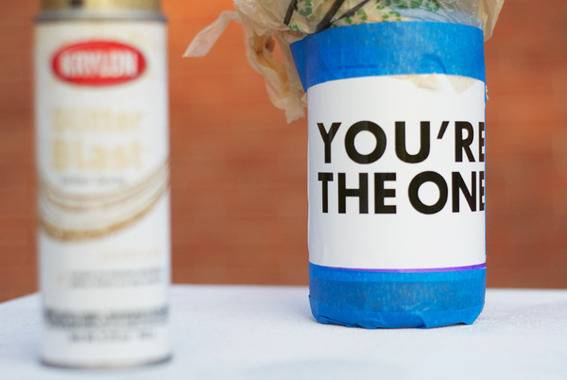
5. Then, peel off your sticker and attach it to your bottle. I found it helpful to draw a line parallel to the text, and use that as a reference against the bottom of the bottle, to make sure everything was straight. I added a bit of painters tape to make sure the edges were secure, then covered the rest of the bottle in a recycled plastic bag.
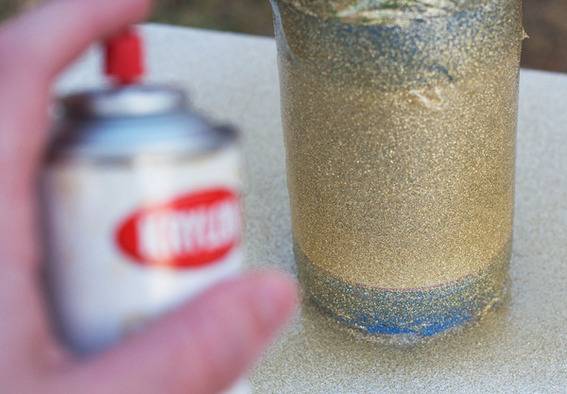
6. Then, just start spraying. When spraying with Glitterblast, you really wanna make sure you follow the instructions on the can. It really is different than typical spray paint. Definitely note the recommendation to shake the can vigorously for a full two minutes. It’ll insure sparkle success.
Allow the paint to dry for an hour, then hit it with a clearcoat of Glitterblast sealer. That keeps the glitter on the bottle, and not in your fridge, or worse, champagne glass.
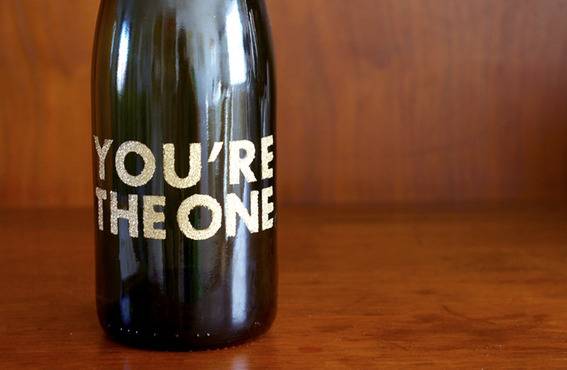
7. Allow the sealer to dry, and carefully pull of the stencil. Give it a chill, and celebrate with your sweetheart.
Happy Valentine’s Day!
Got your own awesome DIY holiday project using spray paint? Show us!