
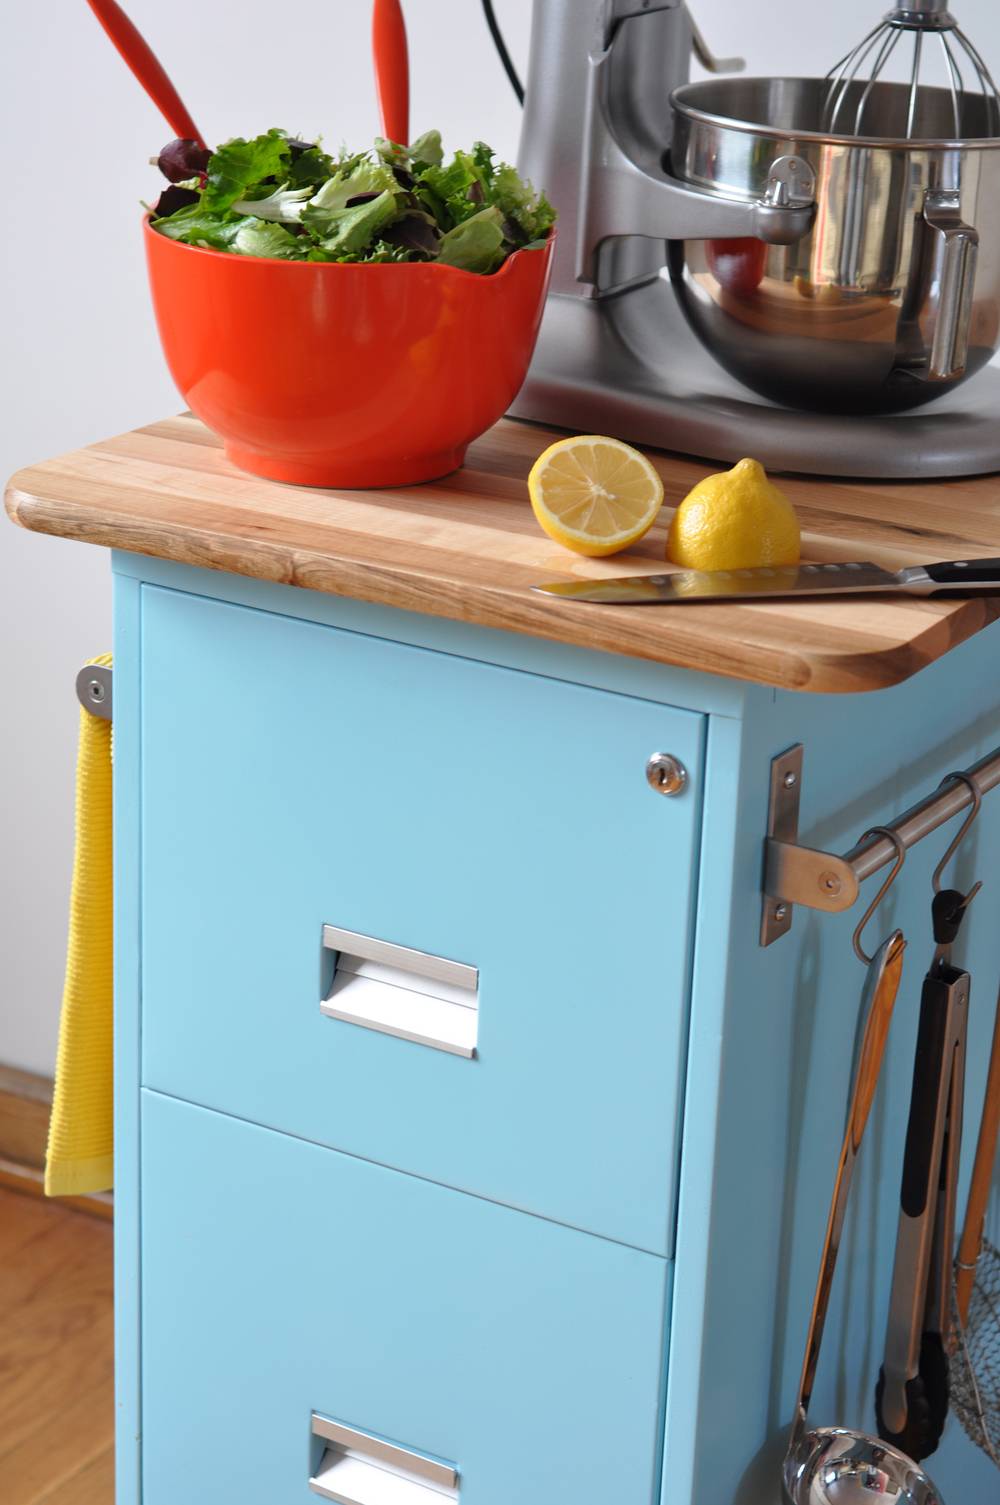
We’ve never met anyone who couldn’t use more kitchen storage and counter space. This rolling kitchen cart offers both – drawers for storage of tools, spices, or root vegetables, racks to hang towels and utensils, and a butcher-block top for food preparation or appliance storage.
Read on to find out, in step-by-step detail, how to make one yourself…
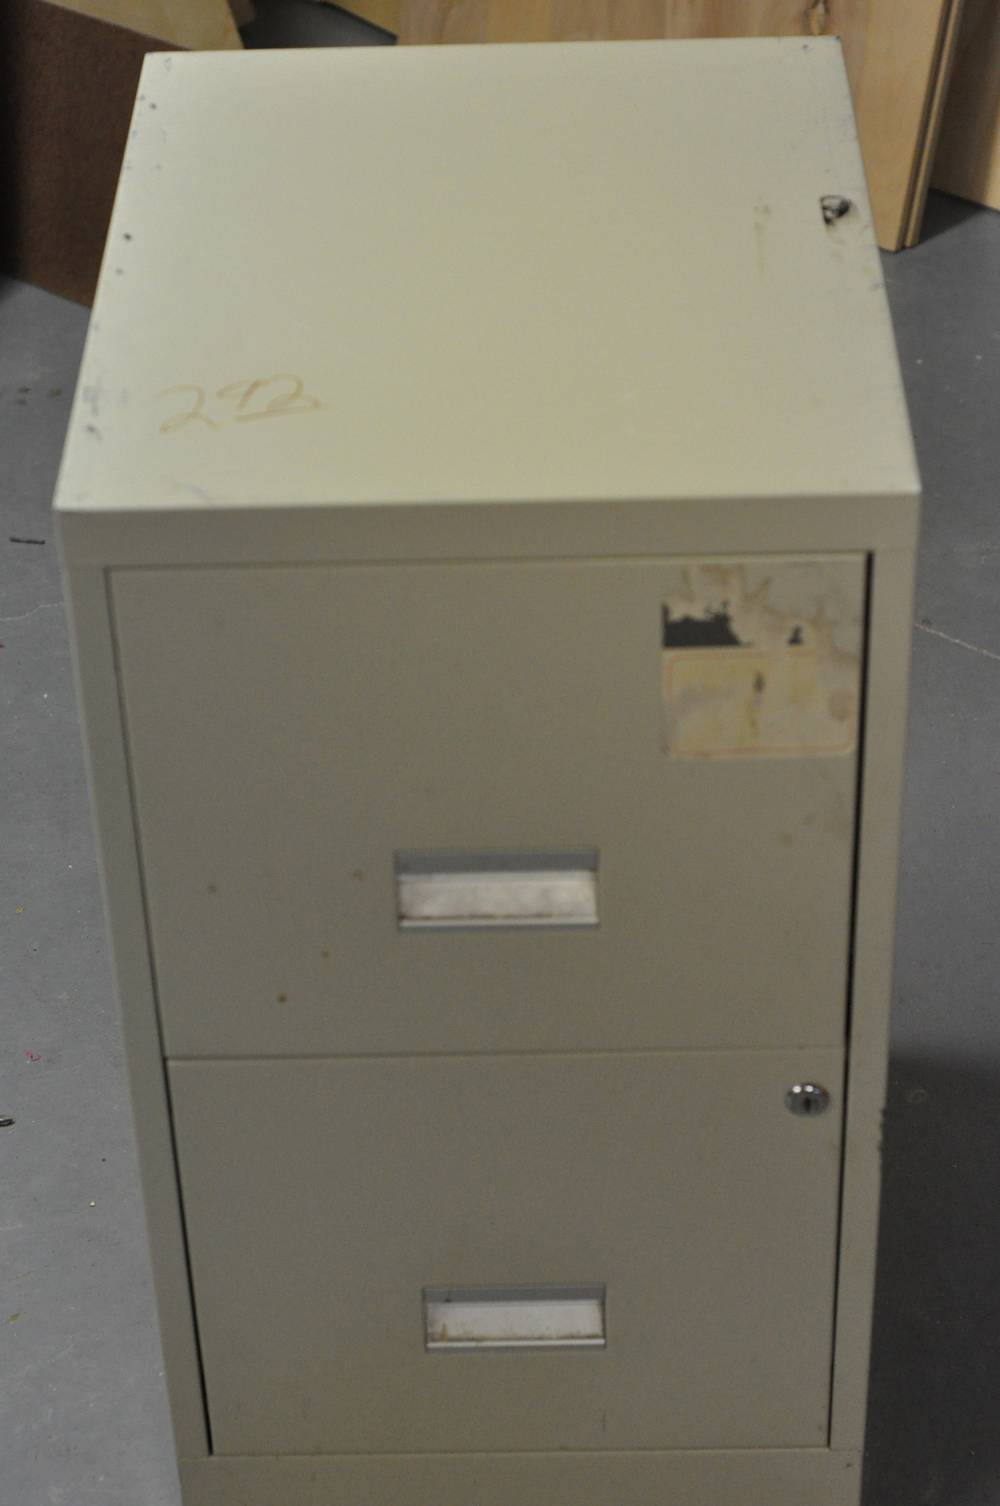
The main structure is a used filing cabinet, which are plentiful in secondhand shops, garage sales, and online classified listings. We found ours for less than three dollars at a charity shop. Look for a filing cabinet whose drawers and hardware are in working order, and for a case that has no major dents or damage. The color and finish are of no consequence, as it’ll be painted.
Materials
- Secondhand filing cabinet (if you can’t find one secondhand, try this one from OfficeDepot)
- Spray metal primer
- 2 cans spray paint
- Two rolling casters and two locking casters (The HomeDepot has a great selection)
- A cutting board or piece of butcher block that’s at least the size of the top of your filing cabinet
- Two inexpensive horizontal towel racks (buy for ~$14 on Amazon)
Tools
- Mineral spirits or sticker remover
- Electric drill
- 1/8” and 1/16” drill bits
- 24 1?8” bolts, 1/2 – 1” long
- 24 1?8” nuts
- 4 #8 short screws
- Washers (if necessary)
Step
Remove the drawers, and use mineral spirits or sticker remover to get rid of any tape residue, labels, or grime, and wipe clean. Remove any hardware will come off easily, and cover remaining hardware with painter’s tape.
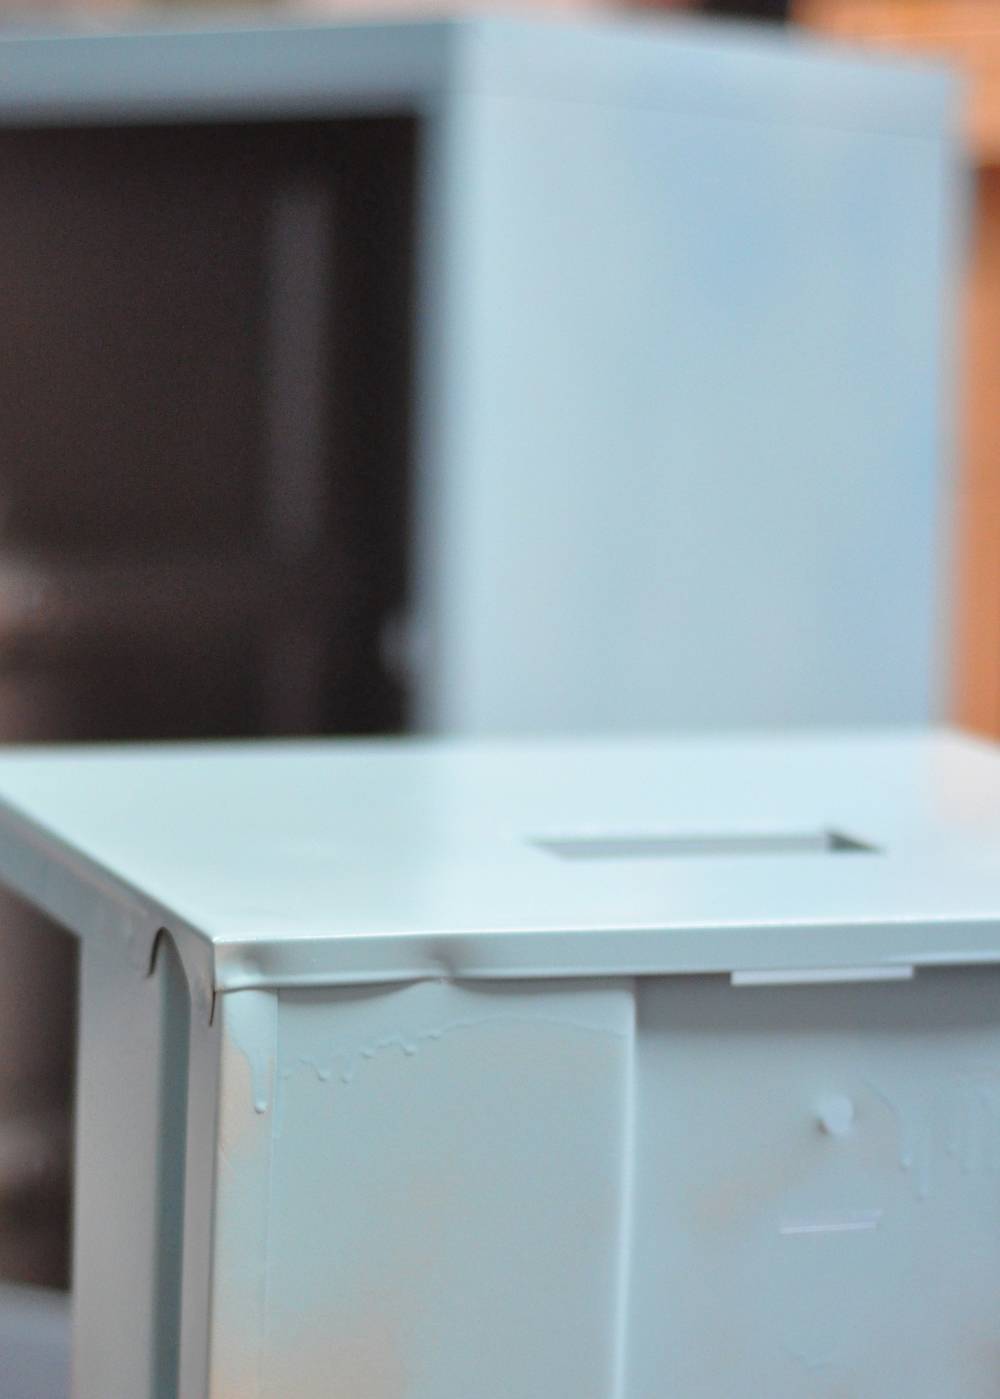
Then, spray the cabinet case and drawers with a coat of metal primer, followed by two coats of spray paint.
Step
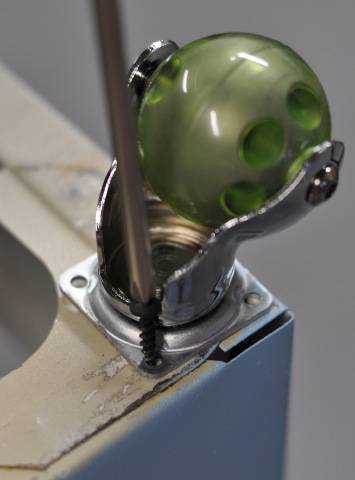
Mark the location of the holes of your casters on the bottom of your filing cabinet, and drill 1/8” holes for the screws. If the cabinet bottom is not solid, use a piece of scrap wood under the ledges to prevent them from bending under the drill. If the metal is thick, you can use a blow torch to soften the metal, but most drills should be able to get through. Then, screw in the casters using the included screws or 1/8” bolts and nuts.
Step
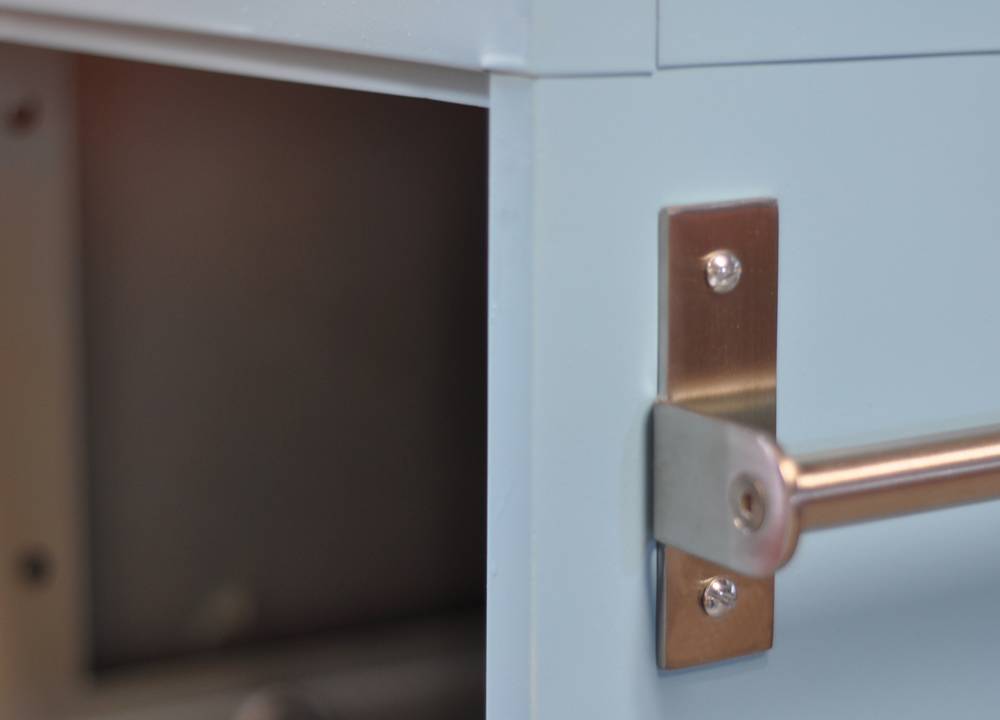
Attach the towel/utensil racks to the sides by marking and drilling holes as in step two, and securing them with short bolts and nuts.
Step
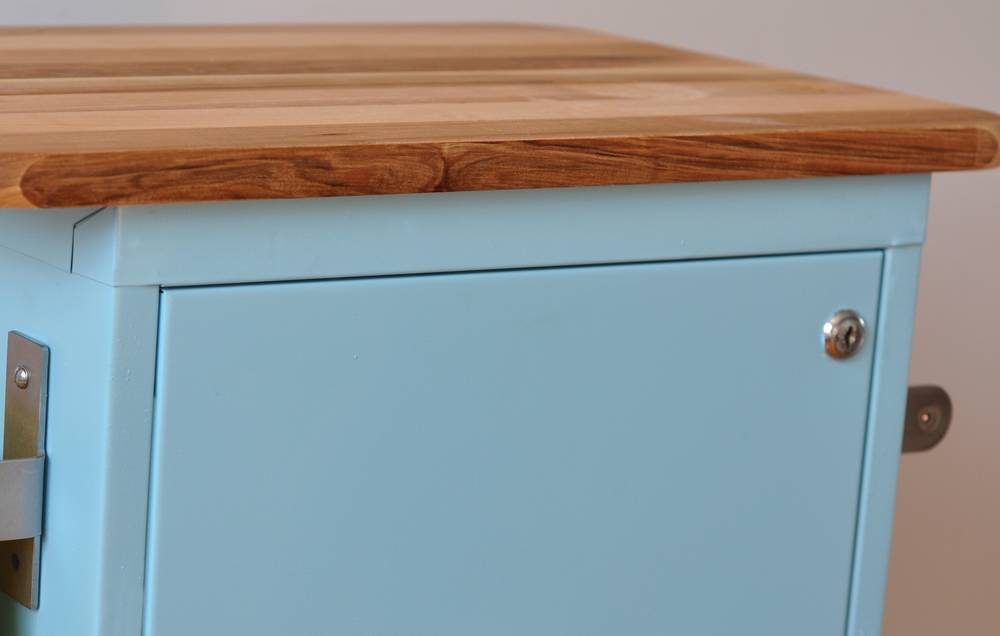
Place your cutting board on top of the cabinet, and mark where the screws will need to go to secure it. Drill 1?16” pilot holes, then attach the 1” screws from the underside of the cabinet. You can use the washers to prevent the screw from going all the way through the cutting board.
Step
Now, insert the drawers back in the case. Then fill the cabinets, hang your utensils using S-hooks, and make something delicious for dinner!
This post was sponsored by Caesarstone (thanks!), makers of quality natural quartz surfaces for your home. Thanks for supporting the brands that support Curbly
If you have two file cabinets, you could span them with a stone or wood slab of the appropriate size. Could use it as another counter or desk, pushed against wall, or, if you put the wheels on it, could make a moveable kitchen island. Add open shelves beneath to put baskets for extra storage.
I made mine and it turned out fantastic! I bought a rack from Target for one side to store cookbooks on. It also came with hooks to hang things in as well! I am using mine as storage for my pots & pans
What a really cool idea for an outdoor cart. You can load it up indoors and wheel is outside to cook with. Love it!
where did you find a cutting board so big?
I love this!! I am looking for a filing cabinet now! Very good idea, love the color of yours.
WOW!!!! You could even turn the bottom drawer into a cooler!! I’m doing this!! Thank you soooo much!
What does the inside look like ?>
I did this… but I caution anyone who tries this to make some adjustments if you plan on putting anything heavy into the file such as pots and pans because the bottom will collapse.
Because the metal is thin and the bottom is hollow, the casters are going to need some additional “beefing” up so that the bottom doesn’t cave in. I think you need to attach some wood to the INSIDE of the bottom…or it could be the outside but which ever is easier for you, augment some kind of additional strength to the bottom.
Most HD’s sell scrap wood, find a piece (s) that are at least 1 inch thick, you’ll need to cut them into whatever sizes you’ll need which will be a piece on all on all four sides on the INSIDE BOTTOM. TIP: Make a template from paper before you begin. Turn the file upside down and make a template of where you’re boards are going to be placed. You’ll need to do some measuring so that they fit inside the bottom of the file because those wheels are going to be attached to the wood. Move your measurements about 3/4″ from the outside edge away from where there’s a double metal fold. Using your template, transfer the hole placement onto the wood. Now pre-drill the holes in the wood using a smaller drill bit than the size of the bolt you’ll be using so that the bolt for the wheel will grab into the wood! Again, using your template, transfer the hole placement onto the file bottom and drill a hole.
TIP: Drill your holes at least a 3/4″ from the edge of the file.
Place the wood back inside and proceed to attach the wheels by threading a bolt through the holes in the wheels, through the pre-drilled holes in the metal frame and finally into those pre-drilled holes in the wood on the inside. Now, just screw a nut onto that bolt and you’re done!
Hopefully, you’ve marked all the hole placements correctly so that they all line up and now you have a strong bottom that won’t collapse under the weight of those pots and pans etc.
For anyone having a hard time finding an inexpensive top for this, just thrift or scavenge an old wooden/butcher block table top (like on a coffee table or small dining table) We did that for our kitchen island and have been using it for years. Ours came off a dining table that someone had thrown out to the curb for garbage. Cut it to size and you’re in business!