
Artwork. For my money, it’s the number one way to add personality to a room. Sure, a $25 can of paint can make a big impact, but I’ll take a white room with loads of art over boldly painted walls any day.
But, of course, you can’t just go to the artwork store and scan the aisles until you find just the right piece of scale and color that matches your decor. Real art takes time to create, and fetches appropriately not-cheap prices, and isn’t widely available at the local shopping center. Sure, family photos are nice, and an artfully framed poster will do, but don’t you dare head to that kitchen and bath supply shop and paw through the faux-Tuscan paintings.
Instead, make your own. Quickly, easily, inexpensively, and no artistic ability required.
Tools
- Computer and printer, or pen and paper
- craft knife
- spray adhesive
- spray paint
Materials
- Staple back canvas, or plywood
- Contact paper, or sheet vinyl (available with the cutting machines in the craft store)
How To Do It
Step
Canvases are usually reserved for fine art: oil or acrylic painters, set up on an easel somewhere, mixing colors on palettes with knifes. But, I think they’re great for all kinds of art projects, even those using spray paint. They are, you know…actually, a blank canvas.
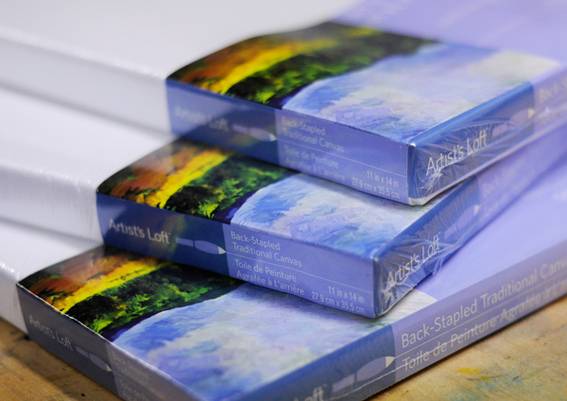
I’m not talking high end custom stretched gesso primed stuff that the pros use. I mean the buy one get one free deal at the local craft store. They come in standard sizes, and are always on sale. Never pay full price for one of these…They’re usually at least 40% off, or come in some combo deal. If that one major chain doesn’t have them on sale, the other one most always does. Look up this week’s circular online, and then hit the sales. I got 11 x 14″ for $8.00 this week. Deal.
Step
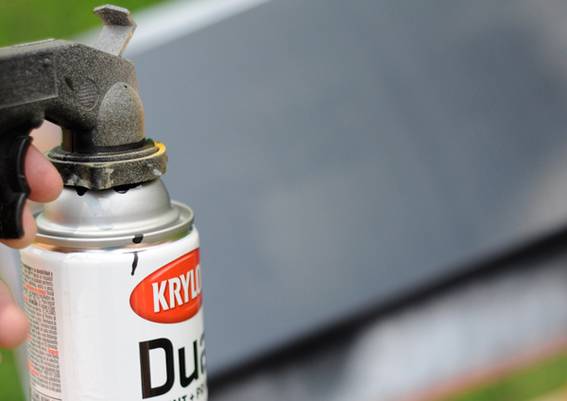
Paint your entire canvas with a base coat of a solid color of spray paint. Even if you want your background color to be white, do a coat of white paint anyway. It’ll look much more natural, and smooth out any irregularities in the surface.
I used Krylon Dual paint, which is a paint and primer in one. That way, you could do this on canvas, plywood, an old sheet of plexiglass, or even some sheet metal, and you’ll get even coverage.
Step
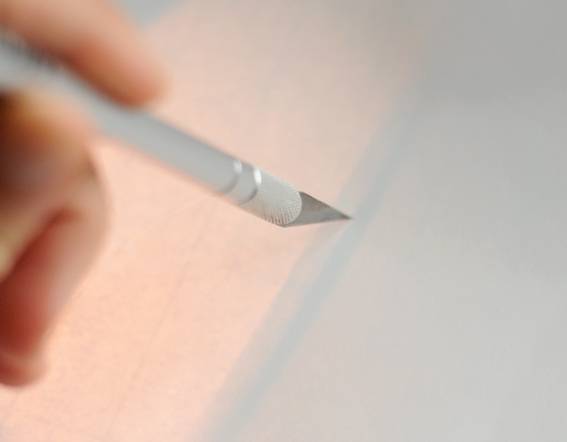
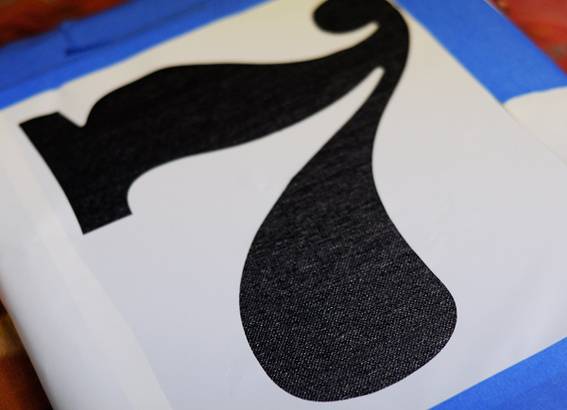
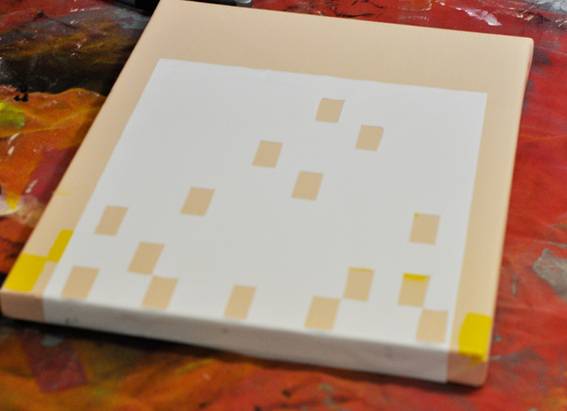
While that coat dries (less than thirty minutes if you put it in the sun), create a stencil for your art. I just printed out a number in a typeface I like onto regular paper, and then laid out my sheet vinyl and traced the outline with the craft knife. You can also print your art directly onto full sheet sticker paper, and cut your design from there.
I’ve taken to using roll vinyl for stencils. You can get it at the craft store, next to the Cricuts and Cuddlebugs and other machines. It’s thicker than contact paper, and repositions a lot easier. It also produces less of those little papercut hairs that always clog my corners. It’s not more expensive than contact paper, but it’s shorter, so that affects your project size.
Contact paper, sticker paper, or masking film will all work well here.
Step
Affix your stencil to your canvas. I actually like to use a bit of extra spray adhesive here, since contact paper isn’t super sticky, and we want to make sure there’s no “ghosting” – that little bit of spray paint that can sneak under the edges of a stencil. Press everything flat, guaranteeing your edges are secure, then use painter’s tape, newspaper, extra contact paper, etc, to cover the rest of your canvas, including the edges.
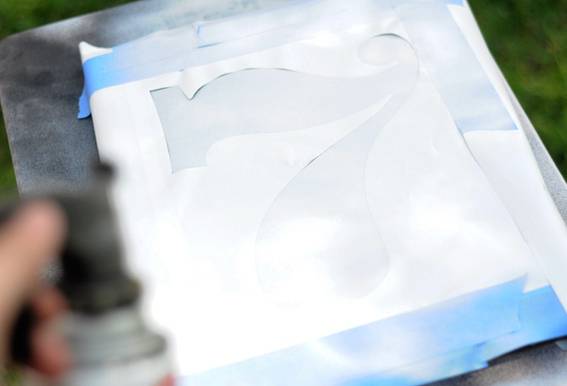
Step
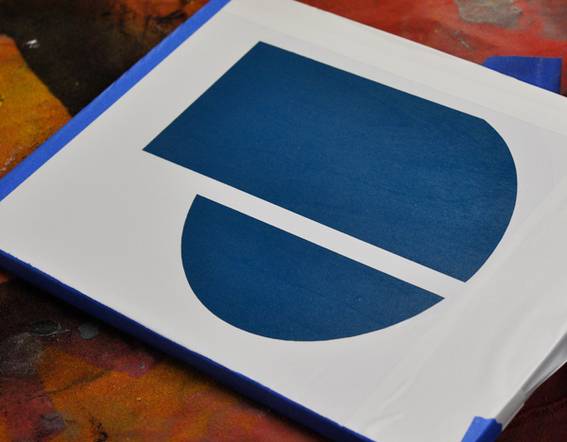
Go outside and spray your second color. If, after a first coat, the base color still pokes through, like my white on black, don’t add more paint just yet. Allow it to dry for ten minutes or so, then do a second coat. You’ll find the paint is actually more opaque as it dries, and you’ll get nice even coverage.
Allow to dry for another ten minutes, then pull off the stencil. Set somewhere warm to cure.
See?! Custom, graphic art in less than forty-five minutes, and for under $10 for a medium sized piece.
I created the multi-colored one using for different stencils, applied to a base coat. This would be super easy using a shaped paper punch from the papercrafting aisle.
And I did this two-color dimensional letter J, on a piece of scrap plywood. It looks great with the canvases to switch up the textures.
Spray paint, friends. It works.