Here’s a great tutorial on making your own modern house numbers, inspired by the clean lines of mid-century design.

The architect Richard Neutra is one of modernism’s iconic artists. He’s best known for his integration of both his residential and commercial buildings into their landscape, and for his care in matching his work with the lifestyles of his clients, rather than imposing his own vision over their needs. His attention to detail extended into every element of his buildings, including signage and house numbers. Foundry House Industries says of Neutra’s type, “It is no wonder that Neutra specified lettering that was open and unobtrusive, the same characteristics which typified his progressive architecture.”
You can still get metal house address numbers based on Neutra’s specifications, through a collaboration with his son Dion. They’re absolutely beautiful, precisely crafted in aluminum, and, if you can afford them ($50 a piece), a lasting addition to your home. But for my four digit address, they’re out of budget.
So, I made my own address numbers, for less than $20 for the whole set. And you can, too. Here’s how:
Materials and Tools for DIY Modern House Numbers
- Wood or fiberboard approved for outdoor use, such as redwood or cedar (see below)
- Modern house numbers template: download here
- Spray adhesive
- Coping saw or jigsaw
- Sandpaper in rough and fine grits
- Wallboard joint compound and oil-based primer (optional, but recommended)
- Exterior-grade paint and sponge brushes
- 10-24 nuts and bolts, or threaded rod
- Two-part metal epoxy, such as JB Weld
- Electric drill and drill bits
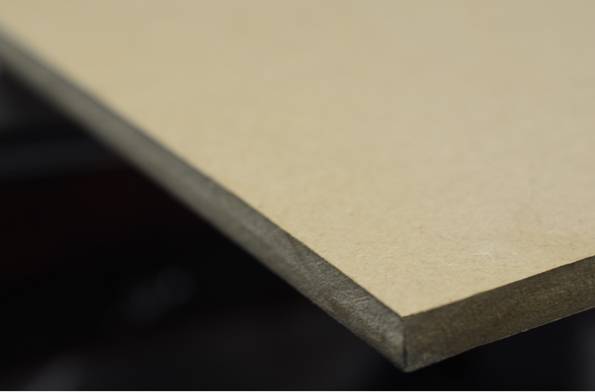
1. I knew there was no way I could create mine out of metal, as that’d require lots of fancy tools I don’t have, and thick aluminum stock that would probably cost as much as just buying them from DWR. So, I knew I’d need to paint a wood-based product to resemble aluminum. Since they’re going to be outside, I wanted to use something that can stand up to the weather. I opted for Extira, which is an exterior-grade panel product, that looks and works just like MDF, but won’t soak up water. You can also use decay-resistant woods like redwood or cedar, or even acrylic. Extira will send you a free sample, so you might be able to get enough to make these for free. I found mine at a local lumber yard, who was willing to sell it in a quarter-sheet. Cost $12 for a 2×4′ panel.
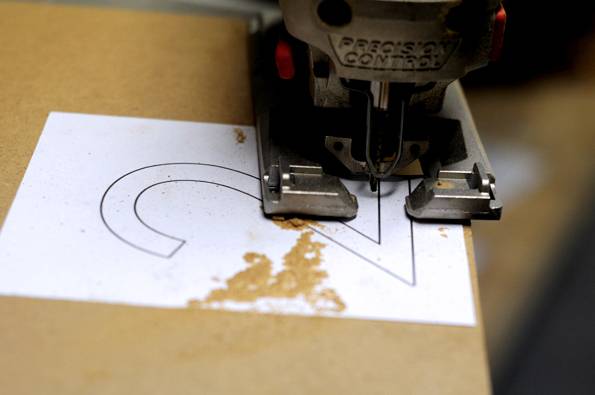
2. Once you’ve chosen your material, print out the template at full size. This will create house numbers that are 4″ tall. You can adjust as you’d like if you’re going for a different application. Attach the template to the panel using spray adhesive.
Use a jigsaw or inexpensive coping saw to cut out your numbers. Don’t be a hero and try to cut right on the black line. Cut a 1/16th” on the outside, and then sand it to the line with rough grit sandpaper. Also, cut any internal angles first, and then complex curves, and lastly the straight line that attaches the shape to the rest of the panel. Note: This is not what I’m doing in the photo, and I regretted it!

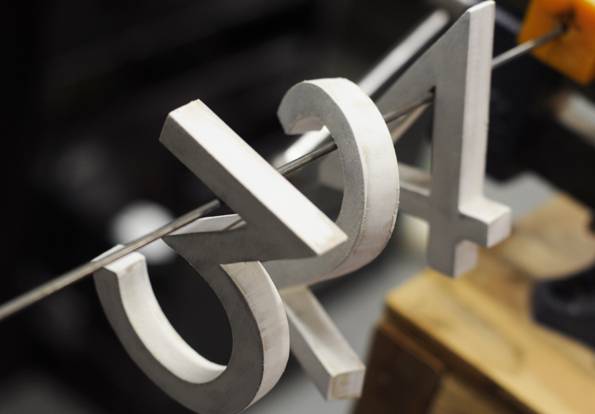
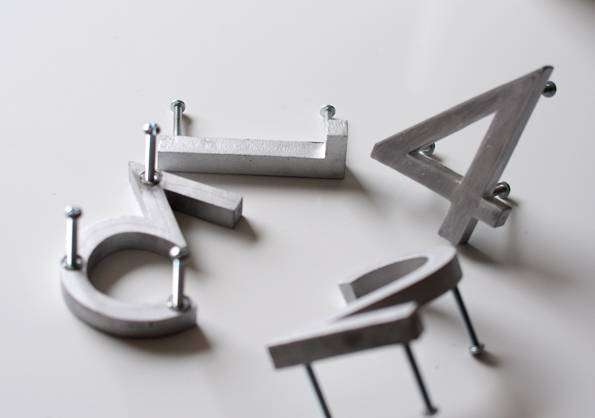
3. I made my numbers so that they’d sit away from the wall and cast interesting shadows. To do so, I epoxied nuts into the back of the numbers, and then attached bolts to the nuts. I did this after painting, but recommend doing it before, so you don’t have to repaint the holes later. Just drill a hole 1/4″ into the back of the number at its thickest points.
4. I recommend prepping the numbers for paint using the MDF painting method I described here (it’ll give you a perfect finish). You will be covering everything in oil-based paint, but I don’t see any reason to take any chances. Basically, you want to seal the “edge grain” with joint compound, and then cover the faces with an oil-based primer. Lastly, sand everything smooth.
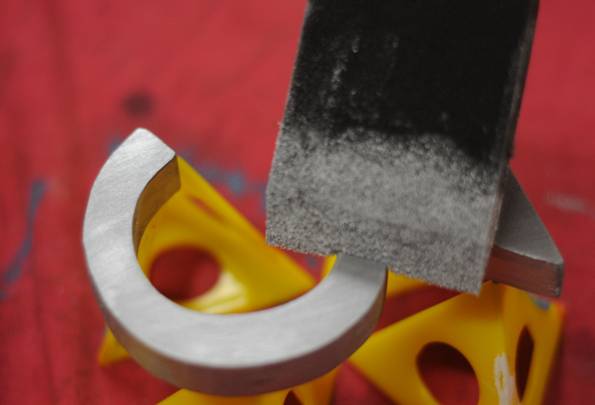
5. Then, brush on at least two coats of exterior paint. I used “Aluminum” from Rustoleum, and found the sponge brushes to work better than bristly ones. On your final coat, use down strokes only, to mimic the look of brushed aluminum.
6. Lastly, epoxy the nuts into the cavities, and allow to dry. Be sure not to get any epoxy into the threads.
To attach mine to the wall, I used some 10-24 bolts off of which I cut the heads with a hacksaw. You can also use threaded rod, available in the weldable steel section of the hardware store, cut to size. Use an anchor designed for the material the exterior from which your house, wall, or mailbox is made.
Minus drying times, the whole project took me about 1 1/2 hours and cost around $19.
Can’t beat that.
Sadly the link is broken to the bit where you explain the jointing compound (what is that?) and the primer.
And despite reading the comments, I still can’t work out how these are fixed to the wall….?
Could you tell me what font is it? it would be very helpful Thank you
I purchased the 4 inch numbers in this style of font that are available in most big box stores. Somehow they just didn’t seem to have enough of an impact while viewing from the street. I think I’ll try making 6 inch numbers with the street name in the same font but in a 2 inch size underneath. Your post has been most helpful.