Shehzeen Rehman

I am kind of obsessed with home design. Ever since I’ve had a place to myself, I’ve used my downtime to do something with the house. And creating something out of a mass of rejects is usually my weapon of choice.
Other than a few key pieces of furniture, everything at my place is always either a DIY project, has undergone a makeover, or been picked up second-hand. I think it’s a genetic defect to not be able to accept a mass-produced product without letting it suffer through a rebirth.
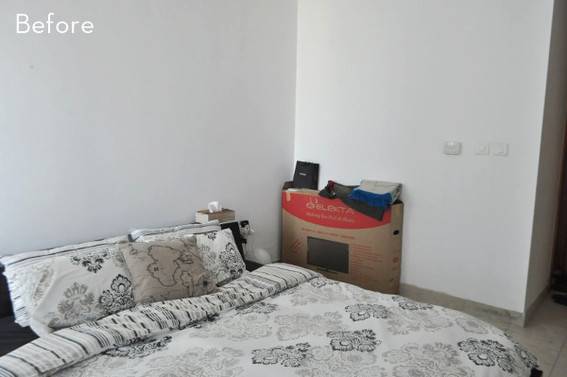
When we moved into my now-apartment, I immediately knew I wanted a statement wall for my bedroom and everything else could happen around it. So I painted it. Hated it. Repainted it. Googled for inspiration. Came up with nothing. Thought some more. Questioned why the universe was conspiring against me. And then I knew what I had to do.
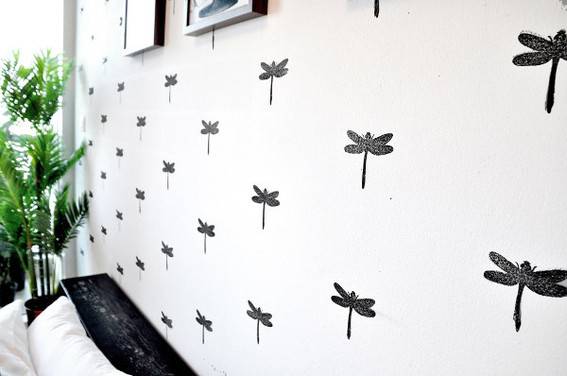
Stamping. And that’s how I went from this:
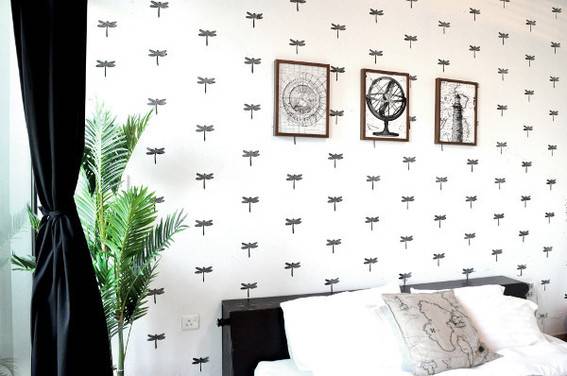
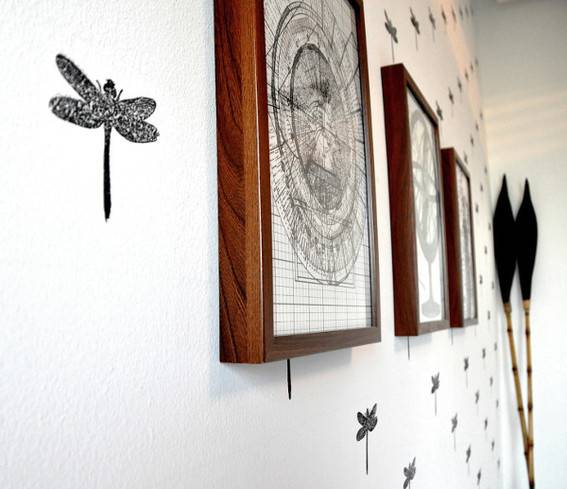
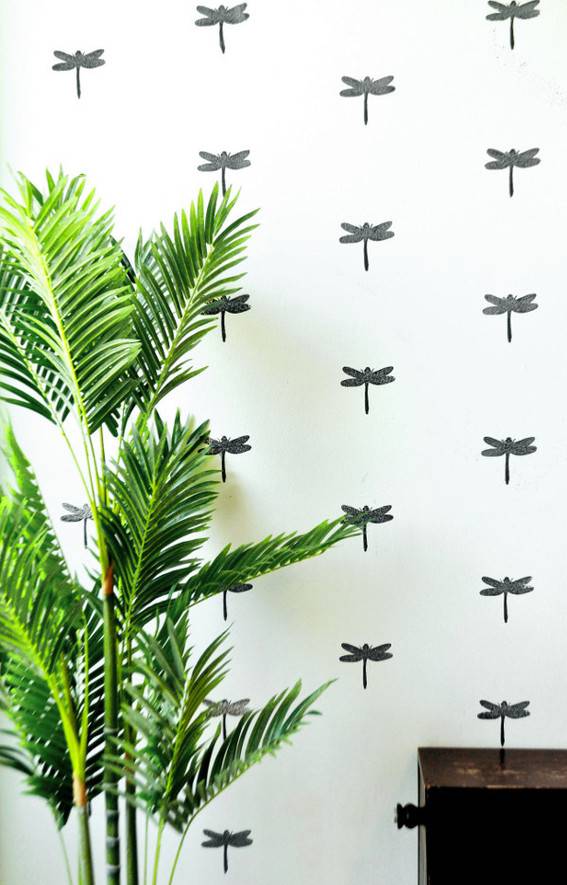
To this:
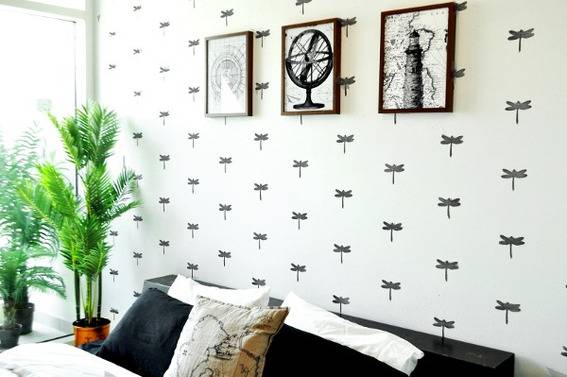
If you’re appreciating this, let’s talk about how it can happen for you.
Difficulty Level: Easy as hell. If you do a random pattern, it’s something you could ask a two year old to do (but don’t do that).
Time Required: Gridlines, 1.5 hours (including the time to warm up and get your understanding of the situation). Stamping, 1 hour tops (including other tasks following the stamping which we’ll discuss below).

Cost: $37 ($25 for the stamp, $12 for the ink pads and the rest I already had on hand)
What You Need:
- Stamp: You could make your own or buy one. I got mine in a 4 –inch size from The English Stamp Company.
- Ink pad: Any regular ink pad should do. Pick the color you want. I chose black and got two of these because of the size of my wall (the first one dried out once I was half done and there was a minor crisis meeting where it was decided my husband should immediately go out and get me a new one).
- Some basic math: I wanted a symmetric pattern so I measured my wall, calculated how many columns I would need and how far apart they should be from each other.
- Laser Level: So that stamps are all in a straight line and you don’t waste your entire life eyeballing it.
- Pencil and Large Ruler for gridlines.
- Ladder
What You Do:
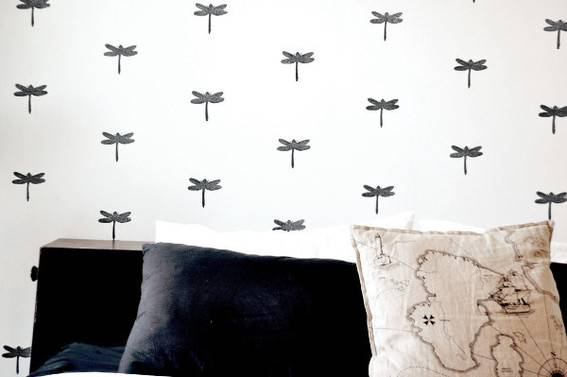
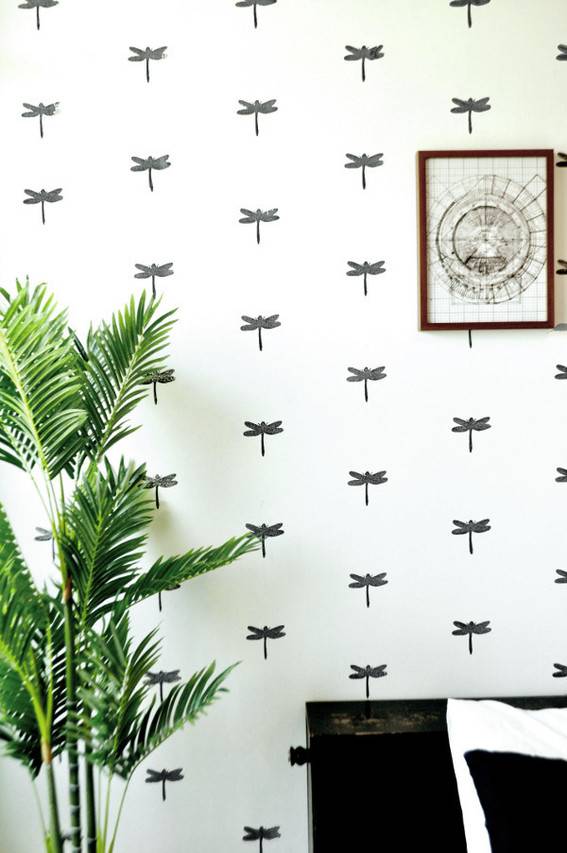
1. Get your measurements: My wall was about 12 feet wide and I decided to have about 14 columns all across. So thanks to the basic math that I picked up at school and that I advised you to have ready on you, I made myself a nice map on paper of where each dragonfly would go.
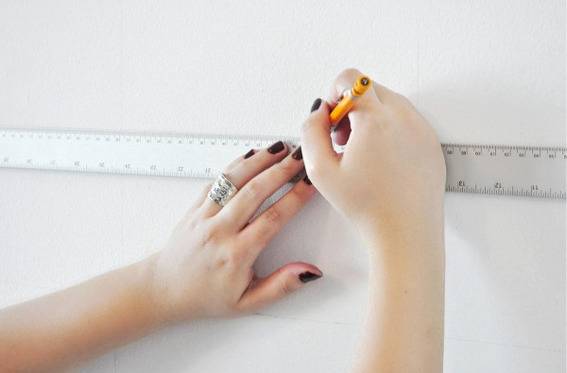
2. Make your gridlines: I was ready to measure each point individually on the wall and just stamp as I went along, but my husband (who was unwillingly suffering through this process) advised me to make grid-lines all across the wall so the stamping could be super fast and error-free. I saw his point, agreed and then asked him to do it. He wasn’t happy about it but accomplished about 95% of the line-sketching. Although, I can take credit for criticizing his work at some points and drawing the last two lines.
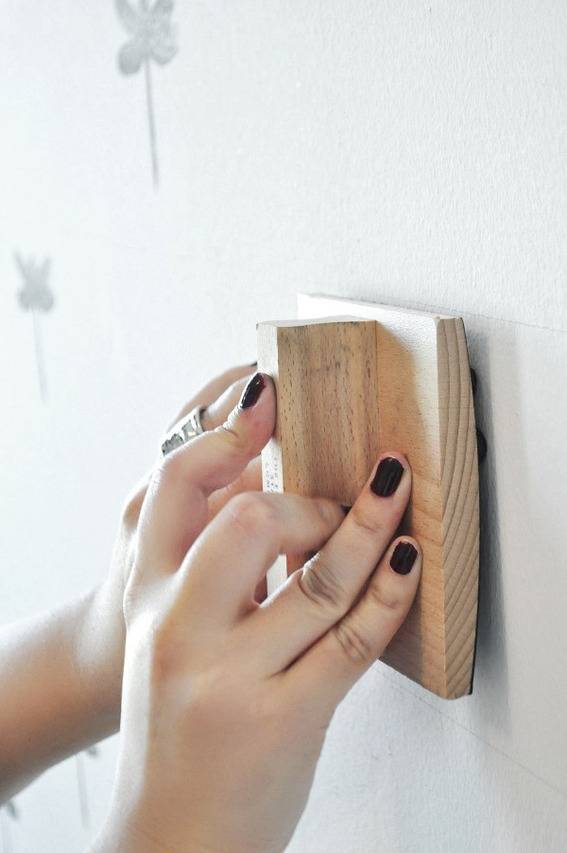
3. Stamping: Go to town stamping. Since I have the attention level of a 6-month-old infant, this was the most fun part for exactly five minutes. But the anticipated image of the final product kept me going.
 Shehzeen Rehman
4. Clean up the lines. Erasing is so bloody boring especially when your husband is watching True Detective (basically enjoying his life while I perform manual labor). Regardless, erasing really pulls everything together and you have a fantastic new wall to live with.
5. Order some greasy takeout and have it facing your brand new wall.
 Shehzeen Rehman
 Shehzeen Rehman
Tips:
1. Always test the stamp on a piece of paper first to get the feel of it. You’ll understand how dense you want the impression to be and can then decide how hard you want to press your stamp on the ink pad to get the right amount of ink. Also, testing allows you to understand how to press the stamp on the wall (example, mine had to be pressed extra hard on the left side to get the right print)!
2. If you pick an ink pad in a size matching the size of your stamp, life will be easier for you, because you won’t have to make two press attempts each time to get ink on your stamp. One press will be enough.
3. Someone later suggested that painter’s tape works just as well for establishing a grid but my walls are excessively evil and the living room paint ripped off with tape once (for another project) so I’m not exactly feeling experimental in life and wouldn’t have done that. You could do that, though.
4. If you do pencil gridlines, you might see eraser streaks after rubbing them off. But they go away usually after a couple of days so you don’t need to worry.
5. If you accidentally place a stamp incorrectly (measurement wise) don’t panic! Just resume the right measurement from the next one. I have a totally out of sync one on my wall and you can’t even see it!
Shehzeen Rehman is the witty and creative mind behind The Desi Wonder Woman blog. She can also be found spreading her unique spin on life, travel, style, and pop culture on Twitter and Instagram.