
We’re nearing the finish line of our office makeover (more on that later) and so I’ve turned my attention to some of the finer details… details like, you know, mouse pads. After a desperate search to find some that blended form and function in a way that made my aesthetic-loving soul happy — and failing — I decided to make my own. And I’m glad I did because, holy cow, I love them!
These bad boys combine a few of my favorite things: leather, triangles, and the color black (always good in the right doses). Also, these take no time at all to make — I busted out two in less than an hour, including drying time. So. Wanna see how it’s done? Let’s go!
Materials:
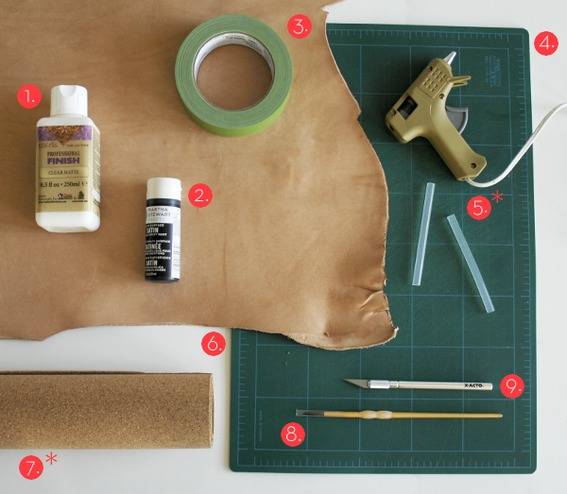
1. leather finish/sealer – clear matte
3. painter’s tape
4. cutting mat
5. hot glue gun (or contact cement) *OPTIONAL
6. tooling leather, size 3 to 4 oz. (I got mine from Tandy Leather Factory – they have locations across the U.S.)
7. cork *OPTIONAL
8. paint brush
9. craft knife
Steps:
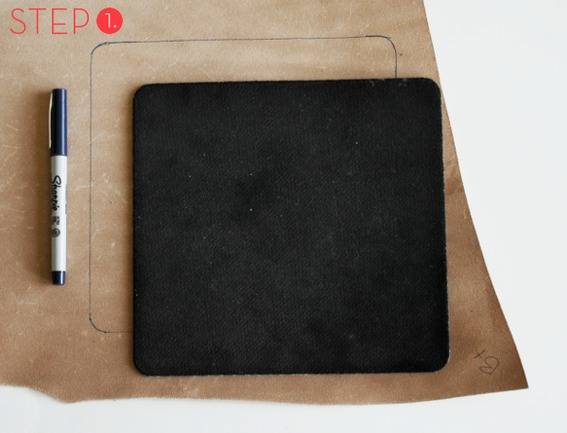
Step 1: Take a (dirty old) mouse pad you already own and use it as a template, tracing around the edges with a marker or pen on the backside of the leather.
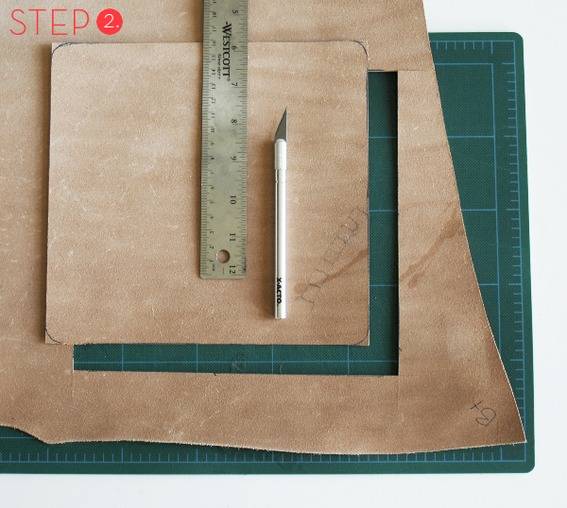
Step 2: Cut along the marked lines with your craft knife, using a ruler to help keep your lines straight (if you’re doing a square or rectangular mouse pad). Use several moderately firm strokes to cut through the leather. Cut off the curved corners if you’re into that.
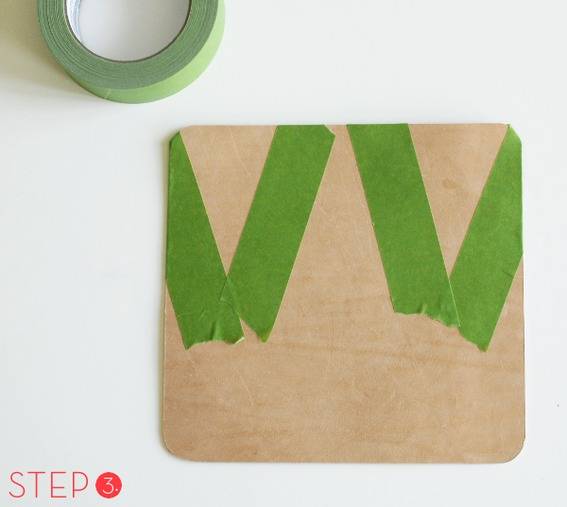
Step 3: With painter’s tape, tape off your design. You could also use contact paper or a stencil, depending on how intricate you want your design to be. I’m kinda digging triangles, so I kept it simple.
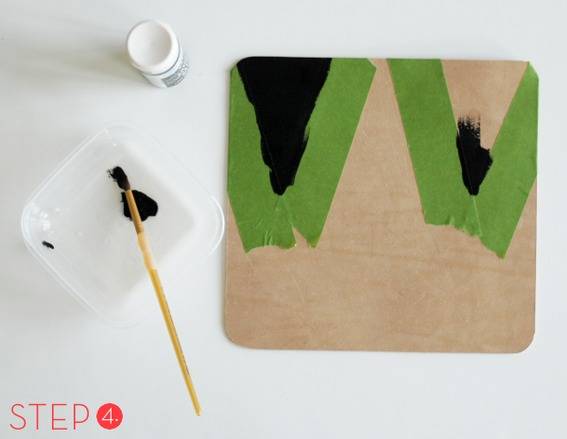
Step 4: Fill in the design with acrylic paint in your color of choice, brushing each stroke in the same direction. You could also use a sponge brush for a smoother, less-painted look. Allow the paint to dry before proceeding to the next step (or taping out additional designs if necessary).
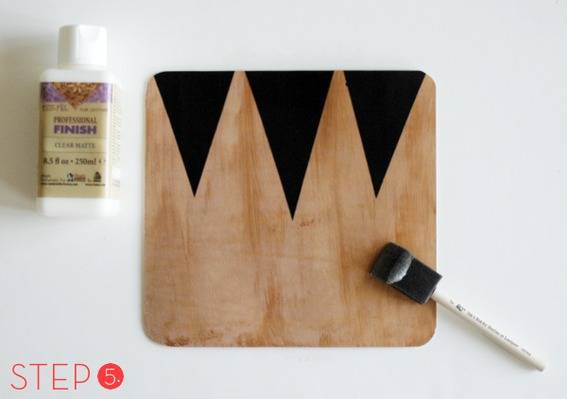
Step 5: Brush the clear matte leather finish/sealer on evenly with a foam brush. Once dry, you’re ready to use your fancy new mouse pad!
Optional Step 6: Remember that glue and that roll of cork? Here’s where they come in (if you’re so inclined) — Apply glue all over the backside of your leather mouse pad then immediately press it down on a sheet of cork (cut-to-size). Wipe off any glue that might have oozed out then set a heavy book or two on top and allow the glue to dry. After everything is all dry and stuck together, you can put your mouse pad to work!
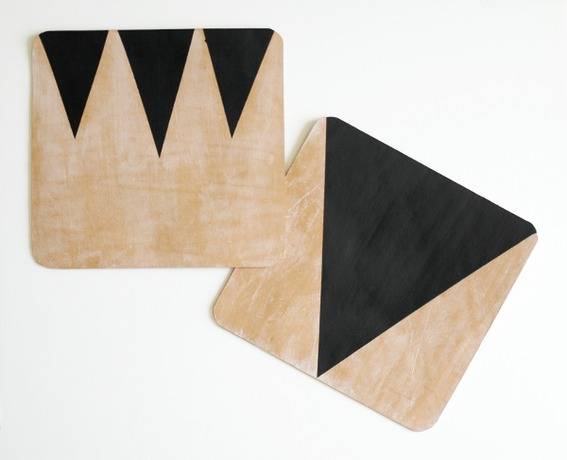
And that’s it! Enjoy your new mouse pads, kids!