This is our most complete guide on how to paint kitchen cabinets. A DIY cabinetry painting job can be time-consuming, but if done right, the results are excellent. We show you two examples of DIY kitchen cabinet makeovers, one light and one dark. Read on to find out how to do it!

Yesterday we had an interesting discussion about whether or not painting kitchen cabinets was a simple, one-weekend project. On Twitter, this commonly-repeated idea was referred to as “commercial break cabinets” and “design on a crashing dime”. I’m here to burst a few bubbles and tell you that painting kitchen cabinets is absolutely NOT a one-weekend project. But you know what? It’s still easy! And doing it the right way first will save you time and money later. That’s a promise. So, if you’ve got a few weekends set aside for the lowest-cost, biggest-impact change you can make to your kitchen (and I haven’t scared you away yet), read on!
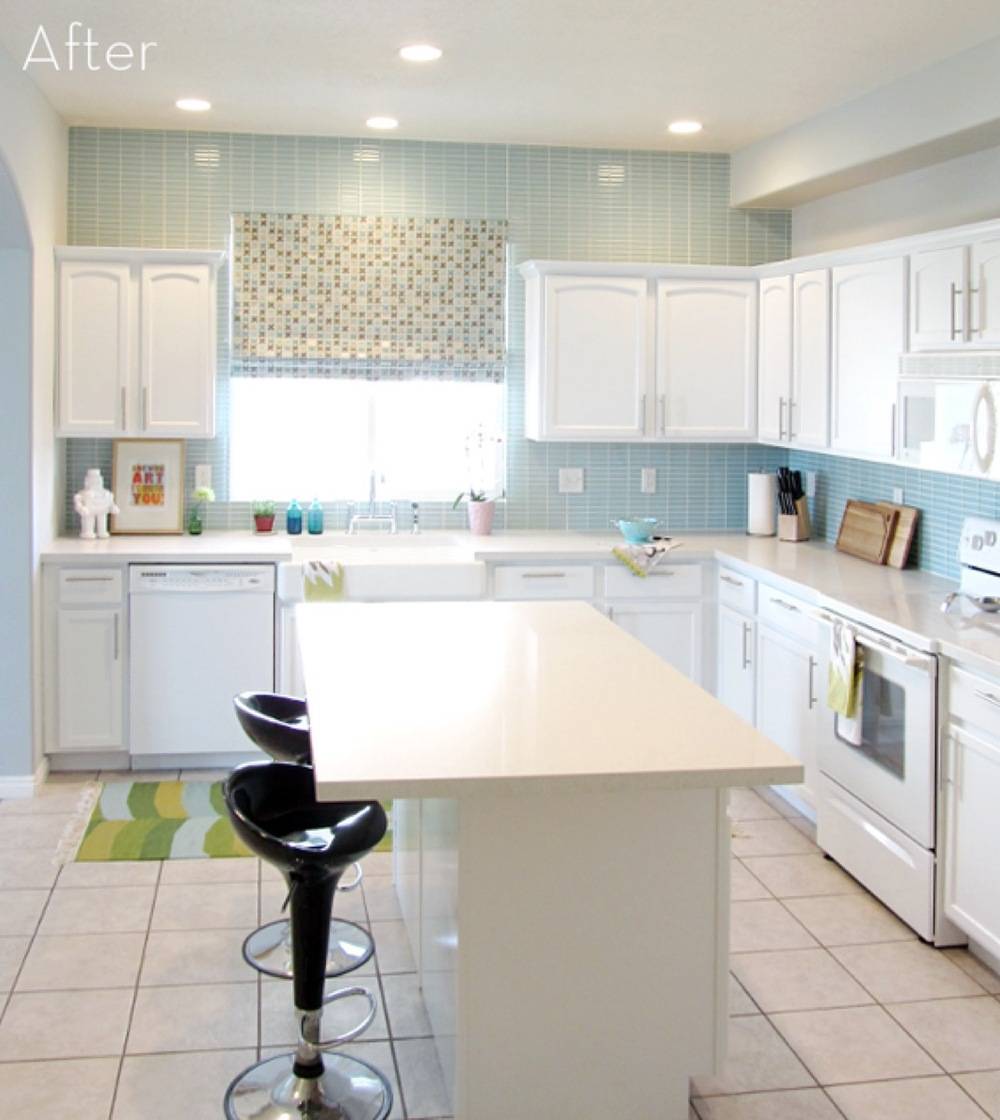
We painted our kitchen cabinets as part of our recent kitchen makeover. Going in, I, like many earnest DIYers of the past, had high hopes of turning our cabinets into sparkly white wonders within a single weekend. Turns out, it takes a lot longer than that. In fact, it took us 5 weekends. You could probably cut out at least one of those if you used an orbital sander and probably another on top of that if you are using a paint sprayer. But we’re hardcore and sanded and painted everything by hand. Yippee! But enough about that, you’re here to learn how to paint kitchen cabinets in your own home, and that’s just what I’m going to show you! Ready?

Materials! My favorite. Before you get started, you’re going to need to do a little shopping and gather up the following items:
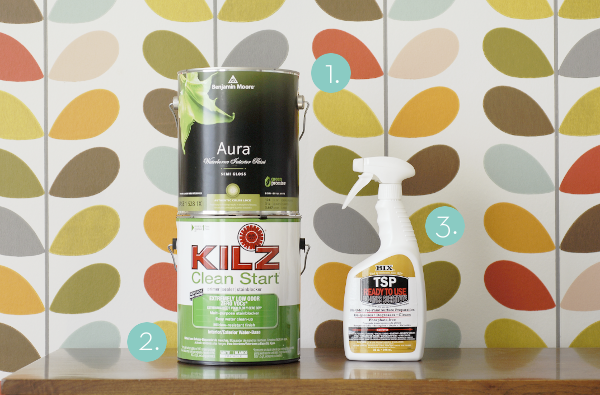
- Paint – Oil based OR 100% acrylic latex, semi-gloss or gloss. We went with acrylic latex, semi-gloss.
- Primer – Don’t skip this! If you can, try to use a primer labeled “high build” or “sandable”.
- Degreaser or TSP
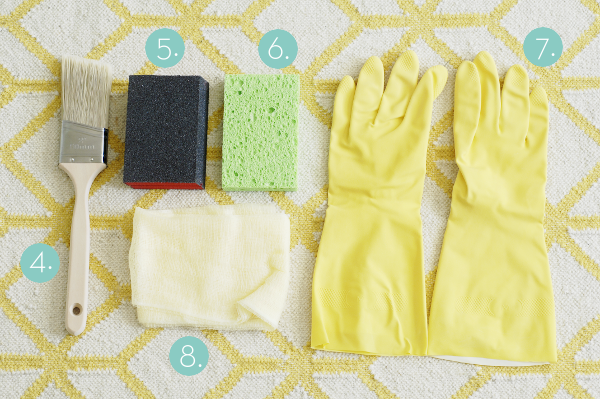
- An angled brush OR rent/buy a paint sprayer. Using a sprayer will probably save you about one (of our five) weekends.
- Sandpaper – You’re going to need 100 grit (medium) and 220 grit (extra fine/fine).
- Sponge (to use with your degreaser/TSP)
- Gloves (to use with your degreaser/TSP)
- Tack Cloth
Other items you will need: rosin paper OR plastic sheeting to protect your counters, painters pyramids OR 2x4s with nails hammered through (to set your cabinet doors on while drying), and a shop vacuum. And that’s it. Let’s start painting!
How To Paint Kitchen Cabinets White Yourself

Step
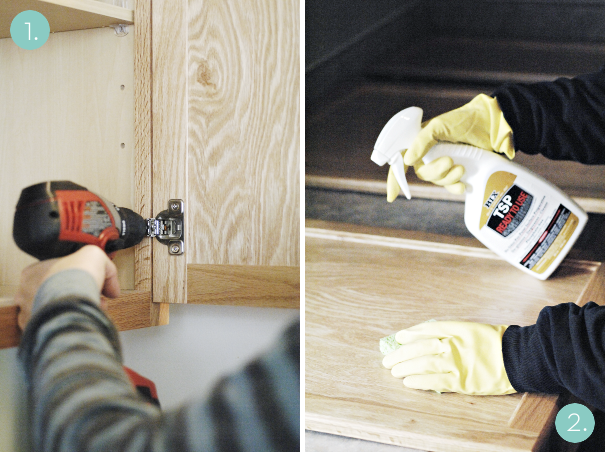
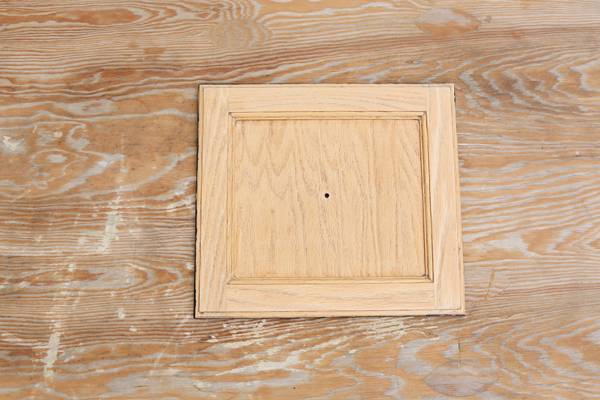
Remove cabinet doors and drawer fronts, plus any hardware that might be attached. (If you’re protecting your countertops, now’s the time to cover them with your rosin paper/plastic sheeting.)
Step
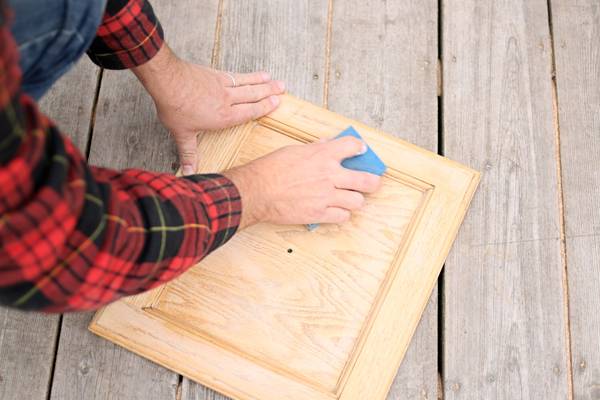
Take your degreaser/TSP and thoroughly clean all areas of your cabinet doors/drawer fronts as well as the cabinet boxes. If you have sensitive skin (or don’t want chemicals all over your hands) wear gloves!
Step
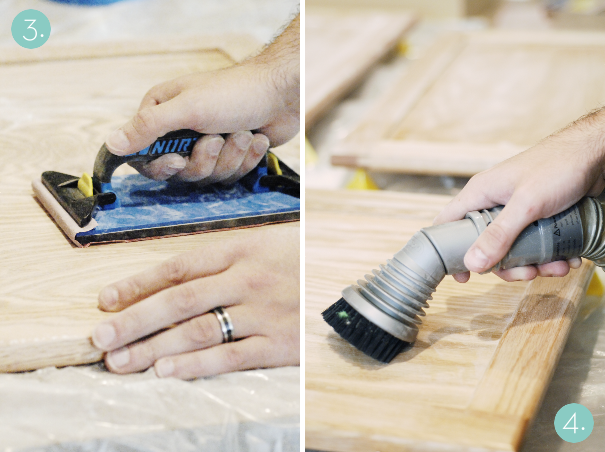
If your cabinets have dings or you’re replacing your hardware with something different, fill in all the holes/divots with wood putty. (We didn’t have this issue.) Next, sand your cabinets and cabinet boxes with 100 grit sandpaper, going with the grain. Really get in there and rough up that surface.
Step
Vacuum up as much sawdust as you can.
Step
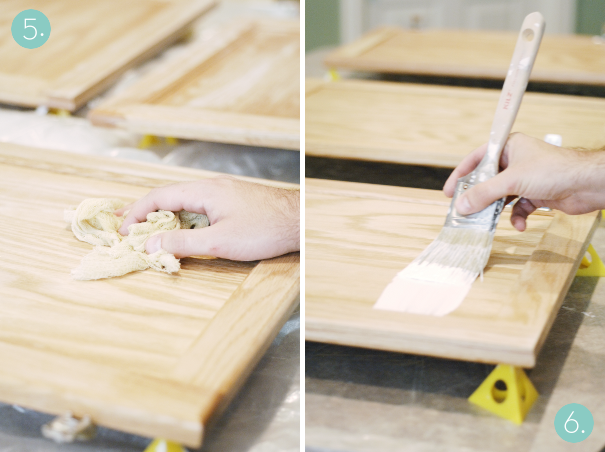
Using your tack cloth, wipe off any remaining sawdust. You want your surface to be as clean and dust-free as possible. Taking the time to adequately prep is KEY.
Step
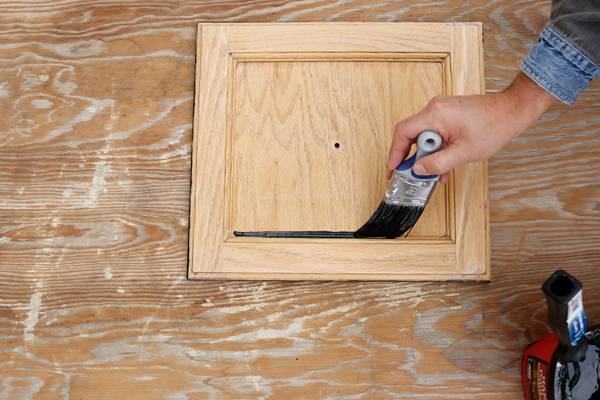
Prime time! Apply your primer, starting with the inner panel. Go against the grain first, then with it. This will help to fill in the grain and create a smoother surface. Allow the primer to dry thoroughly; consider priming your cabinet boxes while you wait.
Step
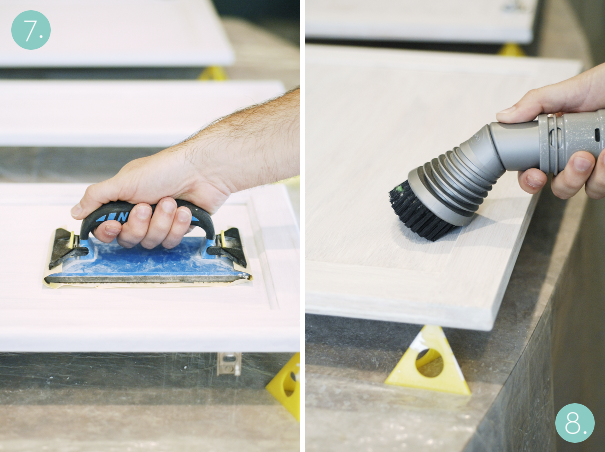
Once your primer is dry, it’s time to sand again! Using a fine or extra-fine grit sandpaper (around 220 or so), sand away any brush strokes or uneven primer. Create as smooth a surface as you possibly can. Like I said, taking the time to adequately prep your surface is KEY.
Step
Vacuum off all the sawdust.
Step
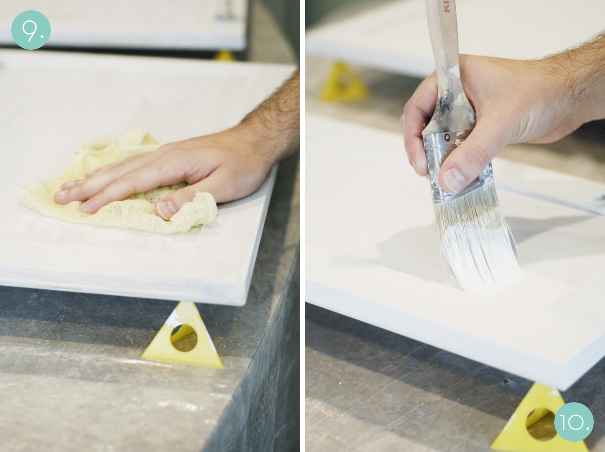
Wipe everything down with your tack cloth, making sure to get any remaining sawdust.
Step
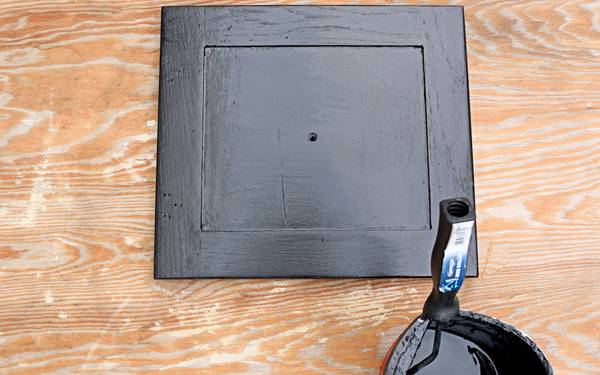
It’s finally time to paint! Using your angled brush, start on the back panels of your cabinets like you did with the primer. This time, go with the grain only. Apply a relatively thin coat, don’t slop it on there. Let this coat dry to-the-touch before flipping it over and painting the other side. Allow this coat to dry thoroughly, on a level surface. Meanwhile, go paint your cabinet boxes, following the same technique.
Once dry, make a quick pass with your tack cloth to get any dust, then repeat Step 10 to apply a second coat. (A third coat will probably not be necessary, but if it is, you know what to do now!)
After your cabinets have completely dried and cured (which takes a day or two), you can reattach them and install the hardware.
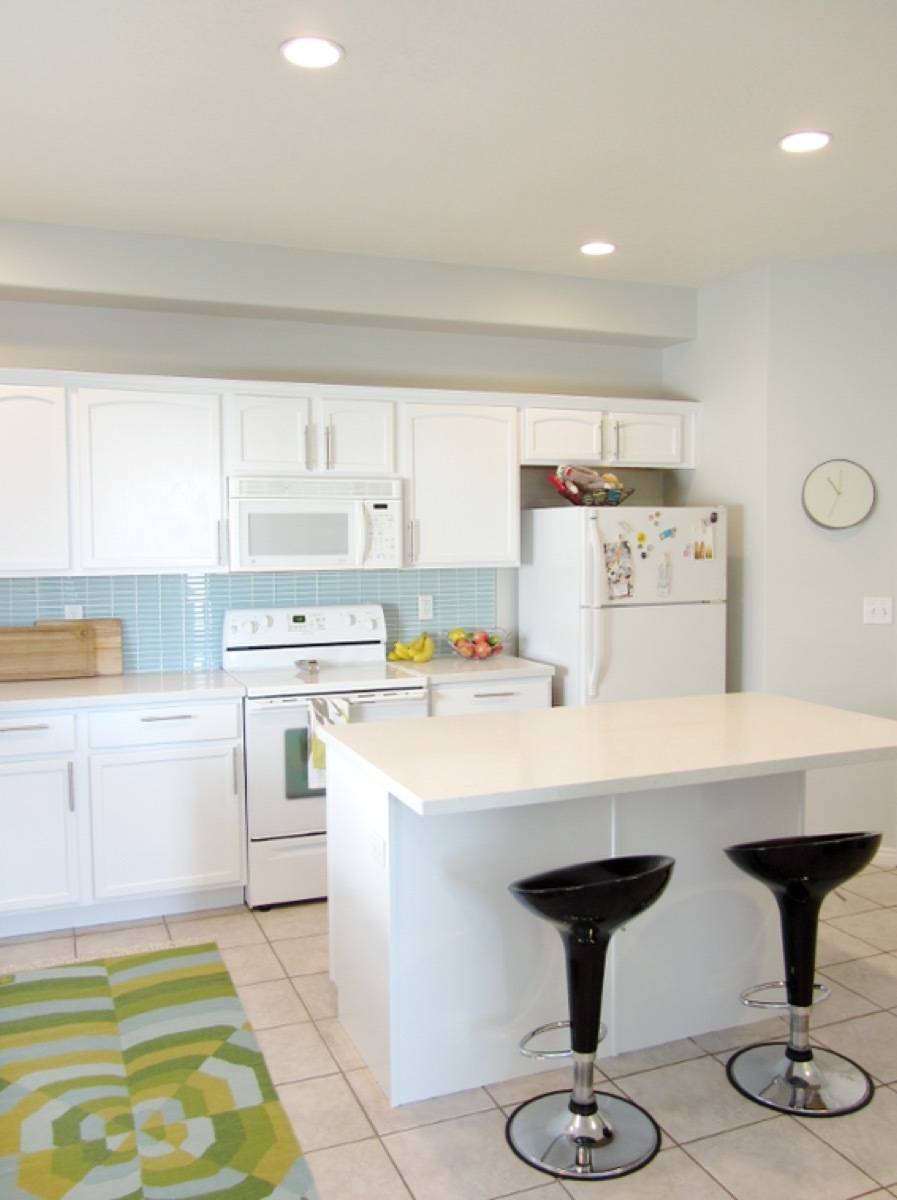
And now? Now you celebrate, because you just spent 4-5 weekends creating the prettiest, most properly-prepped painted kitchen cabinets on the planet! Go wild, you earned it.
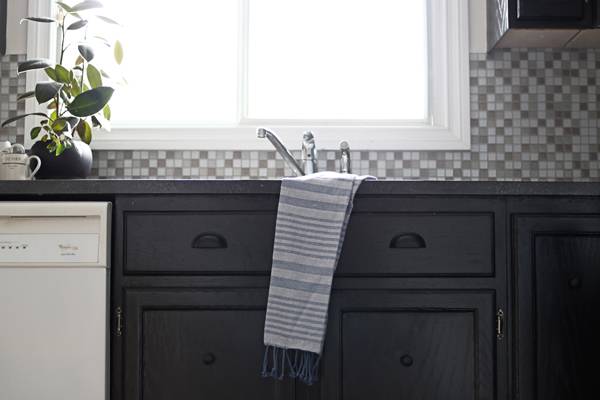
Here are some beauty shots of our finished project:
DIY: How to Paint Your Cabinets a Dark Color
By Lidy Dipert
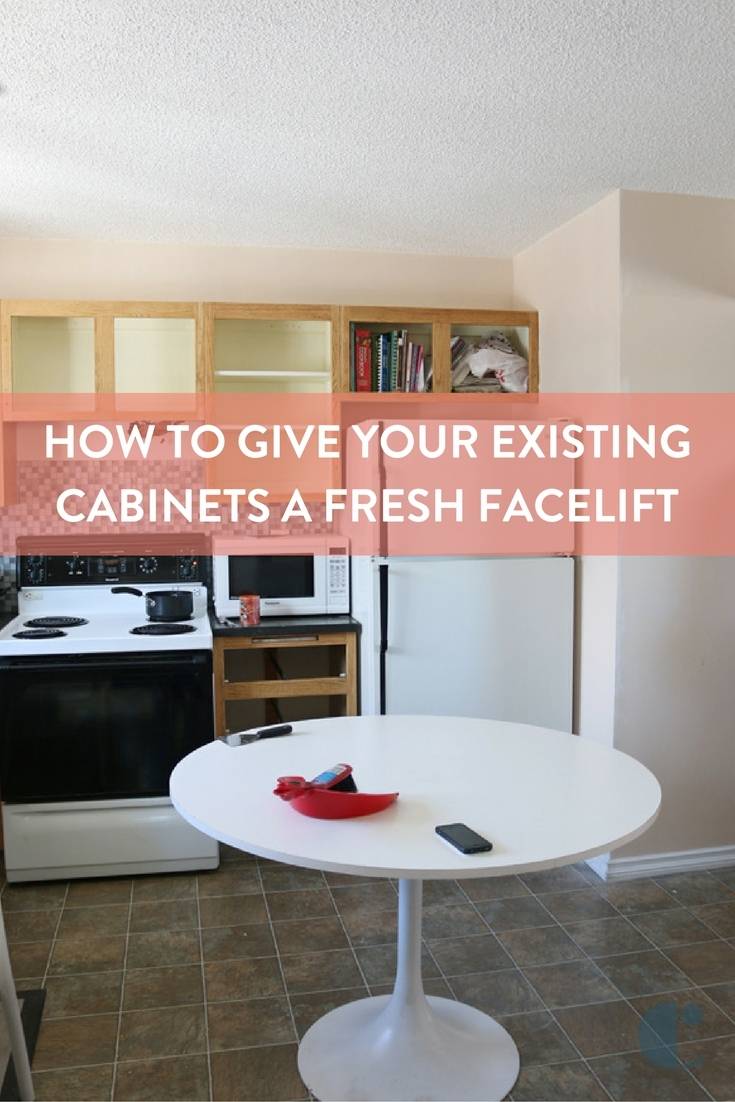
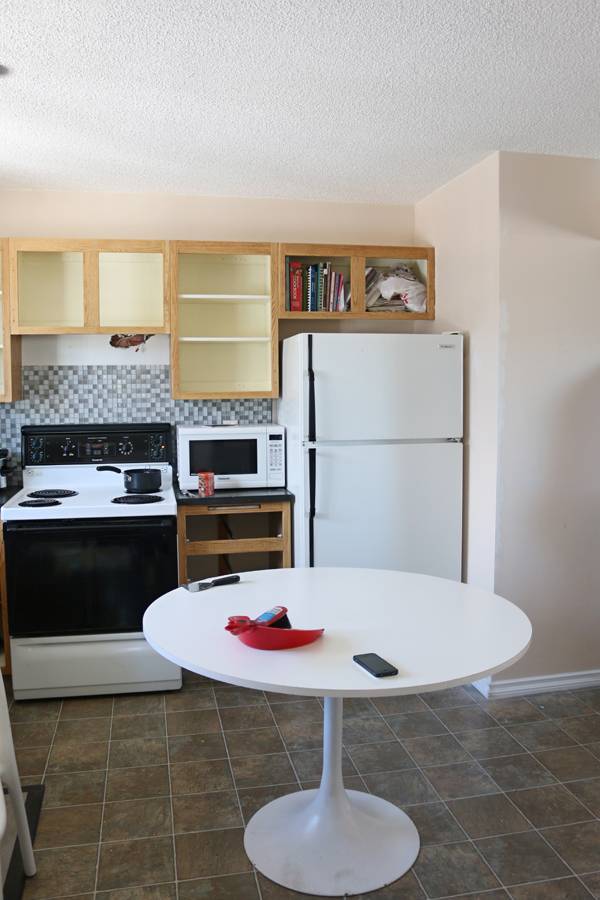
We’d had enough of our dated kitchen, so we decided to give it a full-on facelift, while staying on a budget. Follow along with our whole series: Lidy’s Kitchen Makeover.
So, you’re tired of your outdated kitchen and you have a small budget? No problem! We can totally relate to those familiar feelings. Our kitchen truly is the heart of our home, so we wanted to find a way to make it the our favorite room in the house without spending a lot of money.
Anyone can do this quick-fix on the cheap and in a short amount of time. Let’s start with the biggest and most obvious problem: the contractor-grade oak cabinets. It was cool in the 90s (or was it?!), but it’s time to move on. We wanted a kitchen with a modern look, something sleek and simple. The easiest and most inexpensive solution is to paint your existing cabinets and add new hardware. We went with a bold, dramatic palette, which is a great backdrop for any design style.
For more kitchen remodel ideas, check out the kitchen makeovers section.
Materials
- Paint (in your preferred color and finish)
- Paint brush
- Mini roller and accessories
- New handles and pulls
- sandpaper and sanding block or power sander
- Tack cloth
Step
Start with giving your cabinets a good clean using warm soapy water to get rid of any dirt or grease. You want to start with a nice clean surface, so scrub hard! Remove all the cabinet doors, drawers and any contents in your cupboards, as they will be covered in dust in no time. Avoid making more work for yourself.
Step
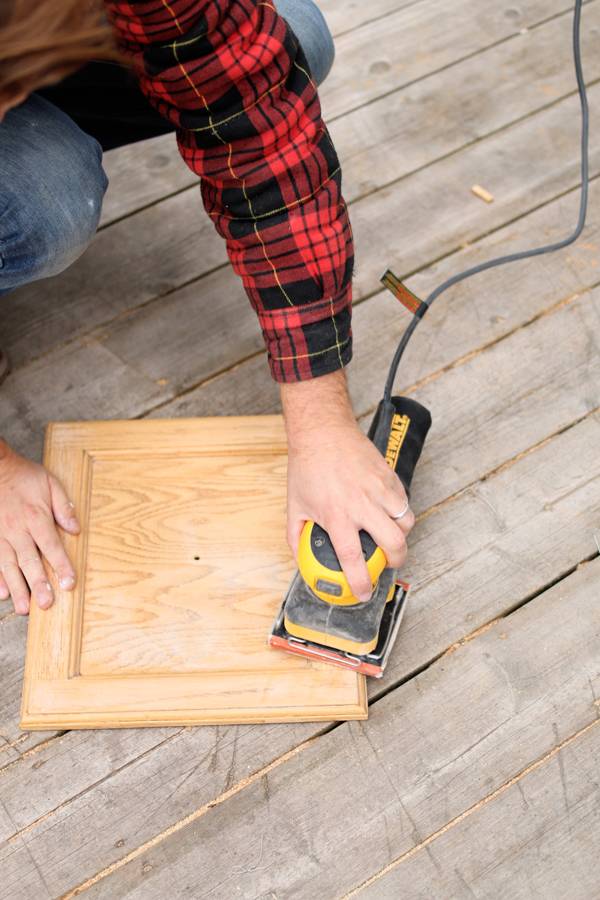
Begin sanding the surface of your cupboards, doors and drawers. You can use an electric sander to really rough up the surface and to speed this process up.
Step
If your doors and drawers have little details, use a sanding block to get into the hard to reach places.
Step
Wipe all surfaces clean with tack cloth to get rid of any dust.
Step
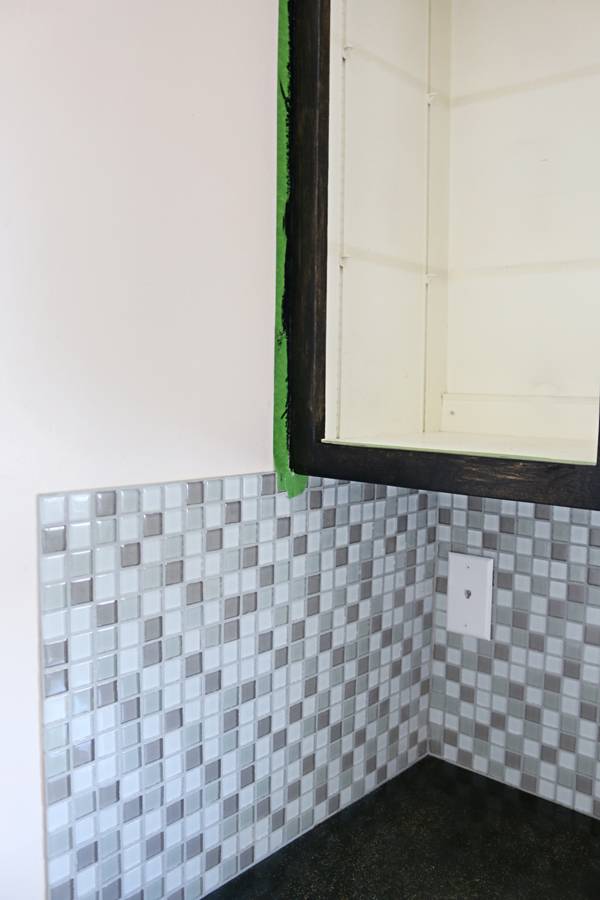
Place painters tape around the cupboards to avoid getting black paint on the walls. Paint your first coat on the cupboards and allow to dry.
Step
Meanwhile, begin your first coat of paint on your doors and drawers. Use a brush to get into all the grooves and a roller for the flat surfaces. Allow to dry completely in between coats. Tip: Place doors on blocks to keep off the floor or floor tiles in case dirt sticks to paint while drying.
Step
When the paint has dried, begin your second coat. For the doors, flip over and repeat process on the other side.
Step
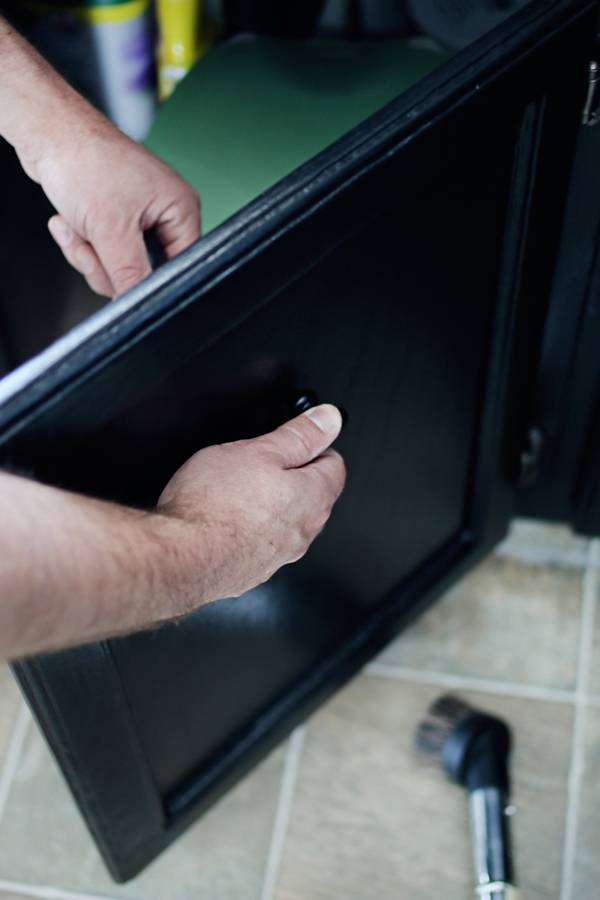
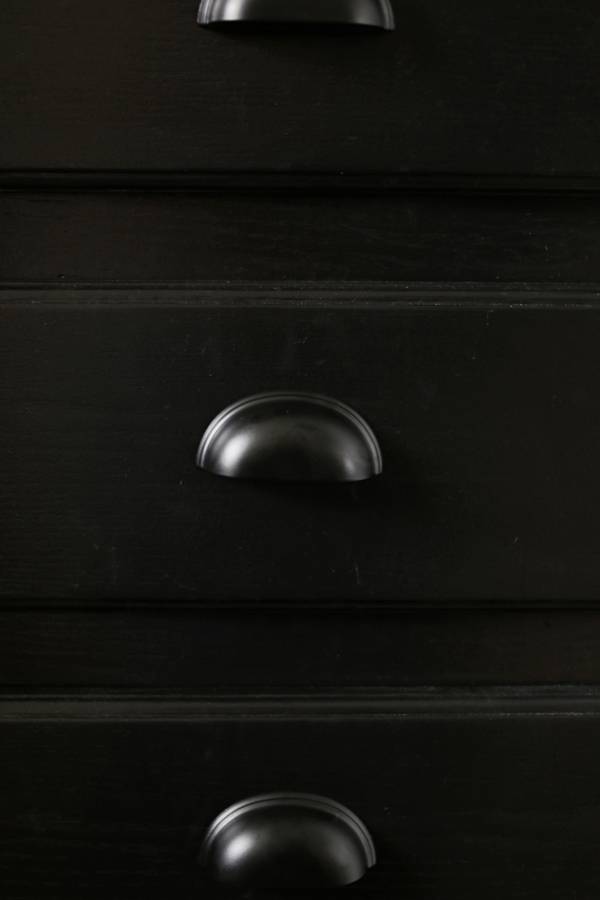
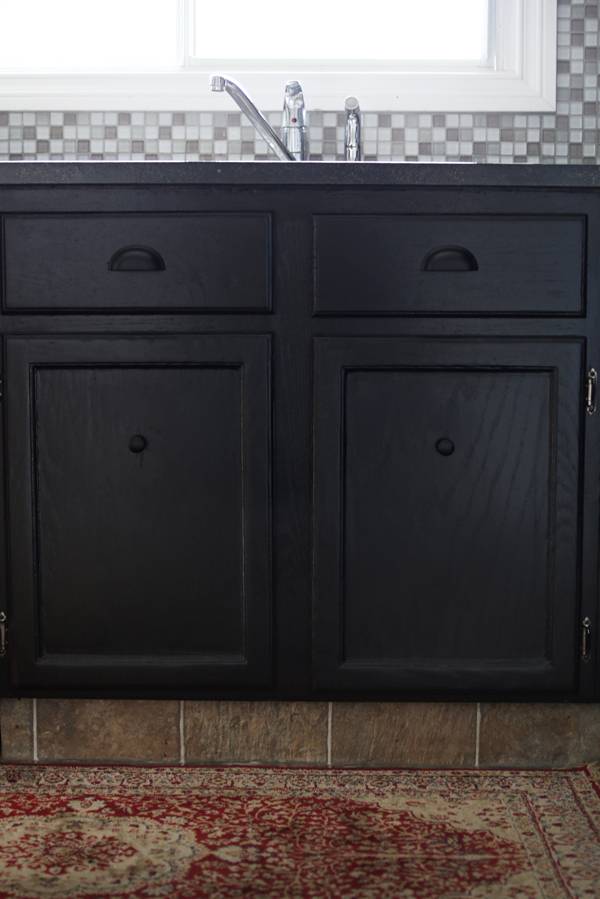
Once everything looks fully covered, you can begin piecing back your kitchen, one door and drawer at a time! Place new hardware on your door and drawer fronts. We went with black hardware on black cabinets and drawers for a clean and modern finish. The cabinets alone will make your whole kitchen feel fresh and updated. But there’s more, so stay tuned!
Next up! How to Make a Simple Built-In Bench for Extra Storage. The perfect kitchen weekend upgrade.
Do I need to sand everything down if my cabinets are already painted? Just bought my first house and wow the kitchen is ugly.
I with Kerry on this one. I am afraid if I paint my cabinets it will look like a DIY. That would be sad after doing all the prep work.
If you are going to go through all the work, use OIL BASE! 13years ago, we did all the prep work and painted with very high quality white latex. White begs to be washed. Within 5 years, the paint was washing off. It took on a rustic look that was OK for a few years, but now we are doing it all over again. We really did not want to renovate again so soon!
My cabinettes are a dark stain with about 20 years of wax build up. They have are a solid plywood. They are an old style with a patterned groove all around the face of the door and drawers. Can i fill this in with (what?), then sand it down flush to make a flat face and will the filler accept the paint without showing thru? The next question is do you think this is a projectd a 77 year old man should tackle or would you reccommend calling in an expert?
Yes, Edwin, its doable, but first you must remove all of the wax. Nothing will stick to wax. Best to ask a knowledgeable person what to use. I am not sure. You should use a wood sealer before primer to insure wood grain does not bleed through, because you should lightly sand after wax removal. Use a good adhering and high hide primer. Oil based will be necessary in your case. The grooves are coverable – I’ve done it. Drywall compound sands the smoothest and feathers out easily, but examine carefully (tangential lighting) to insure you can’t see the outlines. Double prime those areas to increase durability of those filled areas. At 62 I’m beyond being able to work on or near a floor so things have to be fetched and brought to me to work on them on a table. Let someone else do the faces of the base cabinets – you just supervise. And, remember: Oil base paint is best. No gloss or semigloss because it will show every defect (not for DIY’ers), AND hardware is 70% of the final appearance! Choose carefully, don’t scrimp on cost, and align carefully; everything else fades into the background.
Hi! So, it’s important to read the instructions on all the products you use, because different products can really require different applications. Some primers, like mine, require one coat only and if you prime twice it will have that bubbly look. I didn’t realize that and I stopped priming twice part way through. The cabinets I primed once look absolutely professional!! But not so much with the other cabinets… 🙁 It’s still a bit wet, so maybe it’ll just take a little longer to cure. I do think it’s important to use paint made specifically for cabinets. Benjamin Moore has one, Advance, and Sherwin Williams offers a line of cabinet paint too. Thanks for your post!! 🙂