
There comes a time in every crafter/DIYer’s existence when everything around you starts to resemble a “future project.” The fancy kids these days are calling that repurposing, the History Channel is calling it hoarding… Take your pick. I’m on the repurposing side for now (within reason.) Though I do have a craft drawer that looks like this…
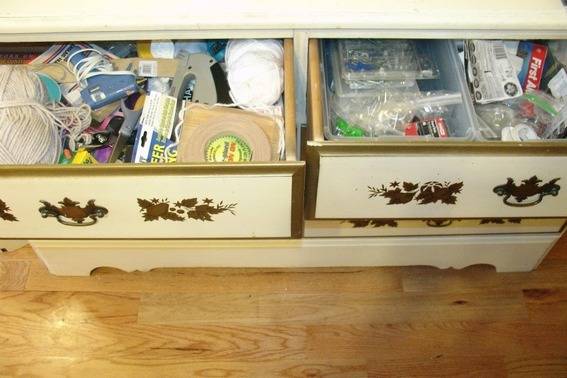
To be clear it’s just a drawer. O.K. Two drawers and a kitchen cabinet. But… in all fairness I’m not much of a cook so I just store my two pans and a cupcake tin in the oven and we get along fine thankyouverymuch. The ‘Rooms and I only hide things in the bathtub when company comes over, so we’ve yet to cross that line. It’s New York, you deal.
Anyway, as an avid painter (of walls, not canvases) I have amassed a wide variety of various widths and brands of painters tape. Every time I paint a wall I wind up buying a new roll because I can never remember how much is on the roll(s) hiding in my cabinet, and I will not run out mid-room. Painters tape is even good for taping up your windows during a hurricane. Yes, I did that, just in case. But before throwing out the empty tube I thought…
Yarn+Empty Roll=Fancy new bracelet. BOOM. New project just like that!
WHAT YOU’LL NEED:
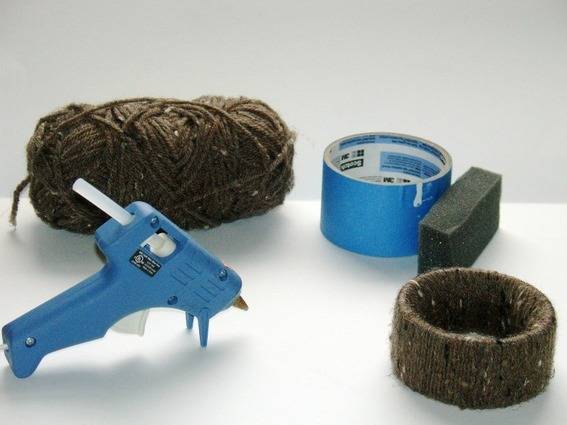
A roll of painters tape happens to be too big for my delicate lady wrist so I used some leftover foam I’d saved when I installed my new air conditioner this summer. I cut an appropriate length and affixed that to the inside of the tube with the hot glue. I then cut myself a managable length of yarn, glued one end on the foam side and starting wrapping my way around. Using my handy-dandy ninja pointer finger to keep the yarn nice and tight as I made my way around. See?
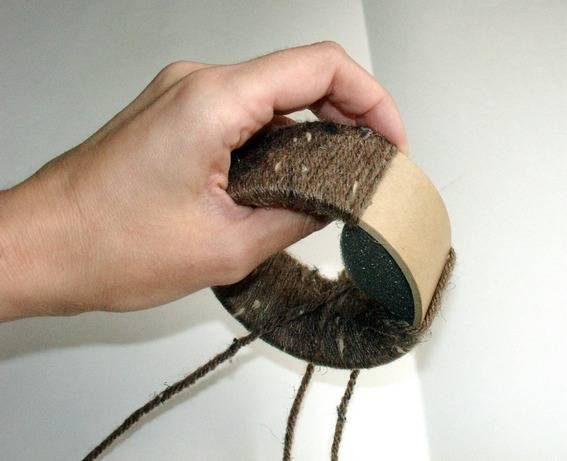
Keep doing this in sections (I found about 3-5 feet of yarn at a time was best) until you make your way all the way around your soon to be bracelet.
A COUPLE OF USEFUL NOTES:
- Do not under any circumstances try to wrap your bracelet without cutting a section of yarn first. It WILL make a mess.
- Affix the beggining of your yarn piece and be PATIENT enough to let it dry before continuing to wrap. It’s hot glue. You have 15 seconds, trust me.
- Always glue on the INSIDE of the bracelet. A little glue goes a long way.
- Overlap the glue portions with new yarn so they magically dissapear.
- Use a thick nubbly yarn. It’s the most forgiving. Nobody’s perfect.
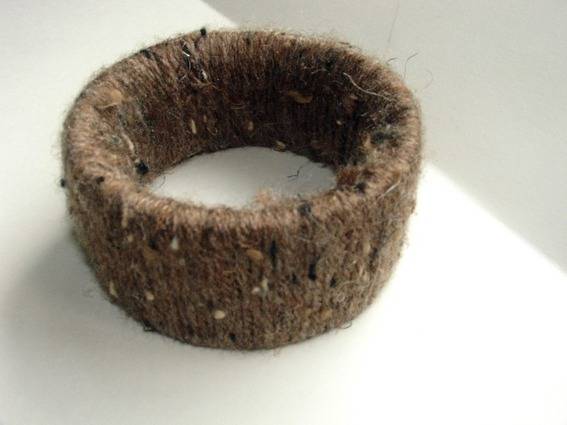
TA DA! Trash to fashion. Zero dollars and a new fall accessory. Time for yarn bombing anyone?