
See this beautifully rustic barnwood-framed mirror? Love it as much as I do? You’re in luck, because my friend Emily from Merrypad, a DIY source of crafty home inspiration, has written up a how-to for those of us who simply have to have this mirror for ourselves. Take a look!
Where did the salvaged wood & parts come from?
The salvaged wood originated from my parents’ old, old barn. They plan to tear it down soon, so I wanted to save a part of it for myself. The mirror glass itself came from a garage sale for a grand total of $2. Knowing the size of that mirror, I measured and cut four lengths of the barn wood, one for each side. As I determined the measurements and placements of the angles, I marked and cut 45-degree angles in each corner with a circular saw (which was not as easy as it sounds; I’d strongly recommend you use a table saw).
How is it all held together?
Once the pieces fit together flush (which did take some extra efforts in sanding to get all the four pieces in sync), I used some basic construction materials found in the deck area of the store to reinforce the connection of the boards. Hammering these in was quite a challenge; I’m not sure if it was because they aren’t intended for this purpose or the wood was really dense and tough to hammer into, but I added some extra reinforcing angled brackets to make sure it stayed square.
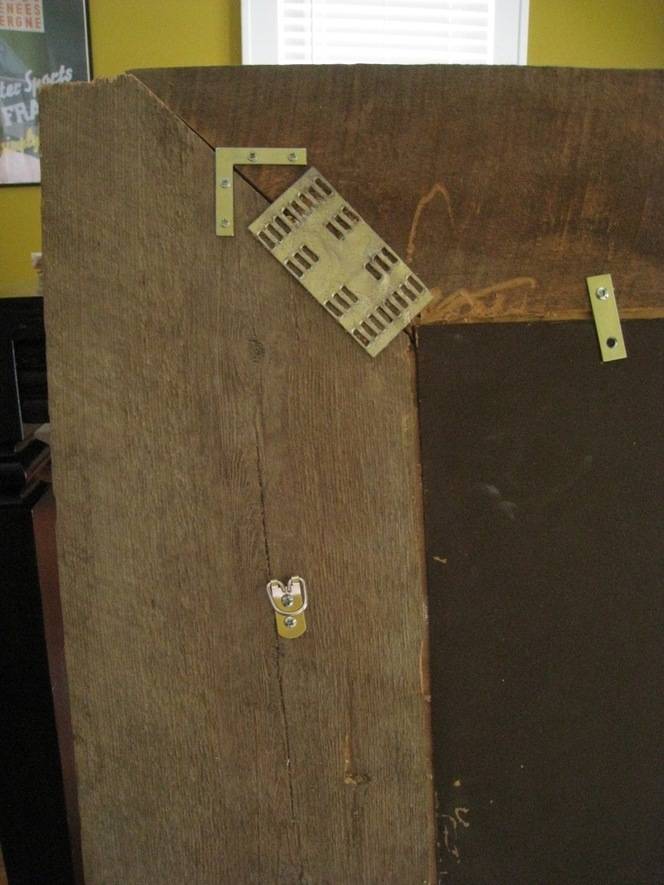
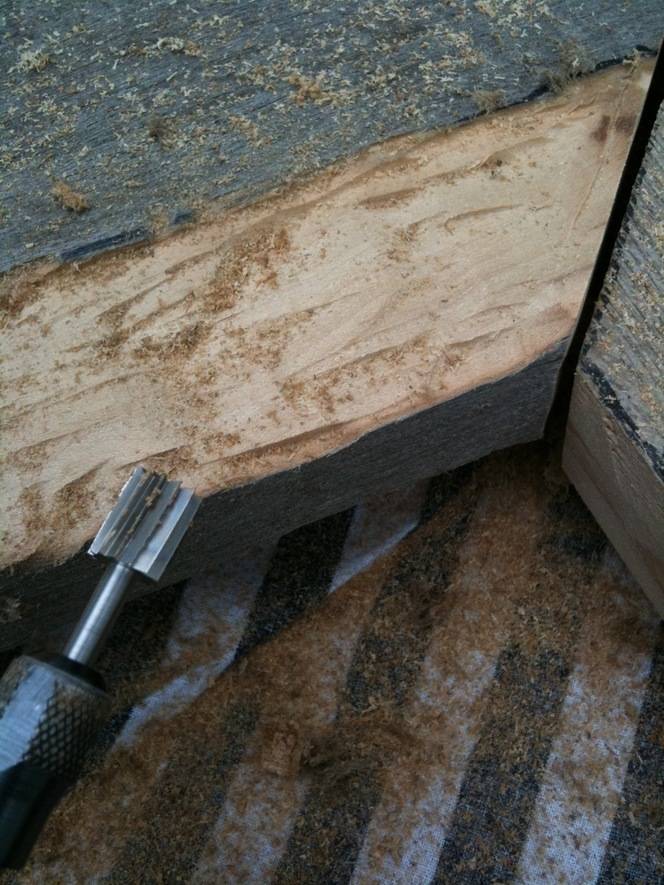
All along I planned to make an inset space in the backside of the frame for the mirror to rest in, you know, like the lip that holds the glass inside a picture frame. But what I didn’t realize is how time-consuming it would be to create that quater-inch groove all around the perimeter of the frame. Certainly there’s a convenient router bit that would have done the job (anybody know of one?), but I went to town on it with surely the wrong tool, a trusty Dremel with a very toothy bit. You’d think I could have sliced right into it, but it took several hours to slowly chisel away the wood layer by layer until the mirror sat flush.
Once the mirror fit, I attached some metal fittings to lock it in place (again, like the backing of a picture frame).
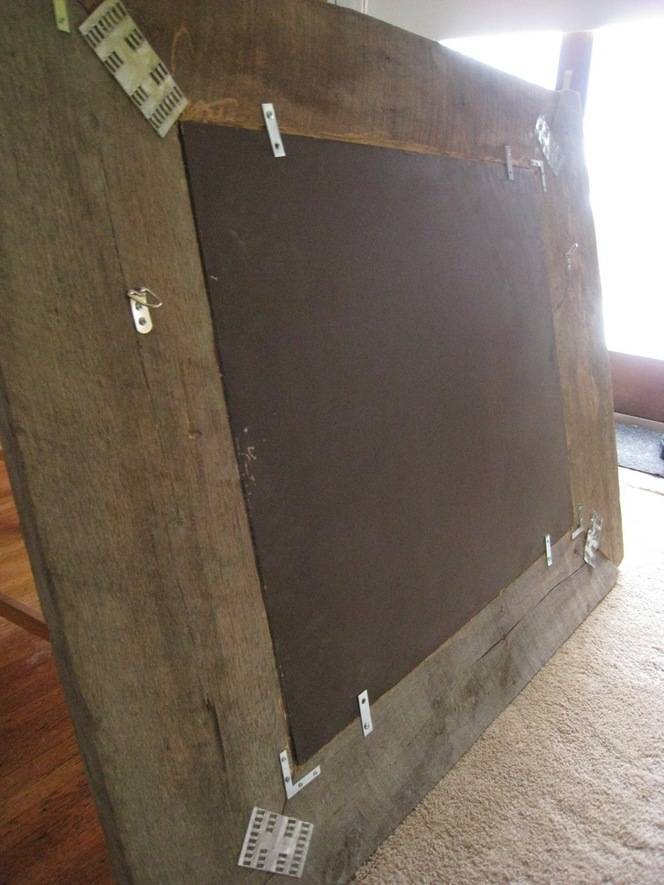
And then I realized it was heavy. Like, really, really heavy. Heavier than anything I’ve had the pleasure of installing on a wall.

So after some investigation, I decided to entrust some very, very strong wall hooks. I avoided using a wire to hang the mirror, and instead installed D-rings to either end of the mirror to mount the frame directly to the very, very strong hooks. Happy and relieved to say, this combo worked like a charm!
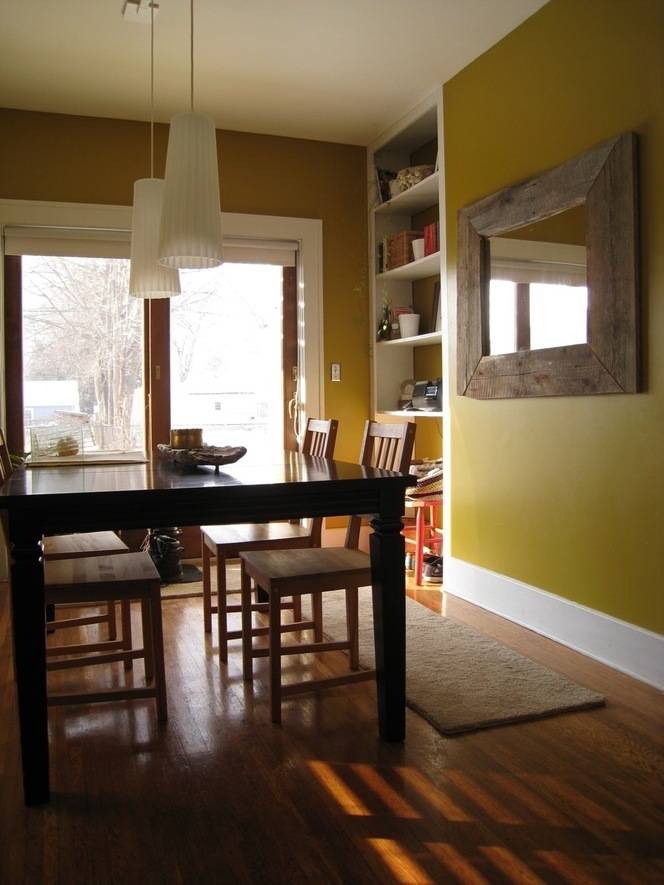
It now hangs nicely on the wall of my dining room, which Brittany blogged about out here. You can see all my before-and-afters at Merrypad, like how I built my own deck from scratch, among other projects.
So what do you guys think? Job well done?
—
Brittany Mauriss is the editor for CalFinder.com, the nation’s leading contractor referral service. You can catch her on Twitter or the Remodeling Blog.