 This week I’m excited to be sharing a series of DIY projects involving the beautiful color, texture, and flowing shapes of ribbon. I’m thrilled that the folks at Midori Ribbon offered to work with me to let me explore some creative ways to use their gorgeous products. Read on to find out how to make this diamond ribbon lampshade!
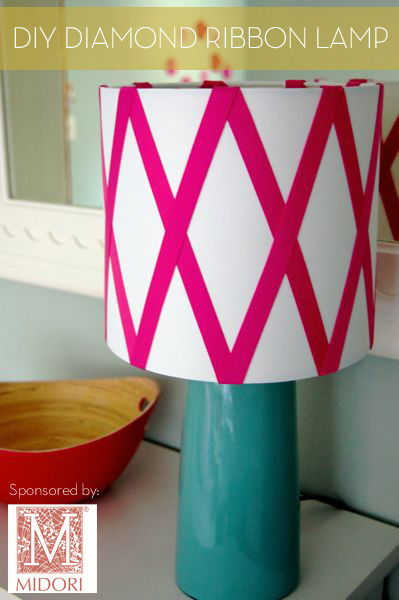
For this lampshade, I wanted to create something with clean lines, and a classic pattern. The diamond pattern I chose loosely mimicked the lines of this rug that will be a focus in our daughter Ayla’s new bedroom. The soft detail of the lines on the peony-colored ribbon was another subtle complement to the rug. This ribbon is truly stunning, and the herringbone pattern really pops off of the bright white shade. Here are the details of this shade:
Supplies:
- 10 yards of Cotton Herringbone ribbon (color: peony)
- lampshade (8″ H x 9″ W)
- chopstick
- hot glue gun and sticks
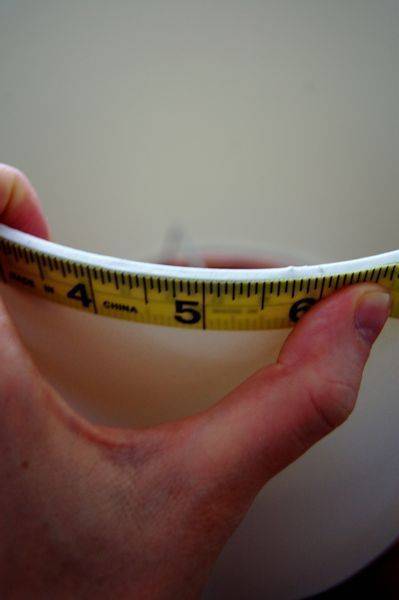
- tape measure
- pencil
How To:
- Step 1: Select a lampshade that has a cylindrical shape (the top and bottom circumference of the shade should be the same). The one I used had a circumference of 27 inches.
- Step 2: Decide how far apart you want to space your diamonds. I chose to place the ribbon 3 inches apart.
- Step 3: Using a pencil and tape measure, make tick marks around the top and bottom of your shade, starting and ending at the same point. I had a total of 9 tick marks.
- Step 4: Lay a strip of ribbon diagonally across your lampshade. Starting with a tick mark on the top of the shade, move your ribbon one tick mark ahead on the bottom portion of the shade. This staggering will create several diagonal lines.
- Step 5: Secure these initial pieces of ribbon in place with a pin.
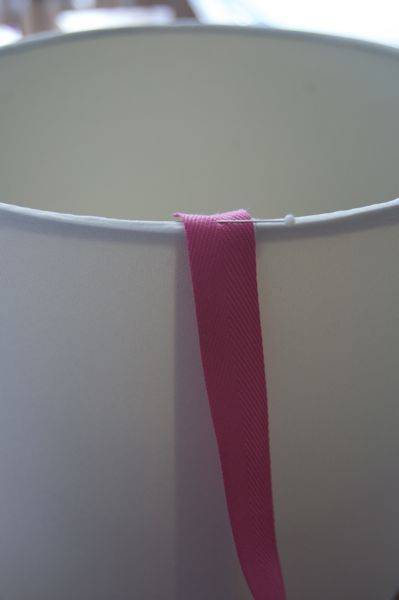
- Step 6: Attach the ends of the ribbon to the edges of the lampshade with hot glue. I left myself a little extra ribbon at ach end so that I could wrap it around the wire rim of the shade for a cleaner finish (I used a chopstick for this part to avoid scorched fingertips!).
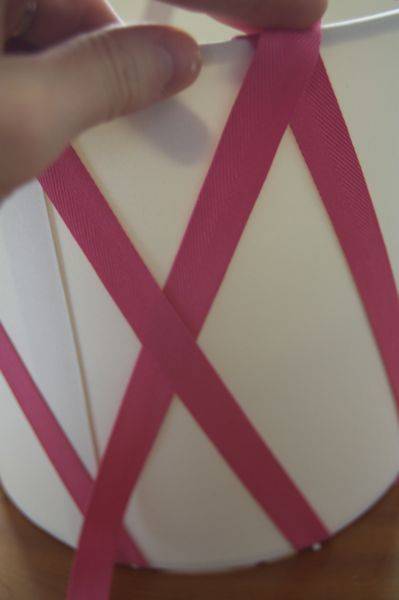
- Step 7: Starting at the top of the shade, place a strip of ribbon on top of one of your initial pieces, pin in place, and line it up diagonally with the ribbon the next slot over at the shade’s base.

- Step 8: Repeat step 6.
Check back tomorrow for another cool DIY project using ribbon to add color and texture to an everyday item! And don’t forget to follow me on Pinterest (my ribbon board is here).
Thanks to Midori Ribbon for sponsoring this post. All opinions are my own.