Make a Button Tray

By: Modhomeecteacher Mar 17, 2009

created at: 2009-03-17

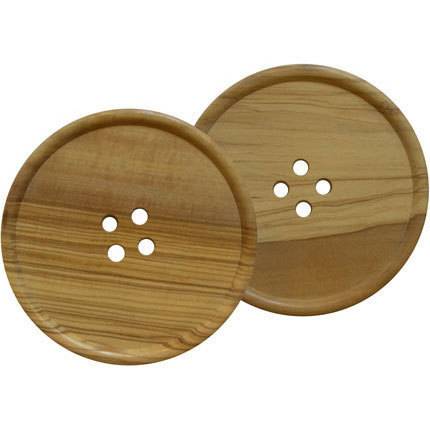
With a handy drill bit/door lock bit, you can make your own cute-as-a-button button tray for about $1.99 (not including the drill bit). I was inspired by these coasters (doubtfully condensation proof) which sell 4 for $40.00 at Eden & Eden.

↓ Continue reading

created at: 2009-03-17

What you need:

  • Round wooden tray from Goodwill ($1.99)
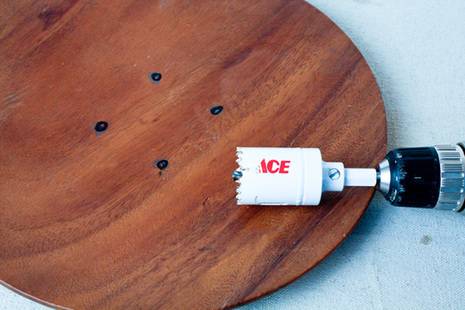
  • Drill bit with larger circular cutting fitting used for door knobs and locks
  • Fine sandpaper
  • Old English furniture polish
  • Ruler
  • pencil or sharpie

What you do:

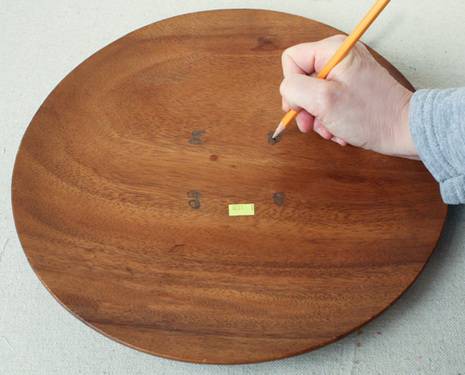
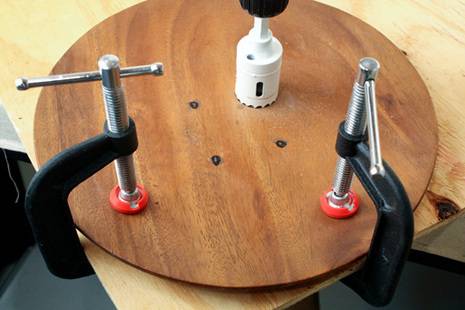
  1. Measure and mark the holes
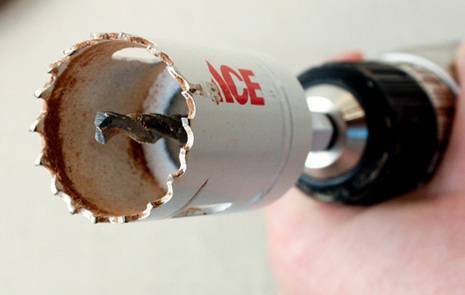
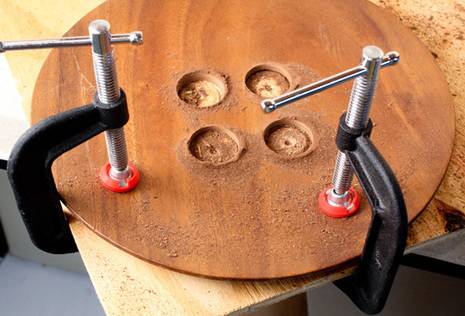
  2. With drill in reverse, (I don't get it but it worked this way and not the other) place the inside bit right on the marked spot and press down firmly to cut out the holes, one at a time.
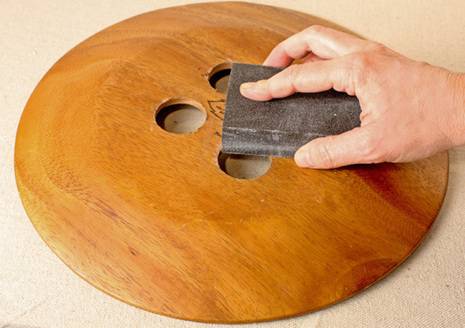
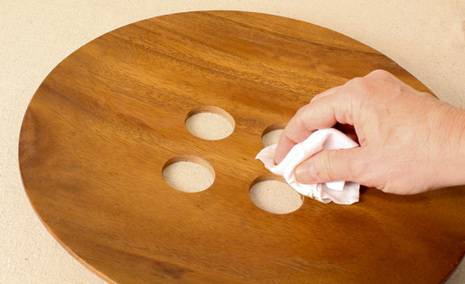
  3. Lightly sand rough edges on the back and inside of the holes
  4. Rub a little Old English on the inside of the holes and the back of the tray to polish it back up
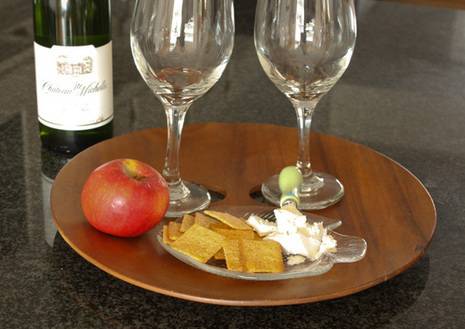
  5. Now use your stunning little button tray to serve a snack to guests, or wrap it up with some yummy cheese and wine and give it as a houswarming or hostess gift.

Here are the step-by-step photos.

created at: 2009-03-17

created at: 2009-03-17

created at: 2009-03-17

created at: 2009-03-17

created at: 2009-03-17

created at: 2009-03-17

created at: 2009-03-17

created at: 2009-03-17

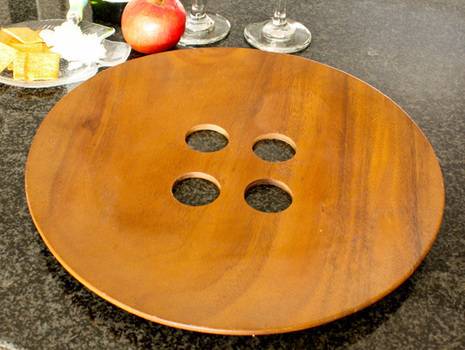
There you have it! You may like so much, you wouldn't think of giving it away.

created at: 2009-03-17


Tagged : , , , , , , , , ,

1578 views | Comments (5)

Comments

Love this tutorial (I am certainly going to try this). Included this in my weekly BUTTON WEDNESDAY post: http://kraplap.blogspot.com/2011/02/button-wednesday-coasters.html .

love this tutorial (I am certainly going to try this). Included this in my weekly BUTTON WEDNESDAY post: http://kraplap.blogspot.com/2011/02/button-wednesday-coasters.html .

Hmm paint ... love that idea too!  Currently working on converting a bedroom to my sewing/craft room, but am having trouble finding more time to get it done.  Re my chair:  back and seat reupholstered,  repairs to chair frame done (thanks to our great woodworking neighbour), but it still needs sanding, oiling and reassembly.

I agree. I tried it but the photo didn't do it justice. You could even get a few and paint them different colors and hang.

What a fun idea!  It would also look great as a decor item in a sewing/craft room ... I'm thinking a few of them hung on the wall.

» All comments
» Comments RSS

To help stop SPAM, please follow the directions in the graphic below: