
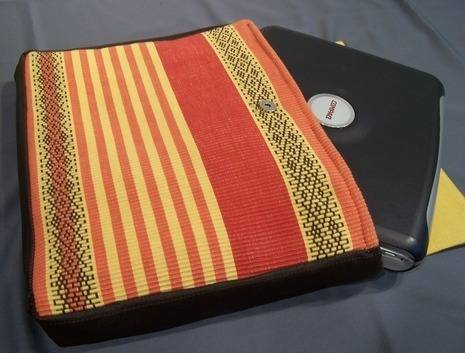
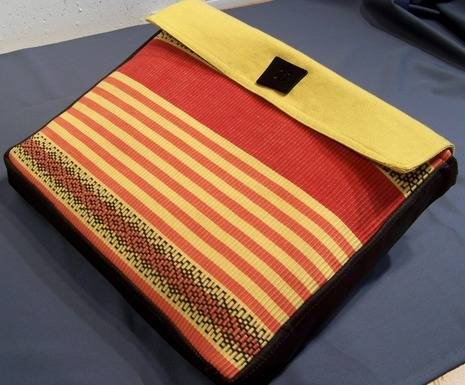
Finally a use for colorful, rectangular placements available at World Market! Here’s a tutorial you can follow to make some jazzy padded laptop covers for yourself or for gifts. You’ll need a little more than basic sewing skills to do this, but it’s worth the time and it’s very customize-able. With some patience and desire, you’ll be the envy of all your Black-Nylon-Canvas-Cased Friends.
what you need:
sewing machine
thread, scissors, seam ripper
three placemats,
padding for interior or quilted lining fabric
lining fabric
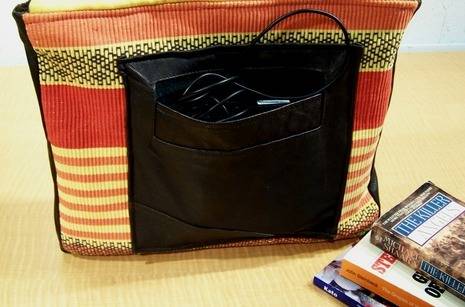
fabric for boxing and pockets (I used leather from a vintage coat)
fusible webbing
magnetic closure or velcro
decorative button
template of laptop size and pocket size needed (battery, power cord)
iron
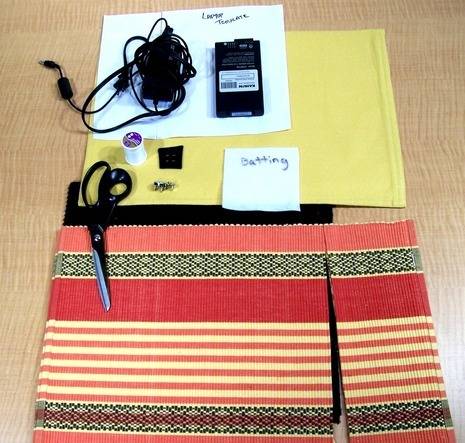
The above picture doesn’t show the old coat used for the boxing and pocket and the fusible webbing or iron
what you do:
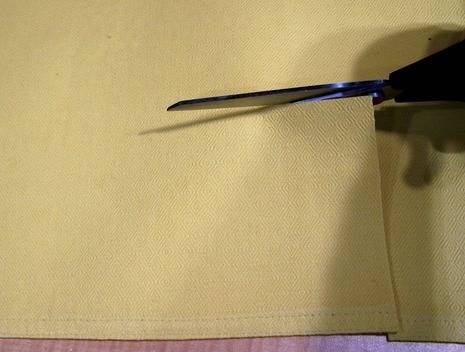
1. Lay laptop template on placemat to assess size, add 1″ extra on all sides, cut out
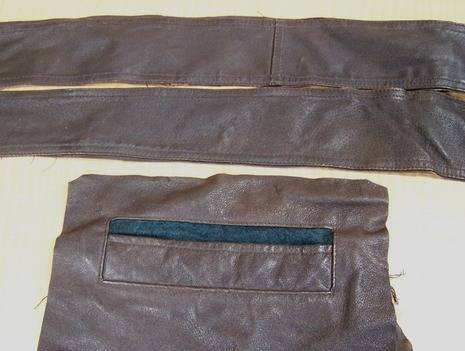
2. Lay coat out and cut out a strip long enough to go from left top edge to right top edge of cover and wide enough to allow for 1″ total seam allowance and the thickness of your laptop.
Cut out pocket (I used the pocket that was the inside chest pocket)
3. Cut flap piece out of third placemat, adjust edge as necessary for your laptop cover size
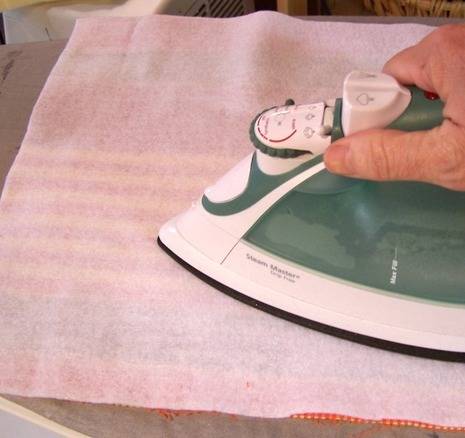
4. Layer cut piece of batting, then fusible webbing on wrong side of front of cut placemat and iron together with a HOT iron, but watch out so that the batting doesn’t melt. Repeat for the back piece of the laptop cover
Now the front and back have extra padding, add more if you’d like
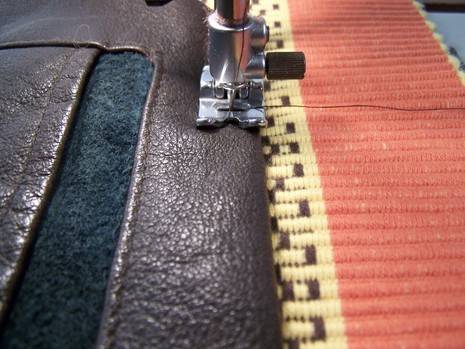
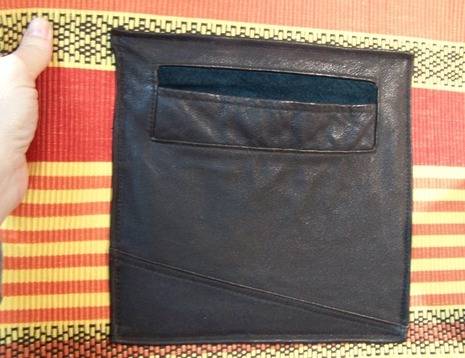
5. Stitch leather pocket to outside back side of laptop cover
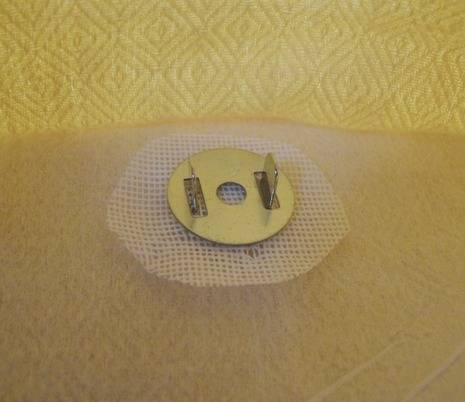
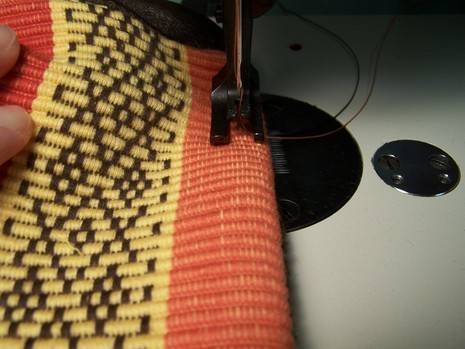
6. Mark where you want the magnetic snap to be attached
I separated the flap section of the placemat by pulling apart fused top and bottom fabrics so that the metal of the magnetic snap would not be seen on the top of the flap piece where the button will be sewn. If you don’t want to hassle with this, you could just stitch on velcro pieces.
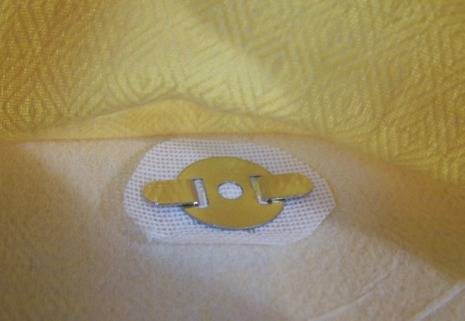
Bend the sides outwards to secure in place.
7. Pin and stitch flap piece to top edge of the back of the laptop cover (the piece you just sewed the pocket to)
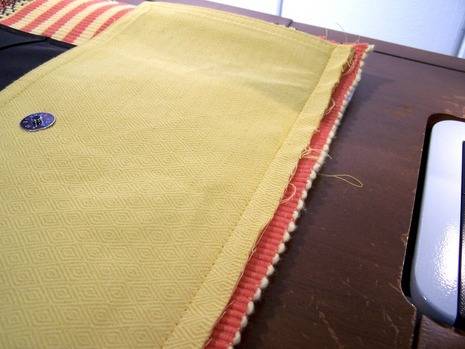
In the picture I left extra room for folding over the flap and topstitching but I ended up taking that out and stitching them evenly
8. Mark with pencil and attach the other magnetic piece to the front of the cover so that the flap will snap to the front, leaving enough room for the laptop when it’s inside
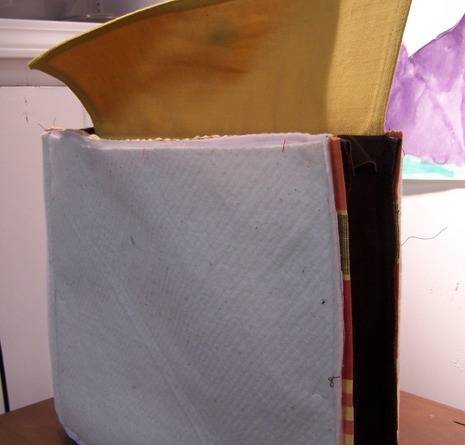
9. Stitch leather boxing to front of laptop cover, cutting off excess at ltop left and top right edges

This photo shows how to stitch boxing around the lower corner and snipping edges for flexibility and release
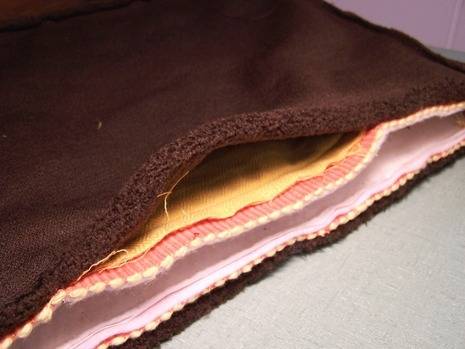
10. Stitch your cut out lining pieces together in the same way
Turn laptop top cover right side out
slip the laptop cover into the sewn lining cover, right sides to right sides, pin around topedge , leaving 5 inches open for turning right side out
12. Pull laptop cover through this opening until the right side of the cover is all the way out
This is a little intimidating until you do it a few times
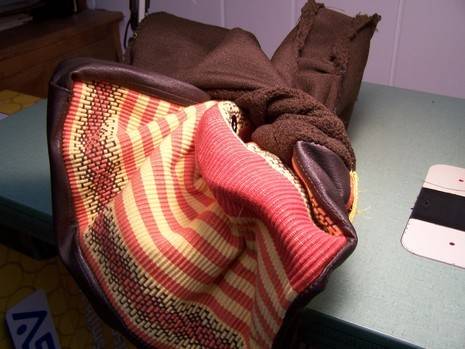
Don’t get scared, it looks wacky until it’s all turned right side out
See, what’d I tell you?
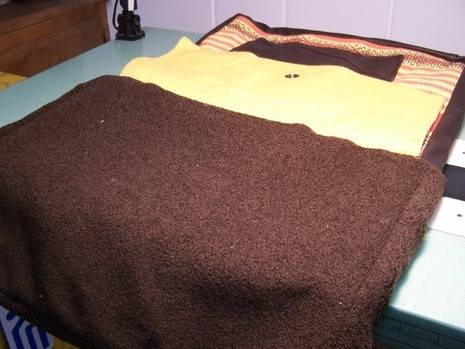
13. Push lining to inside of cover, fold under fabric edge of the 5 inch opening, pin closed and top stitch all the way around very evenly
This could get tricky, go slowly and you may have to help the needle by turning the wheel as you go
Variations: Strap, inside pockets, velcro instead of magnetic, larger flap and on and on
Make a few as gifts