I scream, you scream, what’s the deal with all this screaming? July is National Ice Cream month, which is just perfect because the temperatures keep rising. A hot day is the perfect excuse for an icy scoop or two. To celebrate my love for all things tasty and sweet, I’m wearing my heart on my sleeve. Or rather, I’m wearing it on my denim vest. Here are three ways to create custom patches, all of which are ice cream themed.
Watch the video to see these custom patches come to life, and keep reading for the full scoop (make that a double scoop!).
Materials
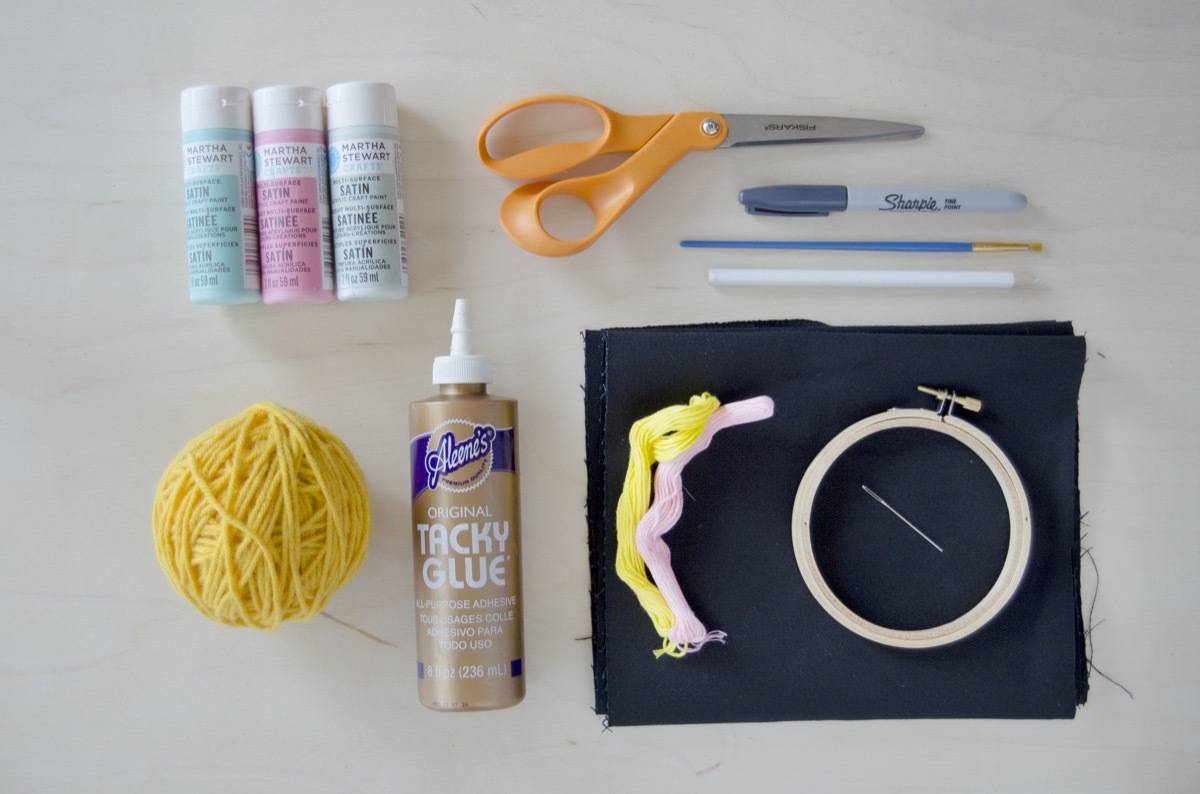
- Black denim fabric
- Acrylic paints and paint brush
- An embroidery hoop and needle
- Embroidery thread
- Yarn
- Water-soluble marking pencil
- Tacky or white glue
- Scissors
Ice Cream Patch #1
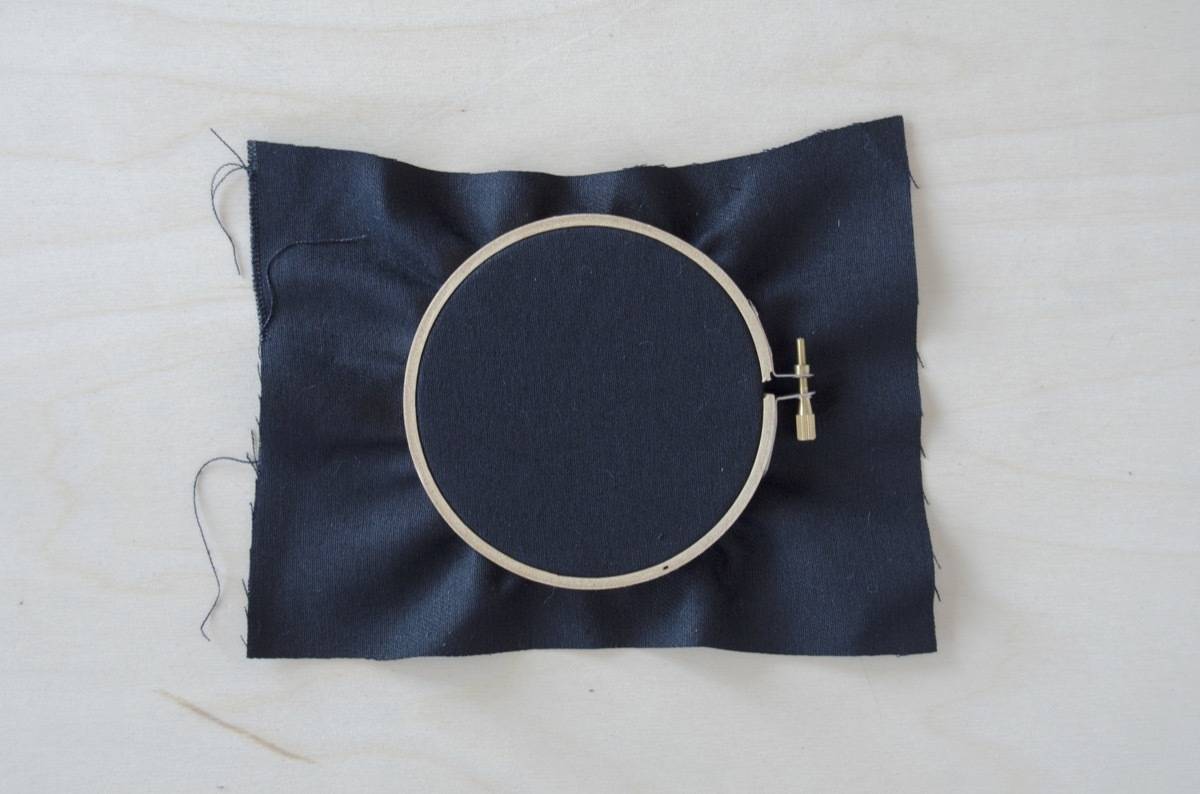
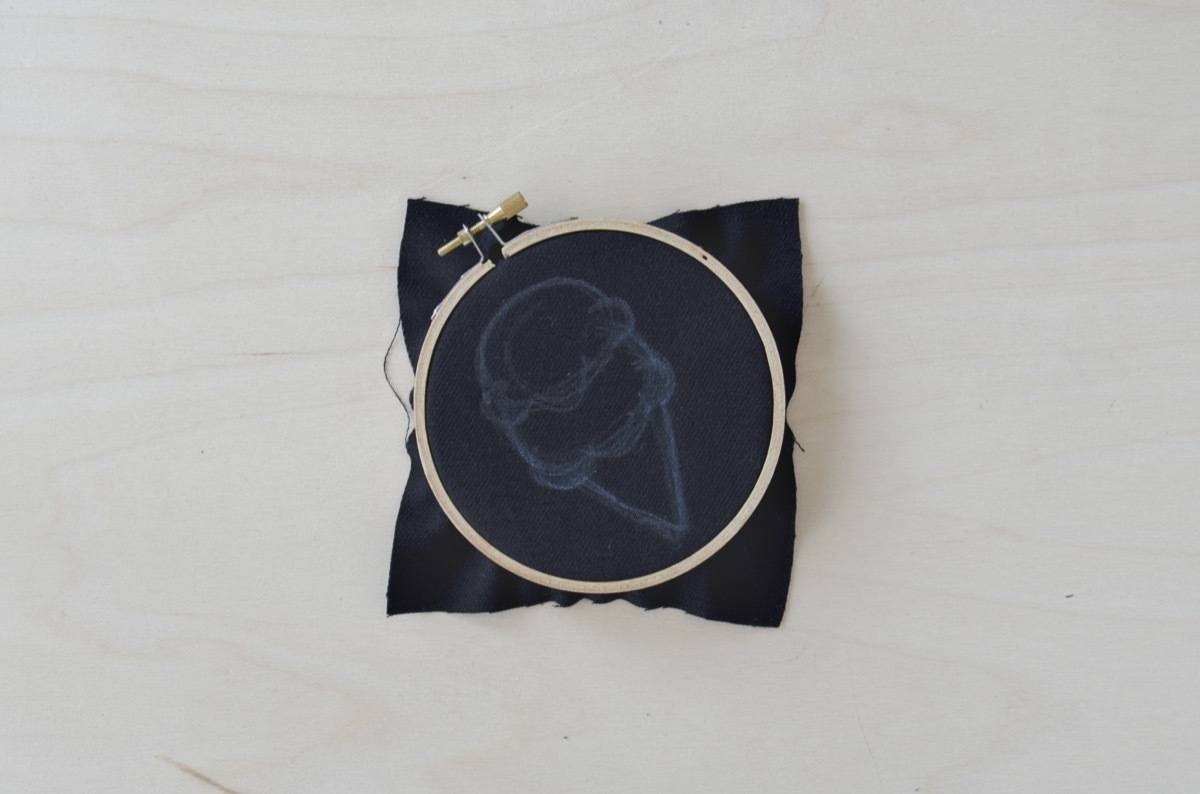
To start, place a swatch of denim in between the rounds of the embroidery hoop, and tighten. Make sure the fabric is taut and smooth.
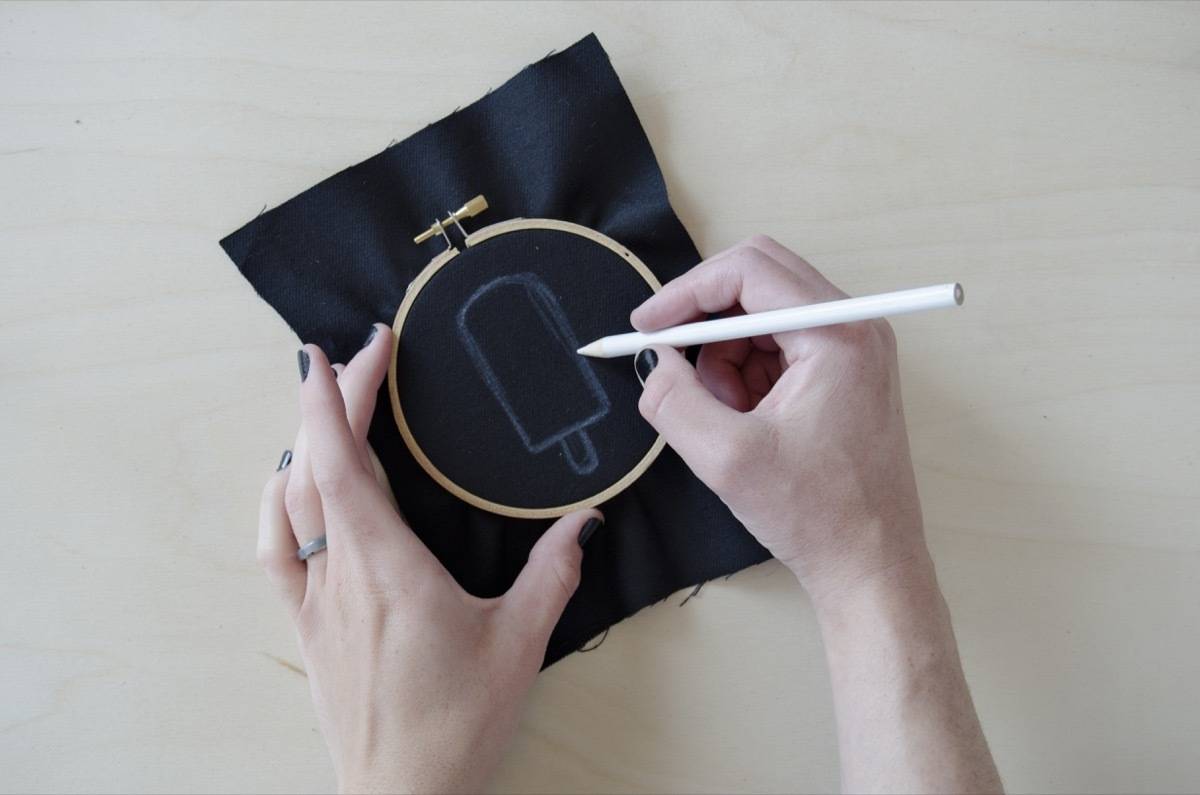
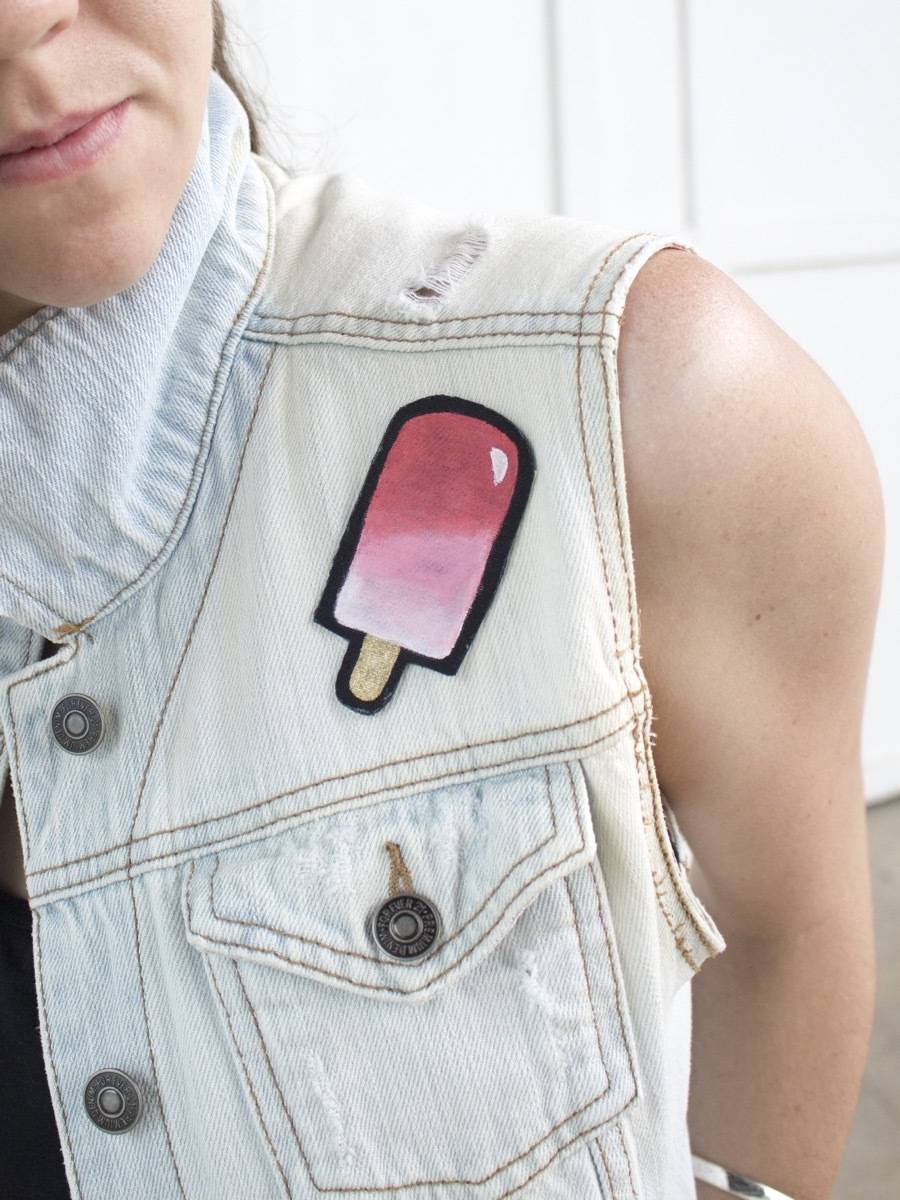
With a water-soluble pencil, sketch the outline of your patch idea. You can search the web for easy-to-draw ice cream images, or wing it. This popsicle is simple enough that I sketched it directly onto the fabric.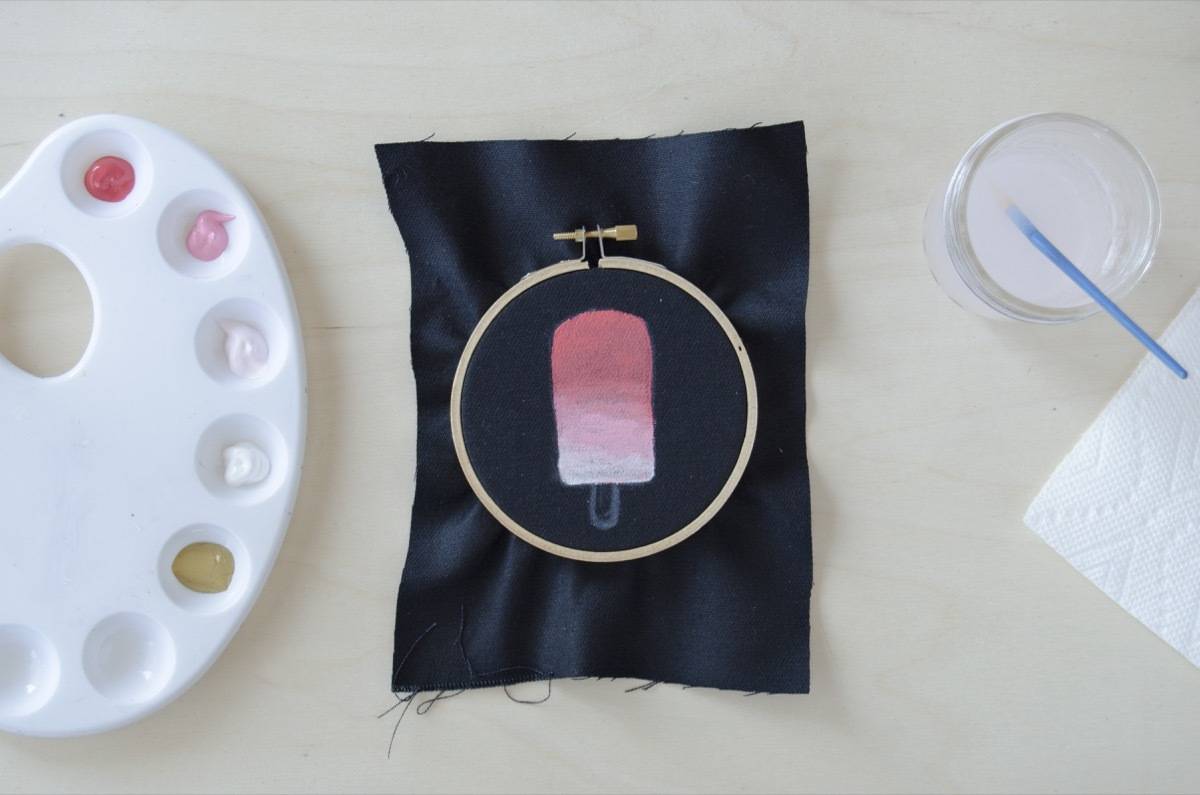
Next, take acrylic paint and fill in the design. To get this ombré look, blend shades of paint from dark to light directly on the design. For more jazz, I painted the popsicle stick with metallic paint. You will need to apply two layers of paint for total coverage. Let the layers dry between applications.
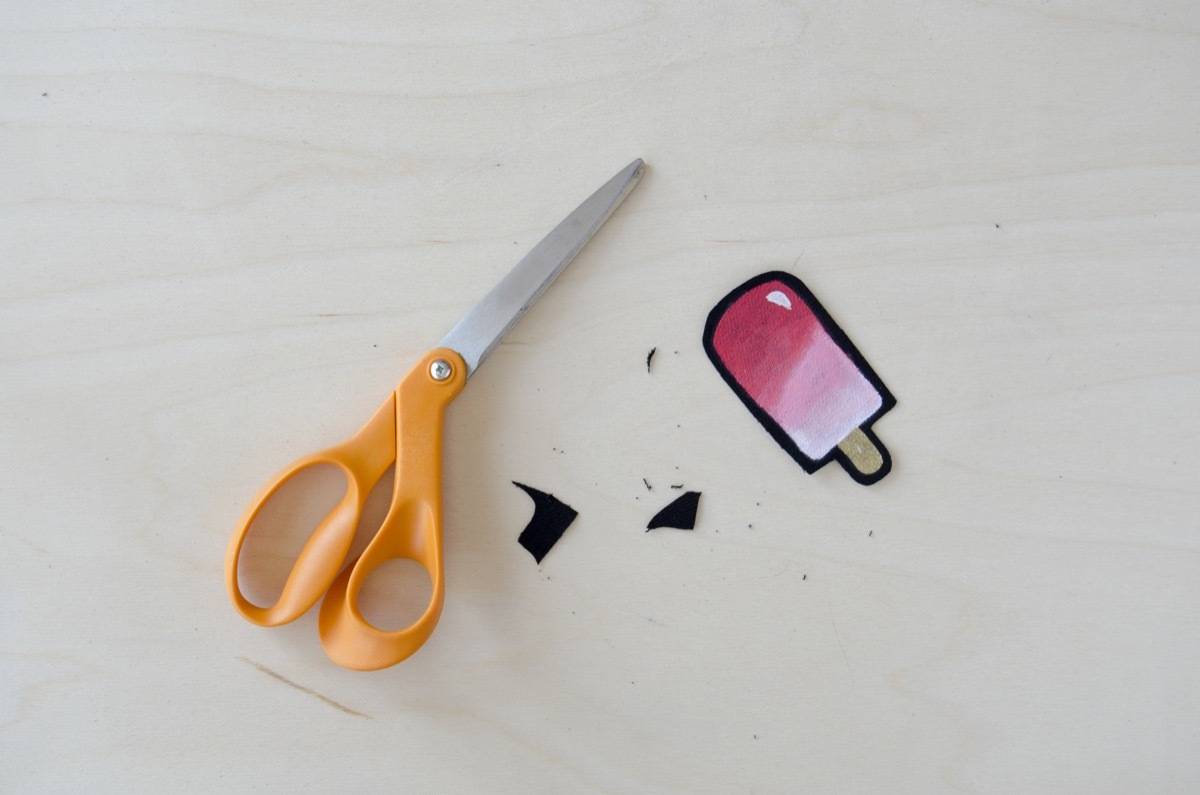
Using a sharp pair of scissors, cut out the design, leaving an outline of fabric. Done!
To prevent the patch from fraying, skip to the end of patch #3’s tutorial for more information.
Ice Cream Patch #2
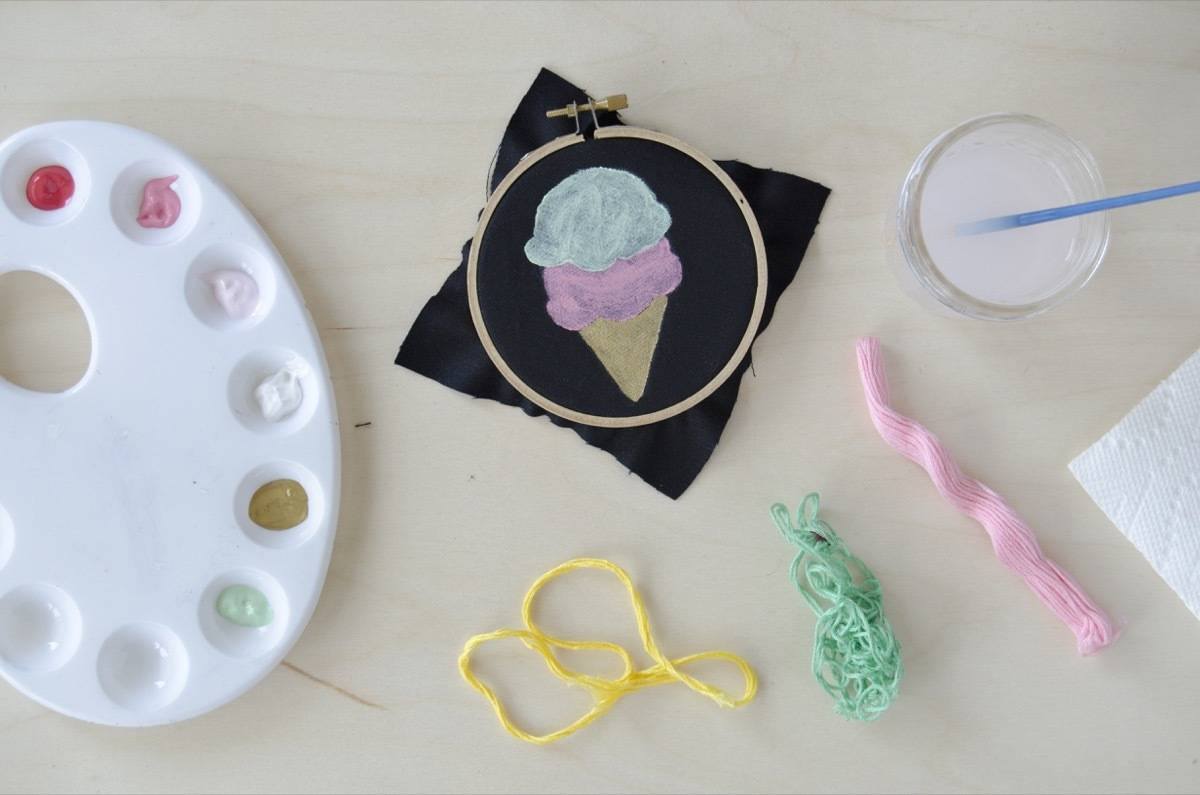
This next sweet treat on our list of custom patches is essentially the same as the first, but with a bit of top-stitching. Stretch a swatch of denim over the embroidery hoop, sketch your design, and fill in with acrylic paint. When choosing your paint colors, coordinate with the embroidery floss. Just as with the previous patch, apply two layers of paint.
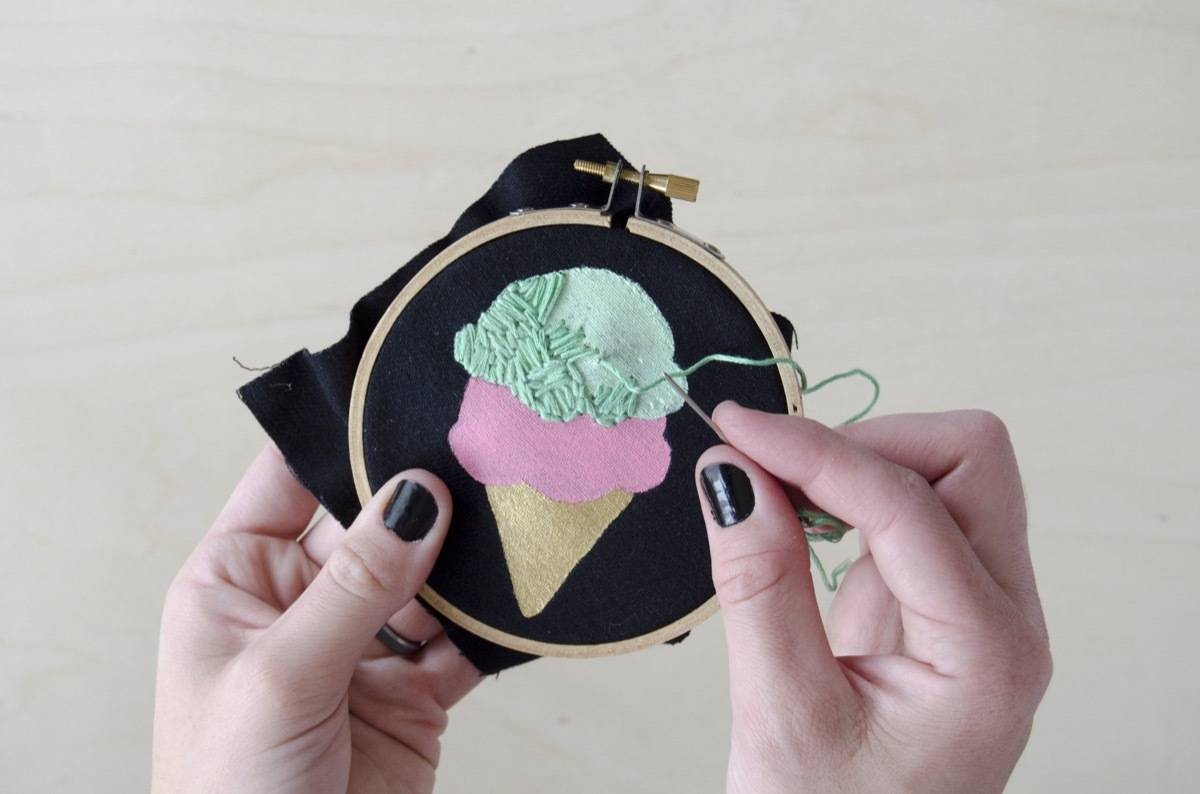
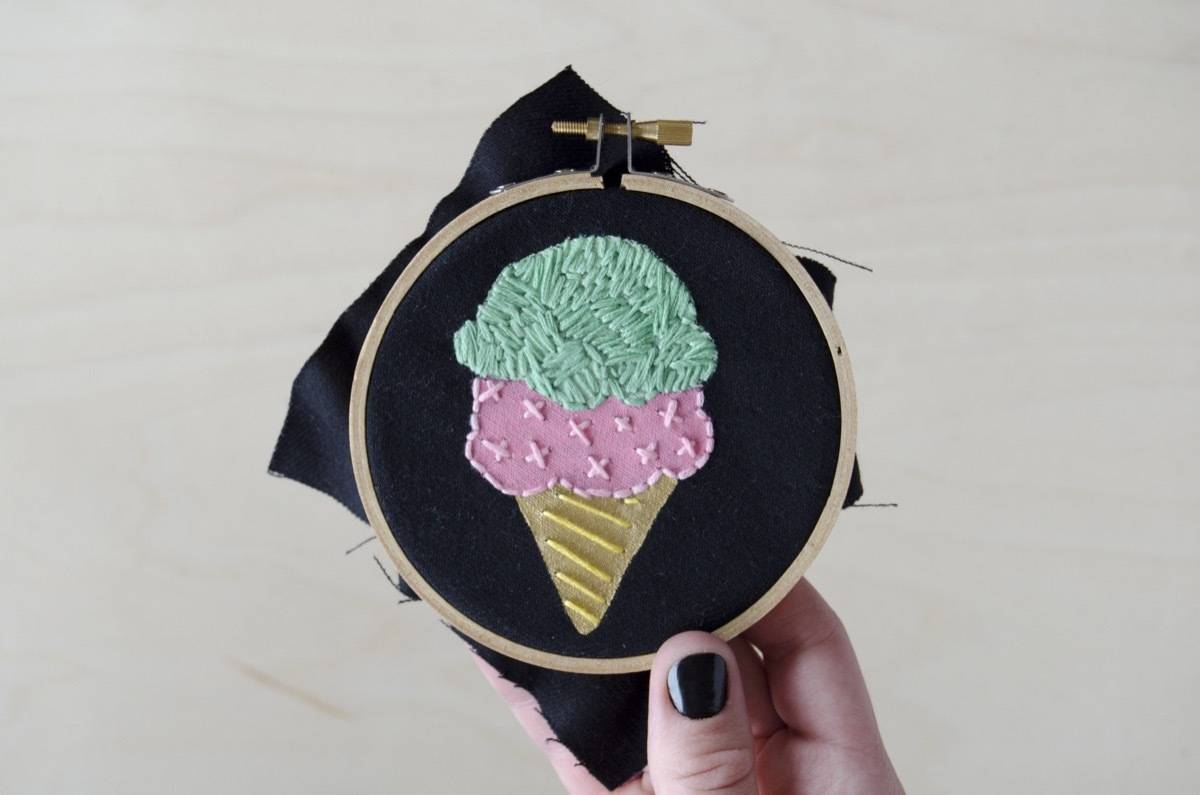
After the paint has dried, thread an embroidery needle with thread, and tie a knot at one end. Stitch from the back to the front, leaving the knot hidden on the back of the fabric.
Now stitch away! Since the paint already defines the shape of the patch, stitch as little or as much as you want. I chose to fill the top with mint-colored stitches, but then use less thread for the pink and yellow. Tie off in the back.
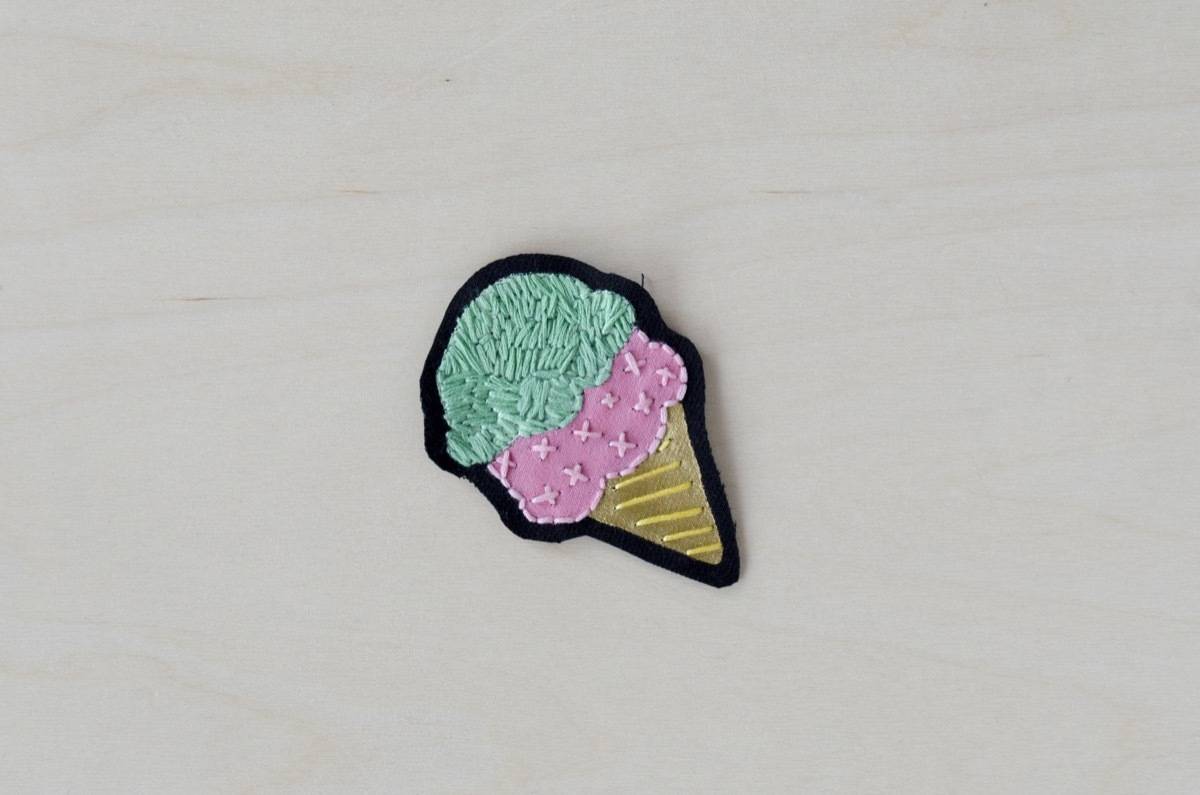
When you’re happy with your stitches, cut out the patch, leaving an outline.
To prevent the patch from fraying, skip to the end of patch #3’s tutorial for more information.
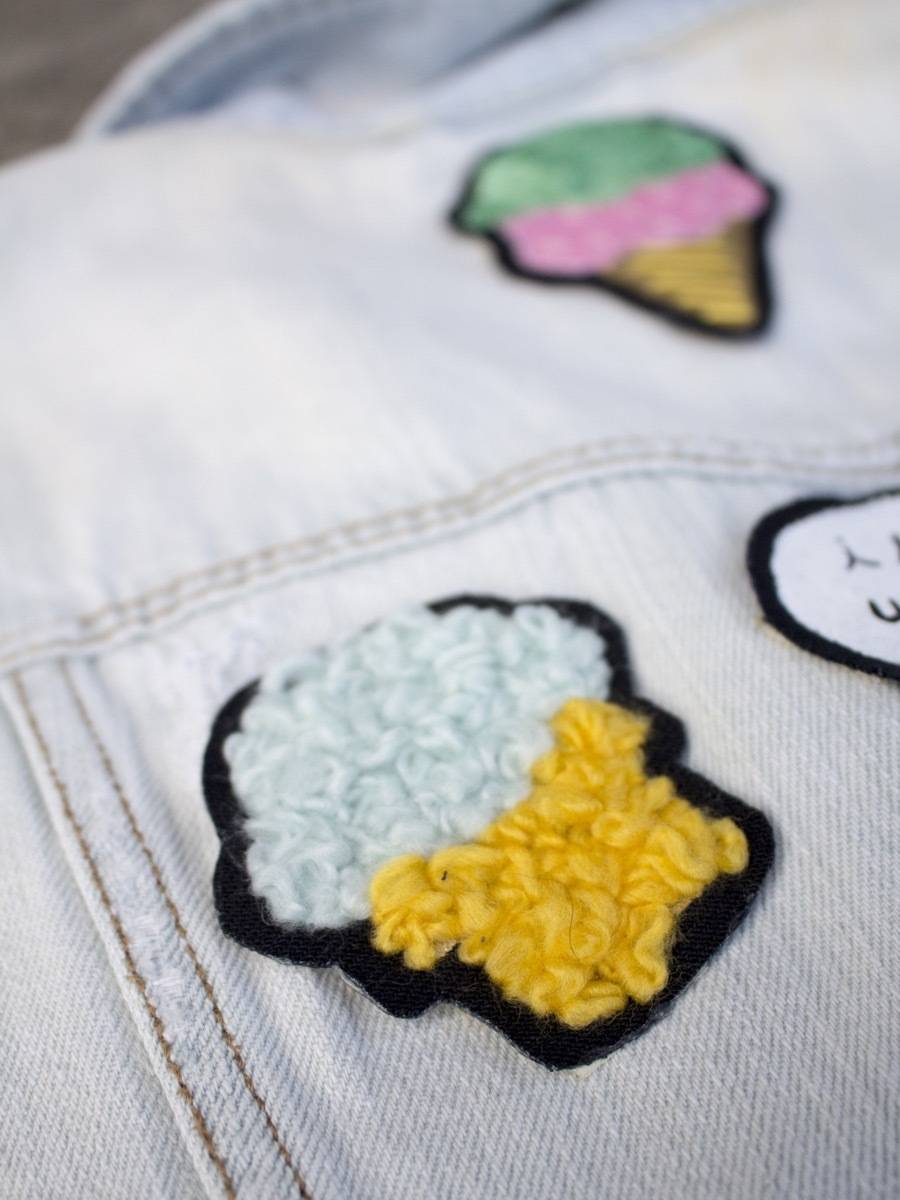
Ice Cream Patch #3
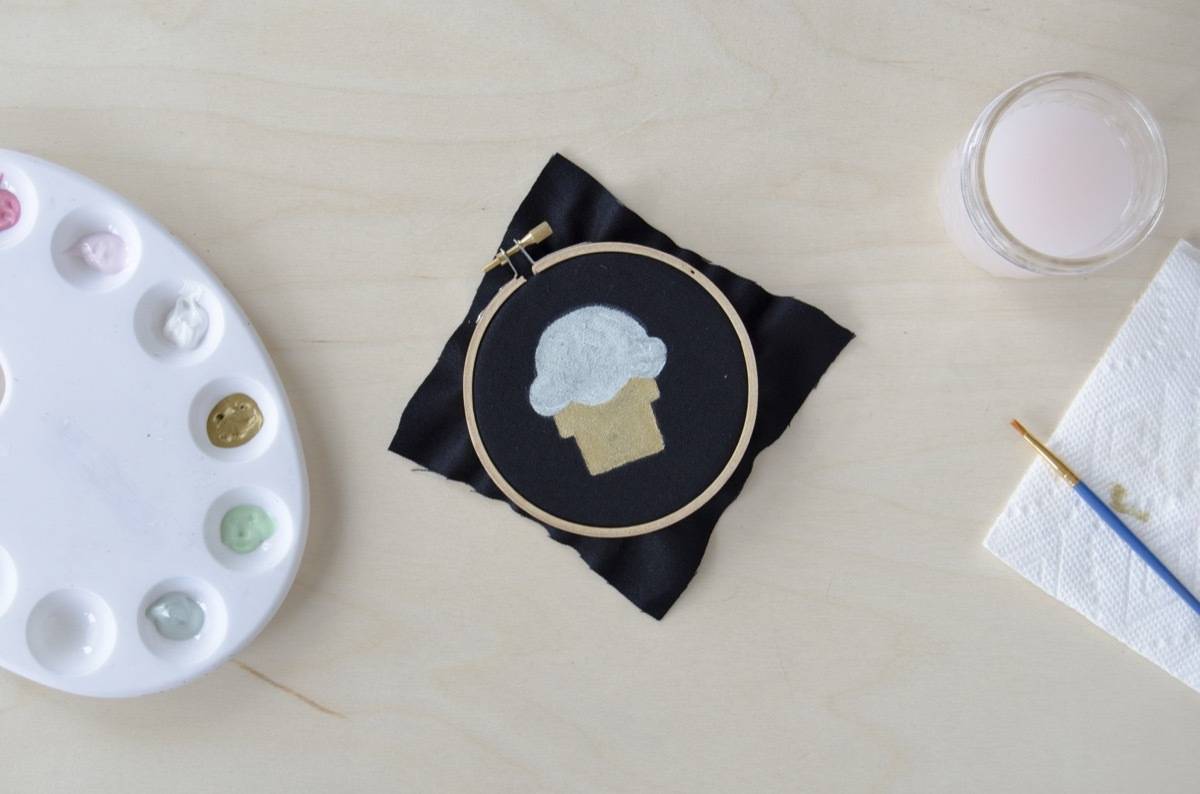
This last custom patch follows the same method as before, except for only needing one coat of paint. Let the paint dry completely.
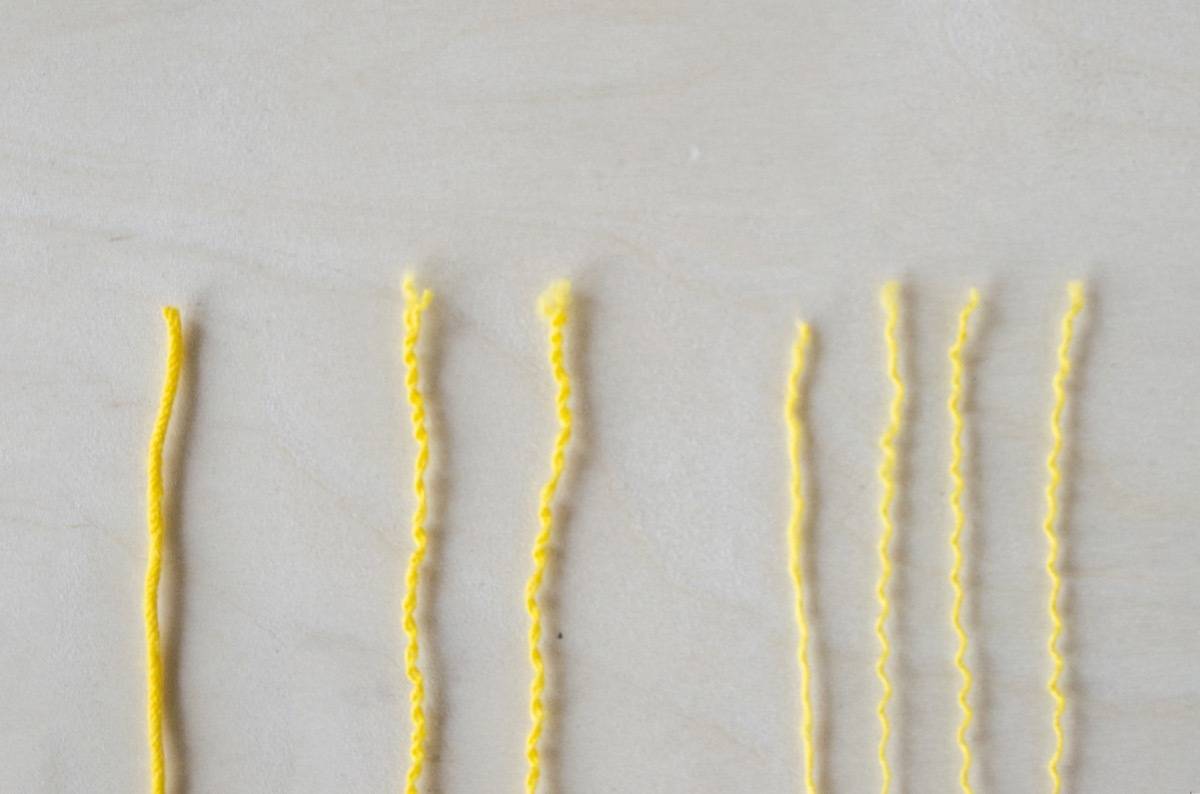 Rather than stitching with embroidery thread, this patch gets its fuzzy look from yarn. Cut a section of yarn, then divide it into the smallest sections possible. My yarn was comprised of four sections, so I divided it in half, then in halves again.
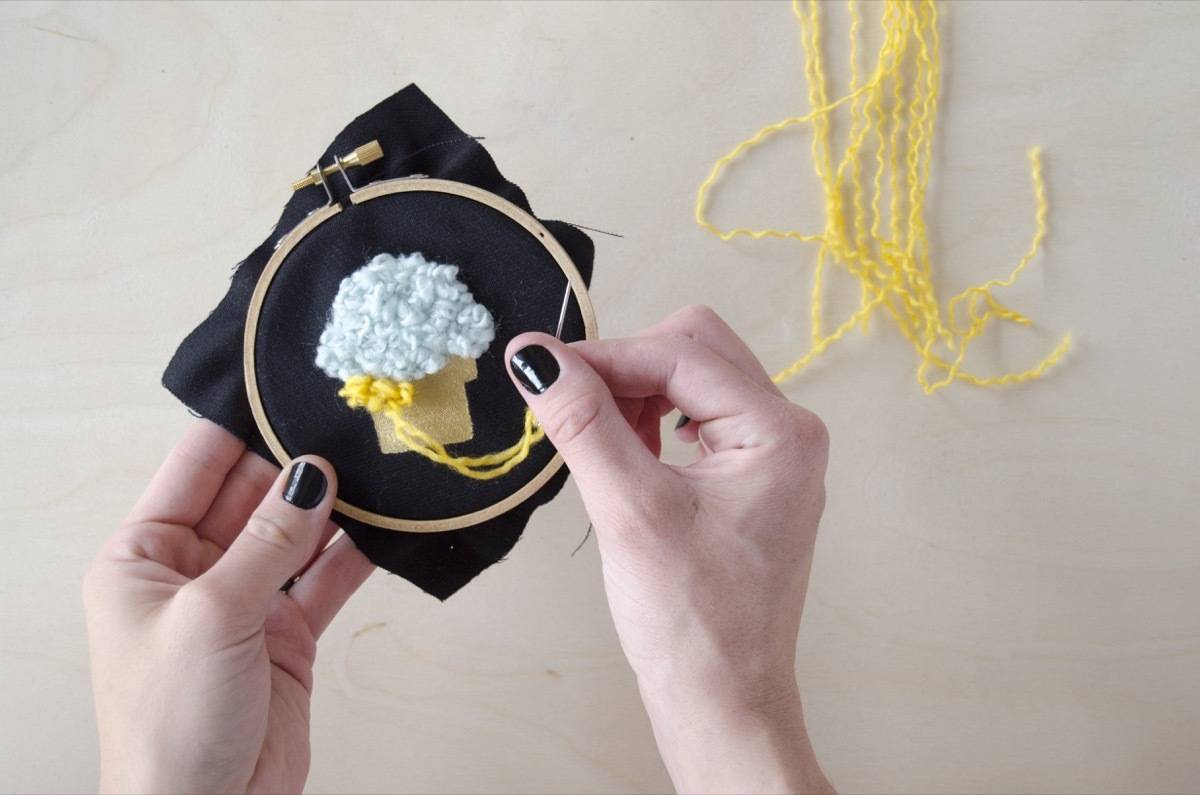
Thread an embroidery needle with a section of yarn. Stitch from the back, being careful not to pull the yarn completely through the fabric. Stitch through the front, but do not pull the yarn completely taut. Leave a tuft of yarn sticking out of the front.
Stitch in this manner until the patch is completely filled with stitches.
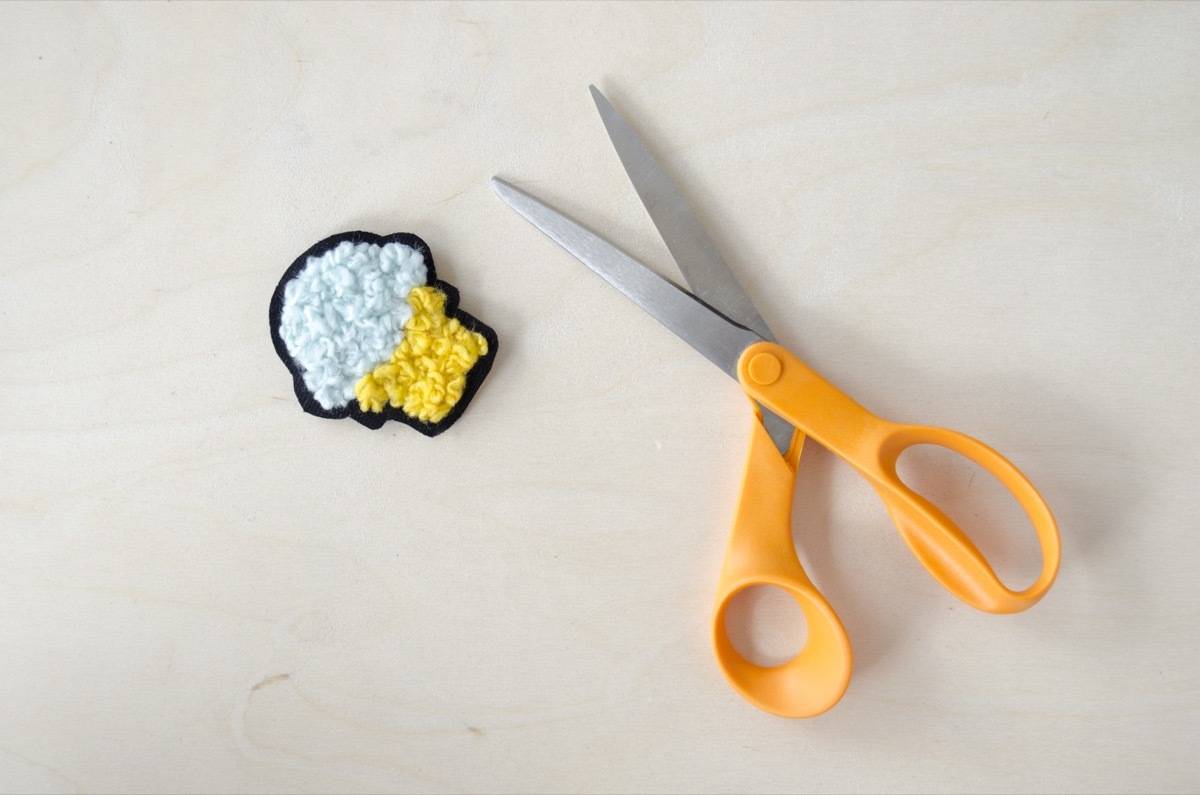
Like before, cut the patch out of the fabric.
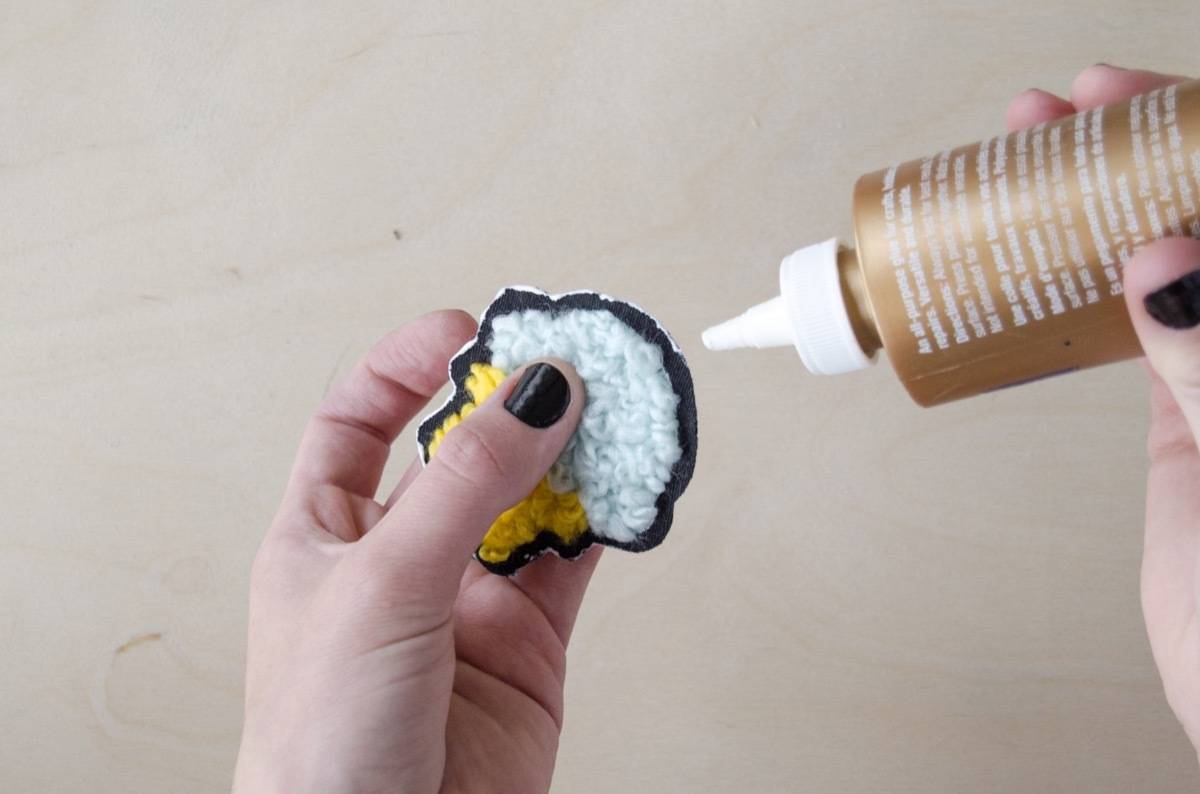
To seal the edges of your patches and prevent them from fraying, apply a thin layer of tacky glue along the edges of the fabric. Let dry completely, and your patches are ready to be worn.

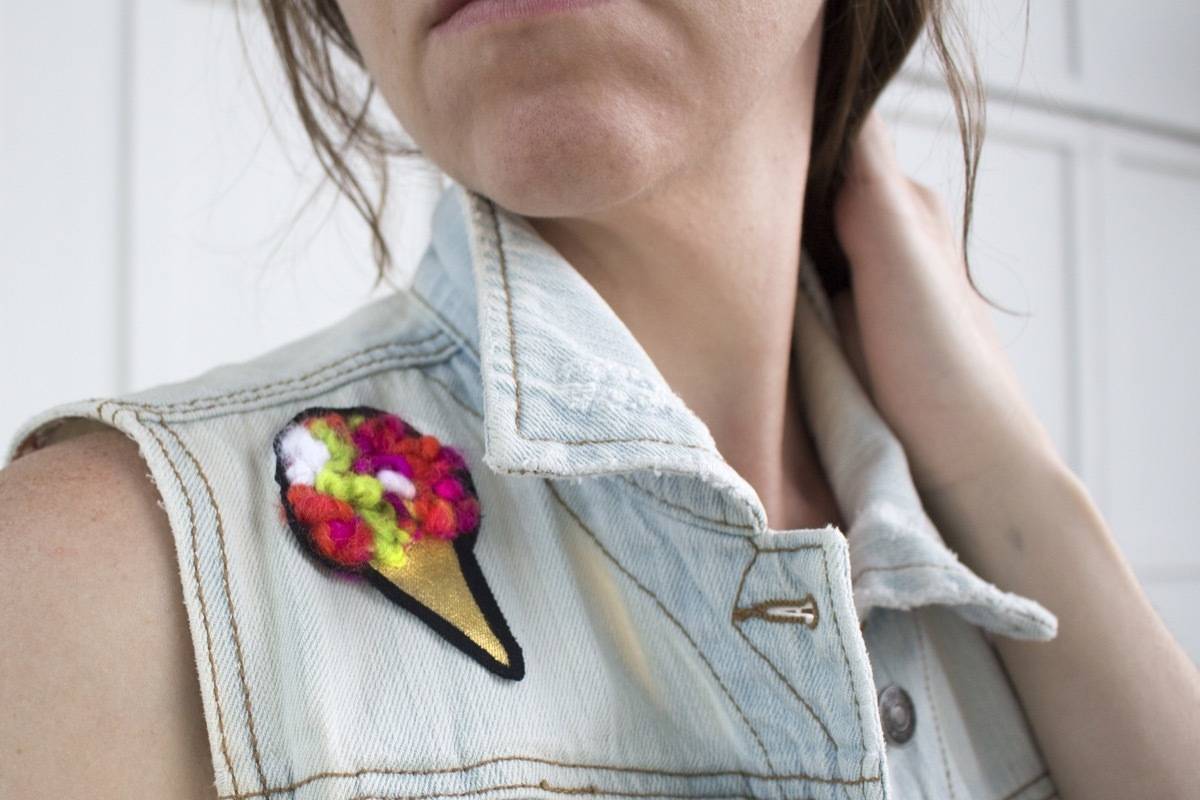

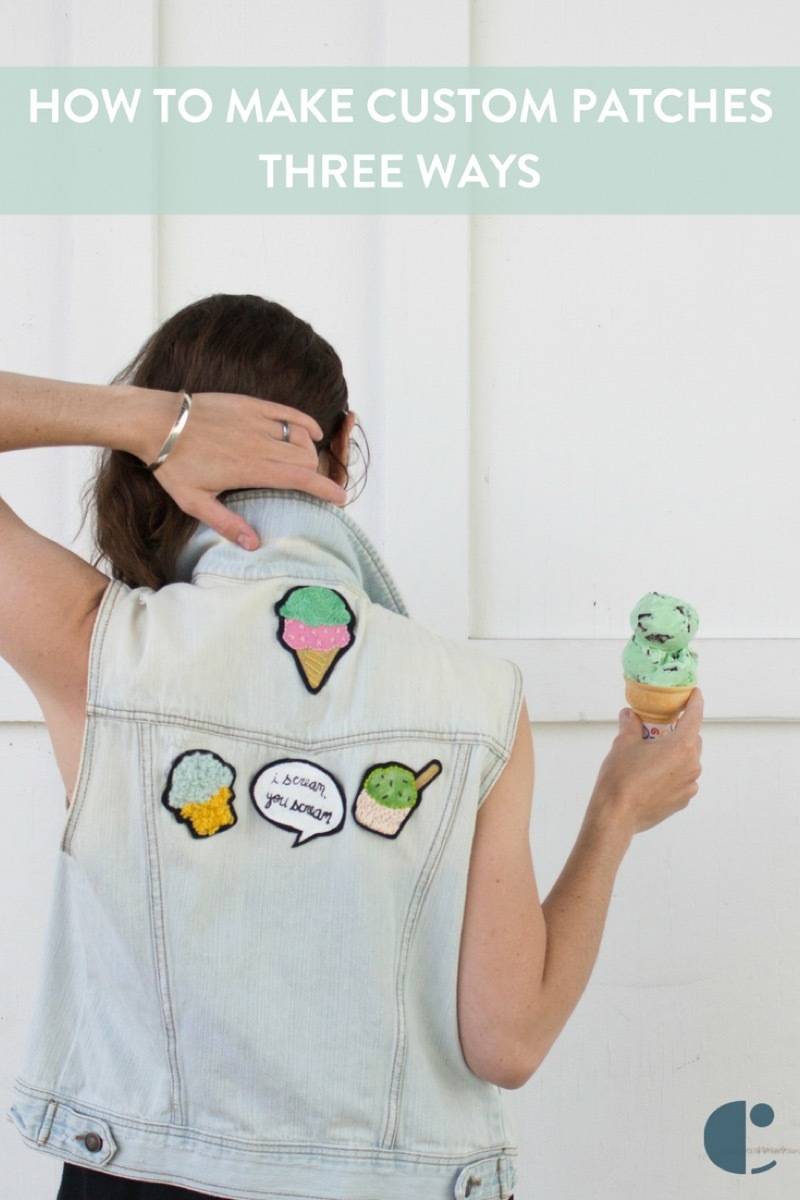
It took a lot of effort to not make every single one of these patches mint green, because mint chocolate chip is my favorite ice cream flavor. What’s yours?
Now that you’ve crafted up some custom patches, try your hand at some more flair by making “enamel” pins!