
This was this past weekend’s project… though obviously it’s not quite finished yet (no photos in the frames). But it’s been on the to-do list for a while, so it’s nice to finally see it up.
We’ve always liked the Picture Wall system, but at $350 for a 3′ x 5′ section (when we knew we could do it for less), it’s no wonder we stalled on the project for a while.
So after two visits to IKEA (two different IKEAs, actually… ALWAYS CALL FIRST FOR AVAILABILITY if you live more than 45 minutes away!!! I knew that already, I knew that!)… we were finally ready to put them up on Sunday. I laid out the frames in Illustrator last week to figure out which frames would work together and to create the shopping list and budget estimate. If you don’t want to have so many square frames, you can go with the landscape sizes, but there’s less flexibility for arrangement, I found.
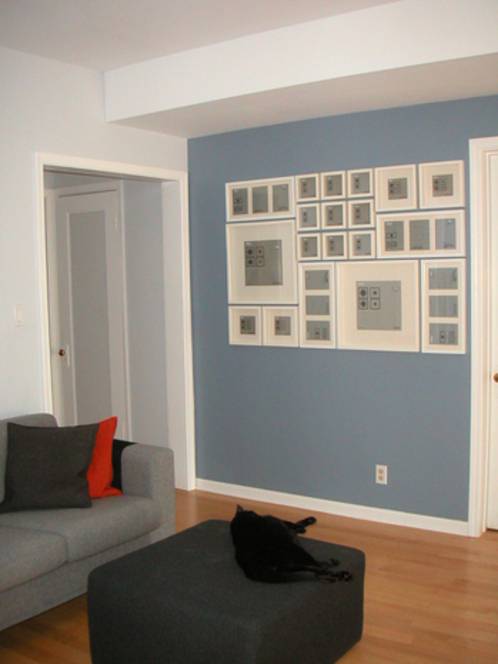
These are all IKEA’s Ribba frames in white (they come in white and black for all styles and wood and silver for some of the others. The three square sizes and the smaller of the landscape size (9.5″x 20.5″ or something). The squares are deeper, and you can have the photo at the front or back (like a shadowbox). The different depths (including the shallower landscape frames) end up giving a nice effect. Note: The (color of the) whites of some of the frames and mattes are what I would call “IKEA quality”… that is to say, not exactly perfect. But once they’re all up, it’s not really noticeable.
Our layout is made up of 32 frames which came to around $260. This covers a space of about 8′ x 3.5′ (27 square feet… almost double the 15 square feet of the $350 Picture Wall system). This of course depends on which sizes of frames you use.. generally the more small frames use use, the more it will cost.
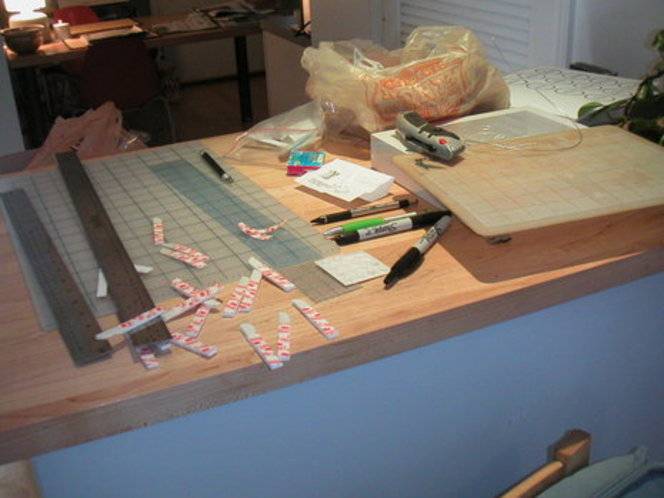
We debated using the regular (included) wire hanging system, but decided to try these 3M Picture Hanging Strips which are like velcro strips that stick to the wall and the frames using the 3M Command system (you know, the stuff they have on hooks where you take them off by pulling sideways on the little strip thing without damaging the wall). This would have been totally perfect, except that when we went to actually use them, we found they were twice as wide as the frame lips, so we ended up cutting them all down the middle, which was a bit tedious. We actually ended up spending about $50 on the strips, but even with the extra work and cost, I’m glad we did it. You end up sort of snapping the frames on and off the wall. And I really hate the wire systems. Plus, I think this would be great for apartments where you don’t want to put a ton of holes in the wall. I also just saw that they sell a smaller size of the strips (which may or may not work better). If you don’t mind hanging with wire, it may be easier to do that with these frames.. though there is something more intuitive for me about locating the pictures on the wall by lining up the edges of the frames (not figuring out where in the center the nail hole should be).

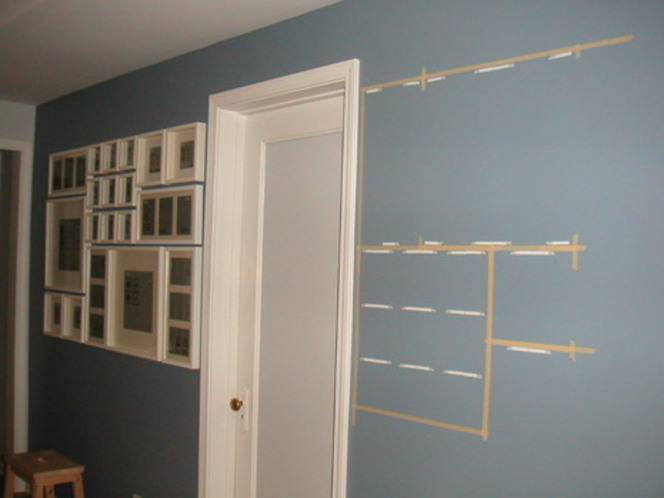
We started the layout with the top line, which we measured off the bottom of the soffit/ceiling since that spacing was visually more critical than it being level, and then we used our cheapy laser level just to mark out the straight line and then followed it with masking tape to give us the top edge. We also marked the spacing along the doorway edge, so it would be even. After some trial and error we ended up just cutting out a sheet of bristol board (thick paper) at the size of the large square and then marking the corners and egdes with tape, which would have saved us time if we had just done that (laying out the basic grid) from the start probably.
Overall, I’m not sure this kind of project really deserves a “how-to”, since it seems fairly straight forward, but in the end, I think it is actually quite a “project”.
I think the cost of the “Picture Wall” system mentioned above reflects the fact that they’ve tried to make it easier (it also includes access to an image library, I think). Like most home projects, I find that this one is not really hard to do… it just takes a commitment to actually think it up, think it through and then follow through. And like most great design, in the end, it winds up looking obvious and easy. The sign of success!
Next project: Sorting family photos!