Storage always seems to be an issue, no matter how big your house is. Even if you have plenty of closets, odds are you could always use more storage boxes and bins, right? I certainly could. Which is how I came up with this crazy simple industrial-style box that can be customized to fit where ever you need it. Keep reading to check it out.
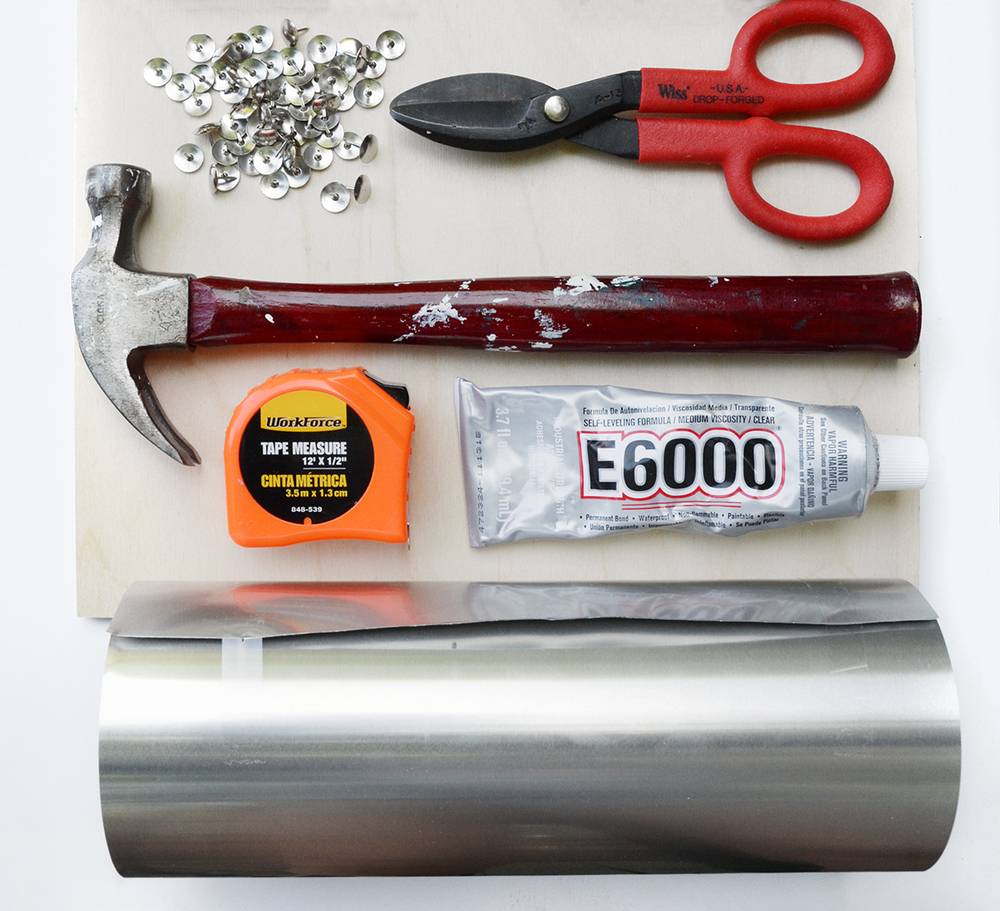
Materials
- 10 inch aluminum flashing (find it in the gutter section of your local home improvement store)
- 12 x 12 inch piece of wood, at least 1/2 inch thick
- 40 thumbtacks
- E6000 glue
- Hammer
- Tin snips
- Tape measure
- Adhesive letters (not pictured)
Step
Begin by cutting the flashing with your tin snips. I bought the 10 inch flashing because I wanted my storage box to be 10 inches high, but feel free to get any size that fits your space. Assuming you’re using a 12 x 12 inch piece of wood, cut the flashing down so it is 44 inches long.
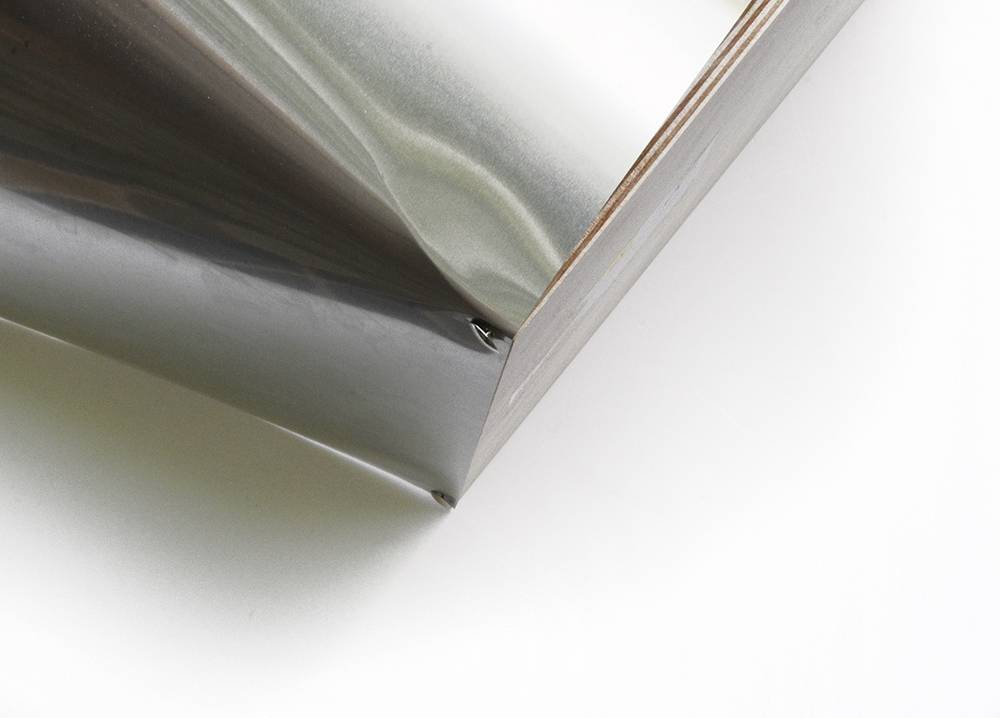
Position the short edge of the flashing along one corner of the wood and hammer in a thumbtack to secure it (as shown above). Then add a bit of E6000 glue to the edge of the wood. Pull the flashing taut against the glued edge and place a thumbtack on the other end.
Step

Now you’ll move to the second side. Continue gluing along the edge of the wood.
Step
Do not add any additional tacks to the first edge yet…
Place a thumbtack at the other end and continue in this manner all the way around the piece of wood. Once you get to the end, begin adding thumbtacks around the bottom edge, filling them in between the ones you have already placed. Do not add them to the first edge yet, though.
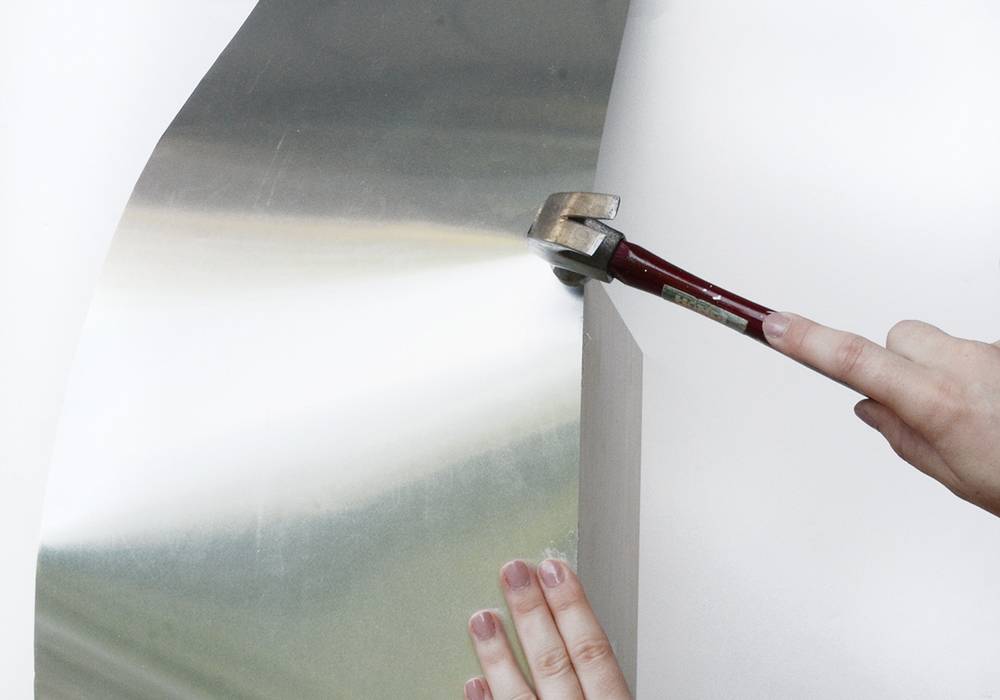
Up until this point, you have not bent the flashing anywhere except on the bottom corners… so it should look sort of rounded on the top edge. Now is the time to square it off. Use your hands to gently bend the flashing so that you form the corners of the box.
Step
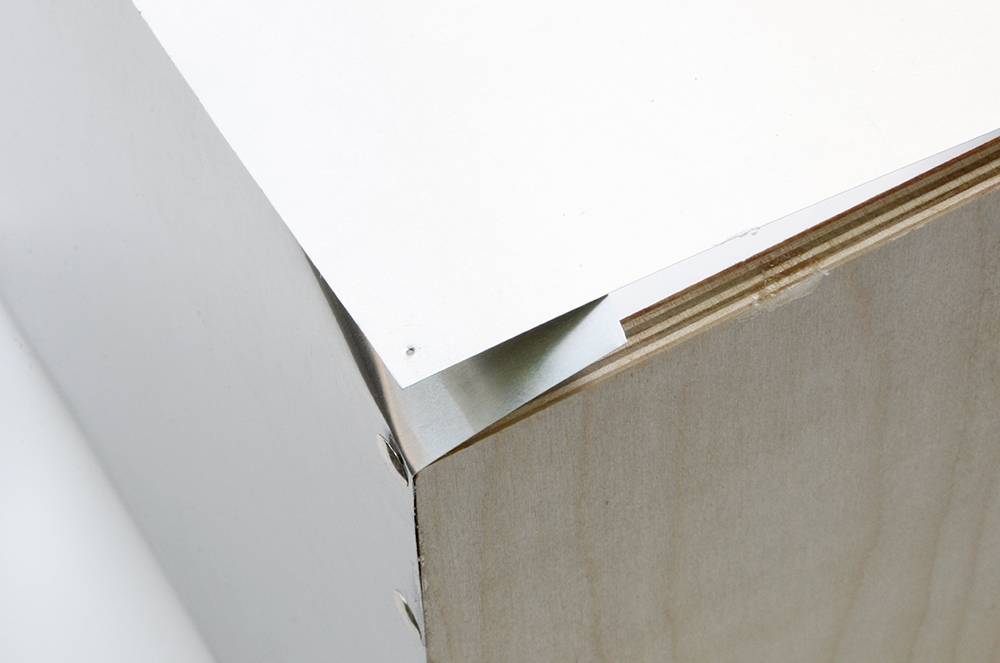
You should be left with a couple of inches of excess flashing. Cut it with the tin snips so there is only an inch of excess. Remove the tack from the first edge, as shown above, and slip the excess underneath. Be careful of the cut edge, it can be very sharp. You may want to cover it with some scotch tape to avoid cutting yourself. Now it’s time to add thumbtacks to this side as well.
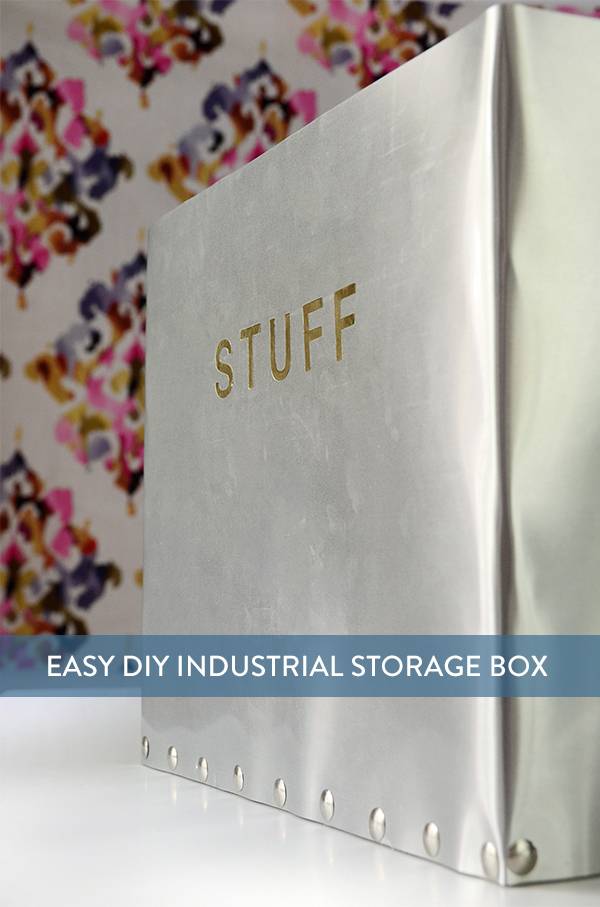
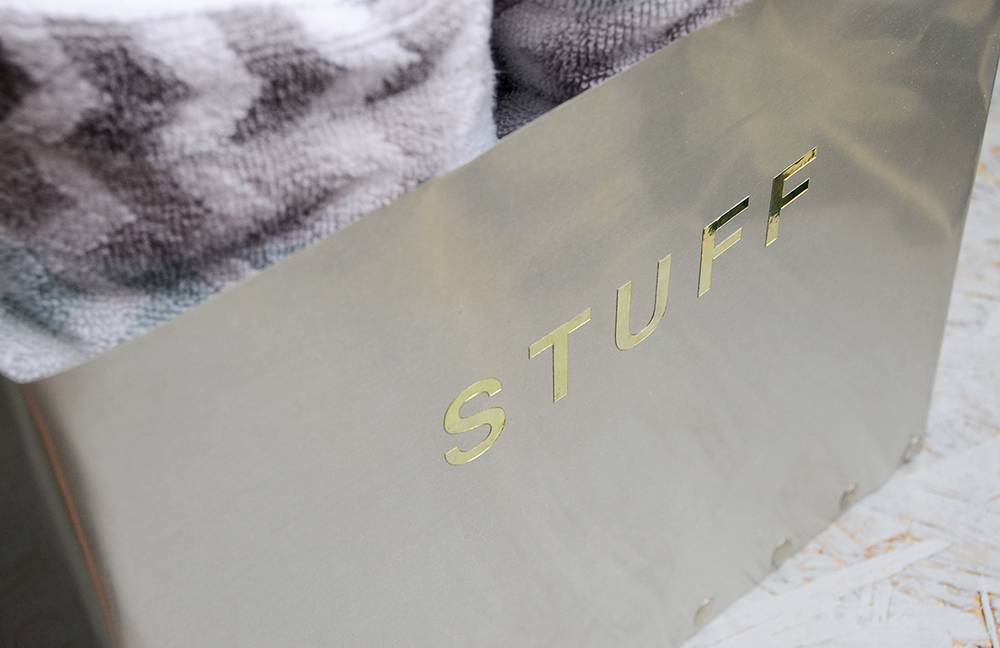
Last, add your adhesive letters to one side – and you’re finished!
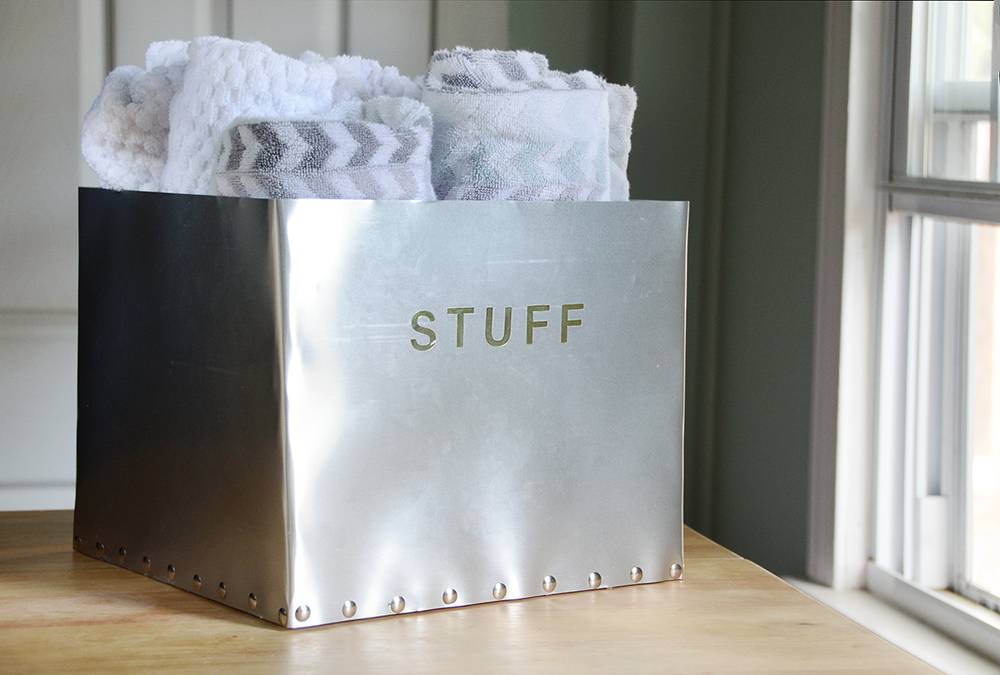
Here are some pictures of the finished product…
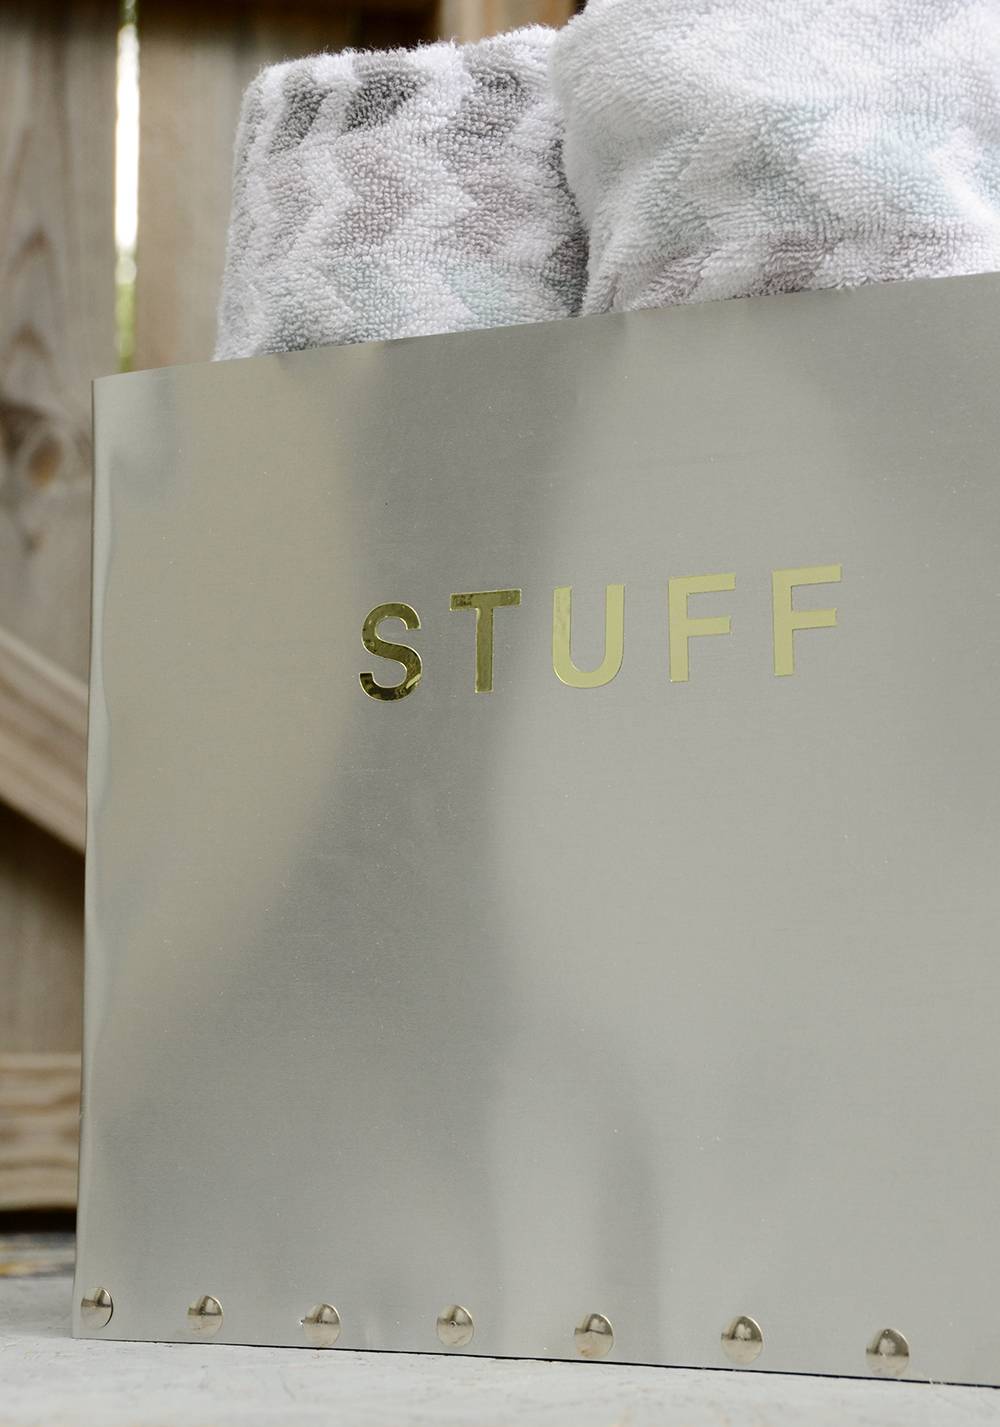
The box’s measurements can be adjusted if you need it to be a specific size, but I find this to be a handy size for anything from towels to craft supplies.
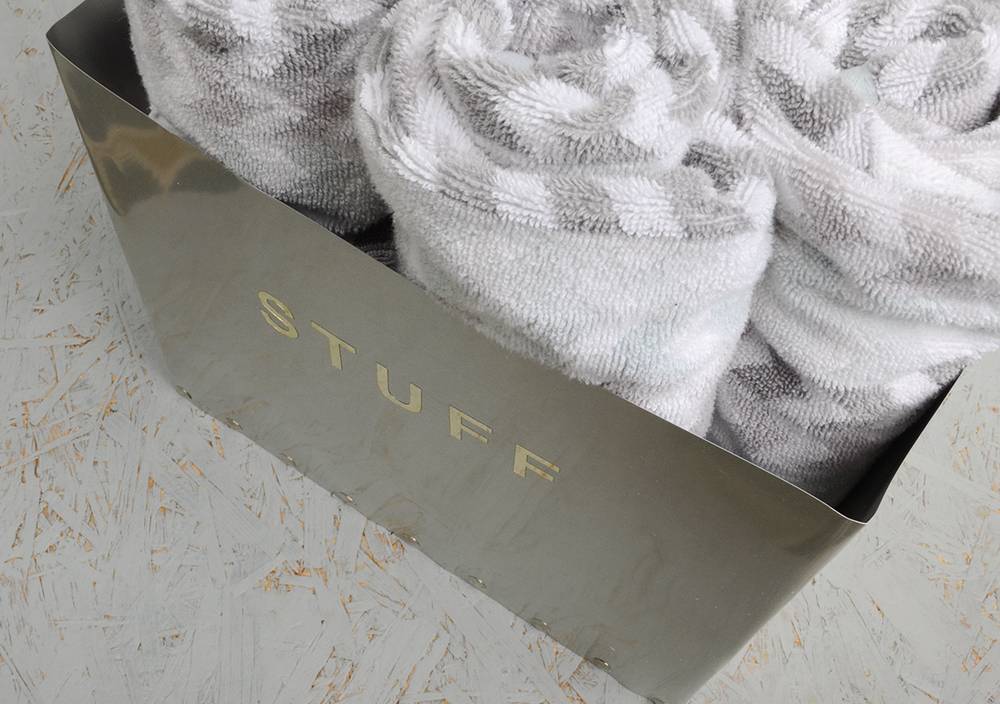
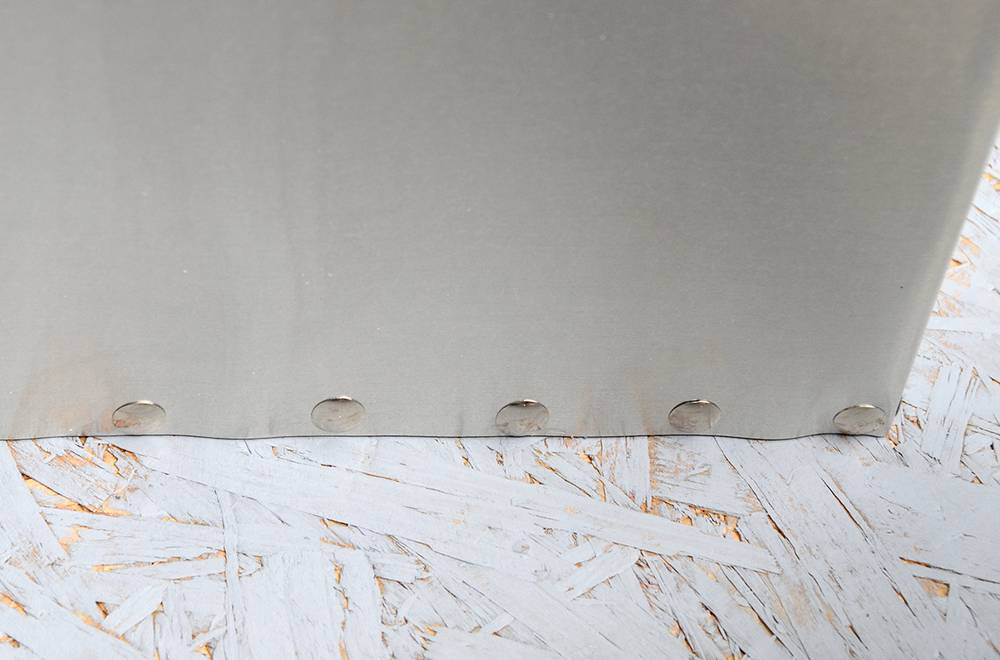
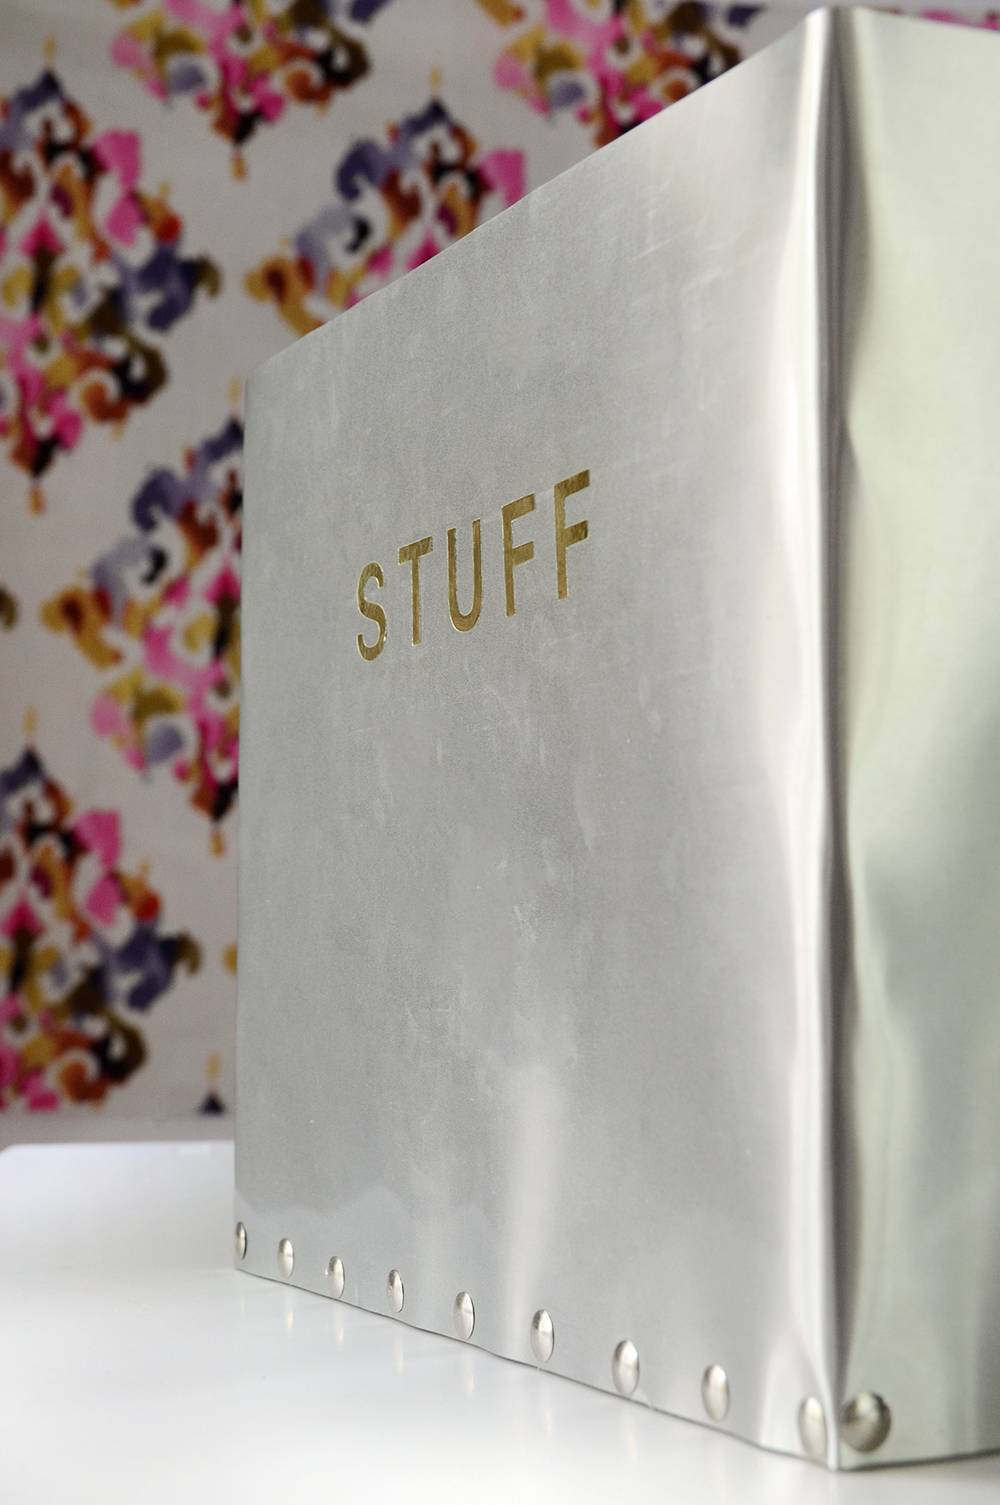
The thumbtacks look like rivets, giving it a cool industrial sort of vibe. I chose gold adhesive letters for a bit of contrast, but you could also stick with silver for consistency.
You can get creative with the text too… other ideas I had were items, mine and yours, linens, etc. Have fun with it!