
Two birds, one stone? Puh-lease! You can’t throw a rock at Mid-Century Modern without hitting at least three Eames pieces. Maybe more if you’re really good. While their furniture designs are beyond iconic, Ray Eames’ textile designs are relatively less-so. Relatively being the operative word. While throwing down on a bold Eames Dot fabric for a home decor project is probably not in the budget at $135/yard, that doesn’t mean those playful dots can’t find a place somewhere in your home. And by “finding a place”, I mean DIY-ing their way into your decor.
For a lover of Mid-Century Modern, I have shockingly few Eames-related items in my home. In fact, all I have is a set of coasters that I bought from the MoMA five years ago. I decided that needed to change ASAP, but wasn’t ready to toss a bunch of money at the “problem”. So I sat, staring at my coasters, when it hit me: Eames Dot drinking glasses! Yes! I didn’t know if they even existed and a quick search of the Internet told me they didn’t. Anywhere. And that’s a real shame. So instead of wallowing, I decided to DIY my own set of drinking glasses… and I’m going to show you how, too!
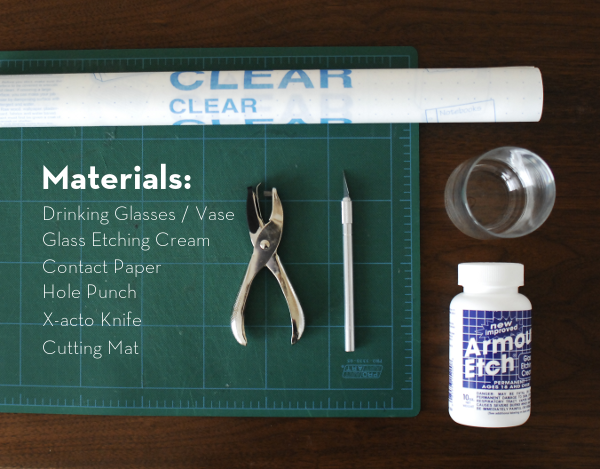
First things first: the start-up cost of this project might be a little high because of the glass etching cream. It’s about $20 a bottle, but trust me when I say you could probably make about 1,000 of these glasses from a single bottle-o-cream. So, if you find that you really like etching things, it’ll all work out in the end. Moving on…
- drinking glasses or a vase if you’re fancy
- glass etching cream
- contact paper
- regular-sized hole punch
- x-acto knife (or scissors)
- cutting mat (if you’re using an x-acto knife)
- small paint brush (I forgot to put it in the photo!)
For your drinking glasses (or vase), I suggest hitting up your local thrift store. I got a set of six (plus two vases) for $5 total. One word on the glassware, however: make sure it’s not Pyrex-type tempered glass. The etching cream will not work on that type of glass, which I learned from experience with one of the vases. It’ll make you sad, make your glass look weird, and it’ll waste some of that expensive etching cream.
Steps:
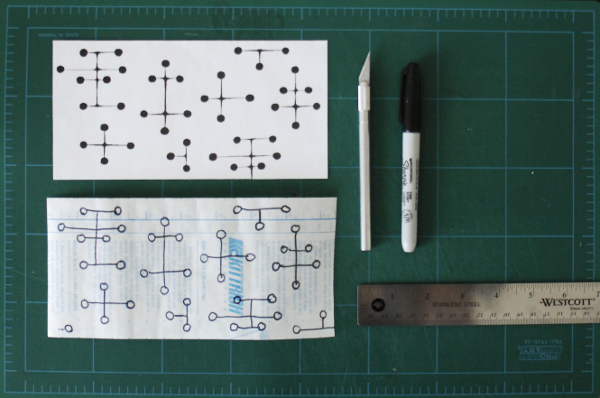
1. Measure your glasses to figure out how big to cut your contact paper, then cut it out. I found an Eames Dot pattern online and printed it out to trace from but if you’re talented, you could probably just eyeball it.
2. Once you’ve drawn your pattern on the back of your contact paper, it’s time to start punching holes. Punch out all the dots (you may need to scrunch the paper a bit to reach some of the dots on the inside), then “connect the dots” by cutting out the lines using an X-acto knife or scissors. To make the lines look a little more like the original, try cutting them with alternating narrow / wide ends (think elongated wedge shapes).
3. Once you’ve got your pattern cut out, it’s time to apply the contact paper to your glass. Make sure you start with a clean, grease-free surface, then wrap the contact paper around, rubbing out any and all air bubbles – especially around the dots and lines. It takes a few tries and re-adjustments to get it right. After your contact paper is on, make a quick pass or two with a clean cloth to remove any finger prints that might have found their way into your etching area.
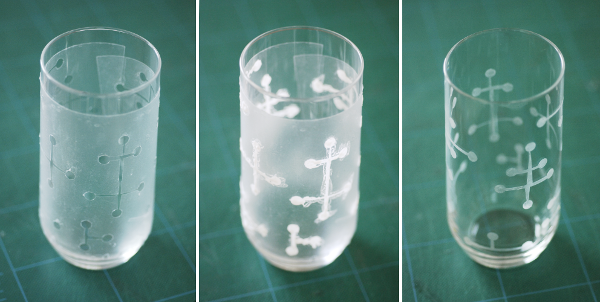
4. Armed with a small paint brush and some etching cream, it’s time for the real magic to begin. The bottle warns to use this stuff in a well-ventilated area and to avoid skin contact. So, open up a window and turn on the fan if you have one – and wear gloves if you’re worried about touching it. Apply the etching cream with your paint brush to the exposed pattern, making sure to apply a thick and even coat.
5. Let it sit for 5 minutes or so then rinse all the cream off before removing the contact paper.
6. Follow it up with a good soap and water washing to remove any etching cream residue — and you’re done!
Repeat the above steps for each glass. (You can try saving your contact paper pattern, but it doesn’t stick as well the second time around.)
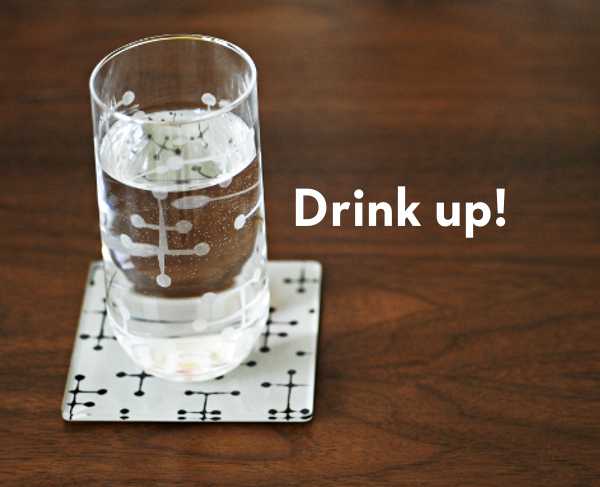
And there you have it, folks! Your own personal, one-of-a-kind Eames Dot drinking glass set. I hope it feels good. Now go forth and DIY!