
Well, well, well, look who’s back! DIY master Emily Winters from Merrypad has broken down her kitchen island transformation step by step for us.
Says Emily:
I found a table (in someone’s trash, gulp) a few summers ago… a real one was out of my price range as a new homeowner. The trashed table I found had some character that really stuck out to me – it had little scallops on the legs, shelving on one side, dowel detailing on another side, and a retro tiled top (which really, let’s face it, was old and gross). Aside from old tile, the only problem with the table was that it was a little too short (desk height).
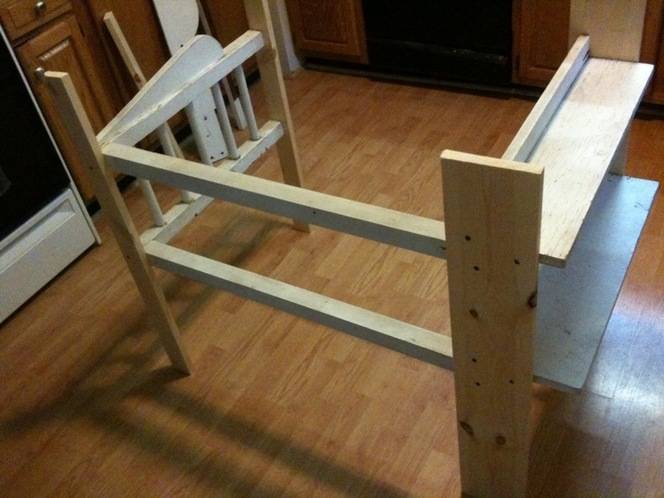
To retrofit it to be counter-height, I decided to swap out the legs and table top to structurally update and heighten the frame of the table. I made it work by buying just a few new 1×3 and 1×6 boards to act as new “legs” (yes, I sacrificed the scallops). The 1×6 boards were used as two legs because I was salvaging the shelving on one side, and needed enough surface to attach the old shelves to (each shelf is about 8″ deep).
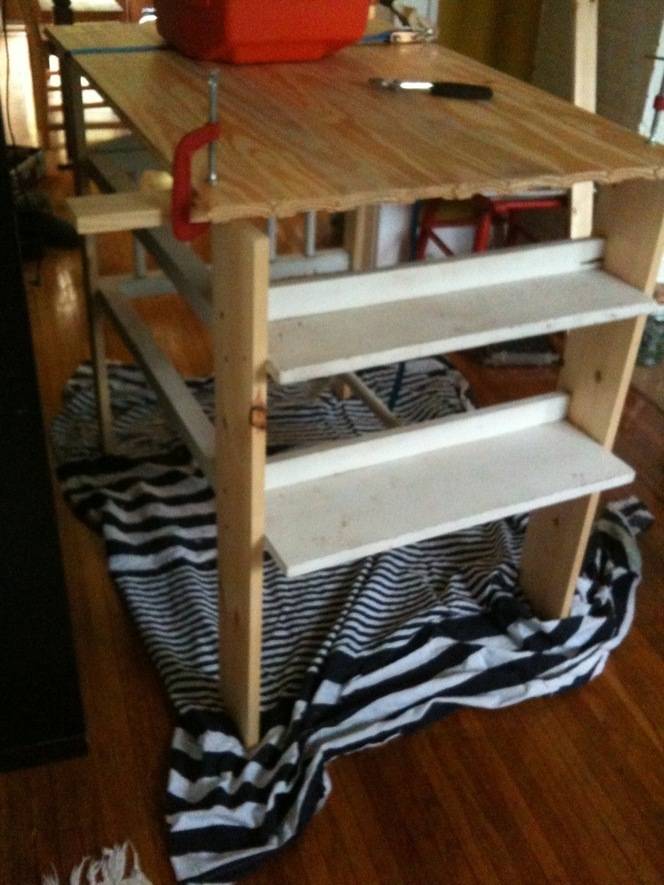
I decided to try out some clearance wooden flooring to tongue-and-groove-and-glue together as the new countertop. We also had an opportunity to use my boyfriend’s amazing nail gun, which was as you might understand, loads of fun. It actually made the project really, really easy. The boards cost hardly anything (<$10) and went together really easily with the help of the glue, some clamps, and a few nails from the nail gun.
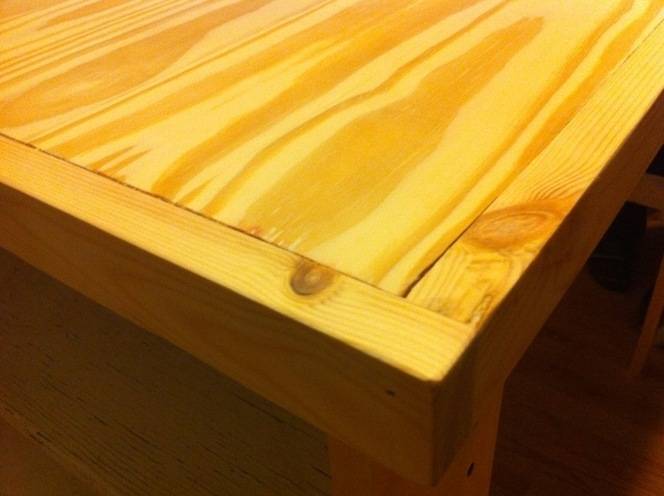
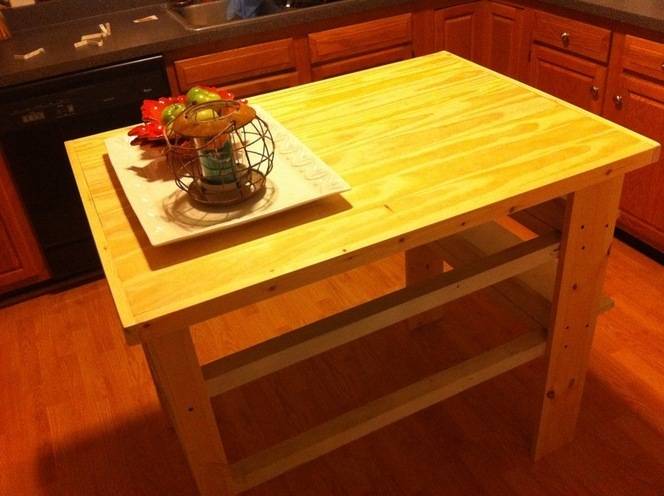
I was really pleased to see that the surface didn’t bow at all like you see with some shelves. It’s done for now and will be painted once it’s nice outside again, but really helped transform my kitchen into a functional space for not a lot of time or monetary investment.
Nice work, Emily! To check out more of her sweet pad, click here.