
You know what they say: “When all you have is a hammer, everything looks like a nail.” But what about if you have a bunch of different kinds of hammers? The truth is, like any other tool, hammers are specialized for many different tasks, and having the right one can be the difference between doing a job correctly and not finishing it at all. Here’s a little guide to hammers on the different types we think you should know about, and what they’re good for:
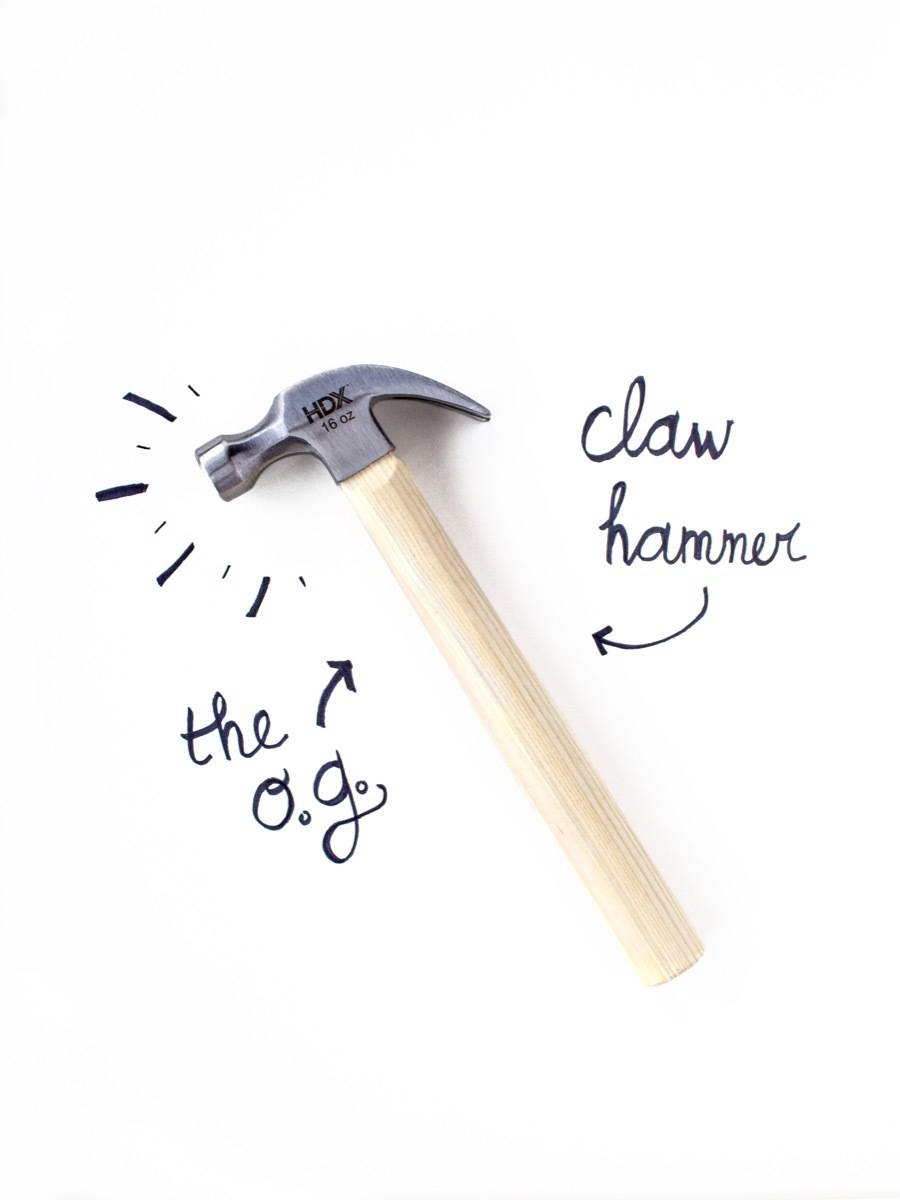
1. Claw Hammer
First up on the guide to hammers list is the standard. This the hammer you think of when you think “hammer.” The clip art hammer. The emoji hammer. The first hammer everyone should own.
Its design allows you to do what most of us think hammers are for: drive medium-to-large nails into wood with the striking head, and then take them back out with the claw. The rounded end of the claw allows you to provide leverage in combination with the handle. This is super useful if you make a mistake when driving nails, or if you need to remove the hardware from an existing structure, such as removing the nails from reclaimed wood or doing light demolition work.
Definitely an essential for every single adult on the planet.
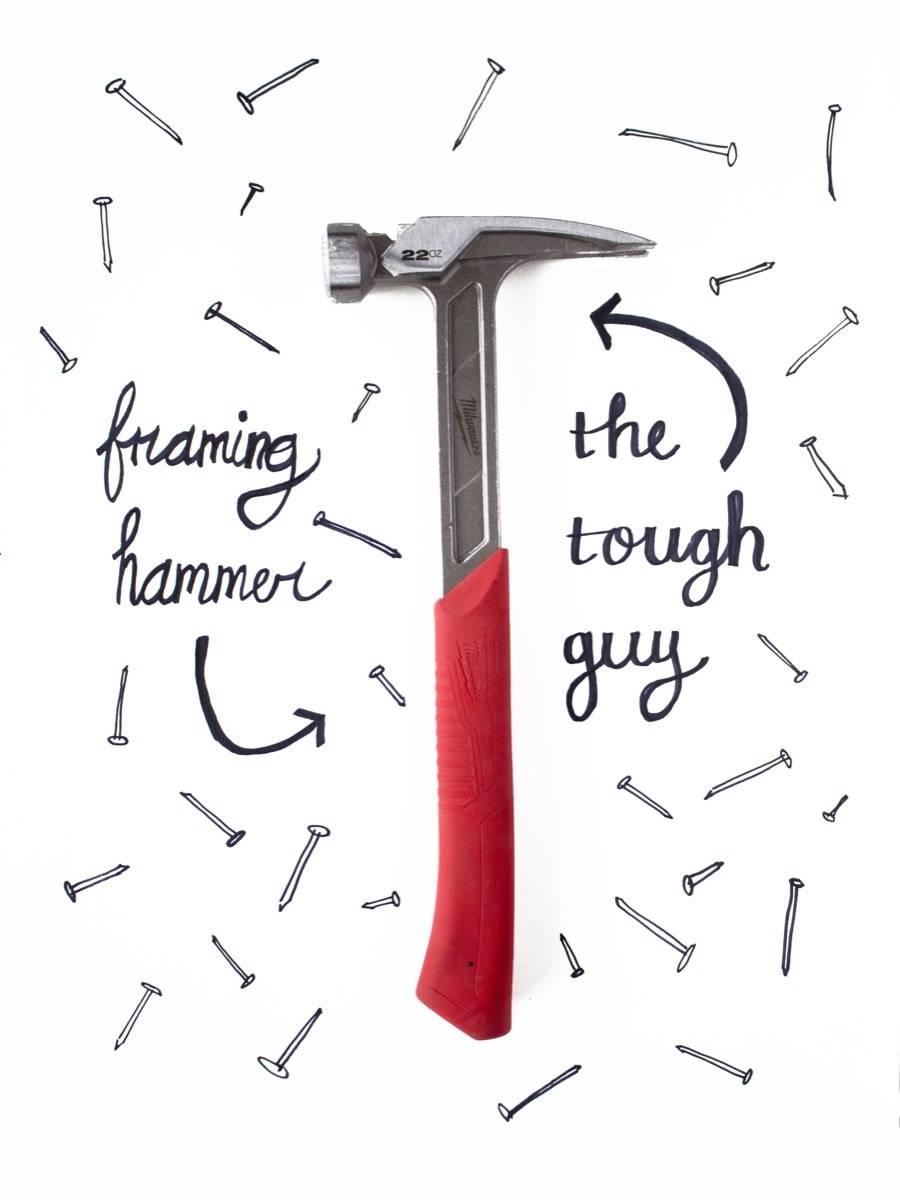
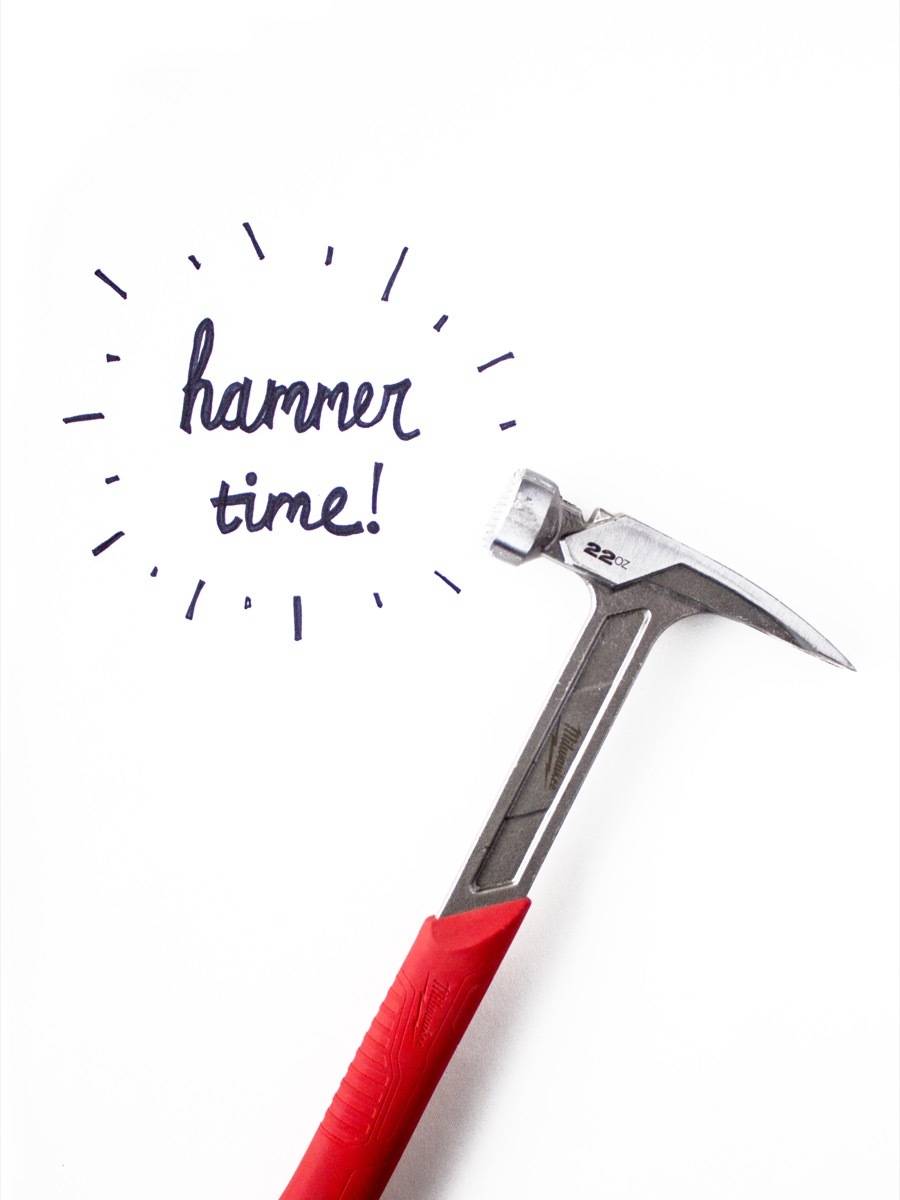
2. Framing Hammer
The framing hammer (like this Milwaukee Mill Face Framing Hammer shown here) is a variation on the claw hammer specifically designed for framing carpentry and construction. This is an oversized tool with a heavier weight that requires fewer strikes to drive the nail. The straighter claw acts as a crow bar, allowing you to pry nailed board assemblies apart rather than just removing the hardware. If you do need to pry a nail out, a small scrap of 2×4 helps to create the right amount of leverage.
One key feature of the framing hammer is the milled face, which gives the striking head a gridded, waffle-like surface. This greatly reduces the head sliding or skidding off the nail when contact occurs. (Framing nails often have a checkered head as well).
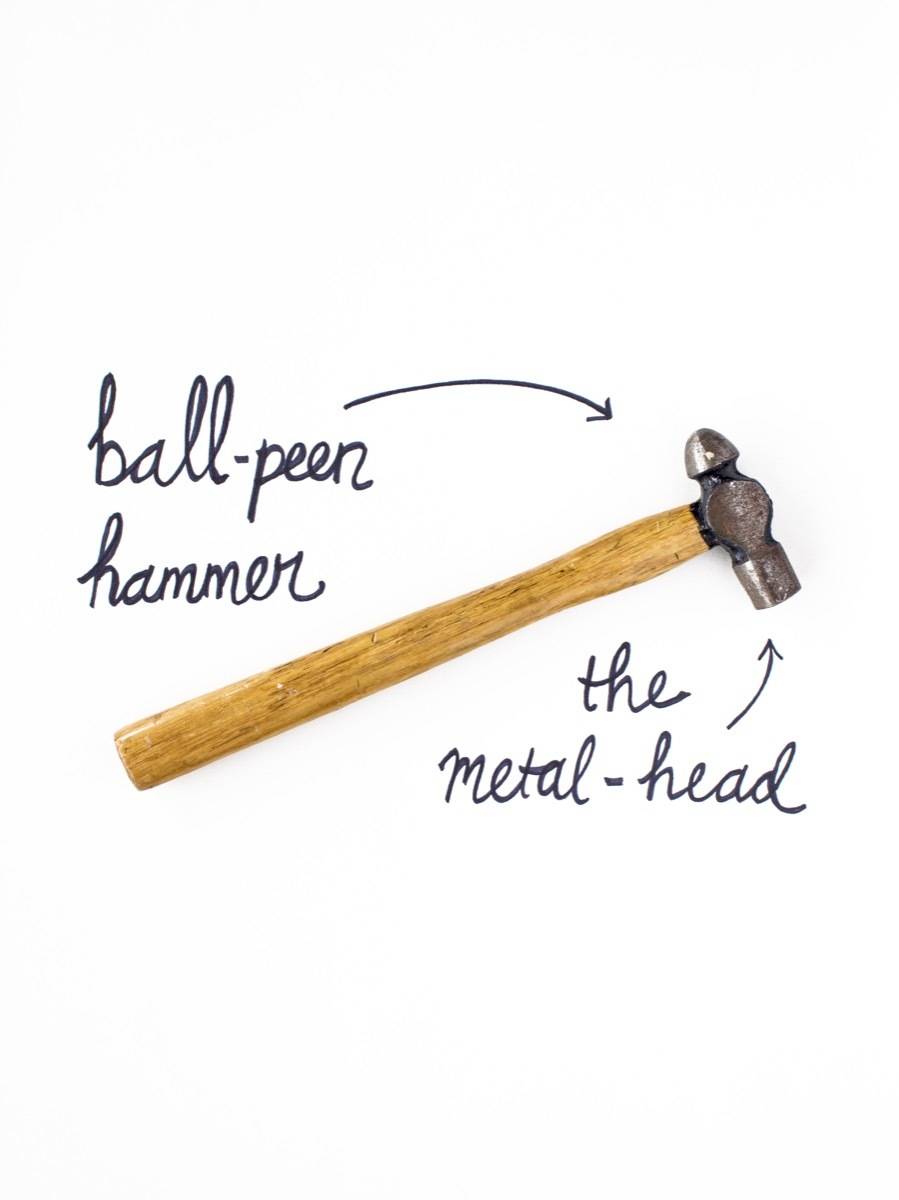
3. Ball-Peen Hammer
Also known as a machinist’s hammer, the ball-peen is best suited for metalwork. These feature heat-treated carbon steel heads, which are much harder than those of a claw hammer. This stronger head allows for the working and shaping of other, softer metal surfaces.
Besides a flat striking face, this hammer also has a ball-shaped face (hence the name). This is useful for “peening,” the process of rounding metal edges, such as fasteners and rivets.
While iconic in the metalworking trade, this isn’t the most applicable tool for the average home owner, though they can be helpful for hobbies like jewelry making, or working on bicycles and automobiles.
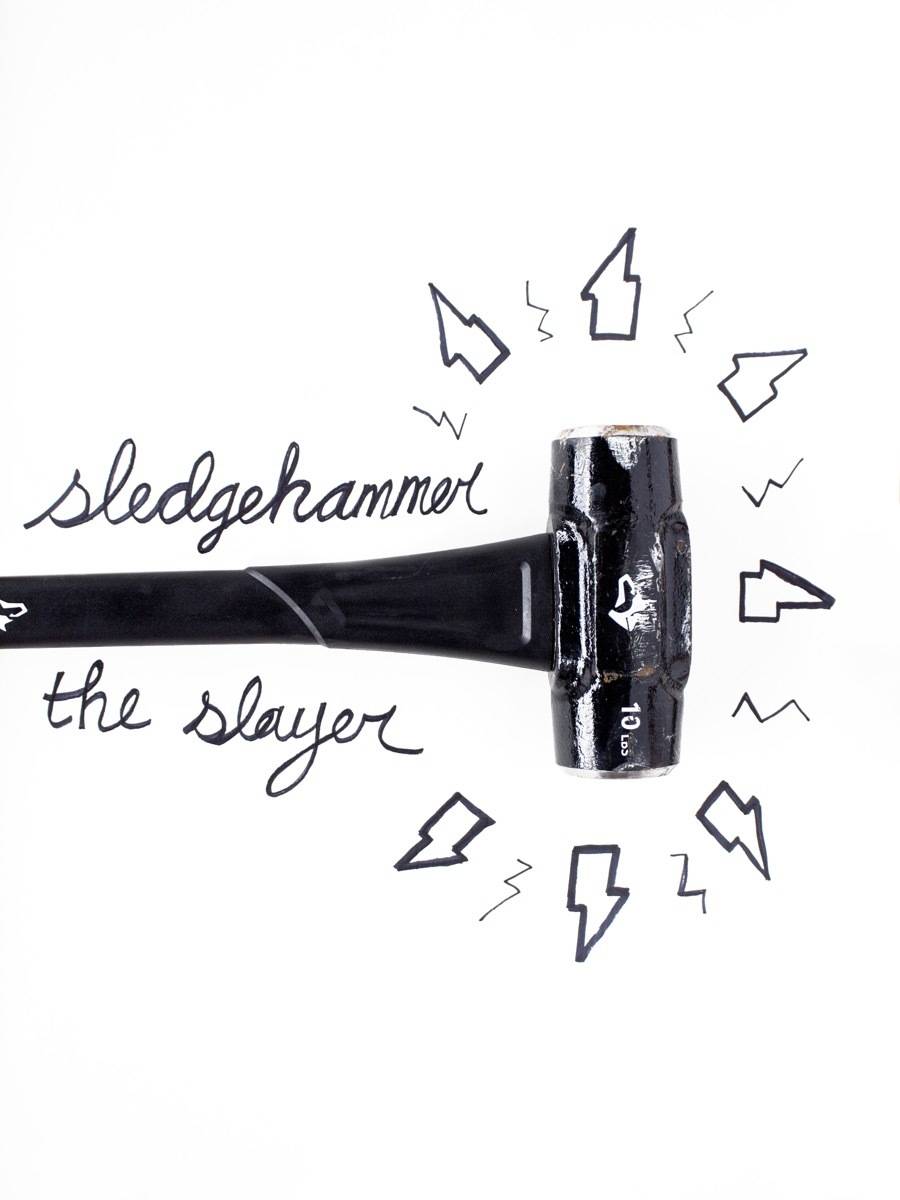
4. Sledgehammer
This is where stuff gets fun! The totally fun-to-say name derives from the Proto-Germanic word slagjo meaning “to strike, blow, or beat.” (The English word “slay” also comes from the same root word.)
Sledgehammers feature a large, symmetrical face that’s characterized by its weight. The extra bulk makes this a primo tool for destruction and demolition: breaking down walls, busting up concrete, and the like. The weight also works well for driving large objects into the ground, such as posts and poles (protect the top with a scrap block).
They can have the long, two-arm swing handle, or come in a more traditional one-handed hammer size. Buy a good one the first time you find yourself in need of one, and it’ll last a lifetime.
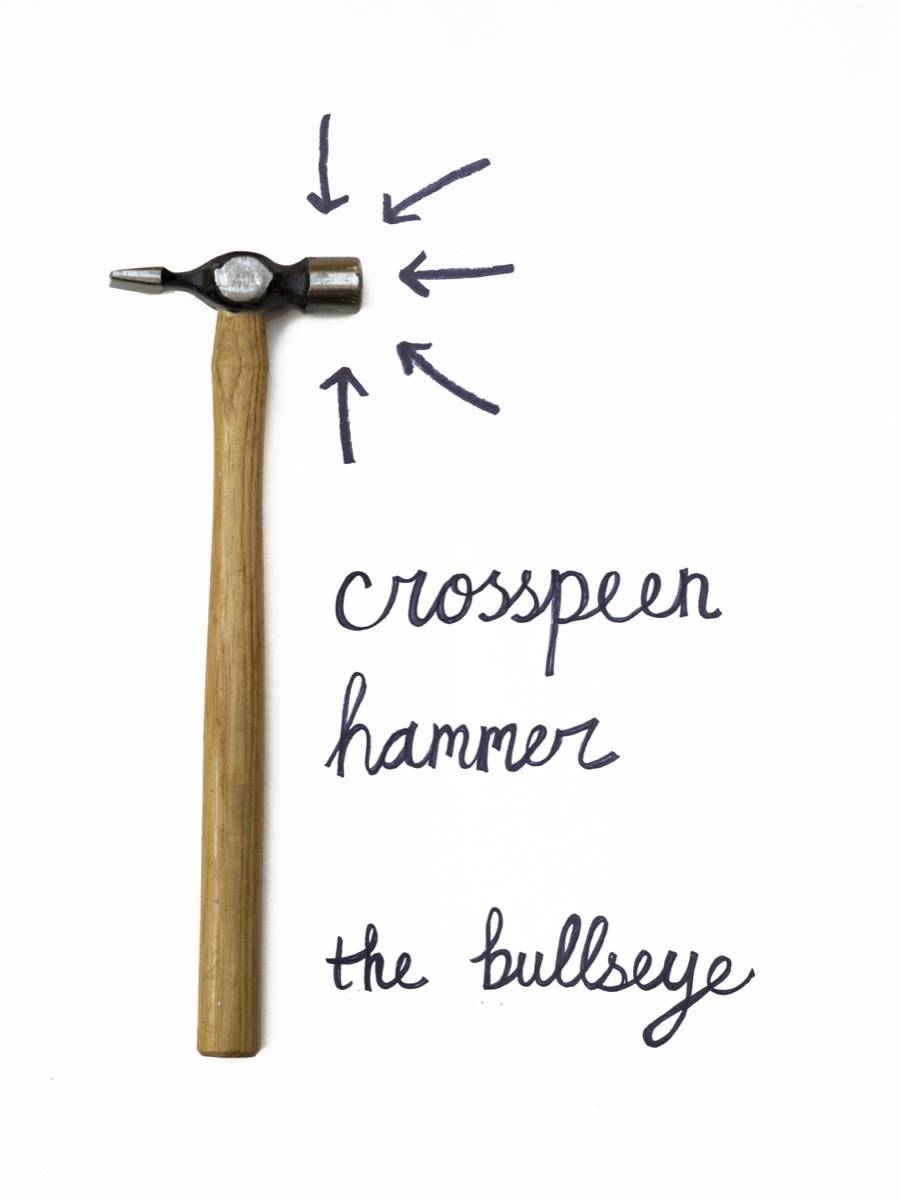
5. Crosspeen Hammer
A lighter-weight tool, used most often in finish carpentry and fine woodworking. It has a standard driving head on one side, and a fine, wedge-shaped peen on the other. This allows you to start small nails, brads, and tacks precisely without the nail wandering, or smacking your fingers.
As a woodworker, this is often the first hammer out of this guide to hammers that I reach for. It works great for furniture and around-the-house building projects.
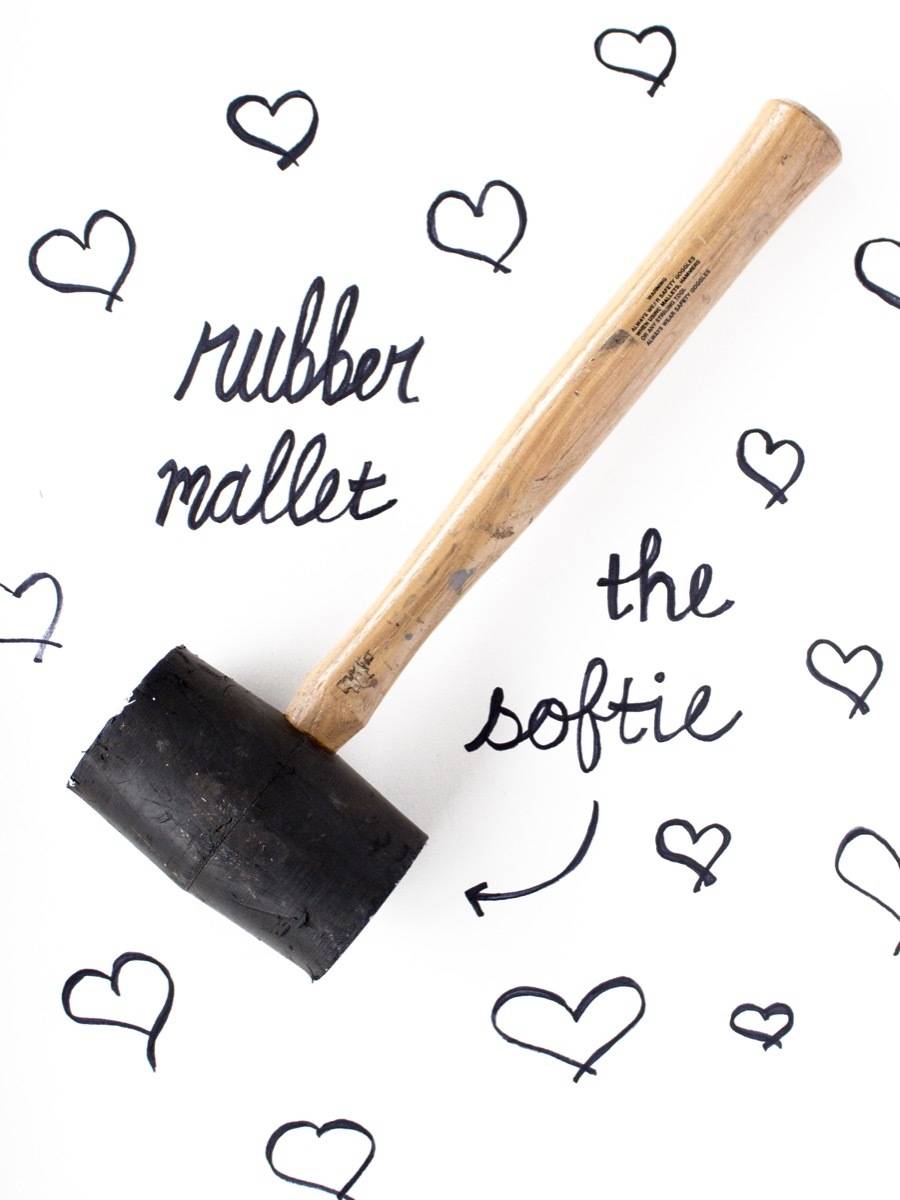
6. Wooden (or Rubber) Mallet
The rules for striking things are centered around one central idea: metal strikes metal, and wood strikes wood. I also choose wood or rubber for other soft-ish things, like plastic.
A mallet is used not for driving hardware, but for smacking the back of a wooden handled tool, like a chisel, or for general banging and smashing tasks. (And coupled with a zip-top bag, these also work great for crushing ice.)
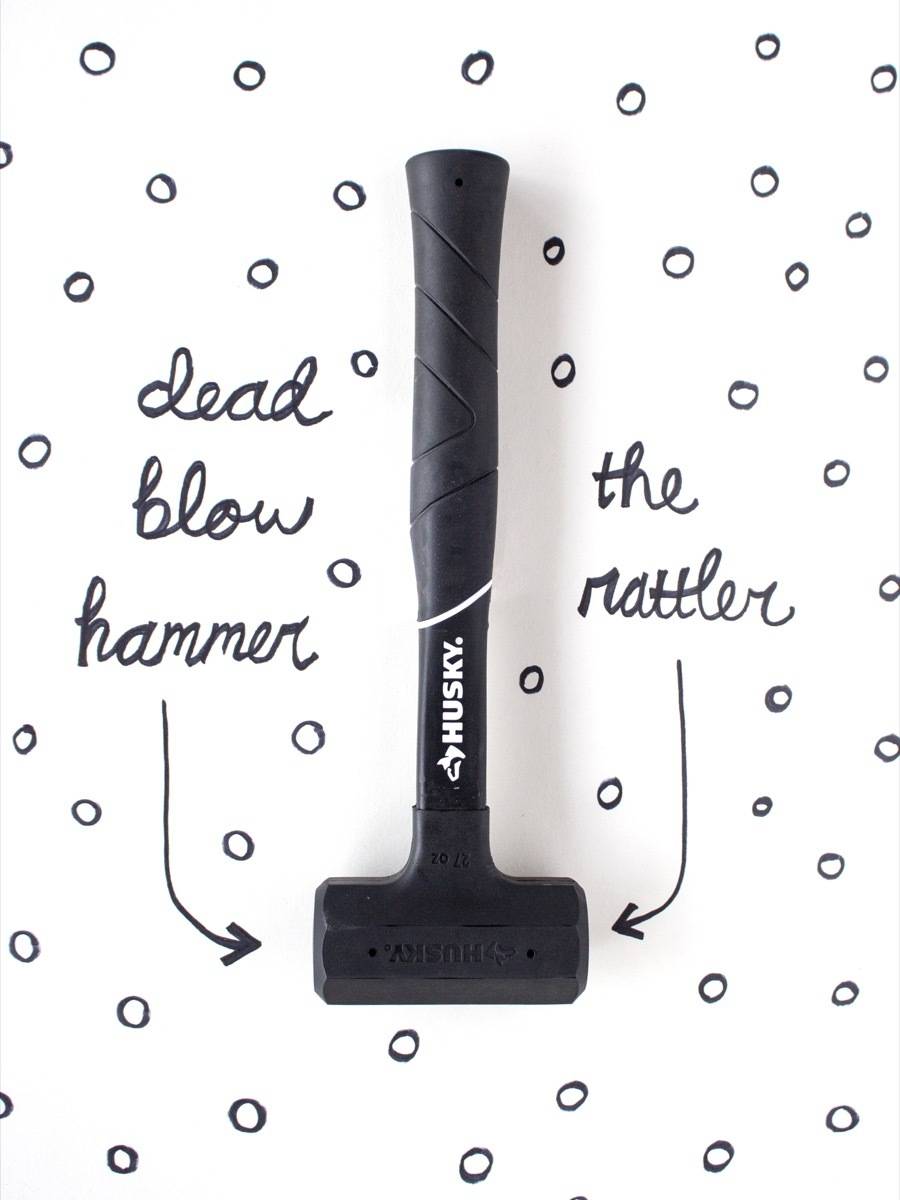
7. Dead Blow Hammer
The most technically advanced tool on the guide to hammers list … though not by much. It’s still just a head on a handle, but the head is hollow, and filled with sand or little metal balls. When swung, the face of the hammer smacks against the object, and, due to inertia, the filling follows quickly. When swinging a standard hammer or mallet, all of the force is delivered at the moment of impact. With a dead blow hammer, the face strikes, and the filling follows. This spreads out the force over time (though only a few milliseconds). Thus, the blow is less sharp. Same amount of buck, but less initial bang.
Why is that important? Two reasons: 1) It allows you to generate additional force in tight spaces. You can get as much impact without having to swing as far. And 2) it lessens the impact on the surface, and therefore, reduces potential damage that could occur. This is extremely helpful when “knocking together” wooden parts, whether assembling furniture or connecting parts together and separating them again, or for working on metal, without damaging them.
Pop Quiz!
Ok, don’t scroll back up! How many of these can you get right (answers are all the way at the bottom of this post):
1. I just demolished a doorway, and I need to pull apart the king and jack studs. My crowbar’s not handy, which hammer should I use?
2. Which hammer is more likely to be found in upholstery shops, a crosspeen or a milled-face?
3. When driving a nail with a framing hammer, where should your eyes be focused? (Surprise question!)
Our Guide to Hammers Shopping List
Claw Hammer: HDX 10 oz. Ash Handle Ripping Hammer
Framing Hammer: Milwaukee 22 oz. Milled Face Framing Hammer
Ball-Peen Hammer: Estwing 16 oz. Sure Strike Ball Peen Hammer
Sledgehammer: Husky 8 lb. Sledge Hammer with 34 in. Handle
Crosspeen: Estwing 24 oz. Solid Steel Cross Peen Hammer
Rubber Mallet: Estwing 12 oz. Deadhead Rubber Mallet
Dead Blow Hammer: Husky 27 oz. Dead Blow Rubber Handle Hammer
This post was sponsored by The Home Depot, but all opinions are mine alone. We love working with companies that support DIYers, and thank you for supporting the brands that help make Curbly possible! This post contains affiliate links; if you click on them and buy a product, we may get a commission from the sale.
Guide to Hammers | Pop Quiz Answers:
1. A framing hammer!
2. A crosspeen.
3. Always focus on the nailhead! Your hammer will tend to hit the thing you’re looking at, so don’t look at your fingers, or the tip of the nail, and by all means, don’t look off anywhere else.
How’d you do? Leave us a comment!