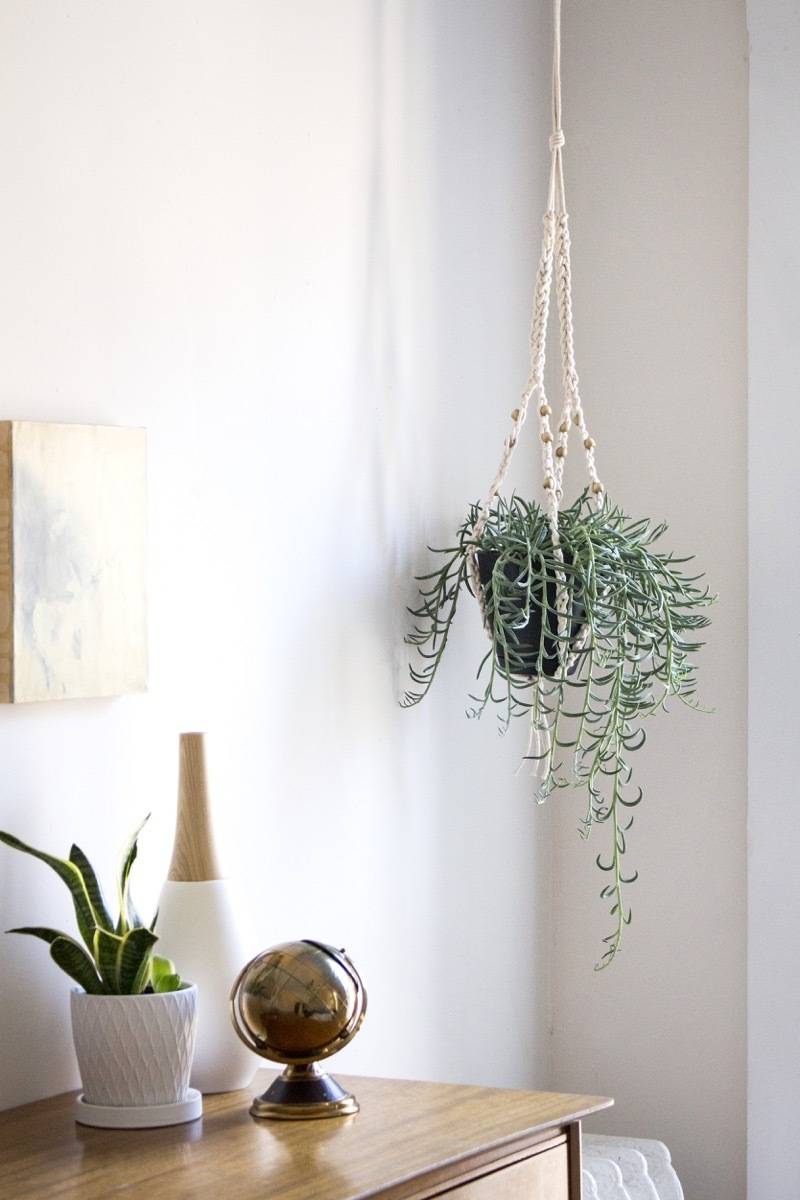
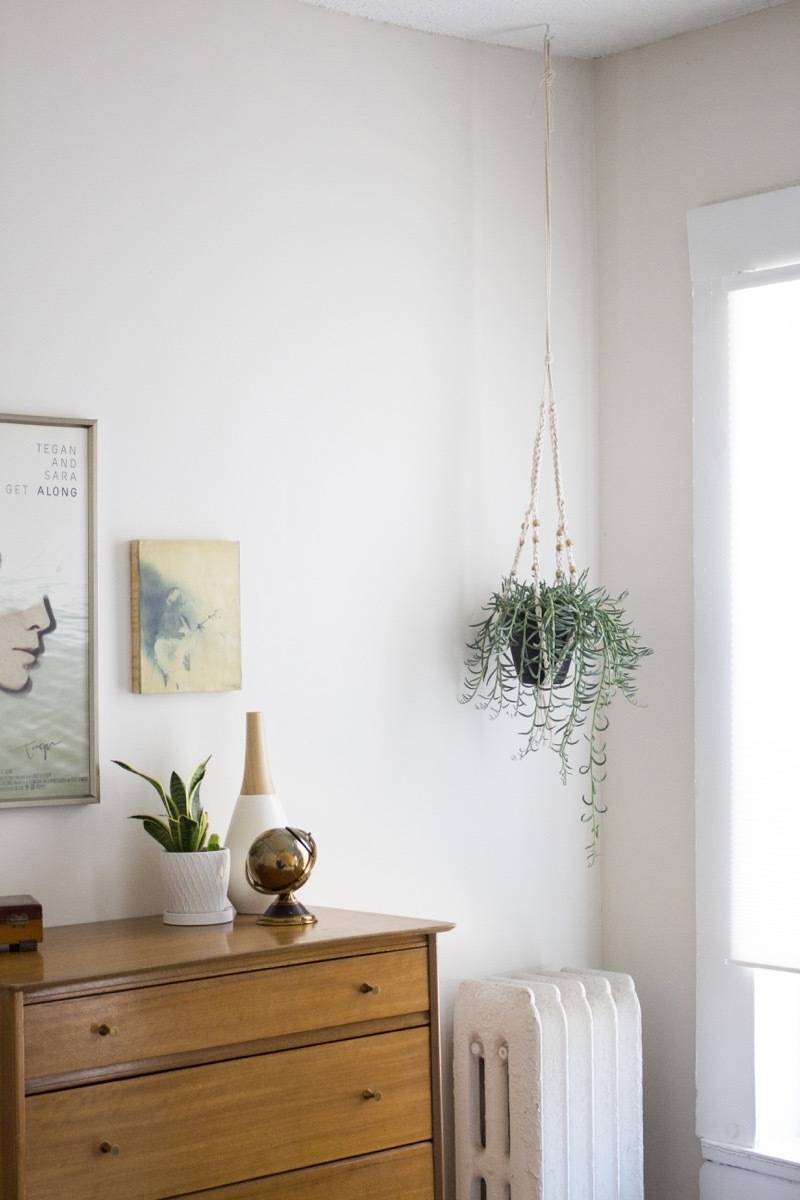
I’ve been wanting to try my hand at making a macramé plant hanger for a bit, but just haven’t gotten around to it yet. It got me thinking though… macramé is a knot-tying craft, and crocheting is basically knot tying, but with more loops. Could I make a crochet plant hanger instead? The answer is: yes! And you can too. Even if you’ve never crocheted before, I’m here to walk you through it.
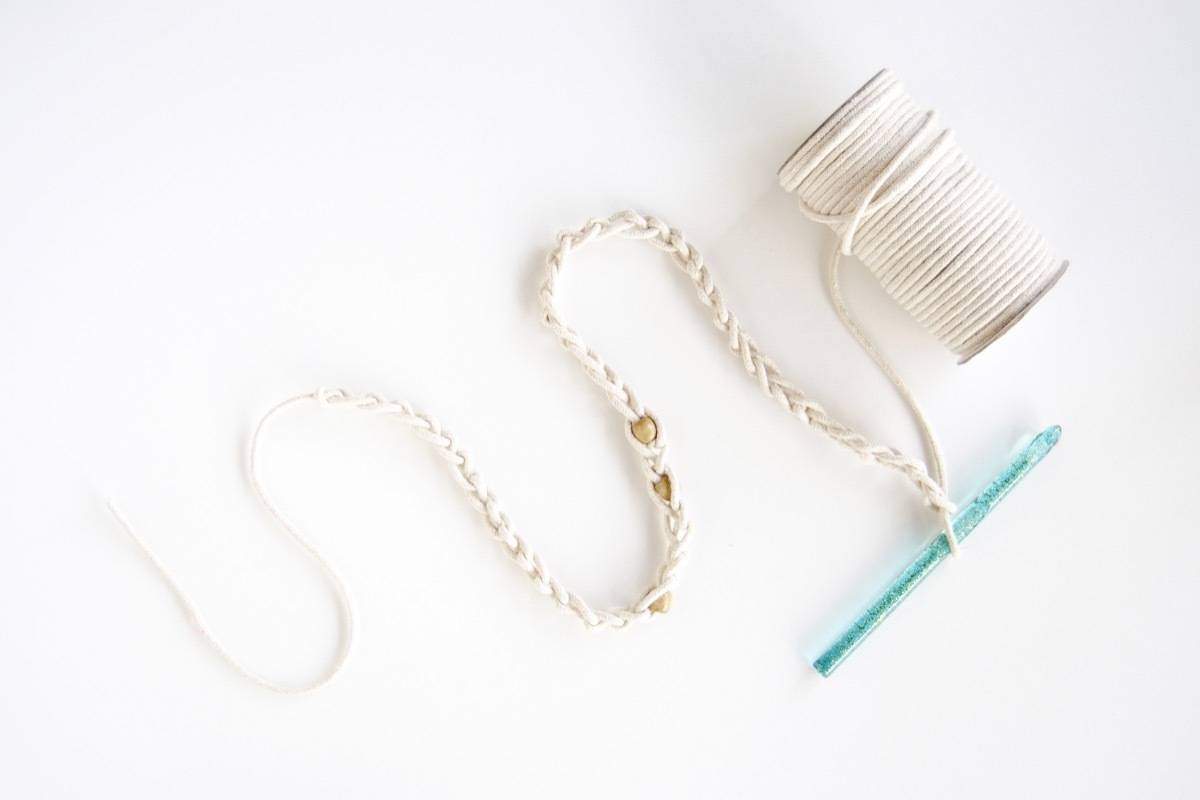
This pattern is for the size of planter that I’m using specifically. It’ll work for a small pot, and if you’re using a larger planter, add a few extra stitches in your chain. This crochet plant hanger is made of four straps that join together at the top and bottom.
Materials
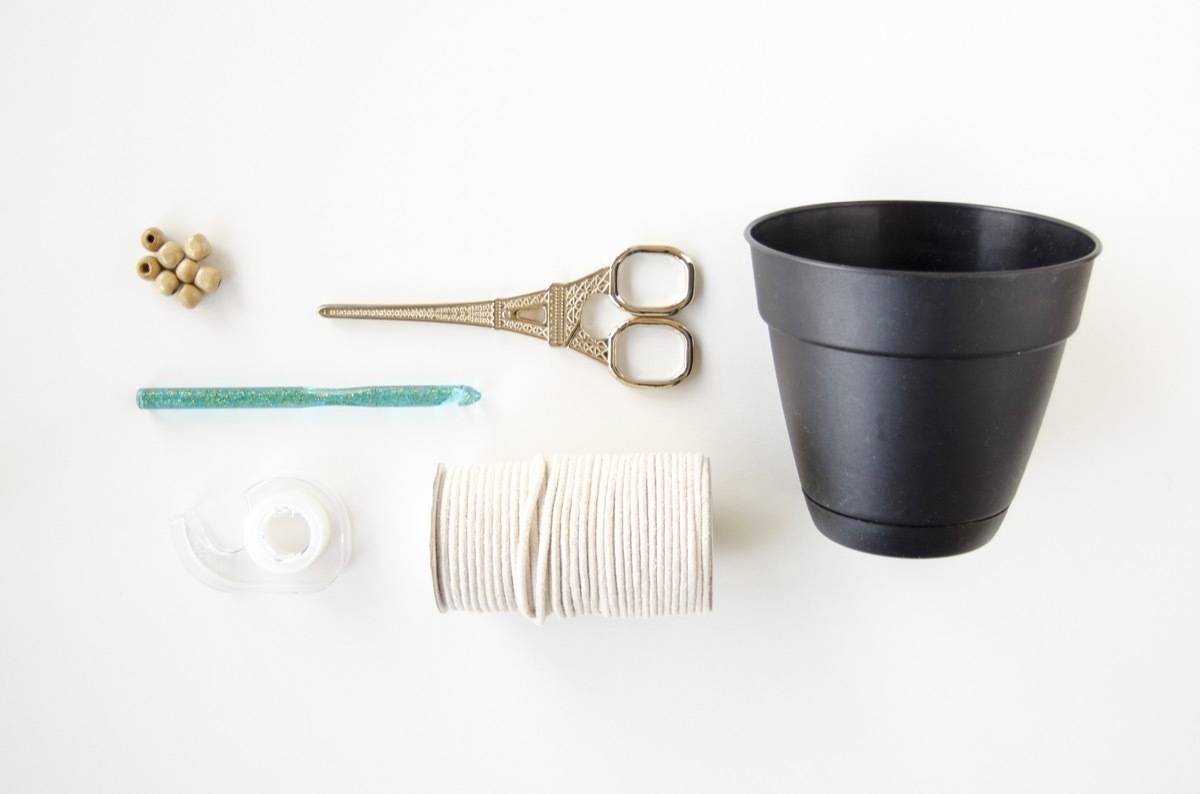
- Wood beads
- A planter (for hanging plants, I like to use ones with built-in saucers)
- Scissors & measuring tape
- Tape
- Macramé cord (3 mm)
- Crochet hook (around a size N)
Step
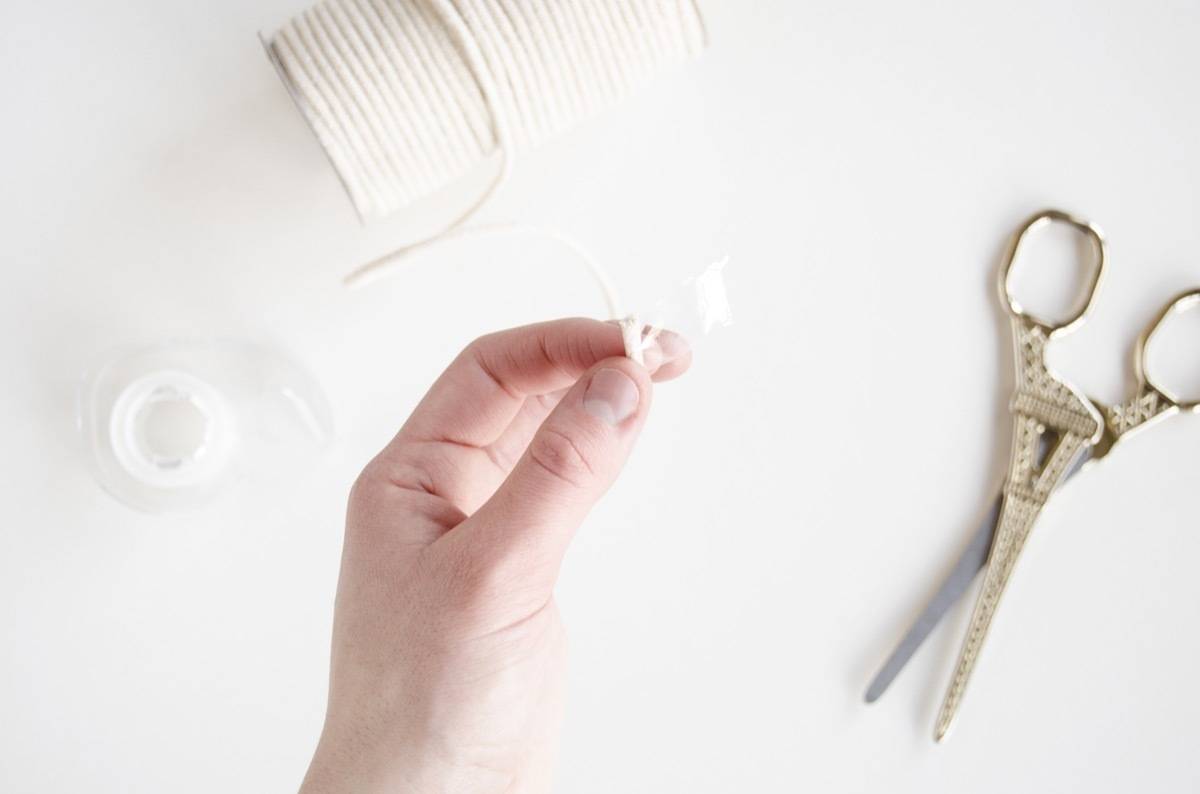
To crochet beads into the hanger, the beads need to be strung on before you start. Wrap a piece of tape around the end of the macramé cord to make stringing the beads easier.
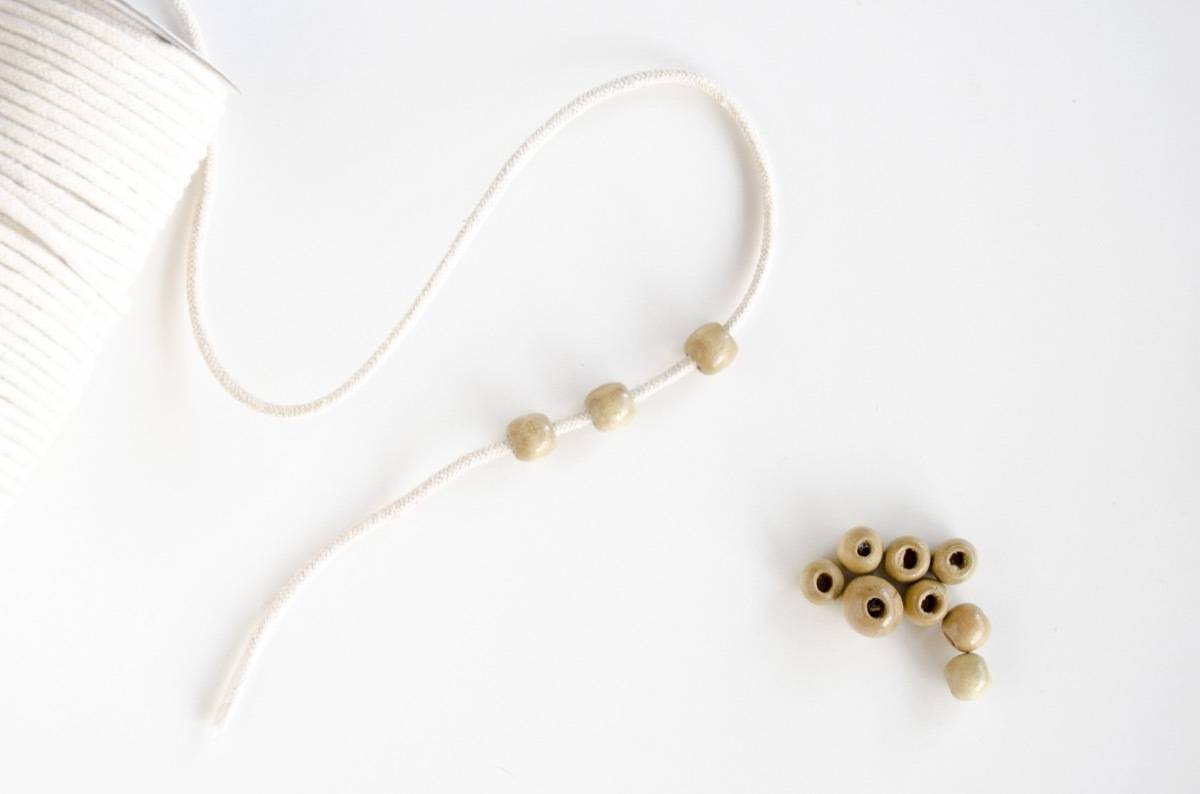
String three beads onto the cord. Slide them up the cord so they’re out of the way while you work.
Step
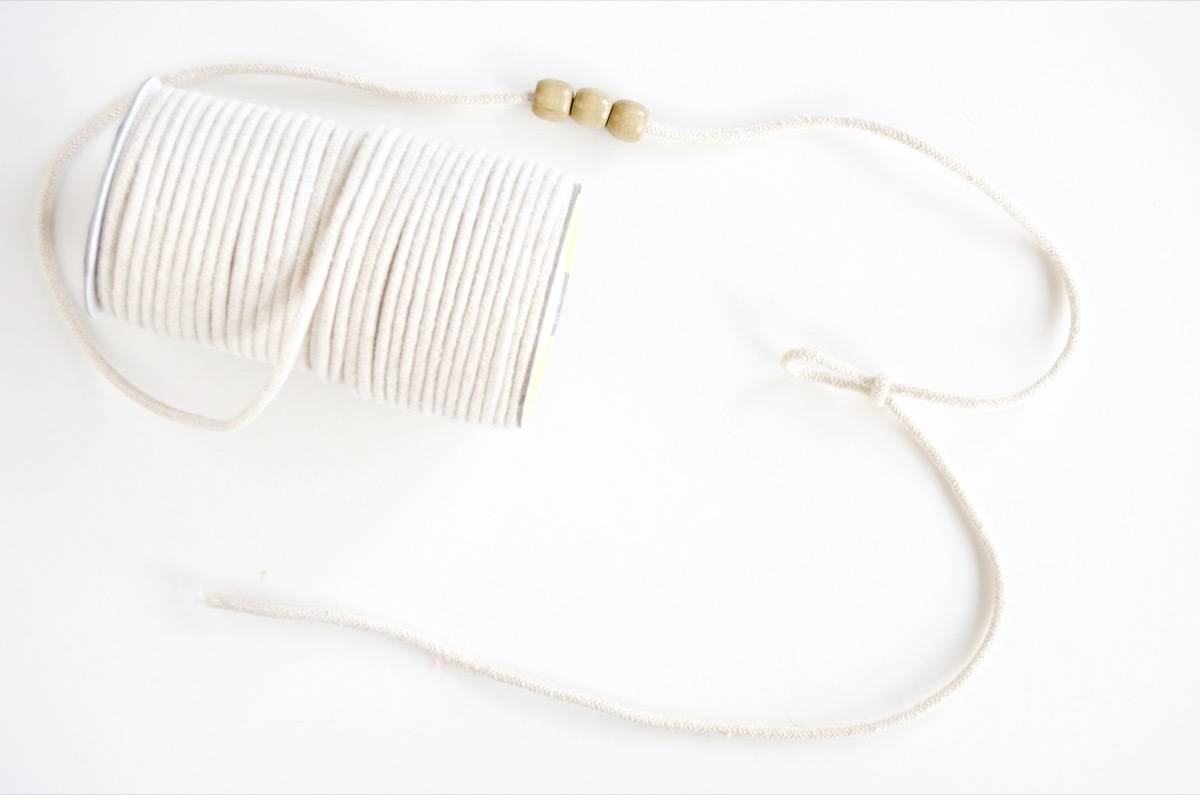
About a foot from the start of the cord, make a slip knot (this video can show you how if you’re new to crocheting).
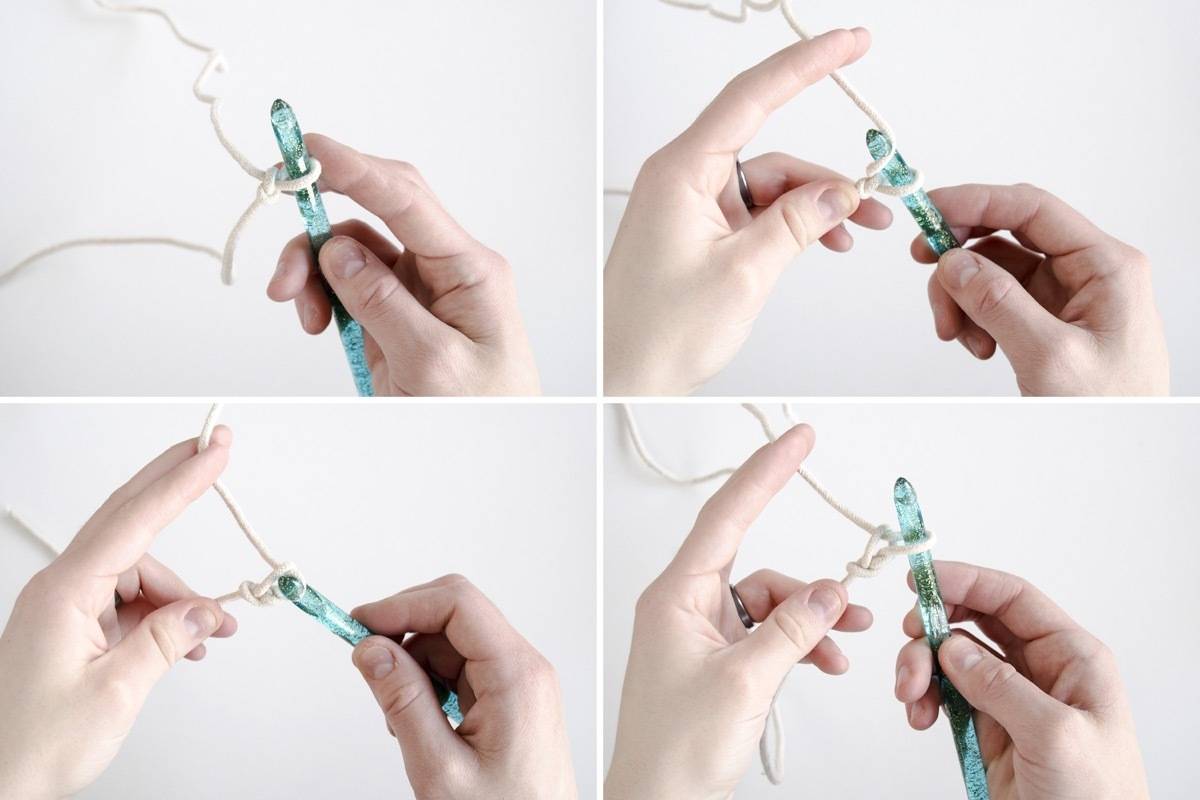
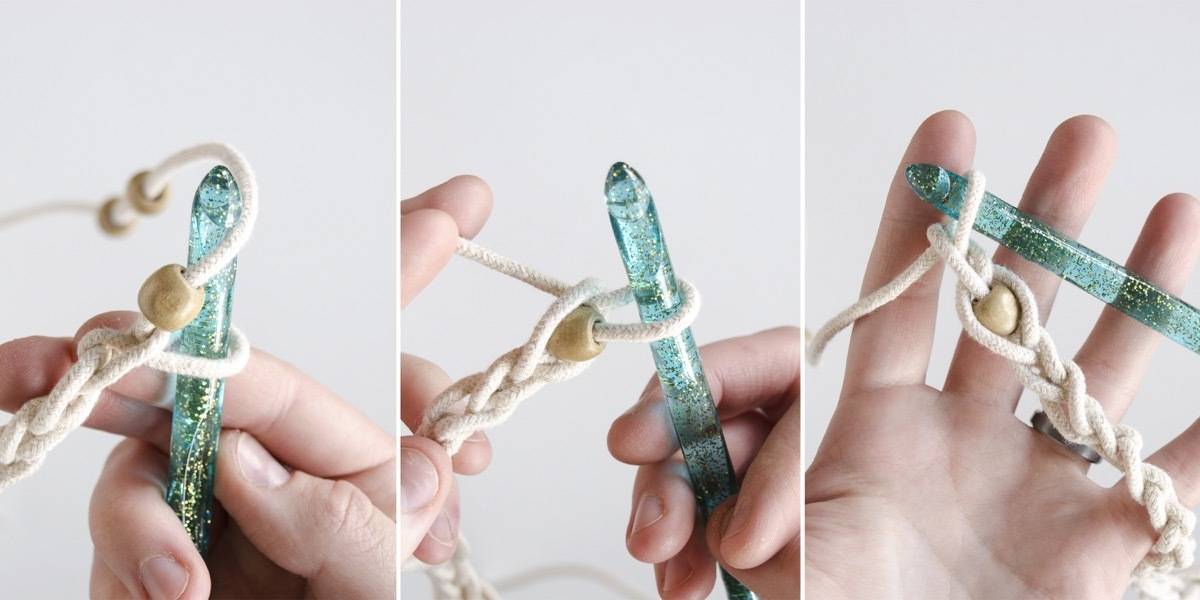
Now to start crocheting! Chain 14.
If you’ve never crocheted before, the above image illustrates how to make a chain stitch. Insert your hook into the slip knot with the long length of cord on top. Using the hook, pull the long cord through the slip knot. Congrats – you just made your first chain stitch! Repeat that 13 more times.
Step
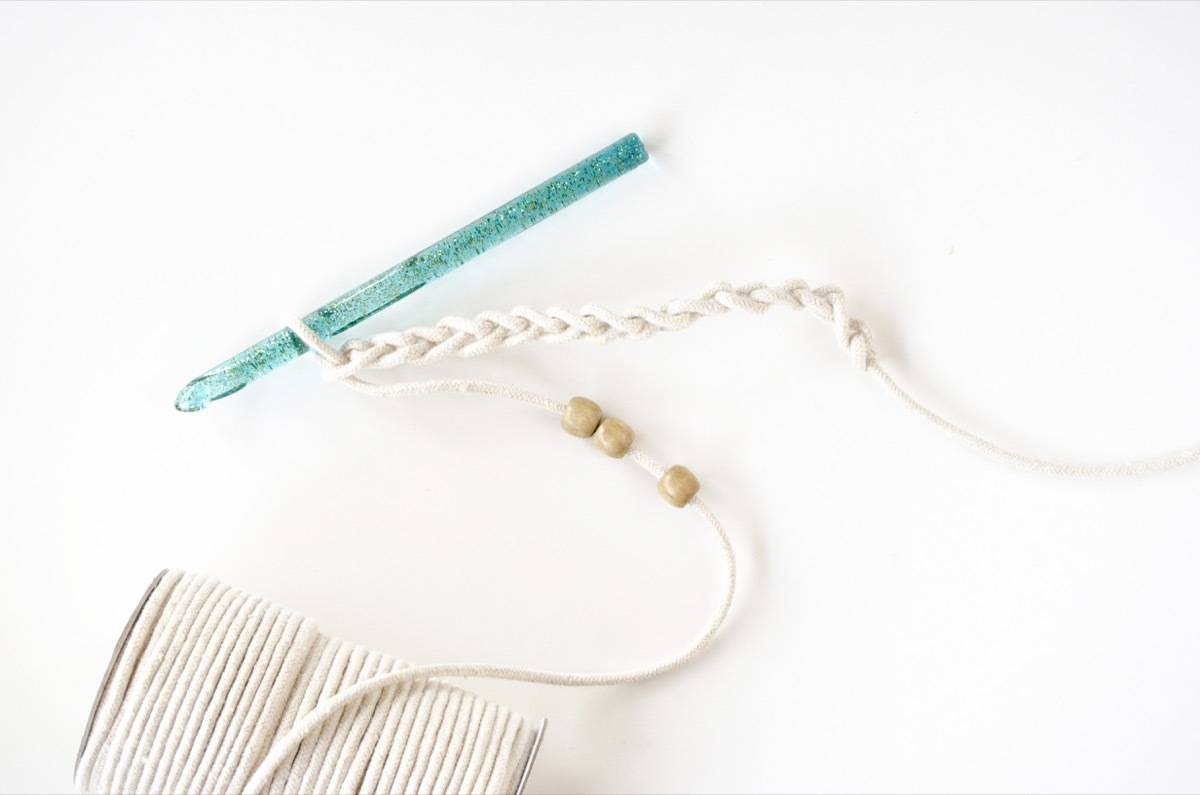
Now to bring in a bead. Slide one of the beads down to your hook, and chain stitch like normal. Pretend like the bead is part of the cord. You’ll have to make the stitch slightly bigger (i.e. give your loop more slack) to accommodate for the bulkiness of the bead.
After the bead, do the following:
- Chain 3
- Chain in a bead
- Chain 1
- Chain in a bead
- Chain 24
- Tie off*
*To tie off, measure two feet from your hook down the length of the cord, and cut the cord. Do a chain stitch, but pull the entire length of the cut cord through the loop, tying it off. You’ve made your first of four straps!
Step
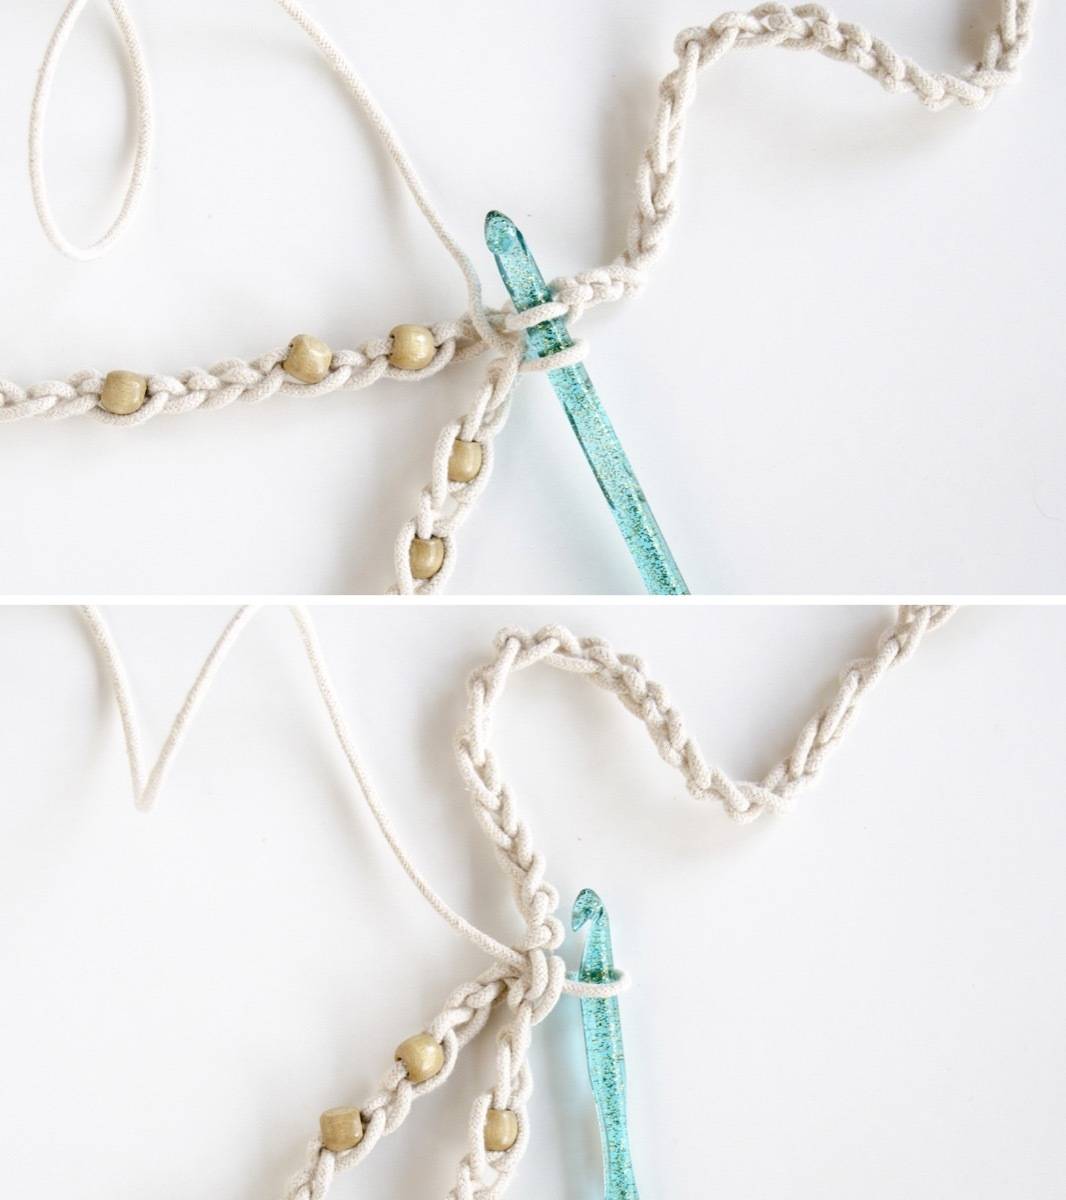
Now to make the second strap. Repeat the same steps as you did for the first cord, but once you’ve stitched in the last bead, only chain two (versus 24). It’s at this point that you’ll join the second strap with the first.
Line the straps together, and insert the crochet hook through the first strap. Pull the cord through both loops (the one on the first strap and the one on the second). Do this joining technique all the way up the first strap.

Once you’ve reached the end, cut the cord two feet from the hook like before, and tie off. Now you’ve made your second strap, and joined it to the first!
Repeat steps 1-4 to create the third and fourth straps of your crochet plant hanger.
Step
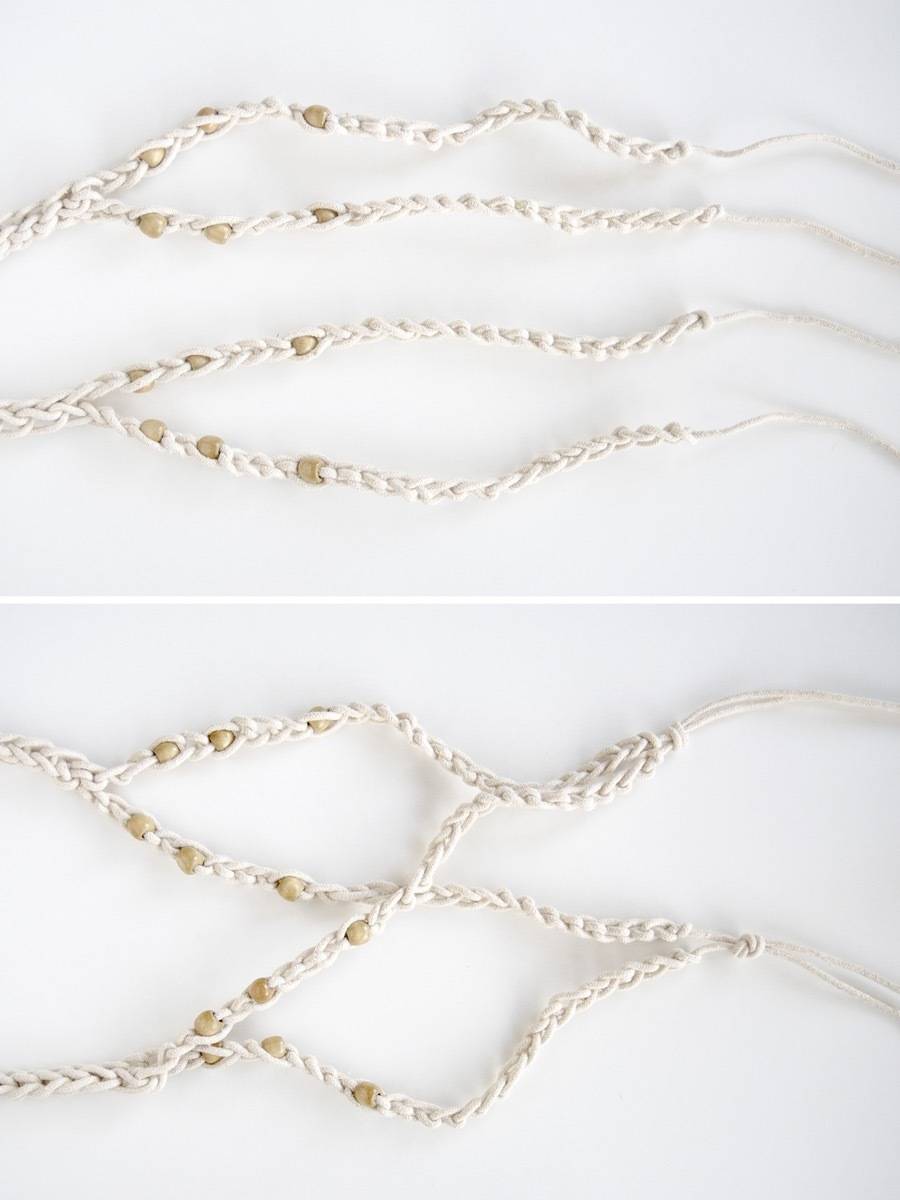
Now to tie everything together! Lay out your straps side-by-side. If the strap on the top is #1 and the strap on the bottom is #4, tie 1 and 3 together, and 2 and 4 together, as seen above.
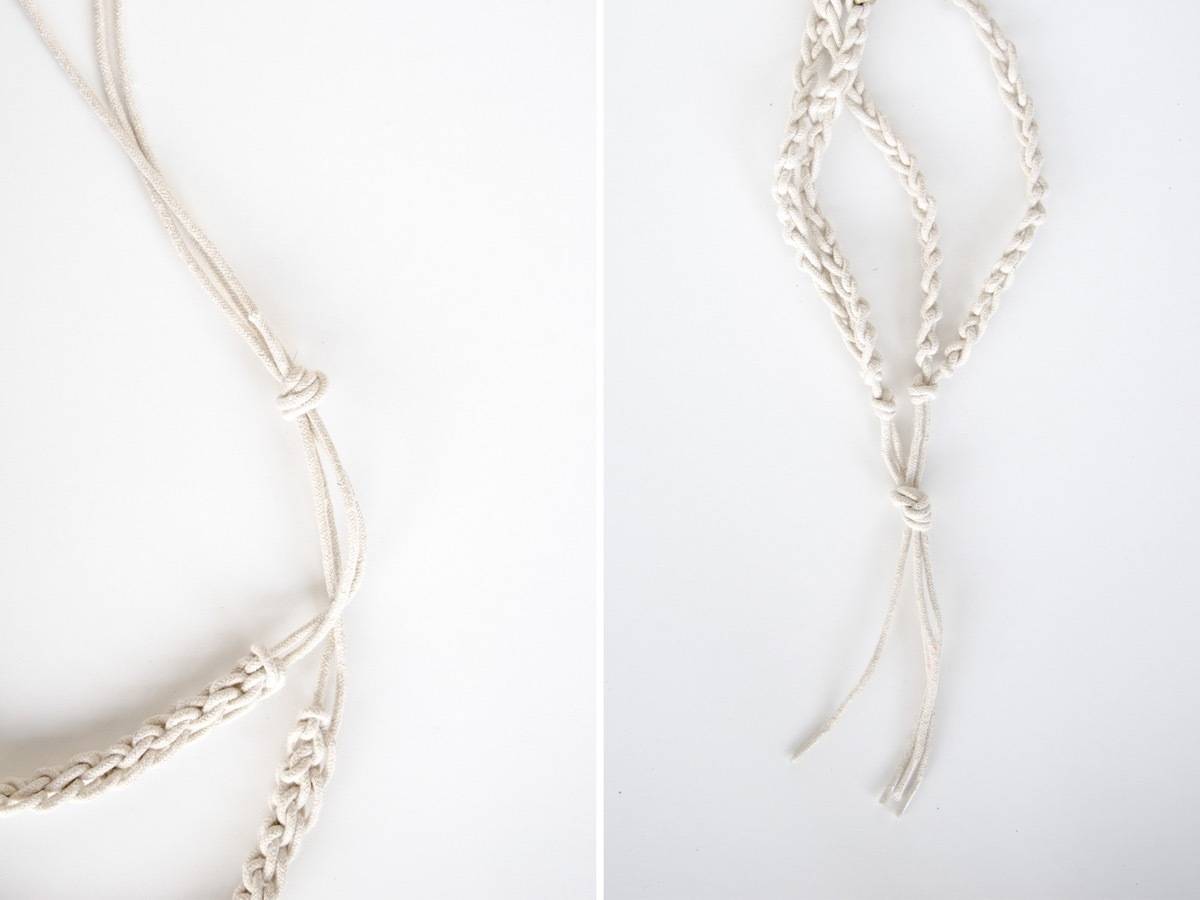
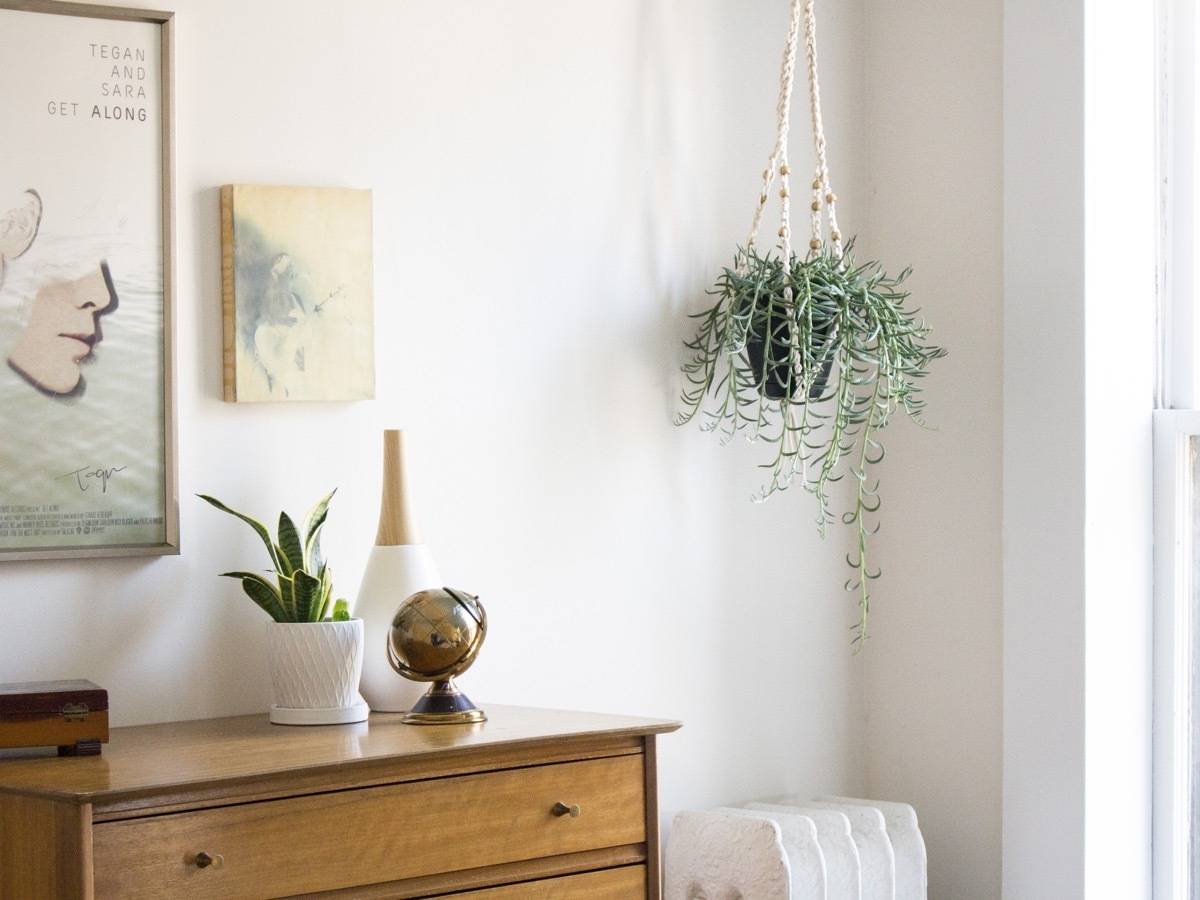
Tie the loose ends together at the top, and tie the loose ends together at the bottom, as seen above. Done!
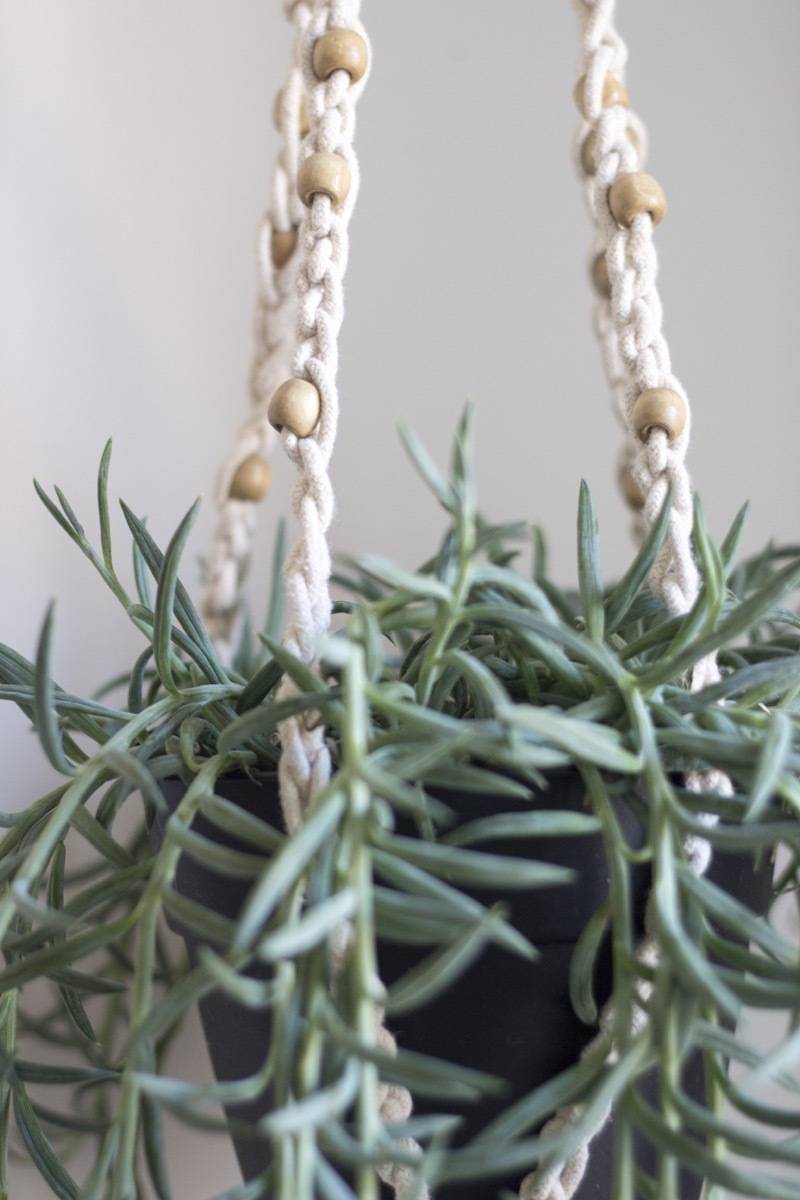
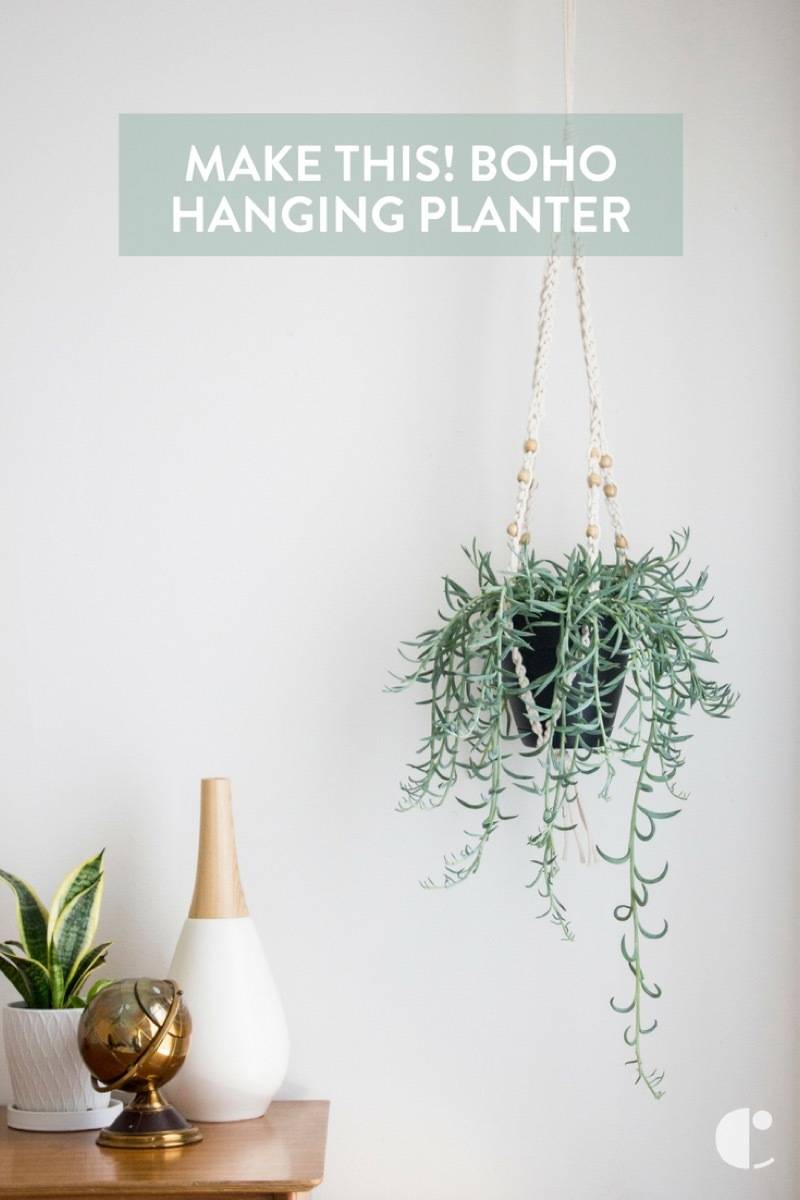
If you were wondering what kind of plant this is, it’s actually a succulent. It’s called “string of bananas,” because the little leaves look like bananas!
You know what would compliment your new crochet plant hanger? This DIY macramé throw pillow!